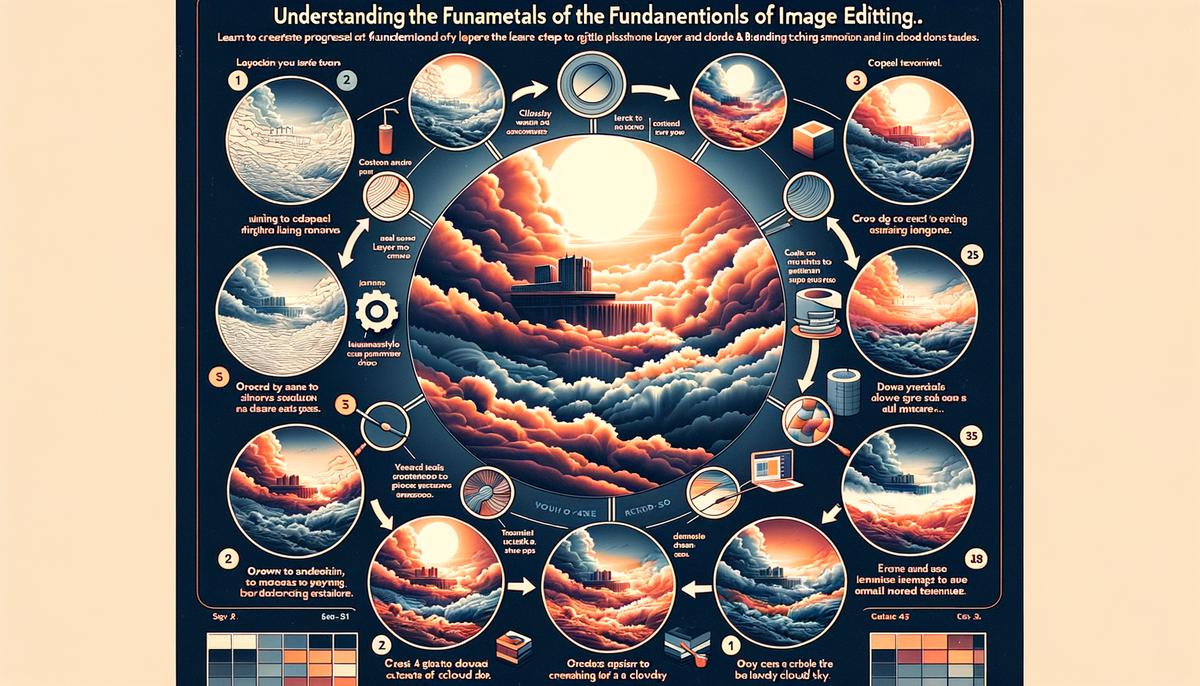
The sky is often a canvas of boundless expression, shifting from the soft blush of dawn to the fiery streaks of sunset. In the digital realm, recreating such a spectacle requires a nuanced understanding of the tools at hand. Photoshop, a leader in image editing, offers myriad possibilities to those willing to explore its depths. Mastering Photoshop Layers and Blending Modes is the first step in designing a sky that not only inspires awe but also breathes life into any scene. In this exploration, we delve into the intricacies of Photoshop to craft cloudy skies that are as dynamic and compelling as they are in the natural world. From the subtle art of layer manipulation to the alchemy of blending modes, each technique is an essential brushstroke in the grand painting of digital skies.
Understanding Photoshop Layers and Blending Modes
Mastering Layers and Blending Modes in Photoshop – Unleash Your Artistic Potential!
Photoshop is a boundless playground for the creative mind. With each tool and feature, it offers a new avenue for expression. At the heart of this digital canvas lies the profound magic of layers and blending modes. These are essential techniques that can transform a simple image into a multifaceted work of art.
Let’s dive into the layers first. Think of them as transparent sheets stacked on top of one another, each holding different parts of your composition. This segregation allows for immense flexibility as you manipulate individual elements without disturbing the rest. You can adjust opacity, create intricate composites, and craft a visual narrative that’s rich with detail.
Adding a new layer is straightforward. Click on the ‘New Layer’ icon at the bottom of the Layers panel, or press Shift+Ctrl+N (Cmd on Mac) for a shortcut. Dragging a layer up or down changes its order in the stack, which in turn affects how it interacts with layers below. You can also group layers (Ctrl+G) for better organization, especially when working with complex images.
Now, let’s unveil the alchemy of blending modes. Found in a dropdown menu within the Layers panel, blending modes dictate how a layer’s pixels blend with underlying pixels. Each mode applies a different effect, essentially changing the math behind the color interactions. With over two dozen options, from Multiply that darkens, to Screen which lightens, to Overlay that intensifies, the creative outcomes are nearly endless.
To experiment with blending modes, simply add a new layer above your base image, select the layer, and then click on the blending mode dropdown menu. Hover over different modes to see a live preview of the effect. Combining these modes with varied layer opacities creates a symphony of visual effects, each tune playing with the light and colors of your image.
Want to add some texture? Place a texture layer above your image and set the blending mode to Soft Light. Interested in enhancing contrast? Try Overlay. And for those wanting to cast a unifying color or tone across an artwork, Color or Luminosity blending modes will become your best friends.
Layers and blending modes in Photoshop are the foundation upon which complex, evocative compositions are built. By understanding and exploring these features, you gift yourself the ability to control not just color and form, but the very mood and atmosphere imbuing your masterpiece. So, arm yourself with these tools of transformation and let your digital artistry soar to new heights of creativity.
 Save
SaveBrush Tools and Techniques
Mastering the Art of Cloud Creation in Photoshop with Brush Tools
When the canvas of our imaginations calls for skies adorned with the most ethereal clouds, Photoshop stands ready as our digital easel. Fully grasping the potential of brush tools in the creation of digital clouds is a true game-changer for artists desiring to breathe life into their scenes from the heavens above.
Choosing the Right Brush
Selecting an appropriate brush is akin to an artist choosing the right bristle brush or palette knife. For simulating clouds, brushes that emulate the soft, airy nature of clouds are integral. Begin with a soft round brush, which you can find by default in Photoshop’s brush palette. This brush offers a gentle edge, perfect for the fluffy, delicate characteristics of clouds.
Customizing Brush Settings
But a single brush alone cannot capture the fullness of clouds. This is where the brush settings come in, allowing the customization of the brush to match the whimsical nature of the sky. Adjust the ‘Shape Dynamics’ to incorporate size jitter and angle variation, endowing each stroke with a more natural, cloud-like appearance. ‘Scattering’ increases the randomness of brush marks, emulating the organic distribution of water vapour. Tweak both the ‘Count’ and ‘Scattering’ sliders to achieve the desired dispersal of the brush strokes.
The Magic of Brush Opacity and Flow
With clouds, transparency is key. It’s crucial to play with the brush opacity and flow settings. Frequently, setting the brush opacity between 10%-30% lends to a more realistic build-up of cloud density. The flow should generally be kept low to allow gradual layering; this is a dance of nuance, embodying the transient essence of clouds.
Spatter Brushes for Textured Edges
In Photoshop, sometimes the secret lies in the Spatter brushes. These are excellent alternatives for adding textured edges to the clouds, instilling a sense of depth and realism. The Spatter brushes work wonderfully when blending the cloud edges into the sky, avoiding an overtly uniform perimeter that may shatter the illusion of natural cloud forms.
Dual Brush Technique
One can push the cloud simulation even further with the Dual Brush feature. This technique involves combining two different brushes with varied settings to produce a complex texture mimicking the intricate layers of clouds. Playing with the settings of the secondary brush can produce an astonishing variety of cloud effects, from the wispy cirrus to the puffy cumulus.
Mastering the Airbrush
Lastly, the Airbrush feature’s integration gives artists a monumental advantage in soft shading, allowing gradual tone transitions and soft color shifts that capture the ephemeral dance of light within cloud masses. It recreates the sensation of spraying pigment, offering a feather-light finish that can make your digital clouds look pleasantly soft and realistic.
Conclusion
In the brush lies the soul of the cloud. Experiment with these tools, mixing and merging their attributes until the sky on your digital canvas mirrors the lofty dreams of your artistic mind. Remember, each stroke is a breath, infusing life into the vaporous giants of the sky. No summary can contain the vast sky—just as no summary can contain the boundless potential for creativity within Photoshop’s brush tools. Embrace experimentation, and watch your digital clouds drift gracefully across the canvas of possibility.
 Save
SaveUtilizing Clouds Filter and Adjustments
Harnessing the Ethereal: Clouds, Filters, and Color Adjustments in Sky Texture Enhancement
When an artist paints the sky on a digital canvas, they tap into the realm of boundless creativity. The sky is the limit, both literally and figuratively. Now, with a foundation in layer manipulation and an understanding of how brushstrokes can mimic the soft, billowy essence of clouds, it is time to delve into the transformative power of filters and color adjustments. These tools, when applied with an artist’s touch, can intensify the depth and drama of cloud-laden horizons in breathtaking ways.
Step inside the studio, where the digital sky is patiently awaiting its infusion of color and life. First, marvel at the Clouds filter in Photoshop. This feature, found under Filter > Render > Clouds, sparks a random pattern that emulates the complex, diffusive nature of clouds with astonishing ease. Yet, without refinement, these clouds may lack the subtleties needed to convincingly blend into your composition.
To elevate this generated pattern, manipulate it with color adjustments, adding nuance to the otherwise monochromatic cloudscape. Begin by navigating to the Adjustments Panel and choosing Curves. This tool adjusts the tones, gently coaxing out the soft whispers of pinks, oranges, and blues that often grace the sky at the golden hour or settling into dusky purples as twilight embraces the horizon.
For a more direct splash of color to your clouds, employ a Gradient Map. By layering it above your cloud layer and setting the blending mode to Overlay, Soft Light, or Multiply, the gradient’s colors lend an atmospheric mood that can be as dramatic or as subtle as the scene calls for. Tinker with the opacity to ensure the effect harmonizes with the existing elements.
Selective color adjustments allow for targeted tonal shifts within specific color channels. This is particularly handy when the desire is to accentuate the warm glow of a setting sun or the cool shadow of a distant storm. Adjusting these colors breathes life into the clouds, making them appear to dance with the changing light.
Should there be a need for heightened drama, venture into the realm of Photo Filters. Emulate the cast of natural light filters like warming or cooling filters and drape your clouds with a veil of color that aligns with the narrative of your piece. The density slider becomes your brush, giving you control over the intensity of the filter.
Utilizing the Hue/Saturation adjustment is akin to deftly selecting the perfect paint from a palette. It’s essential when seeking precise control over color saturation and hue, enabling the flexibility to fine-tune the color balance to match the evolving vision in your mind’s eye.
But don’t stop there. For the times when even more definition is desired, the High Pass filter is the secret weapon in adding subtle structure to cloud formations. Found under Filter > Other > High Pass, this technique sharpens the fine details of clouds without impacting the rest of the image, akin to sketching the gentle edges of cumulus or highlighting the wisps of cirrus clouds against the vast sky.
As you apply these filters and adjustments, remember the layers below; their patterns, textures, and hues. Each adjustment is a conversation with the existing composition, requiring a steady hand and a discerning eye to achieve the desired effect. Practice this craft, experimentation is your companion, and with every project, the clouds will bloom. Each addition of color, each subtle shift in texture, lays the groundwork for skies that are not merely backdrops but the very soul of your work.
Whether the vision is a tumultuous stormy sky or the tranquil azure of a sunny afternoon, the skillful application of filters and color adjustments transforms a simple cloud layer into an immersive skyscape. As artists harness the intangible beauty of the ephemeral, they must never forget that the true masterpiece lies not only in the destination but in the joy of creation itself.
 Save
SaveWith the sky now beautifully stretched across your digital canvas, encapsulating the fickle nature of clouds with such verisimilitude, it becomes clear that Photoshop is far more than software; it’s a gateway to limitless creation. The journey to perfecting the image of a cloudy sky not only enhances your artwork, but also deepens your understanding of the engaging interplay between light, texture, and color. Armed with these new tools and techniques, the skies you conjure will reflect more than mere clouds; they will echo your growing expertise and boundless imagination, opening up skies of possibility in all your future projects.


