The sky is a canvas that paints its own story, transitioning through a palette of colors from the softest dawn to the vibrant hues of sunset. Grasping the art of this ever-changing spectacle can bring a touch of nature’s grandeur to digital design. With this in mind, we delve into the versatile world of the Gradient Tool in Adobe Photoshop. By understanding how to select and blend colors that mirror the celestial dance above, you can create stunning sky gradients that capture the essence of the atmosphere. This essay will guide you step by step through the creation of basic gradients, customization of layers, and the techniques to infuse your digital skies with the realism they deserve. Craft vibrant dawns, serene noons, and enigmatic twilights with ease, as we explore the horizon of possibilities offered by the Gradient Tool in Photoshop.
Understanding Gradients in Photoshop
Title: Mastering Gradients in Photoshop: A Creative’s Guide to Adding Depth and Drama
Embarking on a journey through the colorful cascades of gradients can transform a simple piece of art into a maze of depth and emotion. Adobe Photoshop, the digital artist’s playground, provides ample tools to define and apply gradients with precision and flair. Here’s how one can infuse life’s spectrum into their digital canvas, creating works that speak volumes through smooth transitions and boundless tones.
Step 1: Familiarize with the Gradient Tool
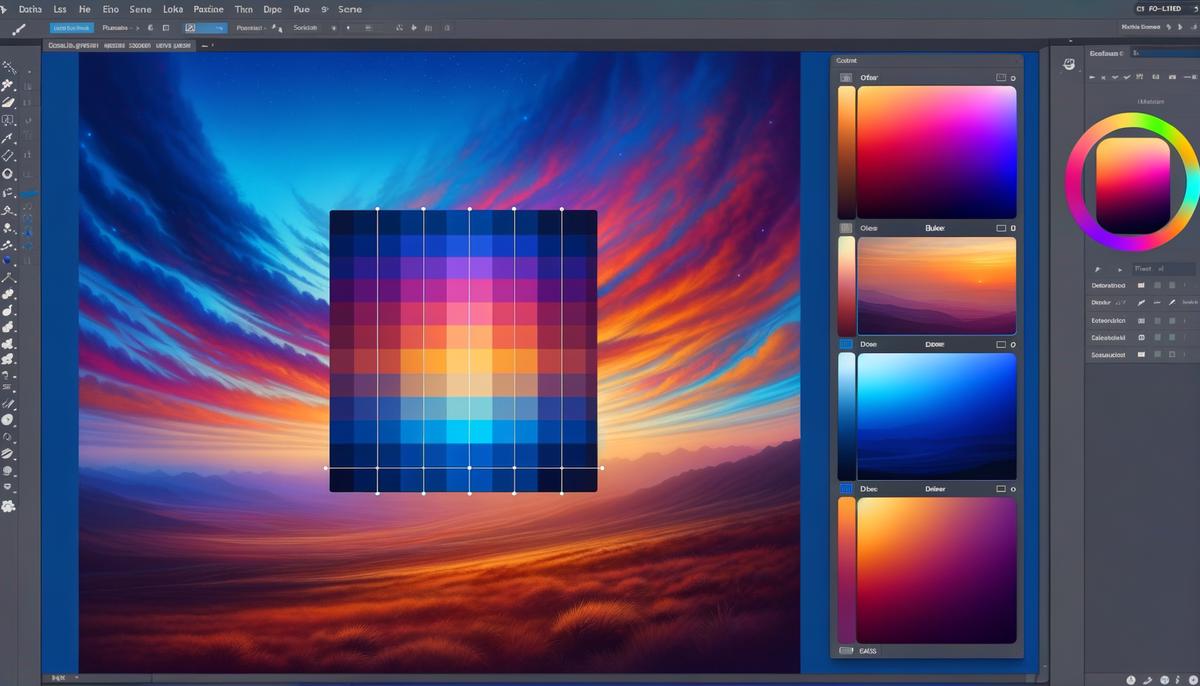
Start off by locating the Gradient Tool in Photoshop’s toolbar; it’s represented by an icon resembling a rectangle filled with a smooth transition of colors. Once clicked, a plethora of options unfolds, allowing the artistic mind to harness the tool’s potential. Notice the Gradient Editor, a powerful feature for creating custom gradients, along with the presets that offer a head start for those seeking inspiration.
Step 2: Customize Your Gradient
To divine one’s signature gradient, summon the Gradient Editor by clicking on the Gradient preview in the options bar. This is where color stops and opacity stops are added or adjusted, each representing a pivotal point in the gradient’s transition. Drag the stops to change the gradient’s flow, emphasizing how a color spreads or gently fades. Delving deeper into the editor, you can even input precise color codes for that perfect hue.
Step 3: Define the Gradient Type
Once within the Gradient Editor, artistic intuition takes the helm. Choose between Solid and Noise gradients, each with their charm and utility. Solid gradients create smooth, unbroken transitions, perfect for creating atmospheric effects or minimalist backdrops. Noise gradients, on the other hand, introduce a textured, random assemblage of colors that can add complexity and intrigue to any composition.
Step 4: Design Your Gradient Flow
Gradients in Photoshop are not just about color but also direction and scope. One can choose the gradient’s flow using options like Linear, Radial, Angle, Reflected, and Diamond. Each style dictates how the gradient transitions across the canvas—a linear gradient for horizon-like effects or a radial gradient to emulate a spotlight of colors. Select the desired type by clicking on the corresponding icon in the options bar.
Step 5: Apply the Gradient
With the gradient tailored to one’s artistic vision, it’s time to bring it to life. Create a new layer to keep the artwork versatile, ensuring every sweep of color remains editable. Click and drag across the area where the gradient is desired— a line’s beginning determines the start of the gradient, its end the finish. Short drags result in abrupt transitions, while longer drags yield a stretched, gradual change.
Step 6: Adjust and Refine
Art is about iteration, and gradients are no exception. Adjust the applied gradient by changing its layer’s blend mode or opacity, thereby tweaking how it interacts with layers below. Explore options like ‘Overlay’ for a subtle touch or ‘Screen’ for a brighter impact. Tweaking these settings allows the gradient to harmonize splendidly with the existing artwork.
Applying gradients in Photoshop is an intimate dance of color, light, and shadow. It’s an exercise in patience and precision, yet immensely satisfying as the artwork evolves with every stroke. Remember, the undo button is an artist’s secret ally—never hesitate to revisit steps and perfect the gradient until it sings in perfect harmony with the composition. Gradients are more than just a tool; they’re a bridge to expression, leading viewers through an art piece as though on an enchanted journey. Unleash creativity, play with combinations, and let gradients cast a new light upon digital masterpieces.
 Save
SaveCustomizing Gradient Layers
Harnessing the Subtleties of Light: Crafting Sky Gradients with Precision
Art is an adventure, an exploration of the endless possibilities hidden within our imagination. As artists, it is our privilege to wield the digital brush, bending light and color to our vision. However, an artist with a grasp of their tools can elevate their work to celestial realms, especially when painting the heavens in our digital sky. To customize gradients for sky effects, nuanced techniques must be employed—a process that requires both skill and an intimate dance with the subtleties of light.
Before diving into the depths of customization, understanding the character of a sky is paramount. The sky, in its essence, is a tapestry of color—softly blending hues that whisper the time of day. To emulate this, one must first select the right colors for their gradient palette. Begin by studying the real sky, taking note of how the colors change from dawn to dusk.
Once your palette is chosen, attention must be turned to the gradient stops. Adding stops in the gradient bar creates a complex interplay of colors which is essential in capturing the sky’s natural gradient. Position the stops closely for a subtle transition or farther apart for a more dramatic shift, reflecting the vast range of skyscapes from the serene to the tumultuous.
Opacity plays a crucial role in customizing gradients. By tweaking the opacity of individual stops, artists can create a feeling of depth and airiness, key elements in replicating the sky’s ethereal nature. A softer transition from one color to another can be achieved by lowering the opacity, allowing for a more lifelike gradient.
Furthermore, the gradient’s angle and scale should mimic the curvature of the Earth and its impact on how we perceive the sky. By tilting the angle or altering the scale of the gradient, artists can suggest the sun’s position and its effect on the sky’s colors—a technique that adds realism and draws the viewer into the scene.
To achieve the delicate shadings and vibrant highlights of sky effects, layering multiple gradients is an advanced tactic. Each layer can employ different blend modes, such as Overlay, Soft Light, or Multiply, to subtly adjust the lighting and mood. This layering technique can provide additional control, creating a harmonious balance between the warm and cool tones that exist within a single moment of sky-glazed wonder.
Shadows and reflections must also be considered. In the realm of a setting sun or a rising moon, gradients can be placed on different layers to mimic the way light interacts with clouds and the atmosphere. With shadows, consider using darker gradients with reduced opacity, positioned to suggest volume and form within the clouds.
Finally, to breathe life into the sky, add noise and texture. By introducing slight noise to the gradient, the smooth transition will gain a texture that mimics the natural particulates in the atmosphere, further enhancing realism. It’s the minutiae like this that can transform a static gradient into a living stretch of sky.
In the hands of a digital artist, gradients are not just tools but a canvas upon which emotions are displayed in a spectrum of light and shadow. They offer a way to elevate a backdrop into a main character, telling its own story of time and wonder. So let each click and adjustment be precise and deliberate, and may the skies you craft carry the gaze of many into the realms of your own creative universe.
 Save
SaveAdding Realism to Sky Gradients
Adding Realism to Your Sky Gradients in Photoshop: A Palette of Possibilities
When creating a sky gradient that breathes life into digital artworks, one must delve beyond the tools and embrace the essence of the sky’s ever-changing hues. To capture the delicate interplay of light and atmosphere, a few additional touches can turn a simple gradient into a masterpiece of realism.
Firstly, observe the subtleties present in the natural sky. Light dispersion plays a significant role in the sky’s appearance. During sunrise and sunset, colors can bleed into one another, creating soft transitions that a hard-edged gradient cannot replicate. Employ Photoshop’s Gradient Tool to finesse the softness of gradient transitions, adding a slight blur effect where necessary. This small step can have a dramatic impact on the realism of your digital sky by emulating the gentle fusion of hues in nature.
Beyond the softness of transitions, the sky isn’t monolithic; it contains clouds, birds, planes, and other elements that whimsically dance across its canvas. Introduce these elements into your gradient sky by adding separate layers above your gradient background. Use Photoshop’s vast library of brushes, or create custom silhouettes, to gently stamp these details onto your sky, ensuring to vary their size and opacity to achieve depth and authenticity.
Furthermore, color is affected by atmospheric perspective, which suggests that distant objects take on the hues of the intervening atmosphere. You might notice that the horizon is lighter and cooler compared to the vivid, warm colors overhead. To replicate this effect, use the Gradient Tool to overlay a separate transparent gradient stretching upwards from the horizon with cooler tones, subtly transitioning into your warmer sky gradient. Experiment with layer opacities and blend modes such as ‘Overlay’ or ‘Screen’ for the most natural blend.
The time of day captured in your work should also influence the direction and intensity of light. Highlight layers can be applied to simulate sunbeams breaking through cloud cover or the soft glow of dusk. To achieve this, create a new layer, select a soft brush in a lighter color, and gently paint where you envision the light to be the strongest, adjusting the blend mode to ‘Soft Light’ or ‘Hard Light’ for varying effects.
Lastly, remember that realism is rooted in imperfection. To avoid your gradient looking too precise or artificial, introduce subtle variations throughout your sky. Use the Noise filter sparingly to add a textural quality to your gradient, helping to break up any unnatural smoothness. Manipulate this with care; a little goes a long way. Similarly, the Dodge and Burn tools can be employed to further define and add complexity to clouds or bright spots, drawing the observer into a more believable skyscape.
By adopting these techniques, each digital artist not only represents the ethereal qualities of our sky but also infuses their work with emotional resonance. The sky tells a story, from the soft whisper of dawn to the dramatic shout of the sunset; it is up to the creator to listen and translate this narrative into their digital canvas. With Photoshop as a conduit for expression, adding realism to sky gradients is not just an exercise in technical skill, but a gateway to capturing the ineffable poetry of the natural world.
 Save
SaveThe realm of digital skies is as boundless as your imagination, and mastering sky gradients in Photoshop can be an enriching addition to any visual project. Coupled with the tips and techniques discussed, your mastery over choosing the right colors, scaling, transitioning, and additional effects can yield breathtaking and realistic results. Remember, the key to truly captivating sky scenes lies in the subtle blend of artistry and technical know-how. Let the skills you’ve developed serve as a springboard for creativity, guiding you to transform ordinary visuals into mesmerizing spectacles that echo the natural beauty of the world above. Embark on your creative endeavors equipped with these newfound insights and watch your digital horizons expand beautifully.


