
Food is the best light teacher you will ever have
Updated October 2026
This post started life back in 2014 as a quick video recommendation about shooting food with natural light and whatever camera you already own. That advice still holds up, but the post itself deserved better, so here is the full version: a practical guide to making food look as good in a frame as it tastes on the plate.
Quick honesty up front: this site is not a commercial food studio, and you do not need one to learn this. Food teaches light faster than almost any other subject. It sits still while you work. It has texture, color, shine, and shape. And it punishes lazy light immediately, so the feedback loop is instant. If you can light a bowl of pasta beautifully, harder subjects stop feeling mysterious.
Everything below works with any camera. Phone, mirrorless, an old DSLR – the food does not care, and neither does good light.
Light first, always
Most of what makes a food photo work is decided before you touch the camera: where the dish sits relative to a window.
Find a window and turn the room lights off. The most common killer of food photos is the overhead kitchen light. It is usually tungsten or a basic LED panel, it comes from directly above, and it flattens texture while adding a yellow or green cast. Turn it off and move the plate next to a window with indirect daylight. In the northern hemisphere a north-facing window gives soft, consistent light for hours; in the southern hemisphere flip that advice. Any window out of harsh direct sun will do the job.
Side light is your default. Put the dish so window light rakes across it from the left or right. Directional light is what makes texture readable: the crust on bread, the char on a steak, the crumbs on a cake. Texture is a large part of what makes a viewer hungry, and texture is very hard to see in flat, frontal light.
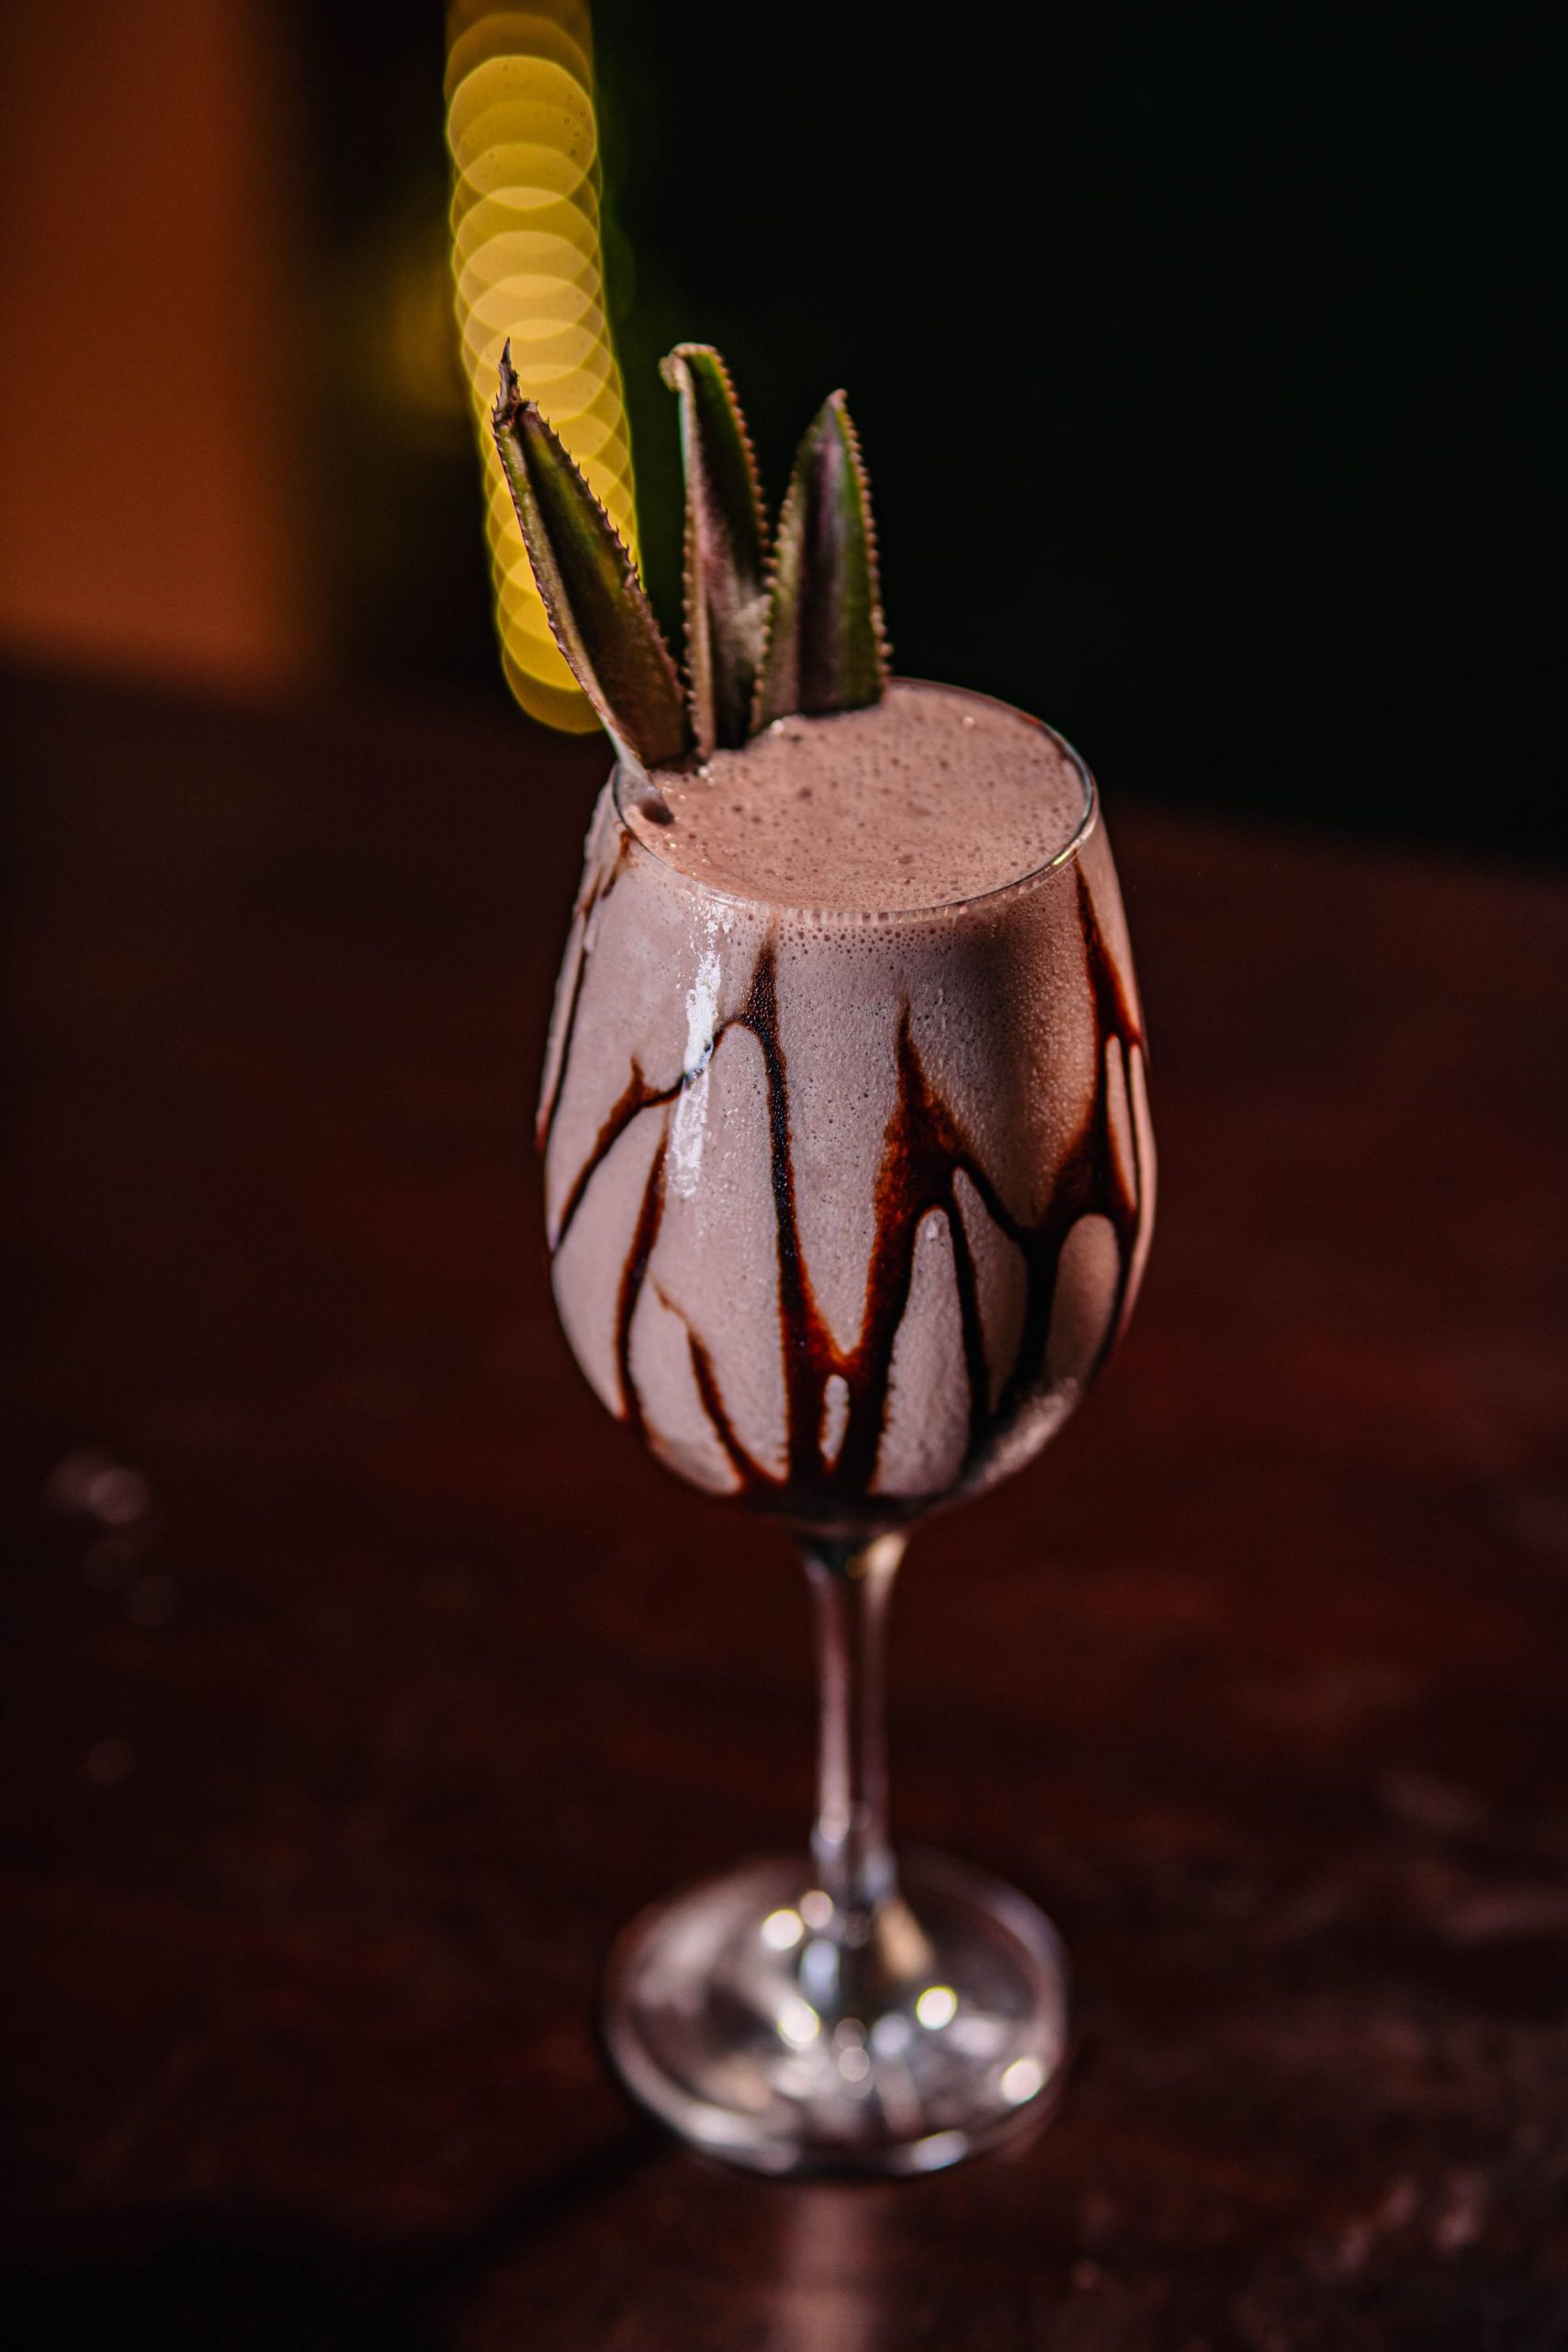
Backlight for shine and steam. Put the dish between you and the window and light wraps over the top of the food. This is the setup that makes drinks glow, glazes shine, and steam visible against a darker background. It is a touch harder to expose, so start with side light and graduate to backlight once you are comfortable.
What fights you: mixed and colored light. Restaurants and bars are lit for mood – saturated fixtures, warm tungsten beside cool window spill. Your camera cannot reconcile two light colors in one frame, and food suffers first because appetizing color is the whole point. If you shoot food out at night, expect to work for clean color.
 Save
The three angles that cover almost everything
Food has three classic camera angles, and choosing between them is a decision about the food, not about your mood.
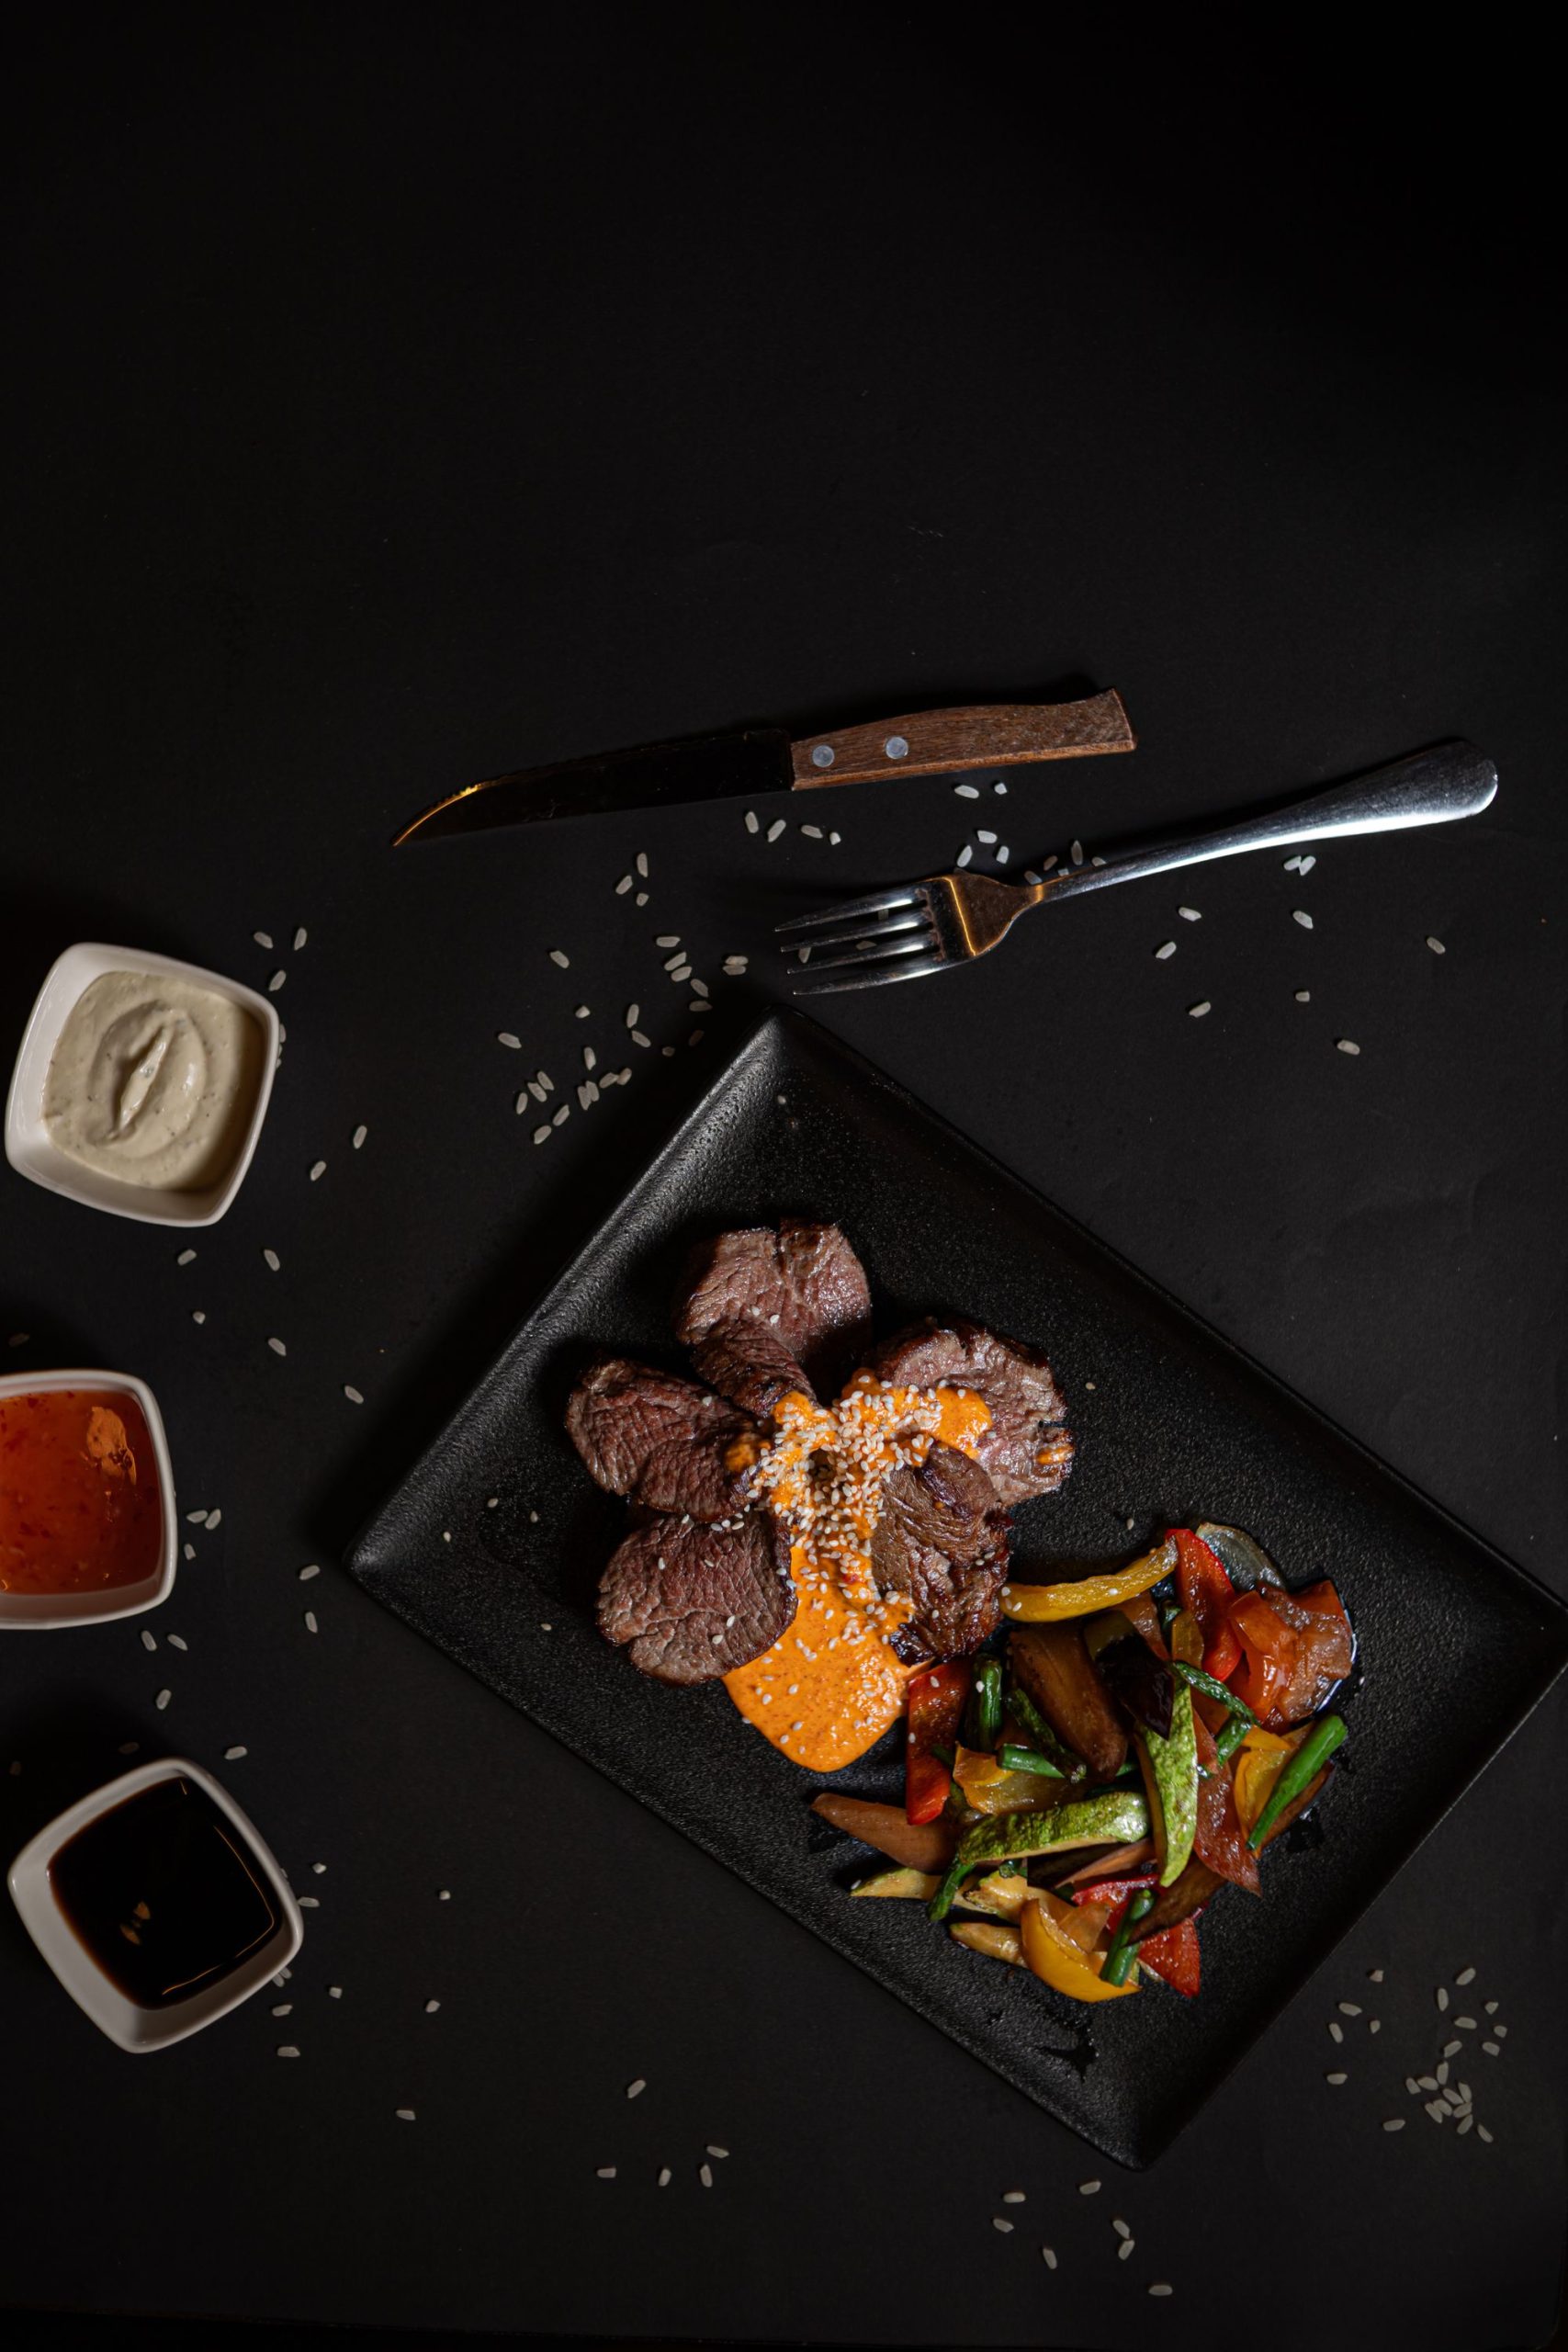
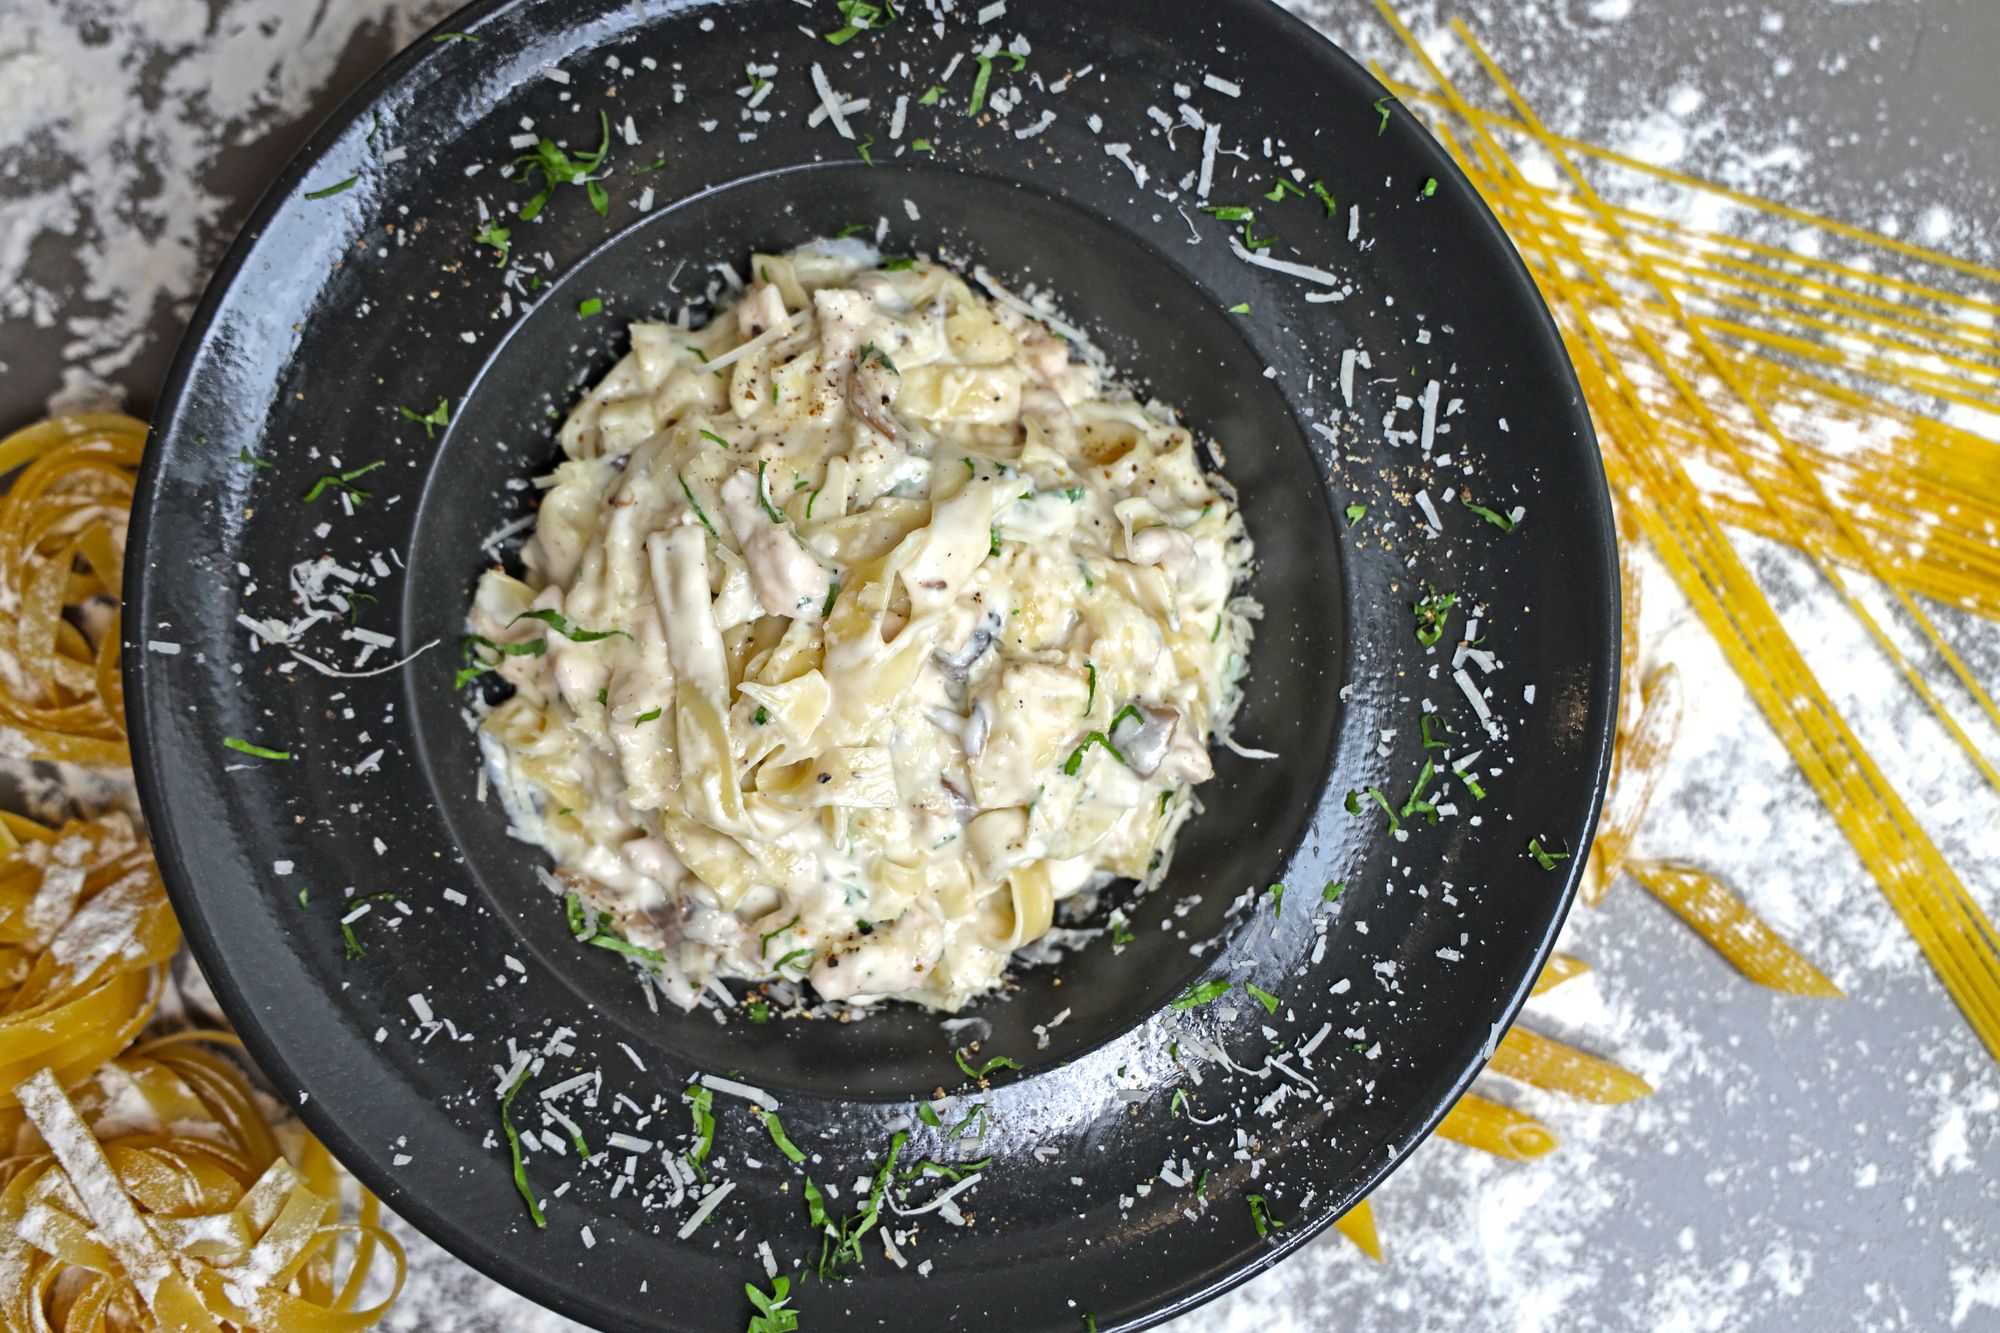
Overhead (flat lay). Straight down, camera parallel to the table. Perfect for anything flat: pizza, bowls of soup, salads, boards, a full spread. Overhead removes depth, which is exactly why it suits flat subjects – color and pattern carry the frame instead. Watch for your own shadow; it sneaks into the frame constantly from this angle.
 Save
45 degrees. The way you actually see food when you sit down to eat it. The most natural, most forgiving angle, and the right default for anything with some height and a side worth showing: a bowl of pasta, a plate of eggs, a drink with a garnish. If you are unsure, shoot 45 degrees.
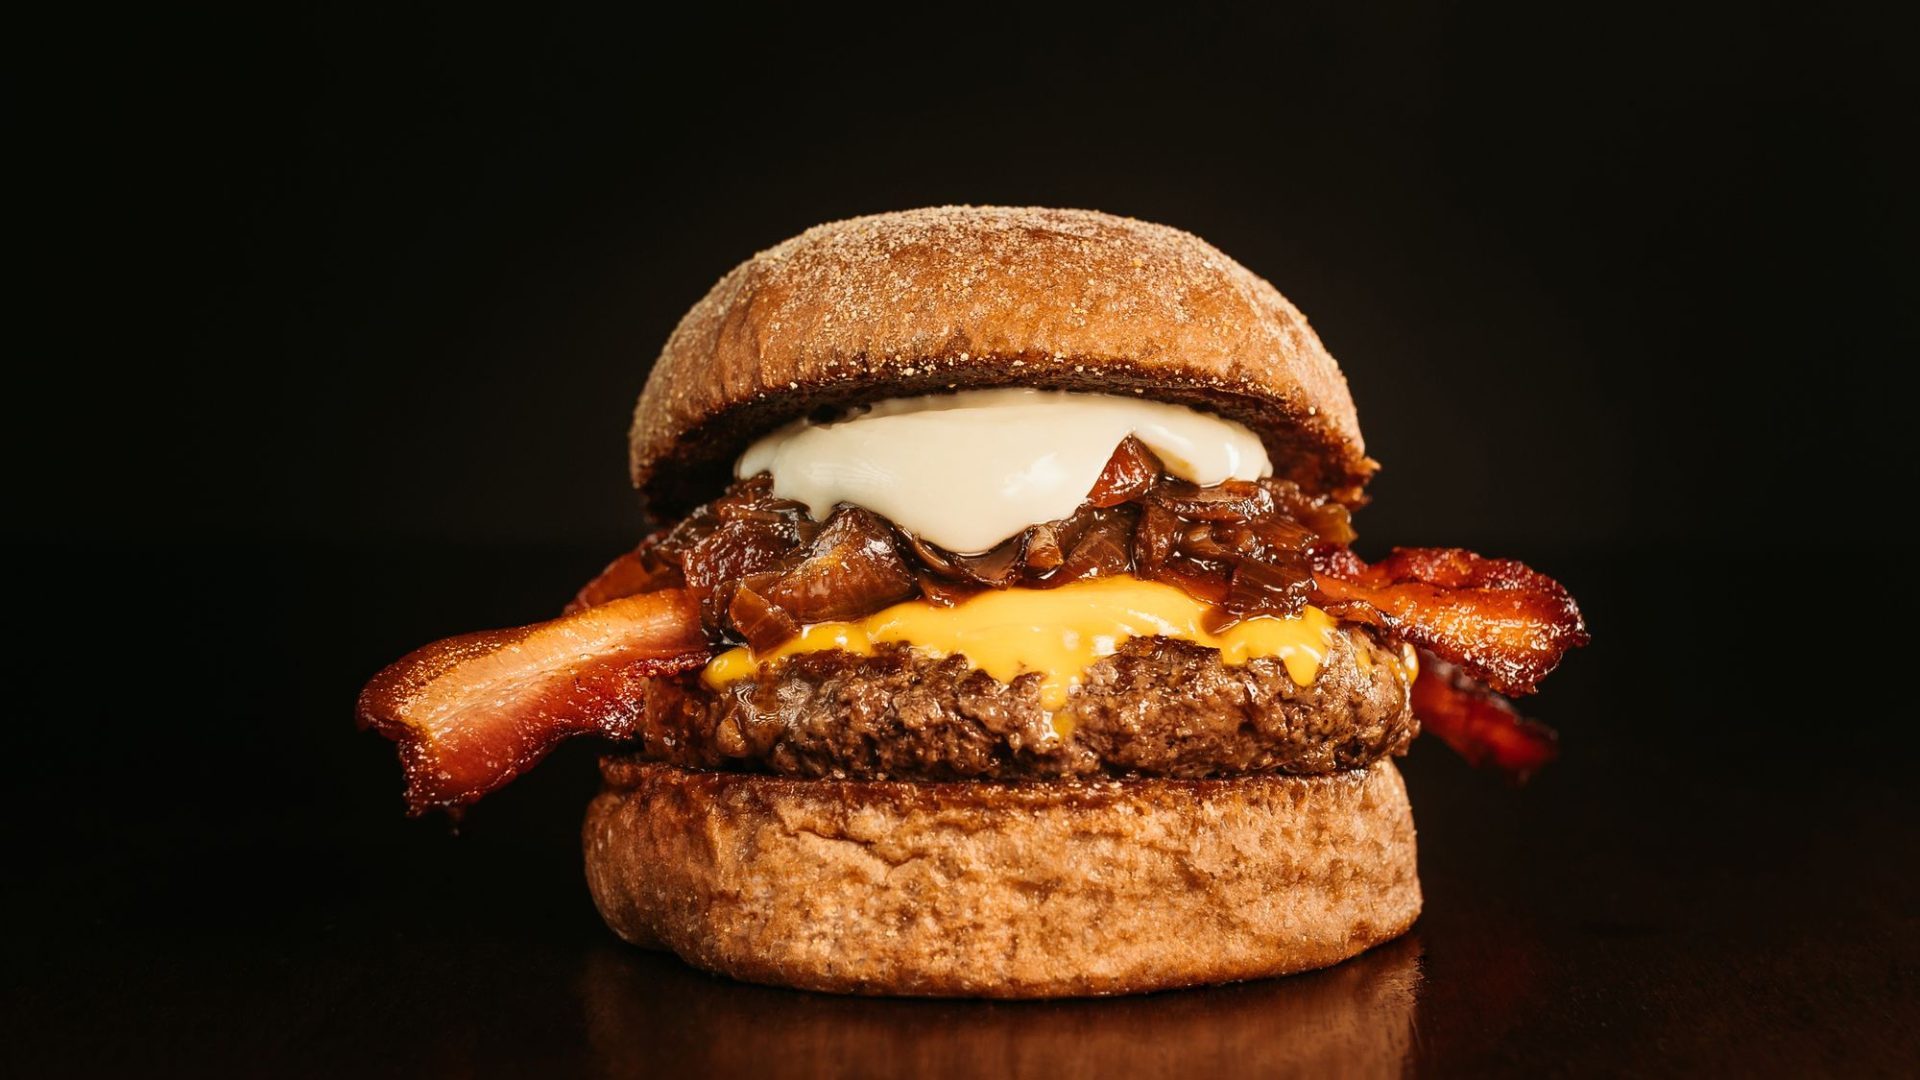
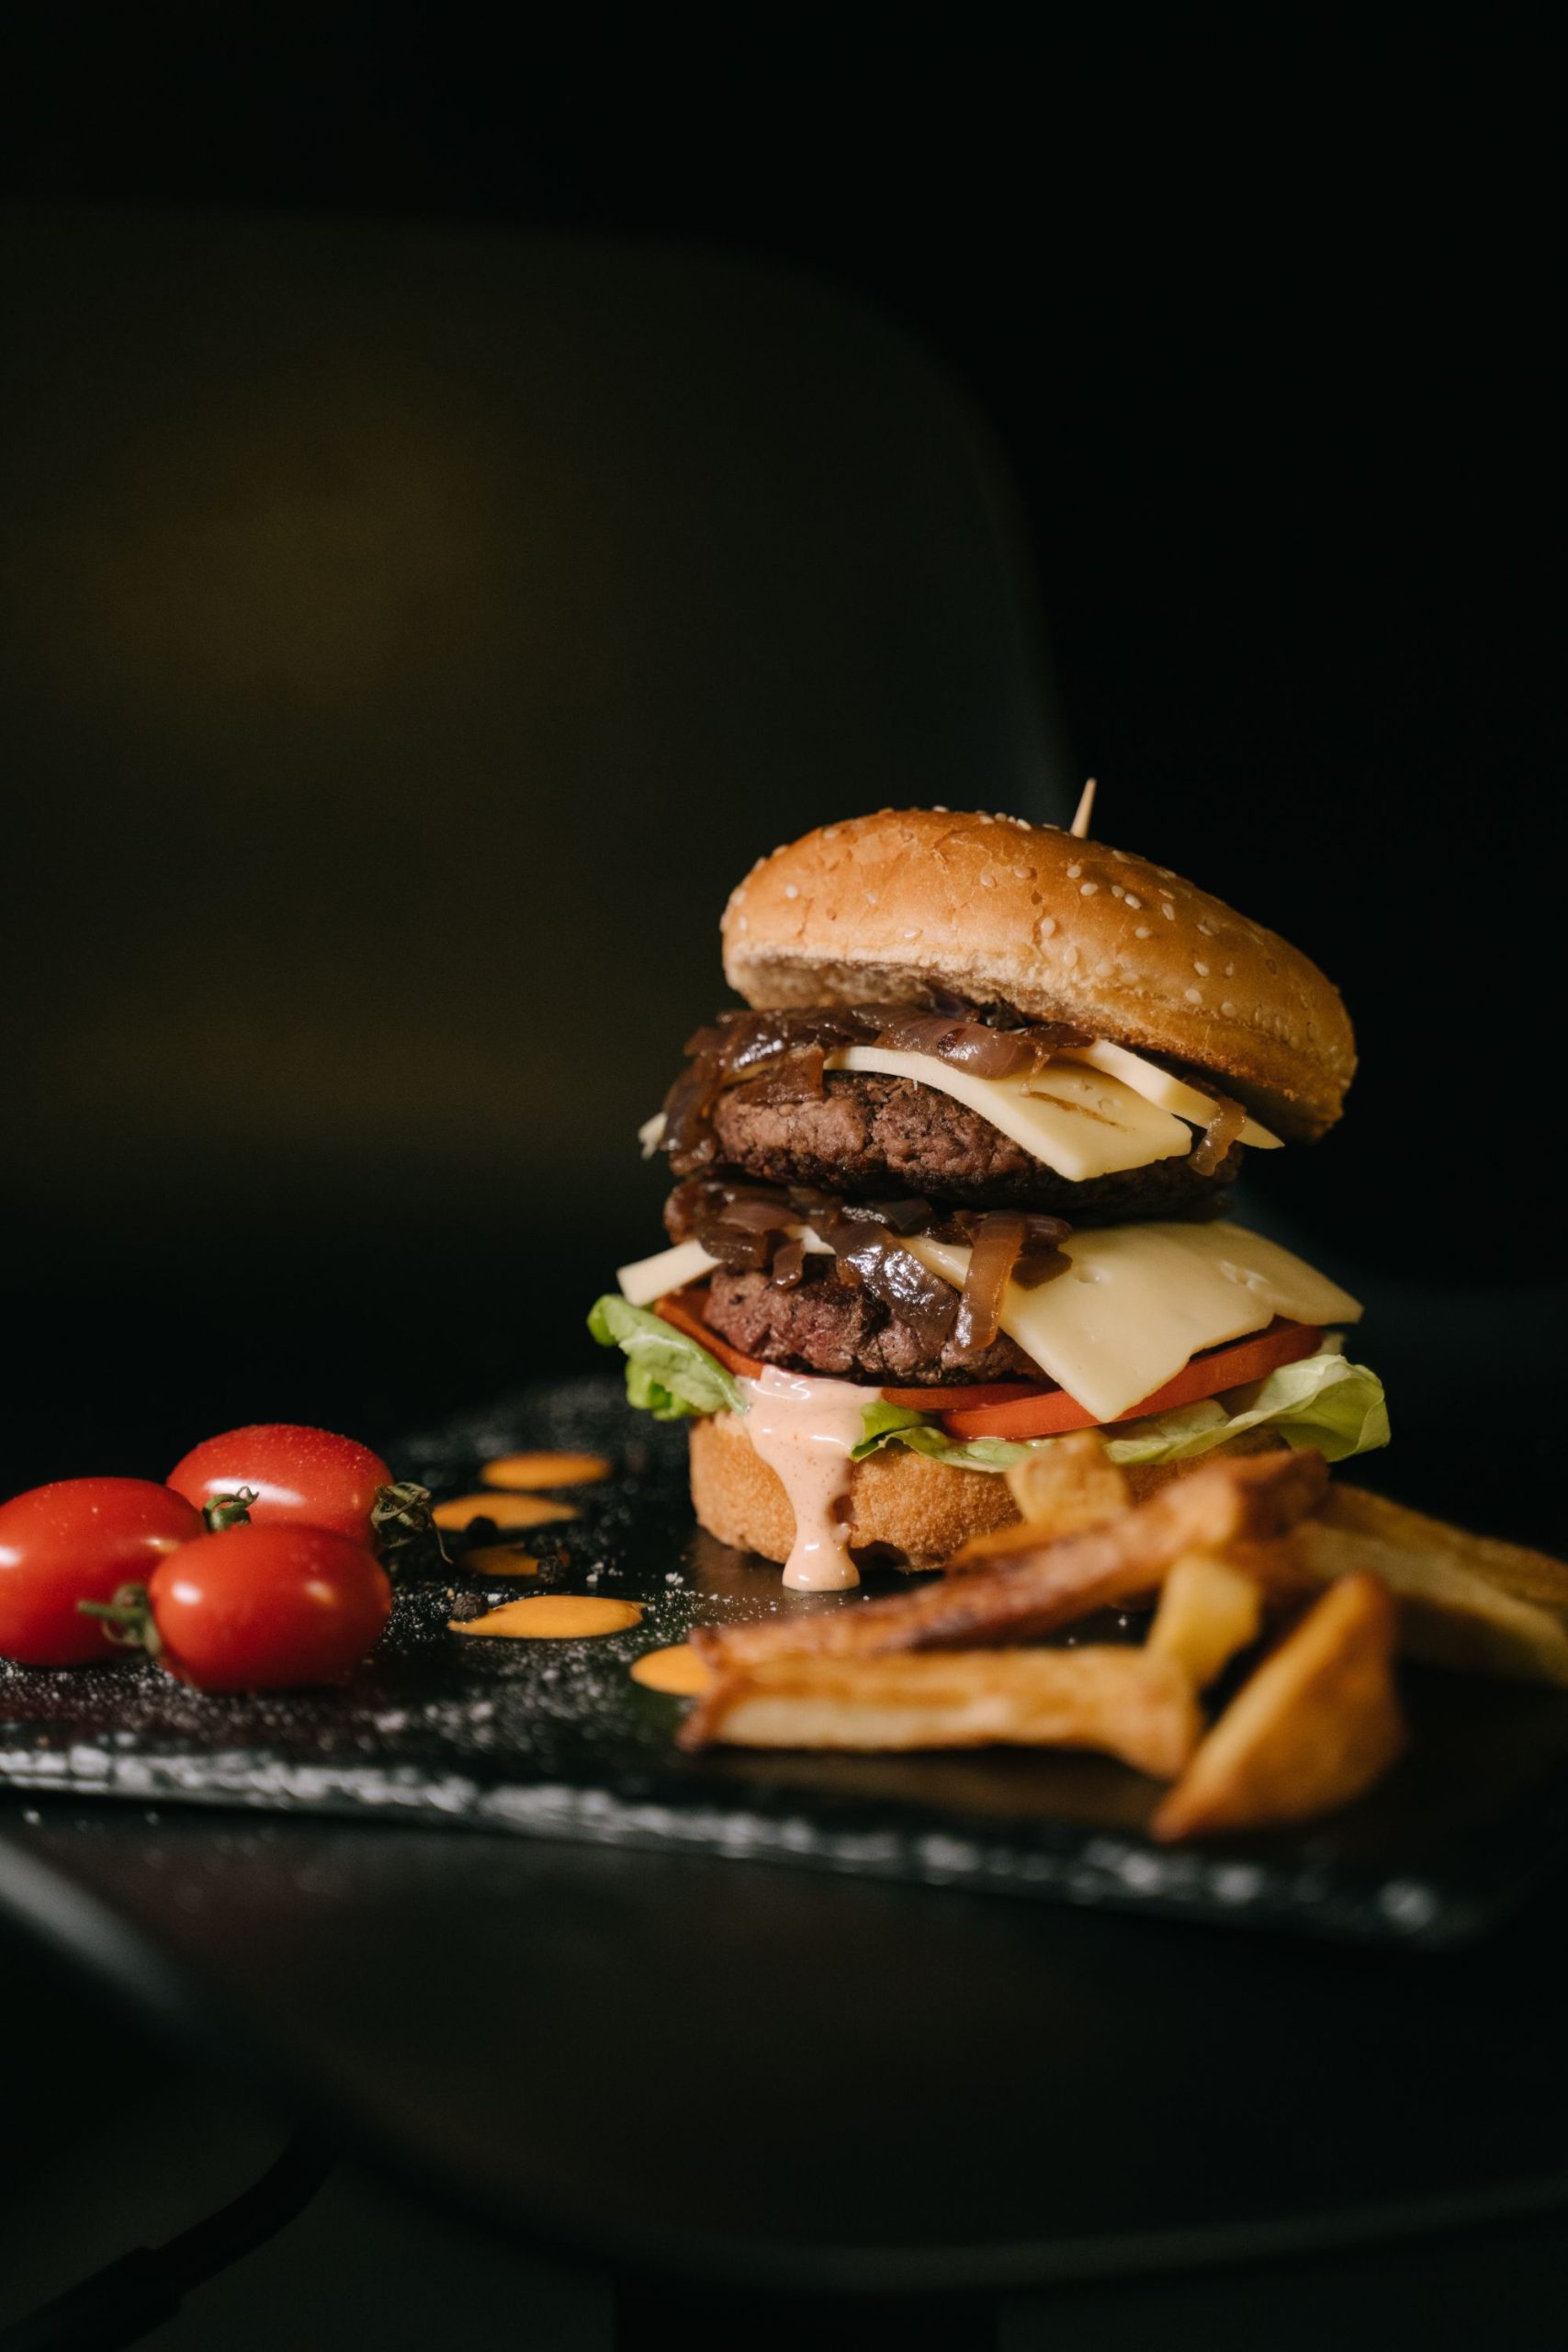
Straight on (table level). Camera down at the level of the food, shooting across. This one is for height: burgers, layer cakes, stacks of pancakes, anything tall you want to feel towering. Get low – lower than feels natural. The drama in a straight-on food shot comes from committing to that low perspective.
A simple field loop that works at any market, bakery counter, or your own dinner table: one wide frame to establish the scene, one at 45 degrees for the subject, one close frame for texture. Three angles, and you will almost always walk away with something worth keeping.
 Save
Styling that does not look styled
The difference between a food photo that makes people hungry and one that looks like a catalog is usually restraint.
Fresh beats fancy. A ripe tomato with water still beading on it beats any prop you can buy. If you are cooking, shoot the best-looking version of what you actually made. Garnish with something that belongs in the dish – the herbs in the recipe, a wedge of what is in the sauce – not random decoration.
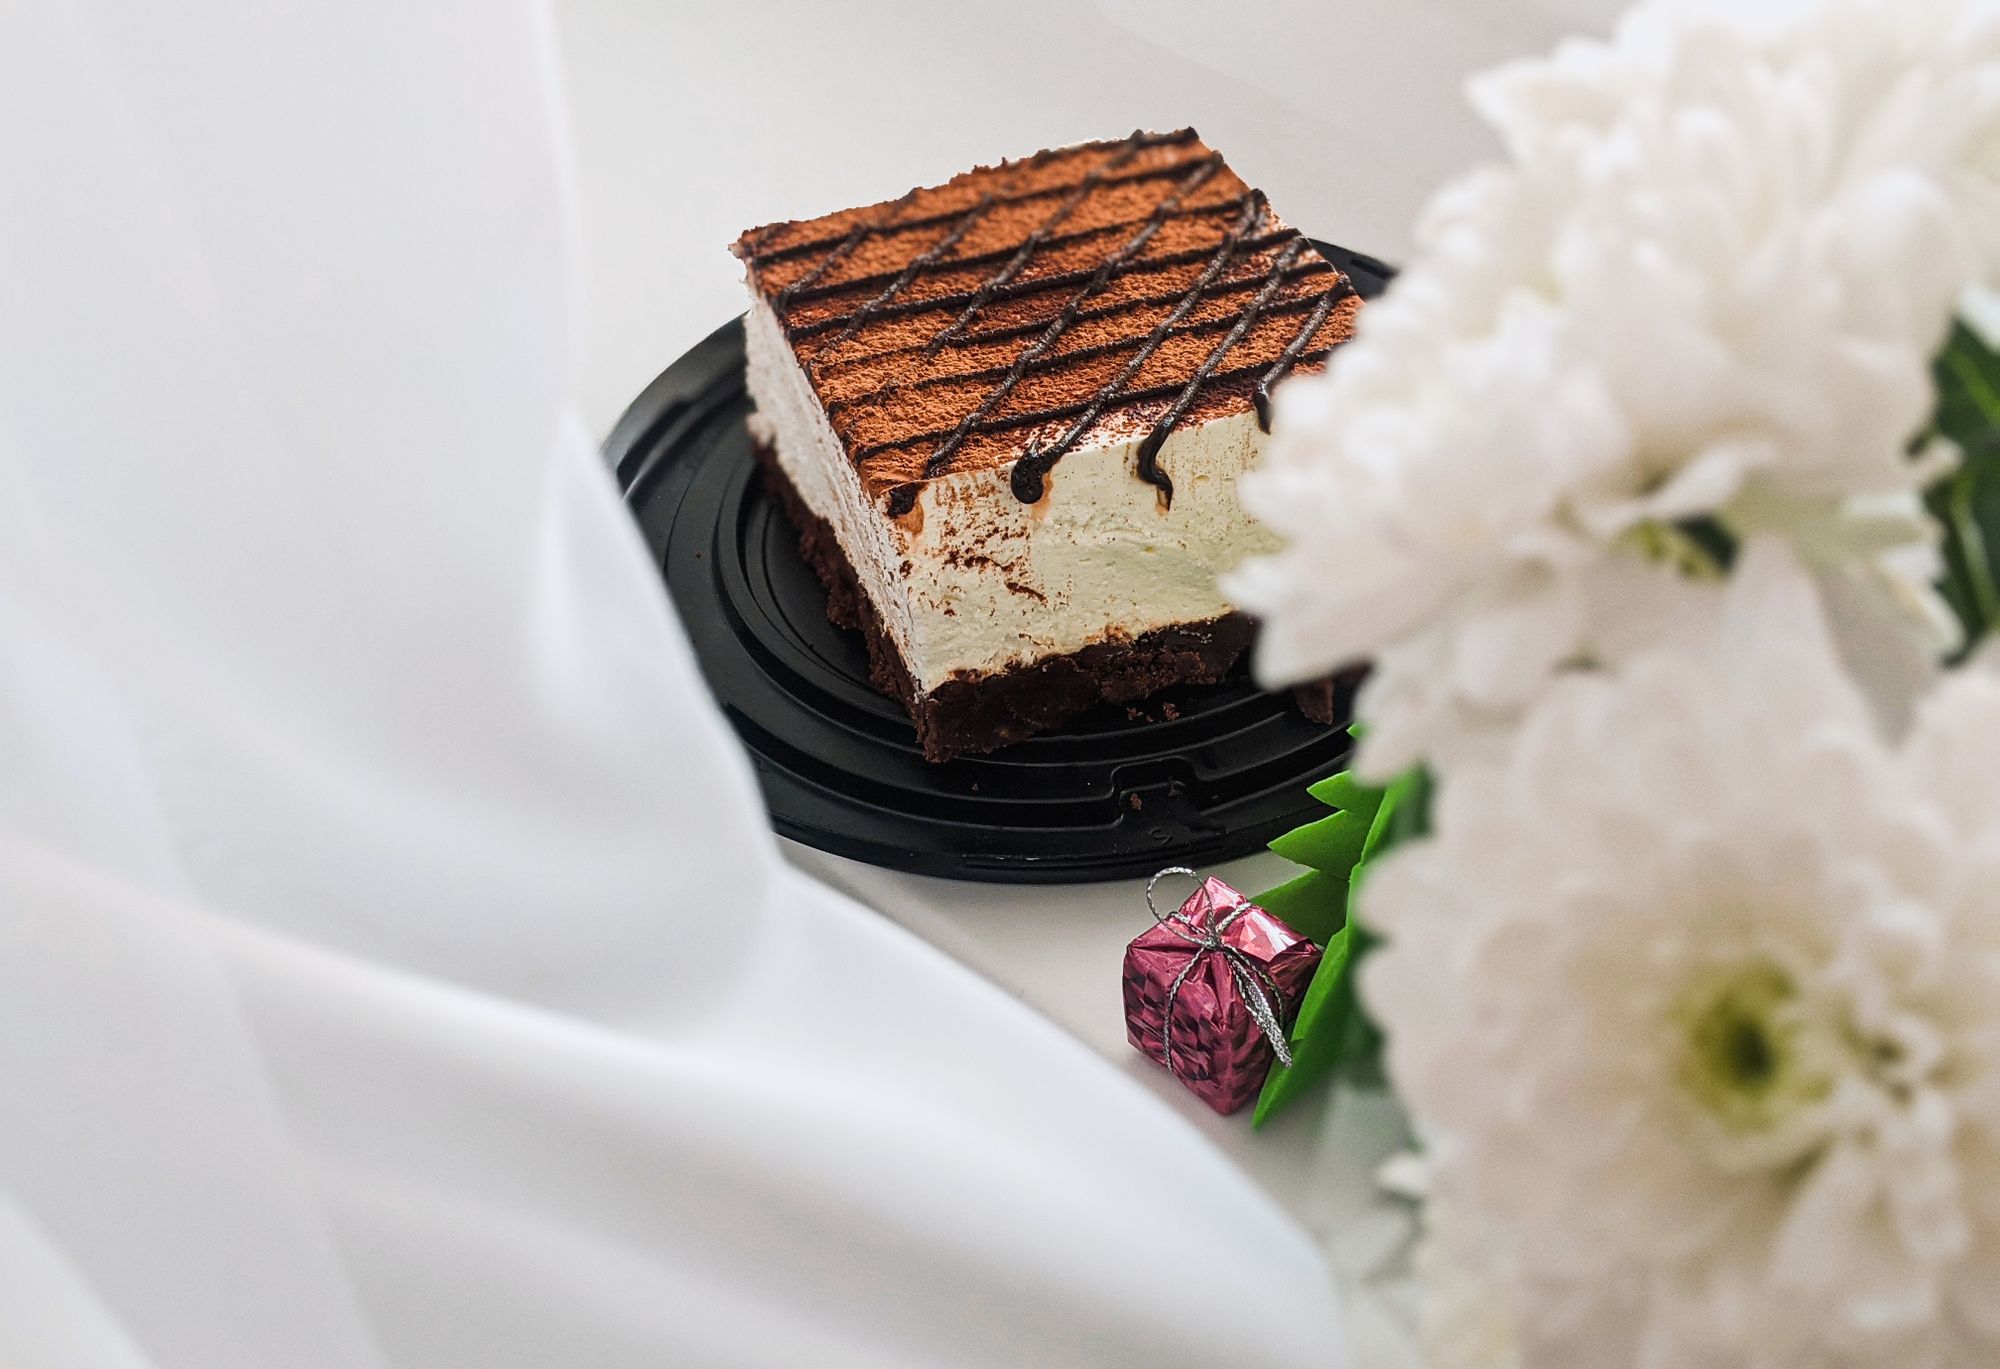
Odd numbers and negative space. Three cookies read better than four. Five shrimp read better than six. And give the dish room to breathe: an empty third of the frame is not wasted space, it is what makes the subject feel placed instead of crammed. This is basic composition doing quiet work – the same composition techniques that carry every other kind of photography.
Add one human element. A hand reaching for the fork, a spoon mid-stir, steam rising off the plate. One sign of life turns a still life into a moment.
 Save
Camera settings that just work
Keep this simple. Food sits still, so you have time, and time means you can shoot deliberately. These are starting points, not laws – let the dish and the light have the final say.
Aperture: start around f/2.8 to f/4 for plated dishes. That range usually keeps the dish sharp while softening the background. Much wider than f/2 and you risk part of the plate going soft, since depth of field gets razor thin at close distances. For overhead flat lays, stop down toward f/5.6 or f/8 so the whole frame stays crisp.
Shutter speed: when handholding, a shutter around 1/125 or faster is a sensible floor for most people. Slower than that near a dim window and camera shake starts creeping in – so when the light drops, put the camera on a tripod instead of gambling. Food is the one subject that will wait patiently while you set up.
ISO: as low as the light allows. Noise shows up first in the soft gradients of a plate and in background blur, exactly where the eye goes. Raise ISO only after aperture and shutter have given what they can. If you want the full rundown on how the three settings trade against each other, read the exposure basics guide and come back – it makes every sentence above click into place.
White balance: do not trust auto near mixed light. A window plus a warm lamp two rooms away can leave a plate half blue, half orange, and no single white balance setting can remove two different light colors from one frame. Fix the light before the setting: turn the lamp off, block it, or move the plate so one source wins, and gel the lamp to match daylight if it has to stay on. Then set a daylight or custom white balance for the light that remains. Shooting RAW gives you more room to fine-tune color later, but it is not a cure for mixed light.
Working the scene: a field example
Markets are the best practice ground there is: the food is already styled by people who sell it for a living, the light is usually interesting, and there is always more happening than one frame can hold. The wide-medium-close loop from the angles section above is built for exactly this. Wide establishes the stall and its world. Medium adds the people working it. Close finds the texture – scales, ice, the shine on fresh catch.
 Save
Run the same loop at home with dinner: one overhead of the full table, one 45-degree frame of the plated dish, one close-up of the crust, the drizzle, the steam. Three frames per meal adds up fast.
Gear that helps (and none of it is required)
Everything above works with a phone or any camera you own – the Kerala market photos in this guide were shot on a Nikon D800 with 14-24mm and 24-85mm zooms, ordinary gear by today’s standards. If you want to add a piece of kit, these are solid current options to compare. Two notes before the list: the Canon picks are RF mount, for Canon mirrorless bodies – other systems have direct equivalents – and prices move, so check current pricing before you buy.
#1: Canon RF 50mm f/1.8 STM
The classic nifty fifty: a small, fast prime that delivers real background blur and bright window-light shooting on any Canon RF-mount body. On a crop sensor it doubles as a tighter lens for detail frames.
| Pros | Cons | ||||||
|---|---|---|---|---|---|---|---|
|
|
Check the RF 50mm f/1.8 at B&H
#2: Canon RF 35mm f/1.8 Macro IS STM
A quiet favorite for tabletop work on Canon RF bodies: it focuses close enough for half-macro detail frames, it is wide enough for full table scenes, and the stabilization helps near dim windows.
| Pros | Cons | ||||||
|---|---|---|---|---|---|---|---|
|
|
Check the RF 35mm f/1.8 Macro at B&H – and for a dedicated close-up option, the 100mm macro guide breaks down the classic pick.
#3: Impact 5-in-1 Collapsible Reflector (42″)
A folding disc with white, silver, gold, and silver-gold covers plus a diffusion panel – it replaces a small lighting kit for window work. Bounce fill into the shadow side of a dish with the white or silver cover, warm a cold scene with gold, or put the diffuser between a harsh window and the food.
| Pros | Cons | ||||||
|---|---|---|---|---|---|---|---|
|
|
Check the Impact 5-in-1 reflector at B&H
Some of the links above are affiliate links, including to B&H Photo. If you buy through them we may earn a commission at no extra cost to you. It keeps the lights on and the guides coming. We only recommend gear that fits the topic.
When the shooting is done, the edit matters more than most people admit. Food color has to look appetizing, not just accurate – if your shots need help there, the guide to cleaning up food photos in Lightroom walks the whole process.
If you want to go further, the Shut Your Aperture Academy has full courses taught by Edin Chavez covering light, composition, and storytelling, with lifetime access to every course. Light is light, whether it lands on a mountain or a meatball – learn to see it once and it pays off in everything you shoot.
Frequently asked questions
What is the best lighting for food photography?
Soft, indirect window light from the side works best for most food photography. It gives the dish direction and readable texture without harsh shadows. Turn off overhead room lights first, since they flatten food and add color casts, then place the dish beside a window out of direct sun. Backlighting through the window also works beautifully for drinks, glazes, and anything with steam.
What angle should I use for food photography?
Match the angle to the food. Shoot overhead for flat dishes like pizza, soup, and salads, where color and pattern matter more than depth. Use 45 degrees, the natural seated viewpoint, for most plated dishes and bowls. Drop to table level and shoot straight on for tall food like burgers and layer cakes, where height is the story. When in doubt, 45 degrees is the safest default.
What camera settings work best for food photography?
A good starting point is an aperture of f/2.8 to f/4 to keep the dish sharp while softening the background, a shutter around 1/125 or faster when handholding, and the lowest ISO your light allows. For overhead flat lays, stop down toward f/5.6 or f/8 so the whole frame stays sharp. Shoot RAW and set a white balance that matches your main light source – and if a scene mixes two light colors, kill or gel one of them first, because white balance alone cannot clean up mixed light.
Do I need an expensive camera for food photography?
No. Food sits still and gives you time, so it is one of the most forgiving subjects in photography. A modern phone next to a window can produce genuinely strong results. Better gear buys you more control in dim light and shallower depth of field, but the window, the angle, and the styling decide far more than the camera does.
What lens is best for food photography?
A 50mm prime is the classic starting point: sharp, compact, and fast enough for window light. For dedicated close-up work, a macro in the 90 to 105mm range is the traditional food lens because it captures tight detail from a comfortable distance, while a 35mm or similar wide-normal prime covers full table scenes. Avoid ultra-wide lenses, which distort dishes up close.
How do I make food look good in photos?
Light it from the side or behind with window light, choose the angle that matches the dish, and keep the styling simple and fresh. Use odd numbers of items, leave some empty space in the frame, and add one human element like a hand or rising steam. Most disappointing food photos fail on light rather than gear, so fix the light before anything else.
Food photographs: licensed Pexels images. These are photographic examples, not images made by Edin Chavez.

