Updated October 2026
Golden hour is the easiest light to love and one of the easiest to waste. The sun drops low, the color warms up, the shadows stretch out, and everyone in range pulls out a camera. Then the window closes in a few minutes and most of the frames look like everyone else’s.
This is the full guide: what golden hour really is, how to know when it happens where you are, how to expose it, how to read the direction of the light, and what to do when the sky gives you something rare. Every photograph below is one of mine, and each one sits next to a lesson about what to look for in that kind of scene. If you want the specific ways golden-hour pictures go wrong, read the companion guide on golden hour landscape mistakes too.
 Save
What golden hour actually is
When the sun sits high, its light crosses a thin slice of atmosphere. Near the horizon the same light crosses far more air. Blue light scatters out along the way and what reaches your subject is warmer and redder. At the same time, more of the light on the scene comes from the open sky, not straight from the sun, so contrast drops and shadows soften. Wikipedia describes that as a kind of natural diffusion, and the low angle also stretches shadows.
Wikipedia gives rough color temperatures of about 5,500 K at midday and about 3,500 K during golden hour, lower right at sunrise or sunset. Treat those as guides. Altitude, latitude, season and weather all move the numbers.
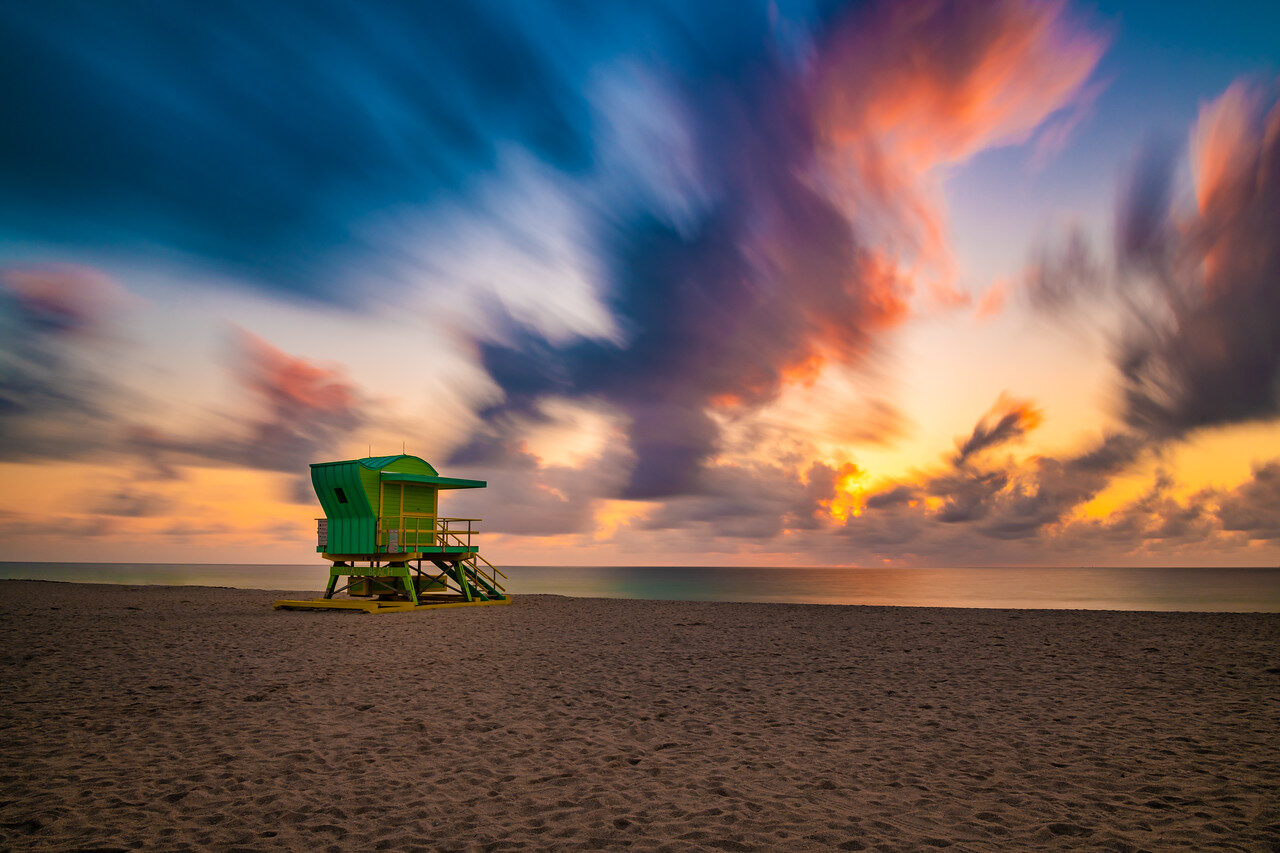
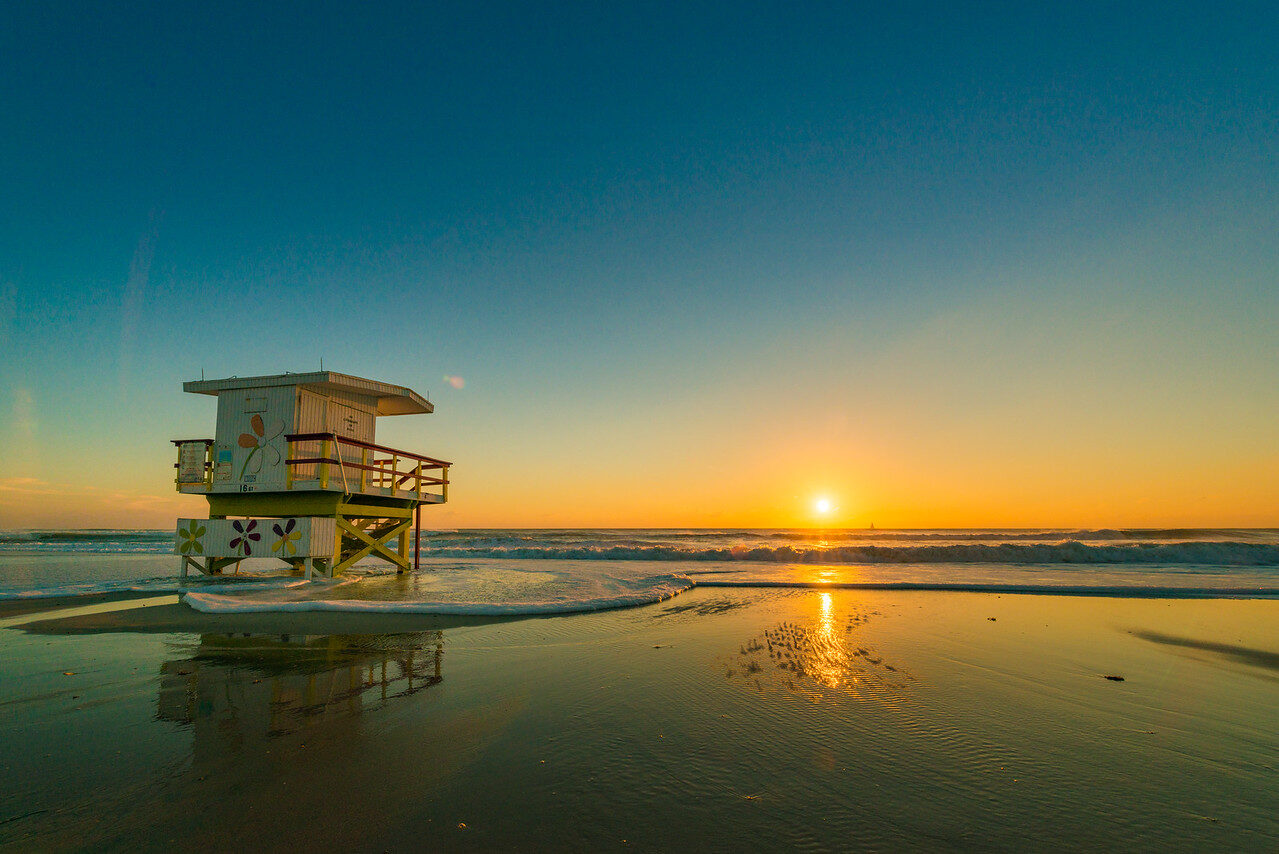
So you get three gifts at once: warm color, soft contrast, and long directional shadows that show off texture and shape. Look at the lifeguard tower above. The tower is simple, the light is warm, and the clouds do the rest. That is the pattern to chase: one clear subject, warm light, and a sky that supports it.
It is not really an hour
The name is figurative. Wikipedia is direct about it: the effect has no clearly defined duration and varies with season and latitude. The look is set by how high the sun is, and how long the sun takes to move through the low part of its path depends on where you are and when.
The same source gives one example. In Los Angeles, an hour after sunrise or an hour before sunset, the sun is about 10 to 12 degrees high. Closer to the equator the sun reaches that height in less than an hour. Farther from the equator it takes more than an hour, and far enough toward the poles the sun may never climb past 10 degrees at some times of year, so the light stays golden all day.
Do not trust a rule that says “one hour”. Check the sun’s actual path for your date and place, then trust your eyes when you get there. The warm, soft, directional quality is what you want, and it fades gradually instead of switching off.
Plan it before you leave
Golden hour punishes improvisation. Photographer Tina Tryforos, quoted in Adobe’s golden-hour guide, makes the point that what happens ten minutes from now will be radically different from the last ten minutes. You do not have time to figure the scene out once the light starts.
Use a sun-position tool. Apps such as PhotoPills and Photo Ephemeris show where the sun will rise or set, how long the golden and blue hours last on a given date, and how the light will fall on the landscape. Check the weather too. Adorama’s planning guide says you want a gap between the horizon and the clouds, so the low sun can light the clouds from below. Heavy cloud closing on the horizon can mean no warm light at all.
Scout the location earlier in the day or on another day if you can. Pick a subject that will still be there when you return, such as a pier, a rock, a tree line or a building, and decide where you will stand.
 Save
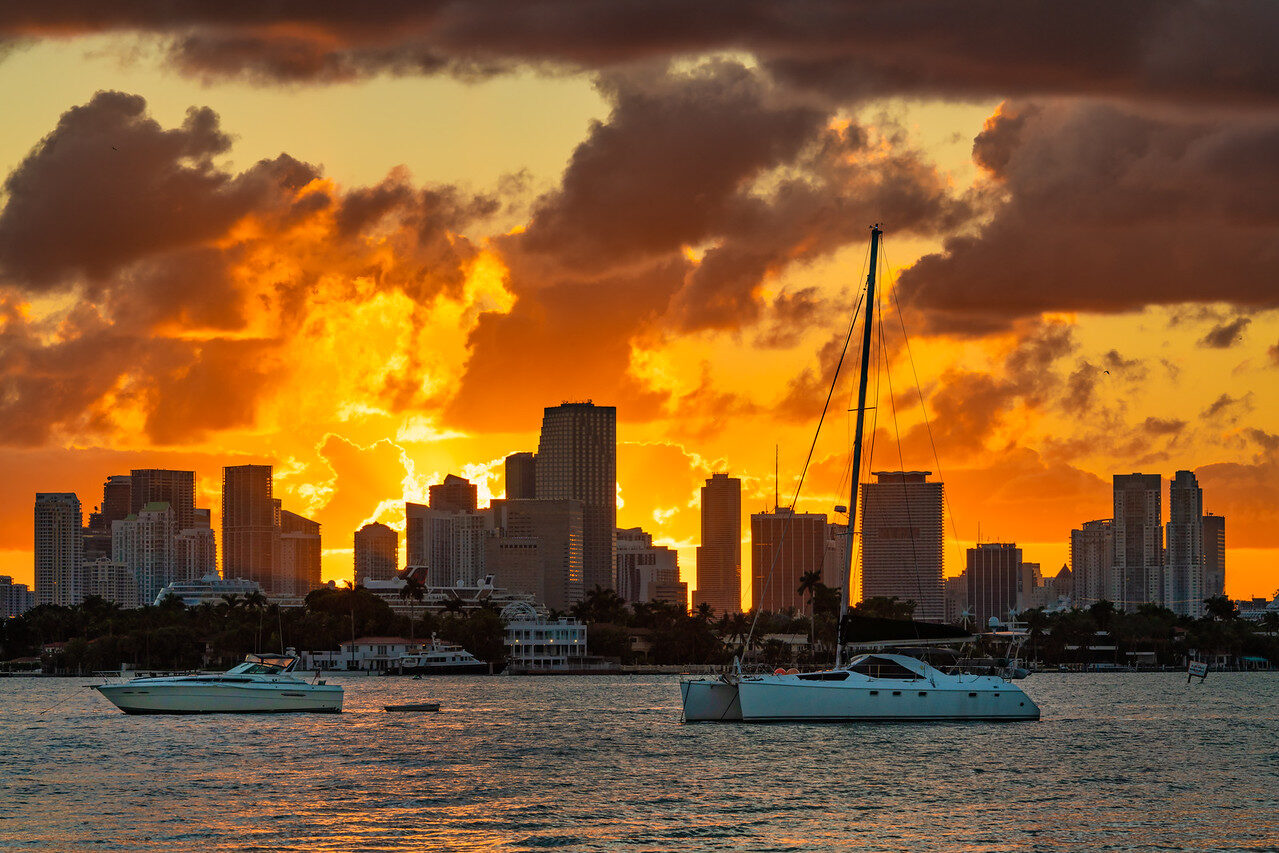
Lesson from this frame: give the sky a floor
A colorful sky is not a photograph by itself. In this frame the water, the boats and the skyline give the color somewhere to land. Notice how much of the frame the water takes up and how low the boats sit. When you scout, look for the same three layers: a foreground element, a middle band, and the sky. If one is missing, the frame usually feels empty.
Direction of light: front, side and back
Where the sun sits relative to you matters as much as how low it is, and golden hour is good at all three directions.
Front light puts the sun behind you and lights the scene evenly with warm color. It is the safest choice and works for buildings, faces and open landscapes. It can look flat if the scene has no depth.
Side light rakes across the subject and draws out texture, shape and shadow. It is the direction that makes sand, rock, water ripples and architecture look three-dimensional.
Backlight puts the sun in front of you. Rim light, glow, haze, silhouettes and sun stars live here. It is also the hardest to expose because the sky is far brighter than the subject. Colby Brown, quoted by PetaPixel, treats the direction of light as an overlooked creative tool in its own right.
Walk around your subject before you set up. A few steps can turn a flat frame into a good one.
 Save
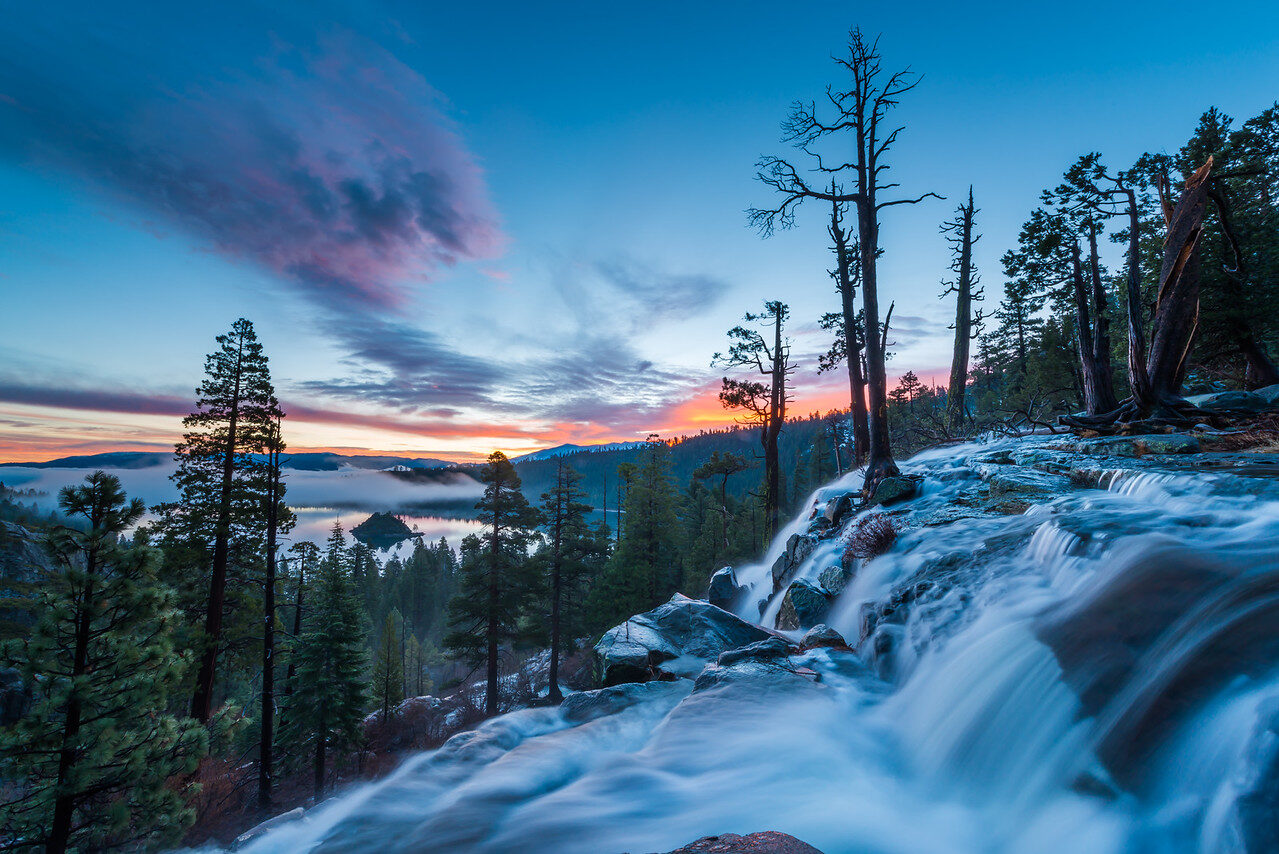
Lesson from this frame: let the foreground carry the scene
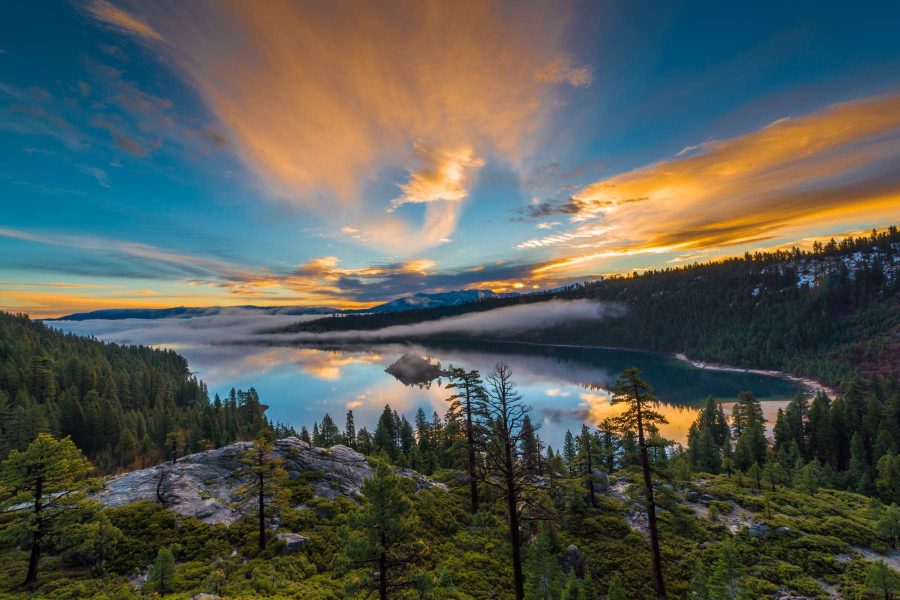
Here the rushing water in the foreground leads the eye up past the pines to the sky, and the soft dusk colors stay behind them. When you shoot a scene like this, decide what your frame edges will include before the light peaks. A rock, a rope or a stream placed on purpose adds depth. The same object placed by accident adds clutter. Check each corner of the frame and move a few steps until the edges are clean.
Exposure: protect the highlights, then decide on the shadows
The sky near the sun is much brighter than the ground. Your camera cannot record both perfectly in every scene, so you have to choose.
- Shoot RAW. A RAW file keeps far more highlight and shadow information than a JPEG, and white balance stays adjustable. PetaPixel’s feature on Colby Brown notes that golden-hour dynamic range is often extreme, and a JPEG can crush shadows or blow highlights beyond recovery.
- Watch the histogram and the highlight warning. If the brightest part of the sky is clipped where it matters, reduce exposure. Dark areas can often be lifted later. Blown highlights usually cannot be brought back.
- Use exposure compensation or manual mode. In backlit scenes automatic metering often gets fooled. Take a test frame, look at it, and adjust.
- Bracket when needed. If one frame cannot hold both sky and foreground, shoot a series at different exposures on a tripod and blend them later in software such as Lightroom, as Adobe’s guide suggests.
Starting settings
These are starting points, not rules. Every one of them is a trade, so change one setting and note what it costs.
| Scene | Start with | The trade-off |
|---|---|---|
| Still landscape on a tripod | Low ISO, aperture around f/8 to f/11, shutter speed set by the exposure | Slower shutter speeds blur anything that moves, such as water, clouds or leaves. That can be the look you want or a problem. |
| Moving subject, such as waves, birds or people | Raise the shutter speed first, then add ISO or open the aperture to make up the light | A higher ISO adds noise and a wider aperture reduces depth of field. |
| Backlit subject | Expose for the sky for a silhouette, or expose a little brighter and lift the subject later from a RAW file | Exposing for the subject can blow out the sky. Exposing for the sky turns the subject into a shape. |
Low light does not mean you must raise the ISO. On a sturdy tripod a longer exposure at base ISO is often the better trade for a still scene.
White balance
Auto white balance often cools the scene down and weakens the warm color you came for. Shooting RAW removes the pressure because you can set white balance later. Still, try a warmer preset in the field so you can judge how the scene is supposed to look, as Adobe’s guide covers. Be careful about pushing too far in editing. A sky that looks believable usually beats one that was dialed up.
 Save
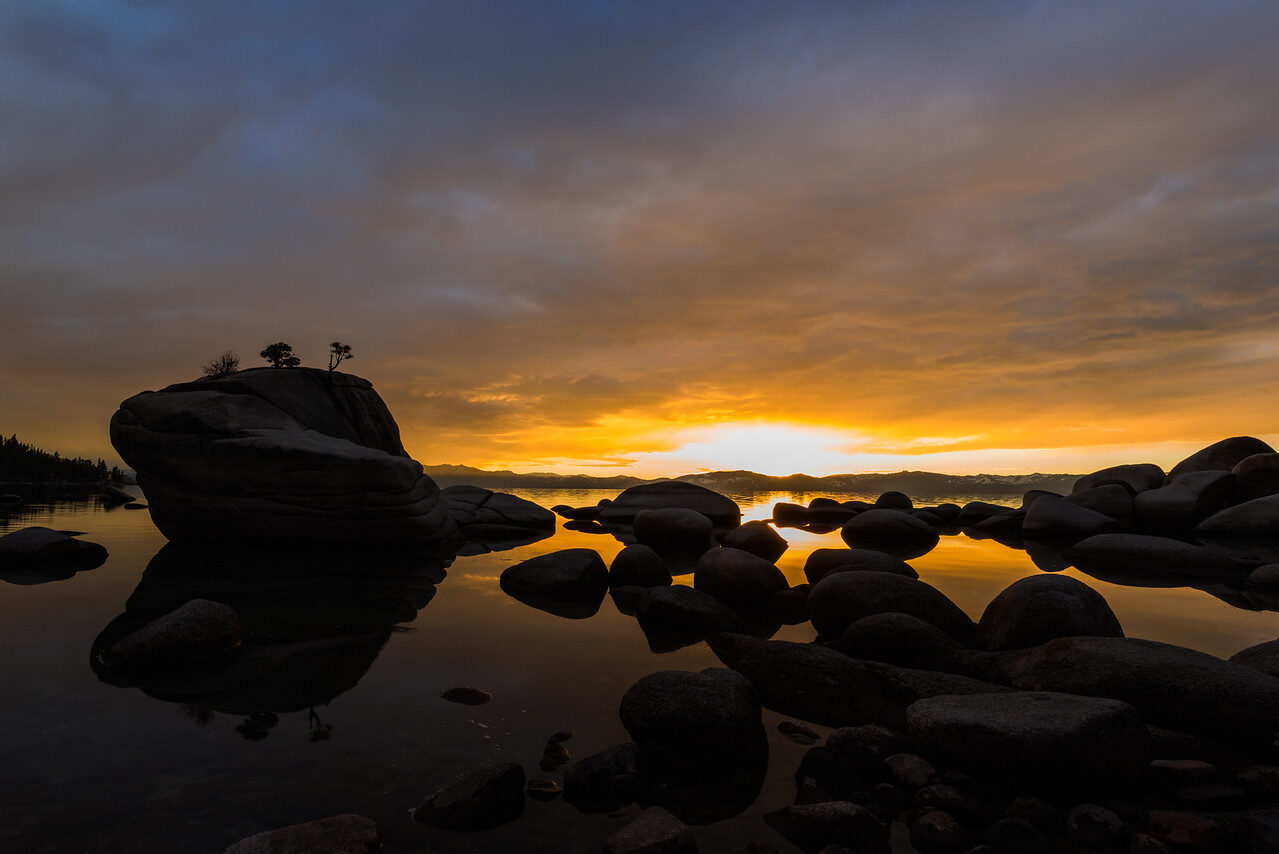
Lesson from this frame: silhouettes are about shape
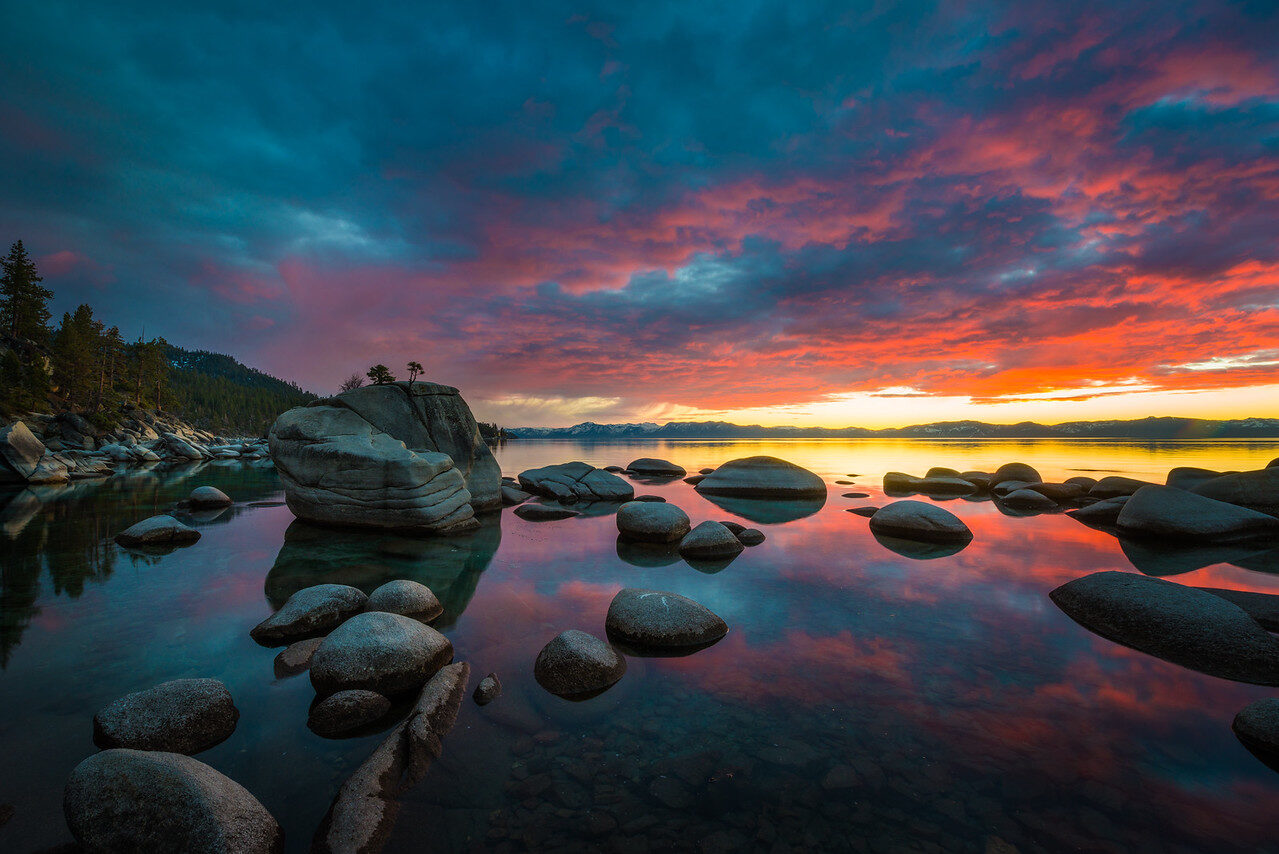
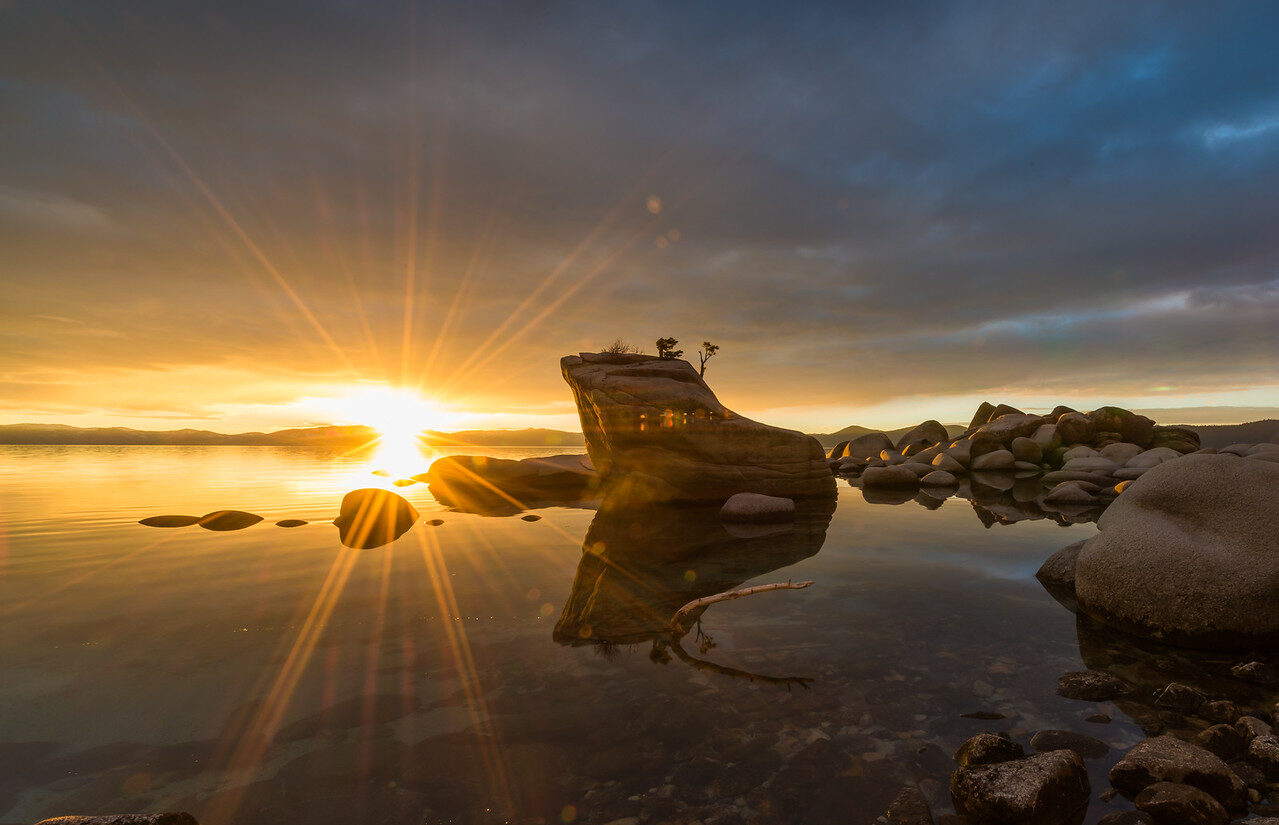
When the sky is the story, expose for the sky and let the subject go dark. Colby Brown argues that a good silhouette can be more powerful than a perfectly lit portrait because it strips away detail and leaves shape and color. In this frame the boulders are the shapes, and the glowing sky and its reflection do the rest.
Before you press the shutter, check that the outline reads. Two trunks merging, a branch growing out of a head, or a railing cutting through a boat will weaken the frame. Move your feet until the shapes separate.
Flare, sun stars and glow
Lens flare used to be treated as a defect. It can also add warmth and the feeling of being there. If you want a clean image, use a lens hood, keep the front element clean, and shift the camera slightly to change where the flare falls. If you want a sun star, partly hide the sun behind an edge such as a tree line or a ridge and stop the lens down. Colby Brown suggests roughly f/11 to f/16 for that effect.
 Save
 Save
Lesson from this frame: backlight and reflections
The low sun beside the tower throws a bright reflection across the wet sand and keeps the tower in soft shade. Look at where the brightest part of the sky sits in the frame and where it sits in the reflection. A reflection is a second chance at the same color, and it often handles contrast better than the sky itself. Check the histogram here, because the sun is the first place a highlight will clip.
Longer lenses, and the sun as a subject
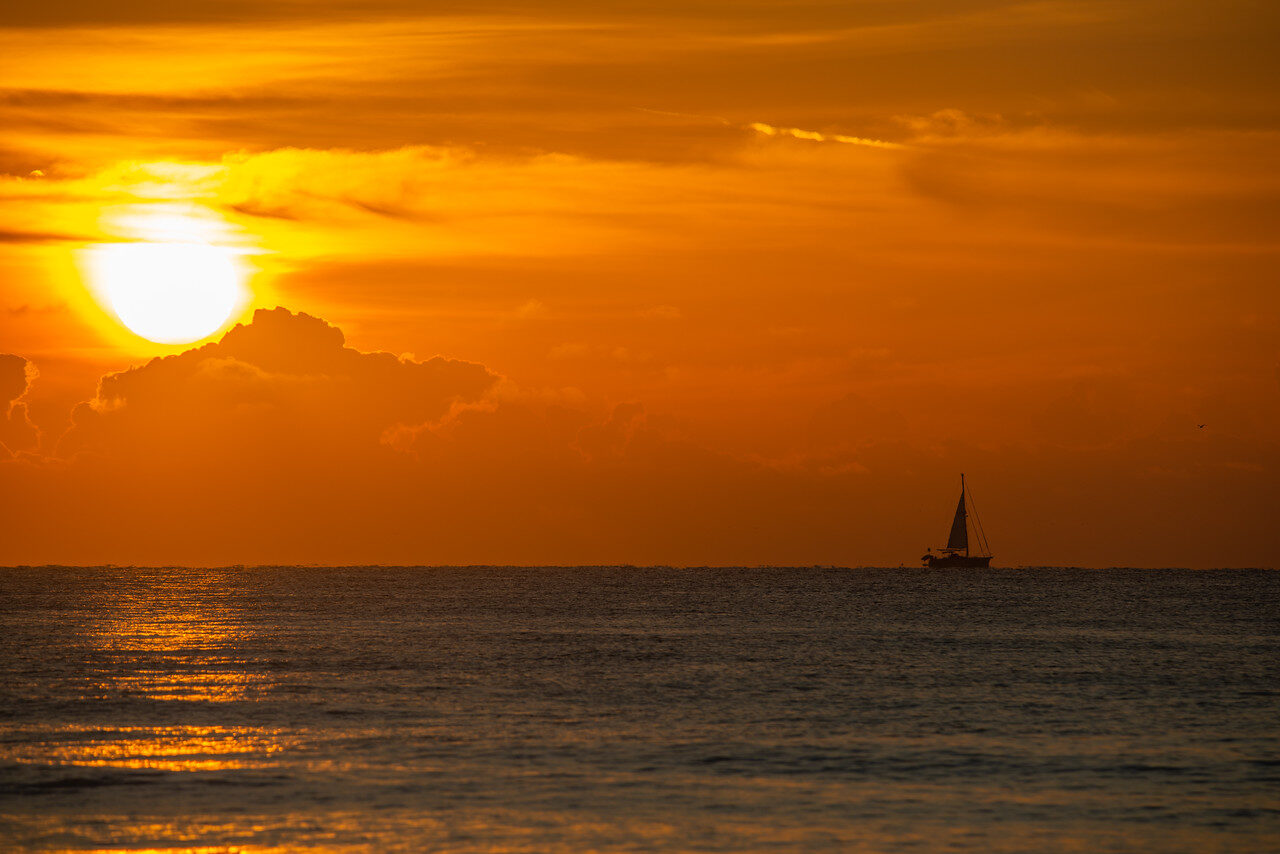
Many photographs of a big sun over the sea or a skyline are not only about the lens. They are about distance. When you stand farther from your foreground and zoom in, the sun looks larger relative to the things in front of it. If you stay in the same spot and only change focal length, you are just changing the framing. So if you want a big sun, think about where you stand first and which lens second.
The sun is also where the risks are highest. Nikon’s manuals warn against viewing the sun or another bright light source directly through the lens, and say that doing so could cause visual impairment. Canon’s guidance says not to look through the viewfinder at strong light sources such as the sun on a bright day. The camera has its own risks, separate from the eye risk. Nikon says not to leave the lens pointed at the sun because the light focused by the lens can damage internal parts, and Canon support says that pointing the camera toward the sun or another intense light source may damage the image sensor or internal components. Read your own camera and lens manuals for the safety guidance that applies to your gear, and put the lens cap on between shots.
 Save
Lesson from this frame: keep it simple
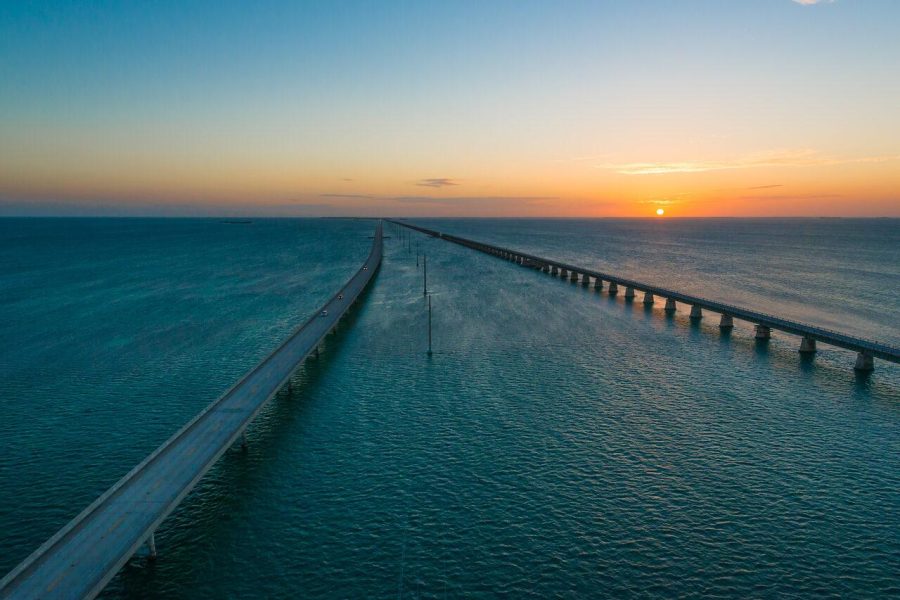
One horizon, one sailboat, one sun. The frame works because there is almost nothing in it. When the light is this strong, resist adding more. Leave empty space around the subject, keep the horizon level, and let the color do the work.
Light pillars and sun pillars
Occasionally the sky gives you more than color. A sun pillar is a narrow column of light that appears to rise straight up from the sun, and sometimes down from it, near sunrise or sunset. Atmospheric Optics explains that pillars are not real vertical rays but the collective glints of millions of ice crystals, and EarthSky adds that they form when sunlight reflects off falling ice crystals in thin, high cloud. Atmospheric Optics says they can be 5 to 10 degrees tall and occasionally taller, and take the colors of the sun and clouds.
If you want to see what one looks like, EarthSky’s community gallery includes a sun pillar photographed at sunset in York, Maine, on December 2, 2022 by Russell Hume. Pillars align with the sun, so look in the sky directly above or below it. They are uncommon. Plan the photograph so it works without one, and treat a pillar as a bonus.
After the sun goes down
Do not pack up when the sun disappears. The sky often keeps changing for a while, and sometimes the color gets better. Golden hour has no hard edge. Wikipedia’s definition includes the period shortly after sunrise and before sunset, and the last warm light can linger on clouds for a while after the sun drops out of sight. As the sun sinks further below the horizon, the light shifts toward cooler blue-hour twilight. Where one ends and the other begins is a judgment call, so describe what you see instead of trusting a clock. Adorama notes that blue hour can be quite short, and its length depends on latitude and season.
 Save
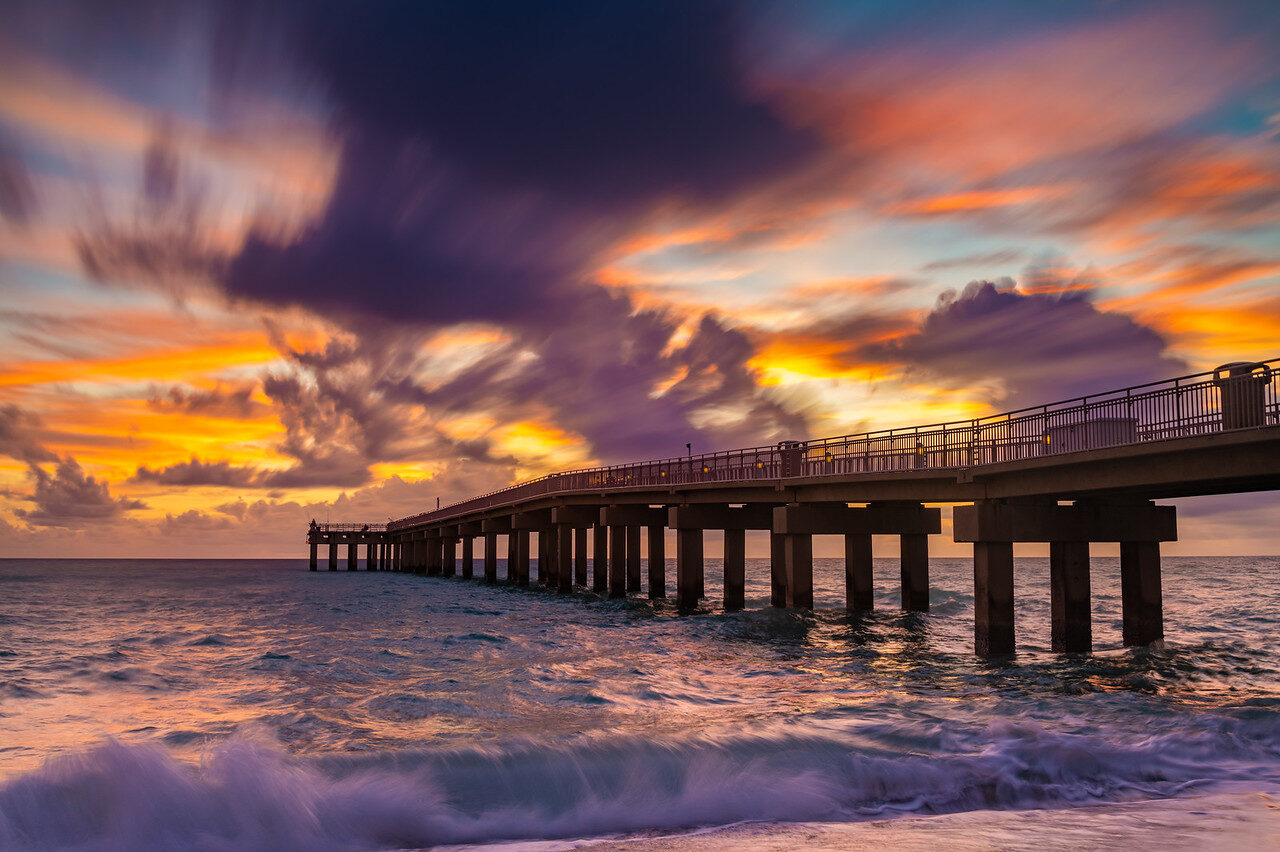
Lesson from this frame: slow the scene down
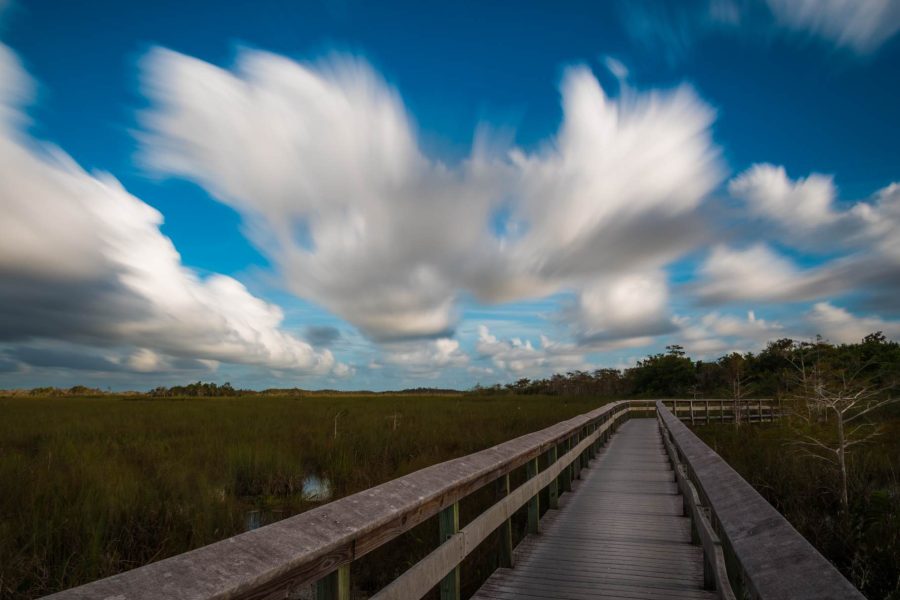
When the light drops, exposures get longer. A tripod becomes essential, and anything that moves, such as clouds or water, shows up as blur. In this frame the clouds streak across the sky while the pier stays still. That contrast is the point of the picture. A pier, a jetty or a row of posts gives the eye something steady to hold while everything else moves.
A golden-hour field checklist
- Before you go: check the sun’s direction and the weather, and pick a subject and a position.
- On arrival: set up early, clean up the frame, and take a test shot.
- As the light changes: re-check the histogram and the highlights every few minutes.
- If the contrast is too high: choose between a silhouette, a bracket, a filter or a different angle.
- Keep an eye on the sky: watch for glow and color on the clouds, and for any pillar above or below the sun.
- After the sun is gone: keep shooting, and recheck exposure for twilight.
- In the edit: protect the color you saw and keep the highlights believable.
Golden hour photography Q&A
When is golden hour for photography?
Golden hour is the warm, low-angle light just after sunrise and just before sunset. It has no fixed length. The time the sun takes to climb or drop to a given height depends on your latitude and the season, so check the sun’s actual path for your location and date instead of assuming a full hour.
What camera settings work best for golden hour?
There is no single recipe. For a still scene on a tripod, a low ISO and an aperture around f/8 is a sensible start, then you adjust shutter speed to the light. Raise the shutter speed when you need to freeze moving water, leaves or people, and trade ISO or aperture to make up the difference. Shoot RAW and check the histogram for clipped highlights.
What is a light pillar or sun pillar?
A sun pillar is a narrow vertical column of light that can appear above or below the sun when it is low, near sunrise or sunset. It forms when sunlight reflects off flat, falling ice crystals in high, thin cloud. Atmospheric Optics notes pillars can be 5 to 10 degrees tall and sometimes higher. They are uncommon, so treat one as a bonus, not a plan.
Can I photograph golden hour on a cloudy day?
Yes, with different expectations. Thick overcast hides the sun and can leave the light flat, but a gap near the horizon can light the underside of clouds with warm color. Thin high cloud can help. Heavy cloud sitting right on the horizon can block the warm light entirely, so watch the gap and be ready to move.
Is blue hour the same as golden hour?
No. Golden hour is the warm, low-angle light around sunrise and sunset. Blue hour is the cooler twilight before sunrise and after sunset, when the sun is below the horizon. The two blend into each other with no sharp line, and warm color can linger on clouds after the sun is gone. Blue hour is often shorter than people expect, and it usually needs a tripod and a slower shutter speed.
How early should I arrive for golden hour?
Arrive before the light is good, not when it starts. Time to find a subject, set up the tripod, clean up the edges of the frame and take test shots is what separates a planned photograph from a scramble. Many photographers aim to be set up well ahead of sunset or sunrise and keep shooting after the sun is gone.
Keep building your photography skills
For a structured next step, explore the Landscape Photography Course at Shut Your Aperture Academy. The course page lists modules on understanding light, camera settings, exposure and planning and scouting, which are the skills this guide leans on. The page asks you to sign in or create an account to get started, so check the Academy for current access options.
Recommended gear for golden hour
Start with the camera and lens you already own. These are topic-matched options to compare, not a record of gear used for the photographs above.
- Benro MeFOTO RoadTrip Pro aluminum tripod, Pacific Blue: a travel-support option for slow exposures and brackets. Check your setup’s weight and stability in the actual conditions.
- Nikon NIKKOR Z 24-70mm f/4 S lens: a standard zoom for Nikon Z-mount cameras. It is not a universal camera fit; check your mount before buying.
- Nikon Circular Polarizer II, 72mm: an optional filter for a lens with a matching 72mm thread. Turn it while watching the reflection; removing all reflection may work against the photograph.
Affiliate disclosure: this article contains B&H affiliate links. If you buy through them, Shut Your Aperture may earn a commission at no extra cost to you. The recommendations are not claims of hands-on testing.
Sources: Wikipedia on golden hour, Adobe’s golden-hour guide, Adorama’s planning guide, PetaPixel’s Colby Brown feature, Atmospheric Optics on pillars, EarthSky on sun pillars, and safety guidance from Nikon and Canon (sensor and internal components). Checked October 2026. Photographs: Edin Chavez.