Featured photograph: A camera and computer workspace, used as a general illustration rather than a software demonstration. Photo by Çağla Kunduzcu via Pexels (Pexels license, source, Pexels License). (Stock photo, illustrative.)
The Develop module in Lightroom Classic can accumulate a long stack of open panels down the right side. An editing session can then involve scrolling past controls you rarely touch. Lightroom Classic lets you decide which panels appear, what order they sit in, and how the interface behaves while you work. This guide covers that desktop workspace, not the separate cloud-based Lightroom application. Start with a small change and check the result before changing more settings.
Original date September 27, 2016. Updated November 2026.
Why this matters more than it sounds
Editing is a chain of small judgments, and it helps to have a clear view of the photograph while making them. Too many open panels can mean more scrolling and less room for the image. A shorter visible list is worth testing if you repeatedly lose your place while moving between controls. Treat the arrangement as a practical choice, not as a guarantee of better edits or faster work for every photographer.
A familiar workspace can also make it easier to return to an unfinished edit. Keeping commonly used controls in predictable places reduces the need to remember where you moved them. That does not mean the arrangement must stay fixed forever. Revisit it when your work changes, and keep a way to restore the default order if an experiment makes the interface harder to use.
The one-step cleanup: Solo mode
If you change only one thing, make it this. Solo mode limits the panel group to one open panel at a time: open a panel and the one you were using closes itself. Your eyes stay on the photo instead of managing a tower of scrolling sections, and other visible panel headers remain available when you need a different control.
To turn it on, right-click (Windows) or Control-click (Mac) any panel header and choose Solo mode from the menu. The same setting exists as a keyboard modifier: Alt-click (Windows) or Option-click (Mac) the disclosure triangle in a panel header to toggle Solo mode. Adobe notes that Solo mode applies independently to each set of panels, so the left and right panel groups behave separately – and a solid triangle in the panel header tells you Solo mode is off.
This single change can turn the Develop module from a scroll-fest into something closer to a tidy desk: one tool open at a time, everything else folded away and waiting. It also plays well with every other tip in this article – Solo mode plus a trimmed, reordered panel list is a combination worth trying before adding more workspace changes.
 Save
Hide the panels you never use
The right panel group in Develop includes controls such as Basic, Tone Curve, Color Mixer, Color Grading, Detail, Lens Corrections, Transform, and Effects. Look at which panels you actually open. If you do your noise work elsewhere and rarely open Detail, hiding it can shorten the list without removing its existing adjustments.
To hide a panel, right-click (Windows) or Control-click (Mac) any panel header in the group, then choose the panel name in the menu to remove its checkmark. The same menu brings it back whenever you want it – nothing is uninstalled, just tucked away. A lean panel list means every panel you can see is one you use, which makes the whole module faster to scan.
Rearrange the panel order to match your workflow
Hiding panels trims the list; reordering makes it yours. Lightroom Classic lets you customize the order of Develop panels, so the sequence down the right side can mirror the sequence of your edit. To do it, right-click (Windows) or Control-click (Mac) any right-side panel header and choose Customize Develop Panel, then drag the panel names into the order you want in the dialog that opens and click Save. Confirm when asked, then relaunch Lightroom Classic to see the new order. The same Customize dialog is where you can show or hide panels with their checkmarks. A common logic is chronological: Basic first, then Tone Curve, then color work, then Detail, then the occasional Lens Corrections and Effects at the bottom. But there is no official order – if you live in the Tone Curve and barely touch Basic, put the Tone Curve on top.
The point is not a specific arrangement. Choose a starting order, try it on real photographs, and keep it only if finding the next control becomes easier. Check the names and available panels in your installed version rather than assuming every screenshot or older tutorial has the same panel list.
 Save
Get the interface out of the way
Panel management is half the story. The other half is making the whole interface step back while you judge a photo:
- Tab shows or hides both side panel groups at once – a quick way to see your photo big without losing your place.
- Shift-Tab toggles all panels, including the side panels, the Filmstrip, and the Module Picker. Nearly the entire interface folds away and only the photo remains.
- Lights Out dims or blacks out the workspace so the photo stands out on screen. Press L to cycle through the three options (normal, dimmed, black), or choose Window > Lights Out. The dim level and screen color are customizable in the Interface preferences.
- Screen modes: choose Window > Screen Mode and pick Normal, Full Screen With Menubar, or Full Screen.
These sound like small things, and individually they are. Together they mean the interface is only there when you are actively reaching for a control, and gone when you are looking at the picture – which is most of what “organized” feels like in practice.
 Save
Two more quiet wins
The panel on/off switch. Panels with an On/Off control show a small icon in the header. Clicking it temporarily turns off that panel’s settings – a way to compare the effect of your Tone Curve or Detail adjustments, without resetting anything. Use it when you want to inspect one panel’s contribution rather than compare the entire edit with the original.
The toolbar. The toolbar under the image can be hidden or customized in the Library and Develop modules to include the items you need. If you never use the tools it offers, reclaim the vertical space; if you use one or two constantly, keep exactly those. The same philosophy as the panels: visible things should be used things.
Auto-hide, if you like a clean screen
Right-click (Windows) or Control-click (Mac) the Show/Hide Panel Group icon at the outside edge to choose panel behavior. Auto Hide & Show displays the group as the pointer approaches the outside edge and hides it when the pointer moves away. Auto Hide hides it when the pointer leaves, but requires you to open it manually. Manual turns off automatic showing and hiding. Try the behavior on a small screen, then keep the option that causes fewer accidental openings during your work.
 Save
If a panel seems to have disappeared
Check whether you hid the panel itself or the whole panel group. If the side groups are missing, try Tab to bring them back. If the group is visible but one panel is absent, open a panel header’s menu or Customize Develop Panel and restore its checkmark. After changing the panel order, save and relaunch when prompted. These are workspace changes, not a reason to reset the photo’s edits.
A practical starting setup
If you want a concrete starting point rather than principles, this sequence works well:
- Turn on Solo mode (right-click a panel header).
- Consider hiding a panel only if you can still find it easily when an occasional important check needs it.
- Reorder what is left so it matches your actual editing sequence, top to bottom.
- Learn three keys: Tab, Shift-Tab, and L.
The aim is to reduce repeated searching during later editing sessions. An organized workspace will not make a bad edit good, but it can remove some daily friction: scrolling, hunting and opening the wrong panel. Allow time to test the result rather than treating the first arrangement as a permanent solution.
For structured study beyond workspace setup, explore the Shut Your Aperture Lightroom editing course. Check the linked page for current lesson contents, access requirements and terms before enrolling. For the specific panel controls discussed here, the Adobe sources below provide reference instructions.
A word on presets and profiles while you are tidying
Workspace organization does not require deleting presets, profiles or photographs. Keep this session focused on which controls you can see and reach. If you later decide to manage saved presets or change catalog storage, handle that as a separate task with appropriate backups and instructions. A hidden panel and a removed file are different things; do not use one process as a substitute for the other.
Keeping it organized
Revisit the layout when a repeated problem appears. If you keep scrolling past an unused panel, consider hiding it. If you regularly restore a hidden panel, leave it visible. Base the decision on your work rather than on a rule that every rarely used control must disappear. Keep final-check panels easy to find even when they are not part of every adjustment.
Start with the workspace you actually use
Before moving anything, open a representative photograph and write down the controls you reach for during a normal edit. Include the steps that happen only near the end, such as checking detail or comparing a finished version. Do not reorganize around a tutorial’s screenshot if your own sequence is different. The goal is a shorter route through your work, not a workspace that looks impressive when every panel is closed.
Use a small test rather than changing every interface option at once. Try Solo mode first, then decide whether a shorter panel list would help. After that, consider reordering. If you hide panels, change their order, alter screen modes and enable automatic hiding together, it becomes harder to tell which change helped and which caused a missing-control problem. Reversible, separate choices are easier to evaluate.
A screenshot or short note of the starting layout can be useful for your own reference. It is not a backup of a catalog or a record of every application preference, so do not treat it as one. Record the panels you hide and the order you intend to use. That gives you something specific to compare when a later editing session feels unfamiliar.
Keep panel organization separate from image adjustments
There are several different meanings of hiding in this workspace. Closing a panel folds away its controls. Hiding a panel removes its header from the visible list. Hiding a panel group moves a larger part of the interface out of view. None of those actions should be confused with deliberately turning off a panel’s settings. Adobe describes a separate Panel On/Off control for temporarily disabling the settings in a panel.
That distinction matters when troubleshooting. If the picture looks different, do not immediately assume that a rearranged panel changed the edit. Check whether an adjustment was disabled or a different comparison view is active. If the picture looks the same but a tool seems absent, investigate visibility and panel-group state first. You do not need to reset the photograph just to recover a hidden set of controls.
Work on a familiar photograph while testing the layout so that a change in appearance is easier to notice. Compare the image before and after the workspace adjustment. Keep your normal file and catalog backups in place, but do not turn this interface exercise into a storage migration or a preset deletion project. Those are different tasks with different checks and risks.
Make the layout readable on the current display
A comfortable panel order on a large desktop screen may still leave little room for a photograph on a laptop. Adobe allows panel-group width to be resized by dragging its inside edge when the double-arrow pointer appears. Adjust the width deliberately and look at both the control labels and the photograph. A very narrow panel is not an improvement if it makes the controls harder to read or use.
Use Tab or Shift-Tab as temporary viewing choices rather than as permanent proof that the interface is organized. Bring the panels back and check whether the next adjustment is easy to find. Lights Out is another way to judge the photograph with less surrounding interface, but it does not replace checking the image in the context in which you will deliver it. A dark surround is a viewing condition, not a correction to the file.
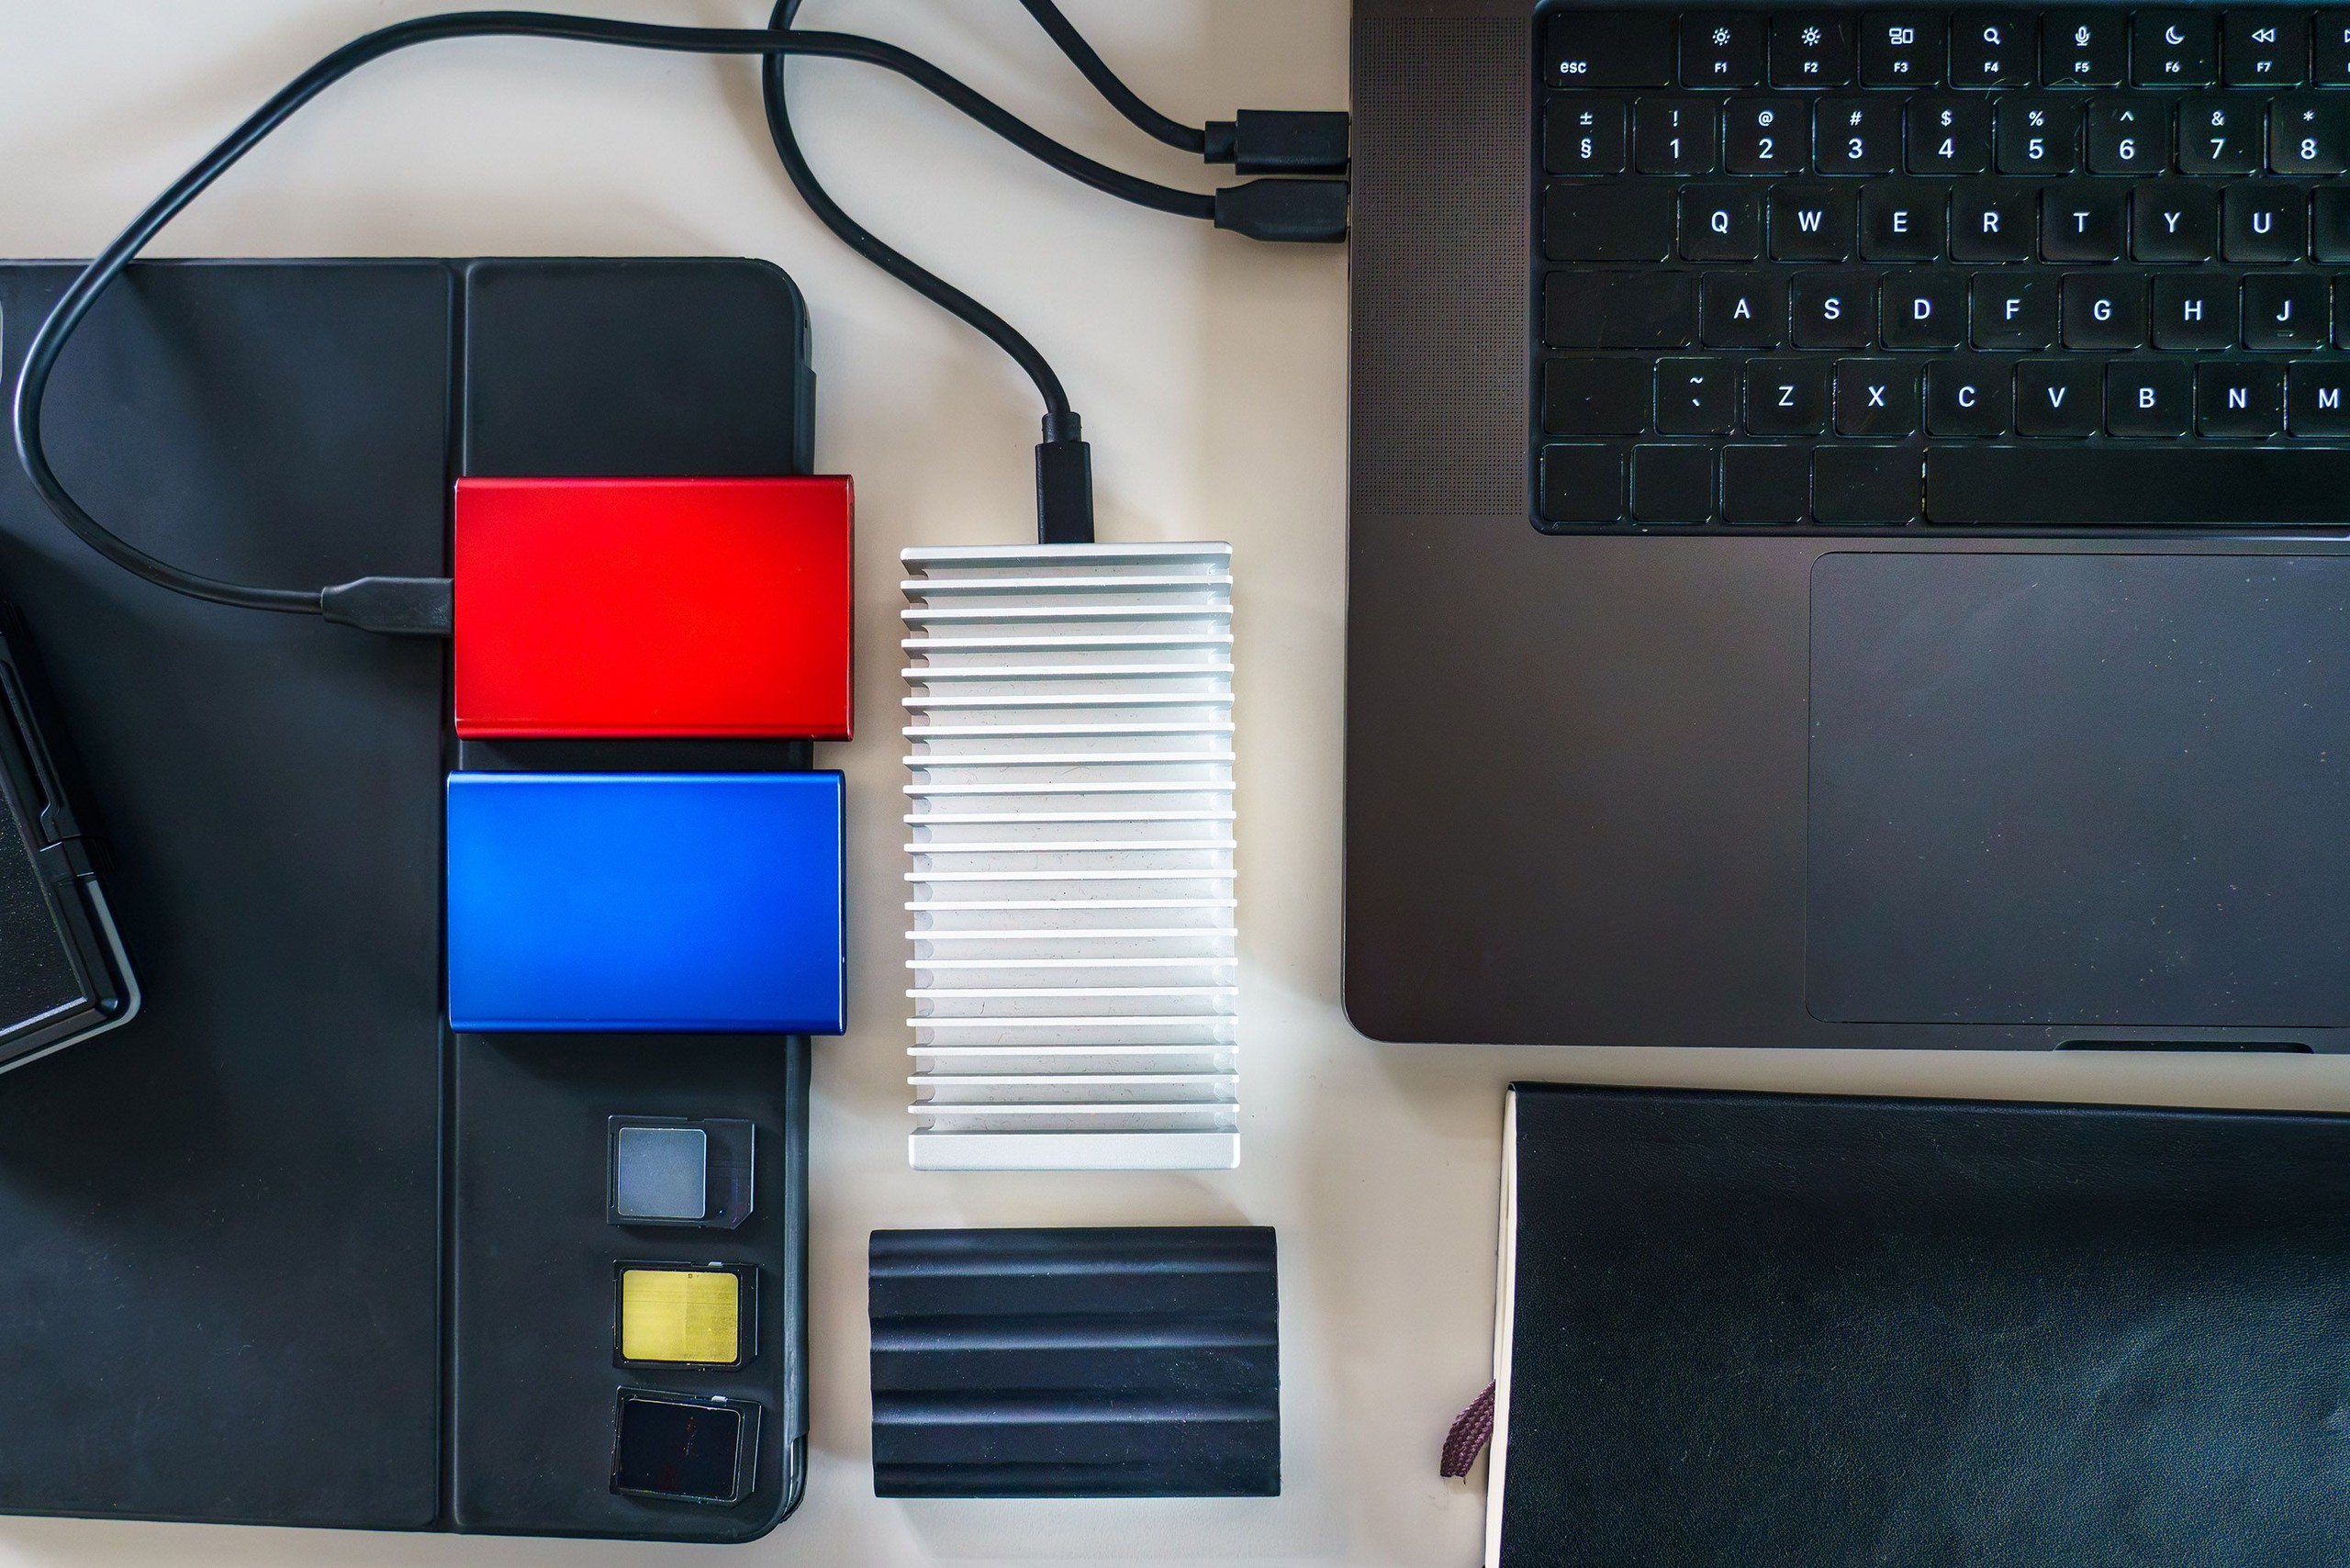
For a shared workstation, agree on a usable arrangement rather than repeatedly changing it without warning. For your own laptop and desktop, expect to make practical adjustments for the available display space. The photographs in this article illustrate physical desks and equipment; none demonstrates Lightroom Classic’s controls, a calibrated display or a tested hardware configuration. Follow the written menu paths in your installed application.
Test the arrangement with a short editing session
After saving a revised panel order and relaunching when prompted, work through a small set of photographs. Notice the places where you still scroll, open the wrong header or repeatedly bring a hidden panel back. Those are more useful observations than whether the layout resembles someone else’s setup. Make one further change only when it addresses a repeated problem you can name.
Keep an occasional panel available if hiding it creates more work than leaving its header visible. Frequency alone is not the only test: a panel used for an important final check may deserve an easy-to-find position even if you touch it only once per image. Likewise, a control you use repeatedly during exploration may not belong at the top of the list after your broad decisions are settled.
End by confirming that you can return to the ordinary workspace without hunting. Bring back hidden groups, restore the toolbar if needed, and locate the panel-visibility menu. The Customize Develop Panel dialog also offers Default Order if you want the standard order again. Use that option for panel order rather than resetting application preferences or a photograph’s adjustments. A successful setup is one you understand well enough to change and recover.
Gear for a smoother editing desk
The existing gear suggestions are optional, not requirements for organizing panels. Check the console’s supported operating systems, application mapping and exact configuration before buying. An external SSD is not a backup by itself; verify capacity, connections and your separate backup plan. These retained links do not establish current prices, stock, compatibility or a tested performance improvement.
Organizing the module is free; these two pieces of hardware support the same goal:
Disclosure: the links below are affiliate links. If you buy through them we may earn a commission at no extra cost to you.
- TourBox Elite Bluetooth Editing Console (Smoke-Black Translucent) – a compact editing console that puts your most-used sliders and tools under one hand, which pairs nicely with a solo-mode workspace.
- Samsung 1TB T7 Shield Portable SSD (Black) – a rugged external SSD for the Lightroom catalog. Keep backups on a separate drive or location from the working catalog, so one failure cannot take both.
Frequently asked questions
What is Solo mode in the Develop module?
Solo mode keeps only one panel in a group open at a time – opening a new panel closes the previous one. Enable it by right-clicking (Windows) or Control-clicking (Mac) any panel header and choosing Solo mode, or toggle it with Alt-click/Option-click on the disclosure triangle in a panel header.
Can I hide Develop panels I never use?
Yes. Right-click (Windows) or Control-click (Mac) any panel header in the group and choose the panel’s name to remove its checkmark. The same menu restores it at any time – hiding only removes the panel from view, not from Lightroom.
Can I change the order of the Develop panels?
Yes. Right-click (Windows) or Control-click (Mac) any right-side panel header, choose Customize Develop Panel, drag the panel names into the order you want, and click Save. Confirm when asked and relaunch Lightroom Classic to see the new order.
How do I quickly hide the whole interface to see my photo?
Press Tab to toggle both side panel groups, or Shift-Tab to toggle all panels including the Filmstrip and Module Picker. Pressing L cycles Lights Out through its three states, dimming or blacking out the workspace around the photo.
How do I change screen modes in Lightroom Classic?
Use Window > Screen Mode and choose Normal, Full Screen With Menubar, or Full Screen.
Does organizing the panels change my edits?
Showing, hiding, closing and reordering panels are workspace choices. Do not confuse them with the separate Panel On/Off control, which temporarily disables a panel’s settings and changes the rendered appearance. Check that control if the photograph looks different after an interface experiment.
How do I restore the default Develop panel order?
Open Customize Develop Panel from a right-side panel header menu and choose Default Order. Check the visibility boxes for panels you want to show, save the change, and relaunch Lightroom Classic when prompted. Do not reset the photograph just to recover a workspace layout.
Sources
- Adobe, “Workspace basics” (Adobe workspace basics), re-read November 2026 – Solo mode and its Alt/Option-click shortcut, showing and hiding individual panels, Tab and Shift-Tab panel toggles, Lights Out and the L key, the Window > Screen Mode menu path, the panel On/Off icon, the Show/Hide Panel Group icon, and toolbar customization.
- Adobe, “Develop module tools” (Adobe Develop module basics), re-read November 2026 – the documented panel descriptions and the Customize Develop Panel reorder dialog with Save and relaunch.
- Julieanne Kost, “Lightroom Classic v13 Shortcuts” PDF (Kost keyboard-shortcuts PDF), re-read November 2026 – Solo mode modifiers and Auto Hide & Show behavior.
Earlier illustration source retained for continuity: Pew Nguyen on Pexels. That earlier photograph is not one of the five illustrations in this version.
Affiliate disclosure: We may earn a commission from qualifying purchases through links on this page at no extra cost to you. As an Amazon Associate, Shut Your Aperture earns from qualifying purchases.