
Featured photograph: Photo by Julio Lopez via Pexels (source; Pexels license). (Stock photo, illustrative.)
A camera card can contain photographs you want to edit and video clips you want to keep somewhere else. Lightroom Classic can import supported videos as well as still images, so choosing a card or folder does not by itself mean that only photographs will enter the catalog. The useful control is the import selection: check the stills you intend to bring in and leave unwanted clips unchecked.
Treat this as a file-management decision, not a cleanup race. Skipping a video in Lightroom does not back it up, erase it or decide whether it matters. Before starting, separate two questions: what should appear in this catalog, and what files should survive when the card is reused? Those answers can differ. This guide explains the selection workflow and the checks that keep those decisions separate.
Confirm that you are using Lightroom Classic
These instructions describe Lightroom Classic's desktop Import window and Library module. The cloud-based Lightroom application is a different program, and similarly named controls do not guarantee identical behavior. Check which application is open before following a menu path. If your interface differs, consult the current documentation for that application and installed version instead of improvising a destructive workaround.
Classic's catalog records information about the files it manages, including their locations. Importing is therefore more than opening a picture for a quick look. Depending on the method, it can copy files, move them or leave them in place while adding catalog records. Understanding that distinction is especially important when the source is a removable card that you will eventually format and use again.
Decide what to preserve before selecting files
Look at what the card contains before treating any file as disposable. A short accidental-looking clip could still contain a useful moment. A folder can also contain raw images, JPEG versions, video, audio or other camera-created files. Do not use the stills-only selection as proof that everything left behind is worthless. If some material belongs in another workflow, plan its destination and backup separately.
For material you want to keep, make verified independent copies before reusing the card. A second folder on the same working drive does not protect against that drive failing. The number of catalog thumbnails is not a backup count either. Check actual files at their destinations, open representative examples and confirm that a separate copy exists where you expect it. Keep the card intact while an uncertainty remains.
Open Import and choose the correct source
In Lightroom Classic, choose File > Import Photos And Video, or use the Library import command. In the Source panel, select the intended card or folder. Similar folder names are easy to confuse, especially when several drives are attached. Read the source path and inspect a few previews before continuing. If the expected files are absent, check the selected location and whether the relevant subfolders are included.
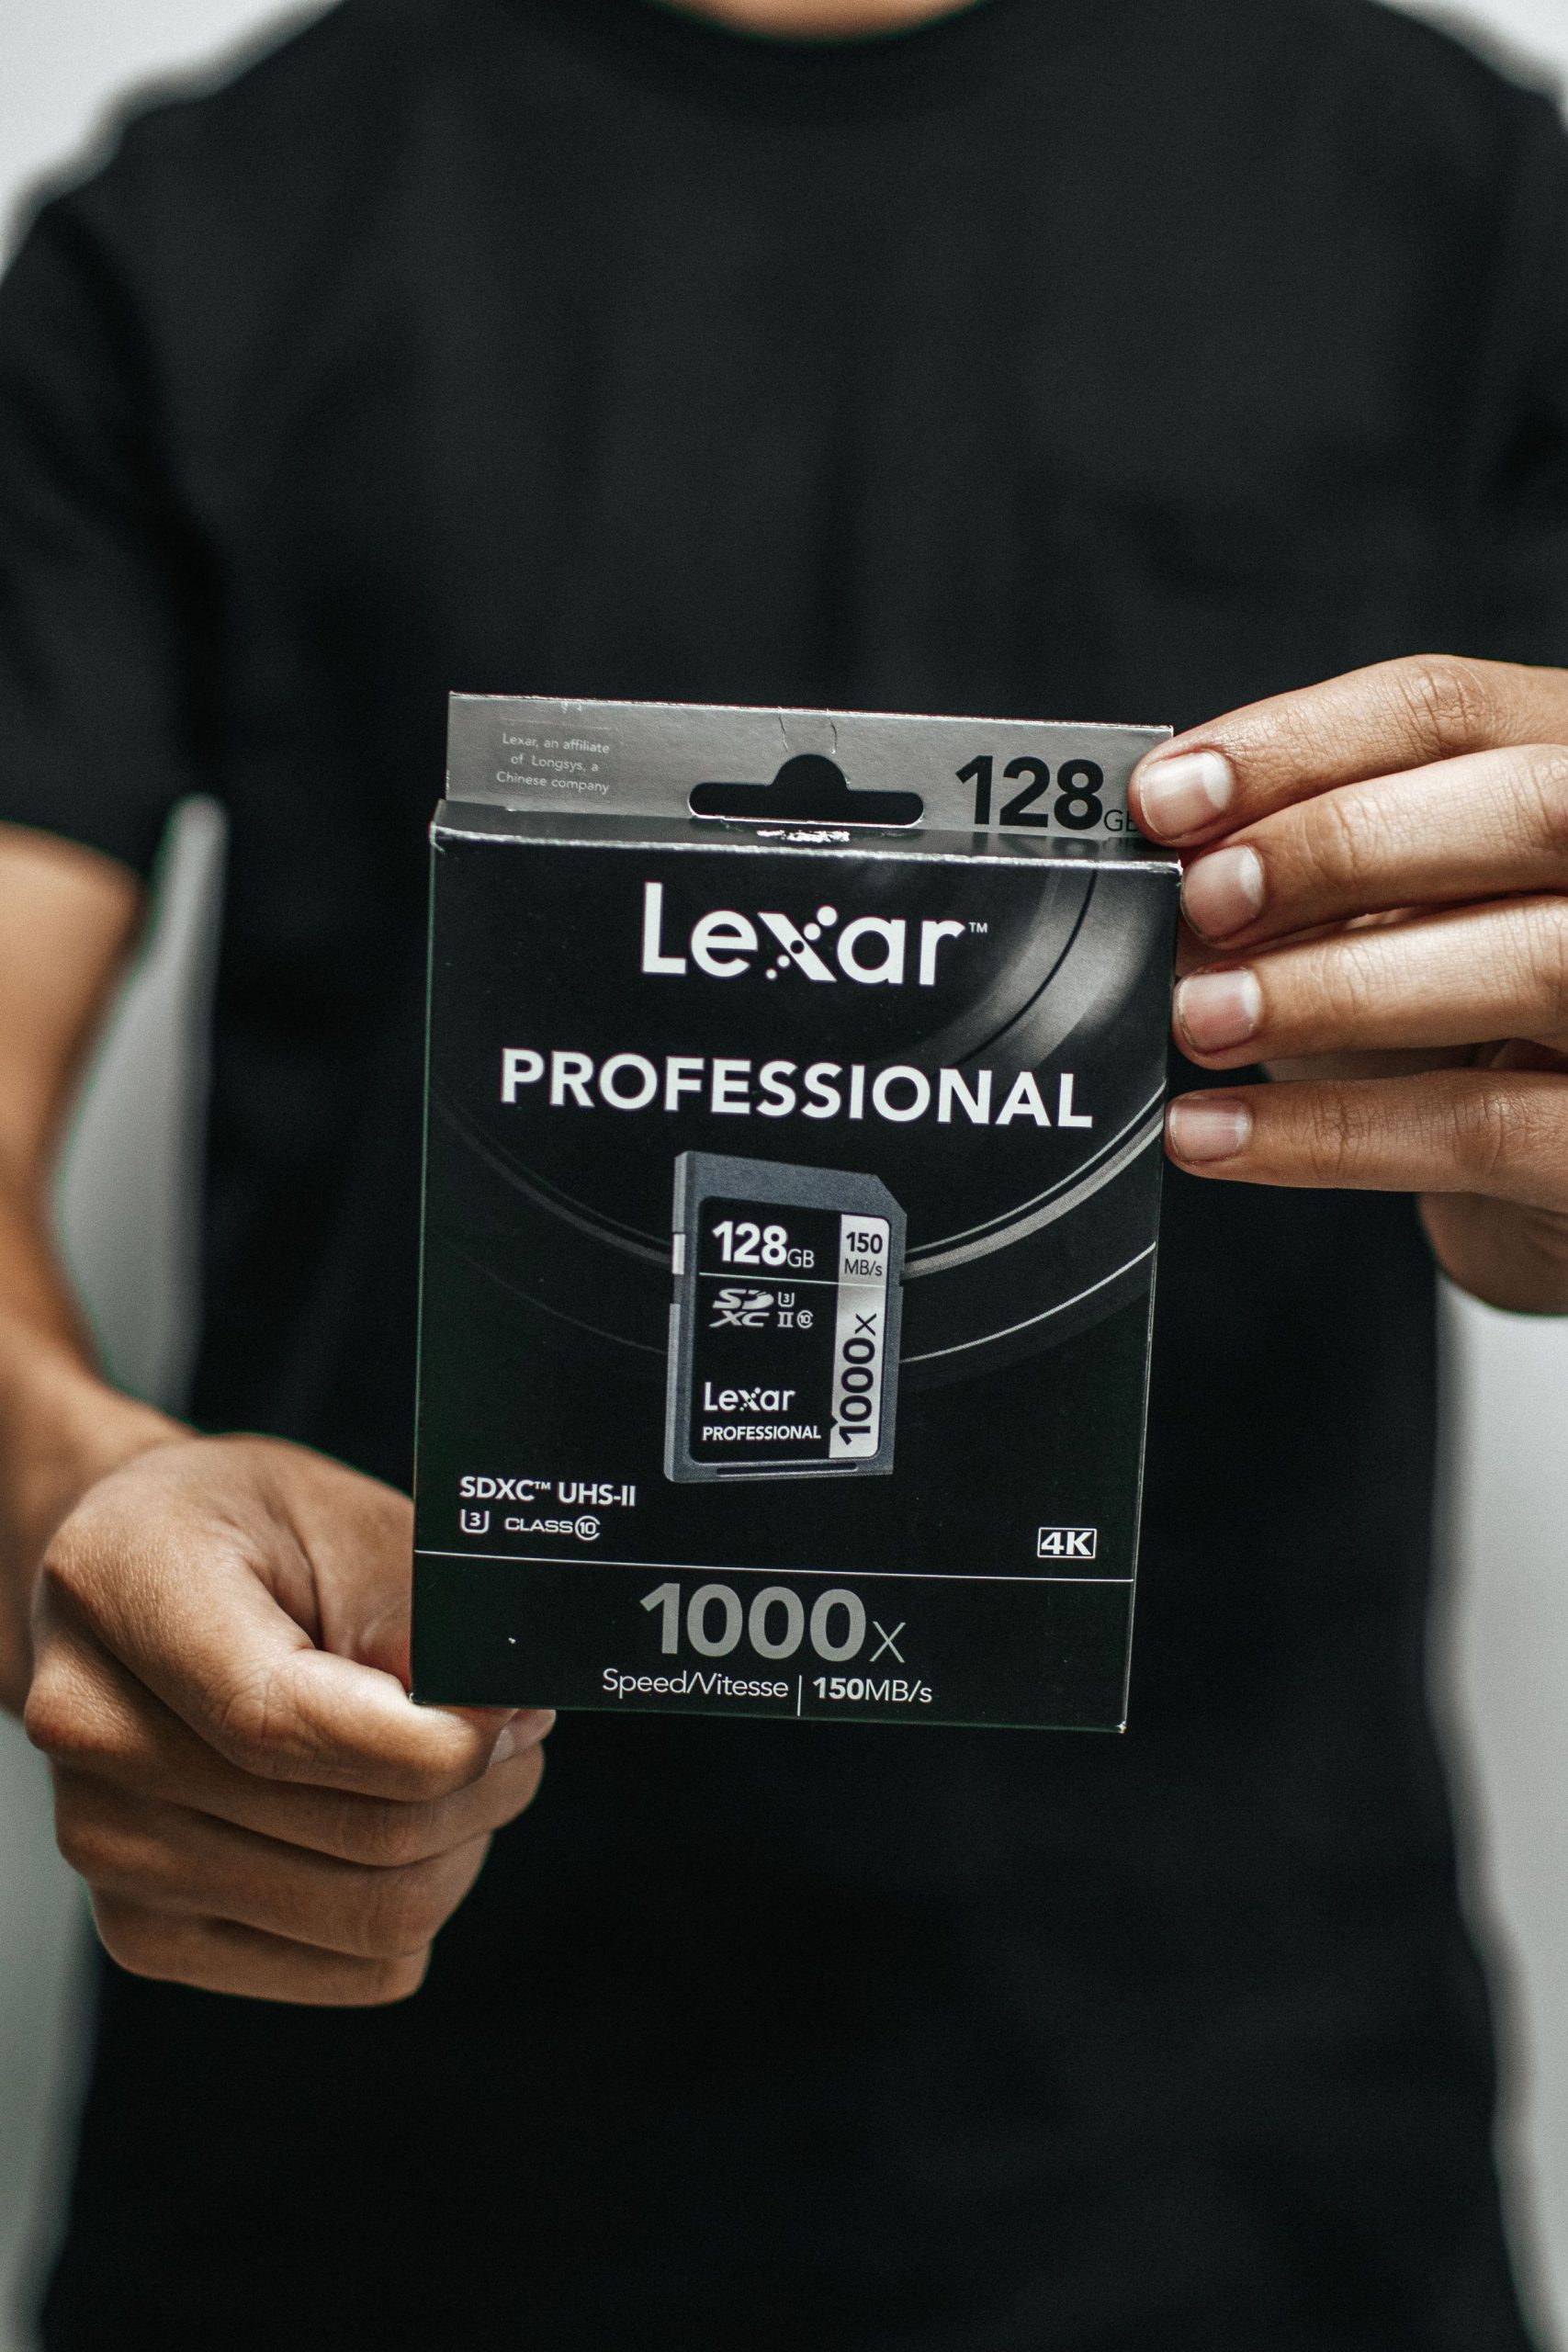 Save
The Import window works across source, method and destination. The source is where the current files live; the method decides how they enter your catalog; the destination matters when they are copied or moved. Do not assume that a familiar-looking preview proves all three are correct. A small test selection is useful when you are learning this window or changing your storage arrangement.
Sort by media type, then inspect the checkboxes
In the Import toolbar, use the Sort menu and choose media type. Adobe documents this as a way to sort images and video files rather than leaving them mixed by capture time or filename. Sorting changes their order; it is not the same as excluding them. Find the video group and inspect the checked state of the thumbnails before you consider the selection finished.
Use the checkbox in the upper-left corner of a preview to include or exclude that file. You can also start with Uncheck All and then check only the still images you intend to import. Check All and Uncheck All change selection, so use them deliberately. A highlighted thumbnail and a checked thumbnail answer different questions; the check mark is the important indicator for whether the file is included in this import.
If the card contains only a few clips, individually unchecking them may be the clearest approach. With a larger mixture, beginning from an unchecked selection can make your intent easier to review. Either way, examine both ends of the grouped files and any unexpected items between them. Do not assume that sorting has made every boundary obvious, or that a previous import left the selection the way you want it now.
Adobe also documents Alt-click on Windows or Option-click on macOS to toggle a thumbnail's import selection. That shortcut is optional; the visible checkbox is enough to complete the task. When learning, favor a method whose result you can clearly verify. Speed is useful after the process is reliable, not when a modifier key or uncertain selection would make you guess what is about to be imported.
Separate duplicate checks from file-type selection
Don't Import Suspected Duplicates addresses a different problem. Adobe describes the import check in terms of a matching original filename, capture date and time, and file size. It can help avoid importing suspected copies of files already represented in the catalog, but it is not a stills-only switch. A video is not excluded simply because you would prefer not to catalog videos.
Likewise, a display option such as New Photos changes what you see according to its documented criteria; it does not replace your review of the selected media. If a file seems to have vanished, investigate the source, filters and duplicate handling before trying another import. Repeating the operation without understanding the first result can leave additional copies in different folders and make the original question harder to answer.
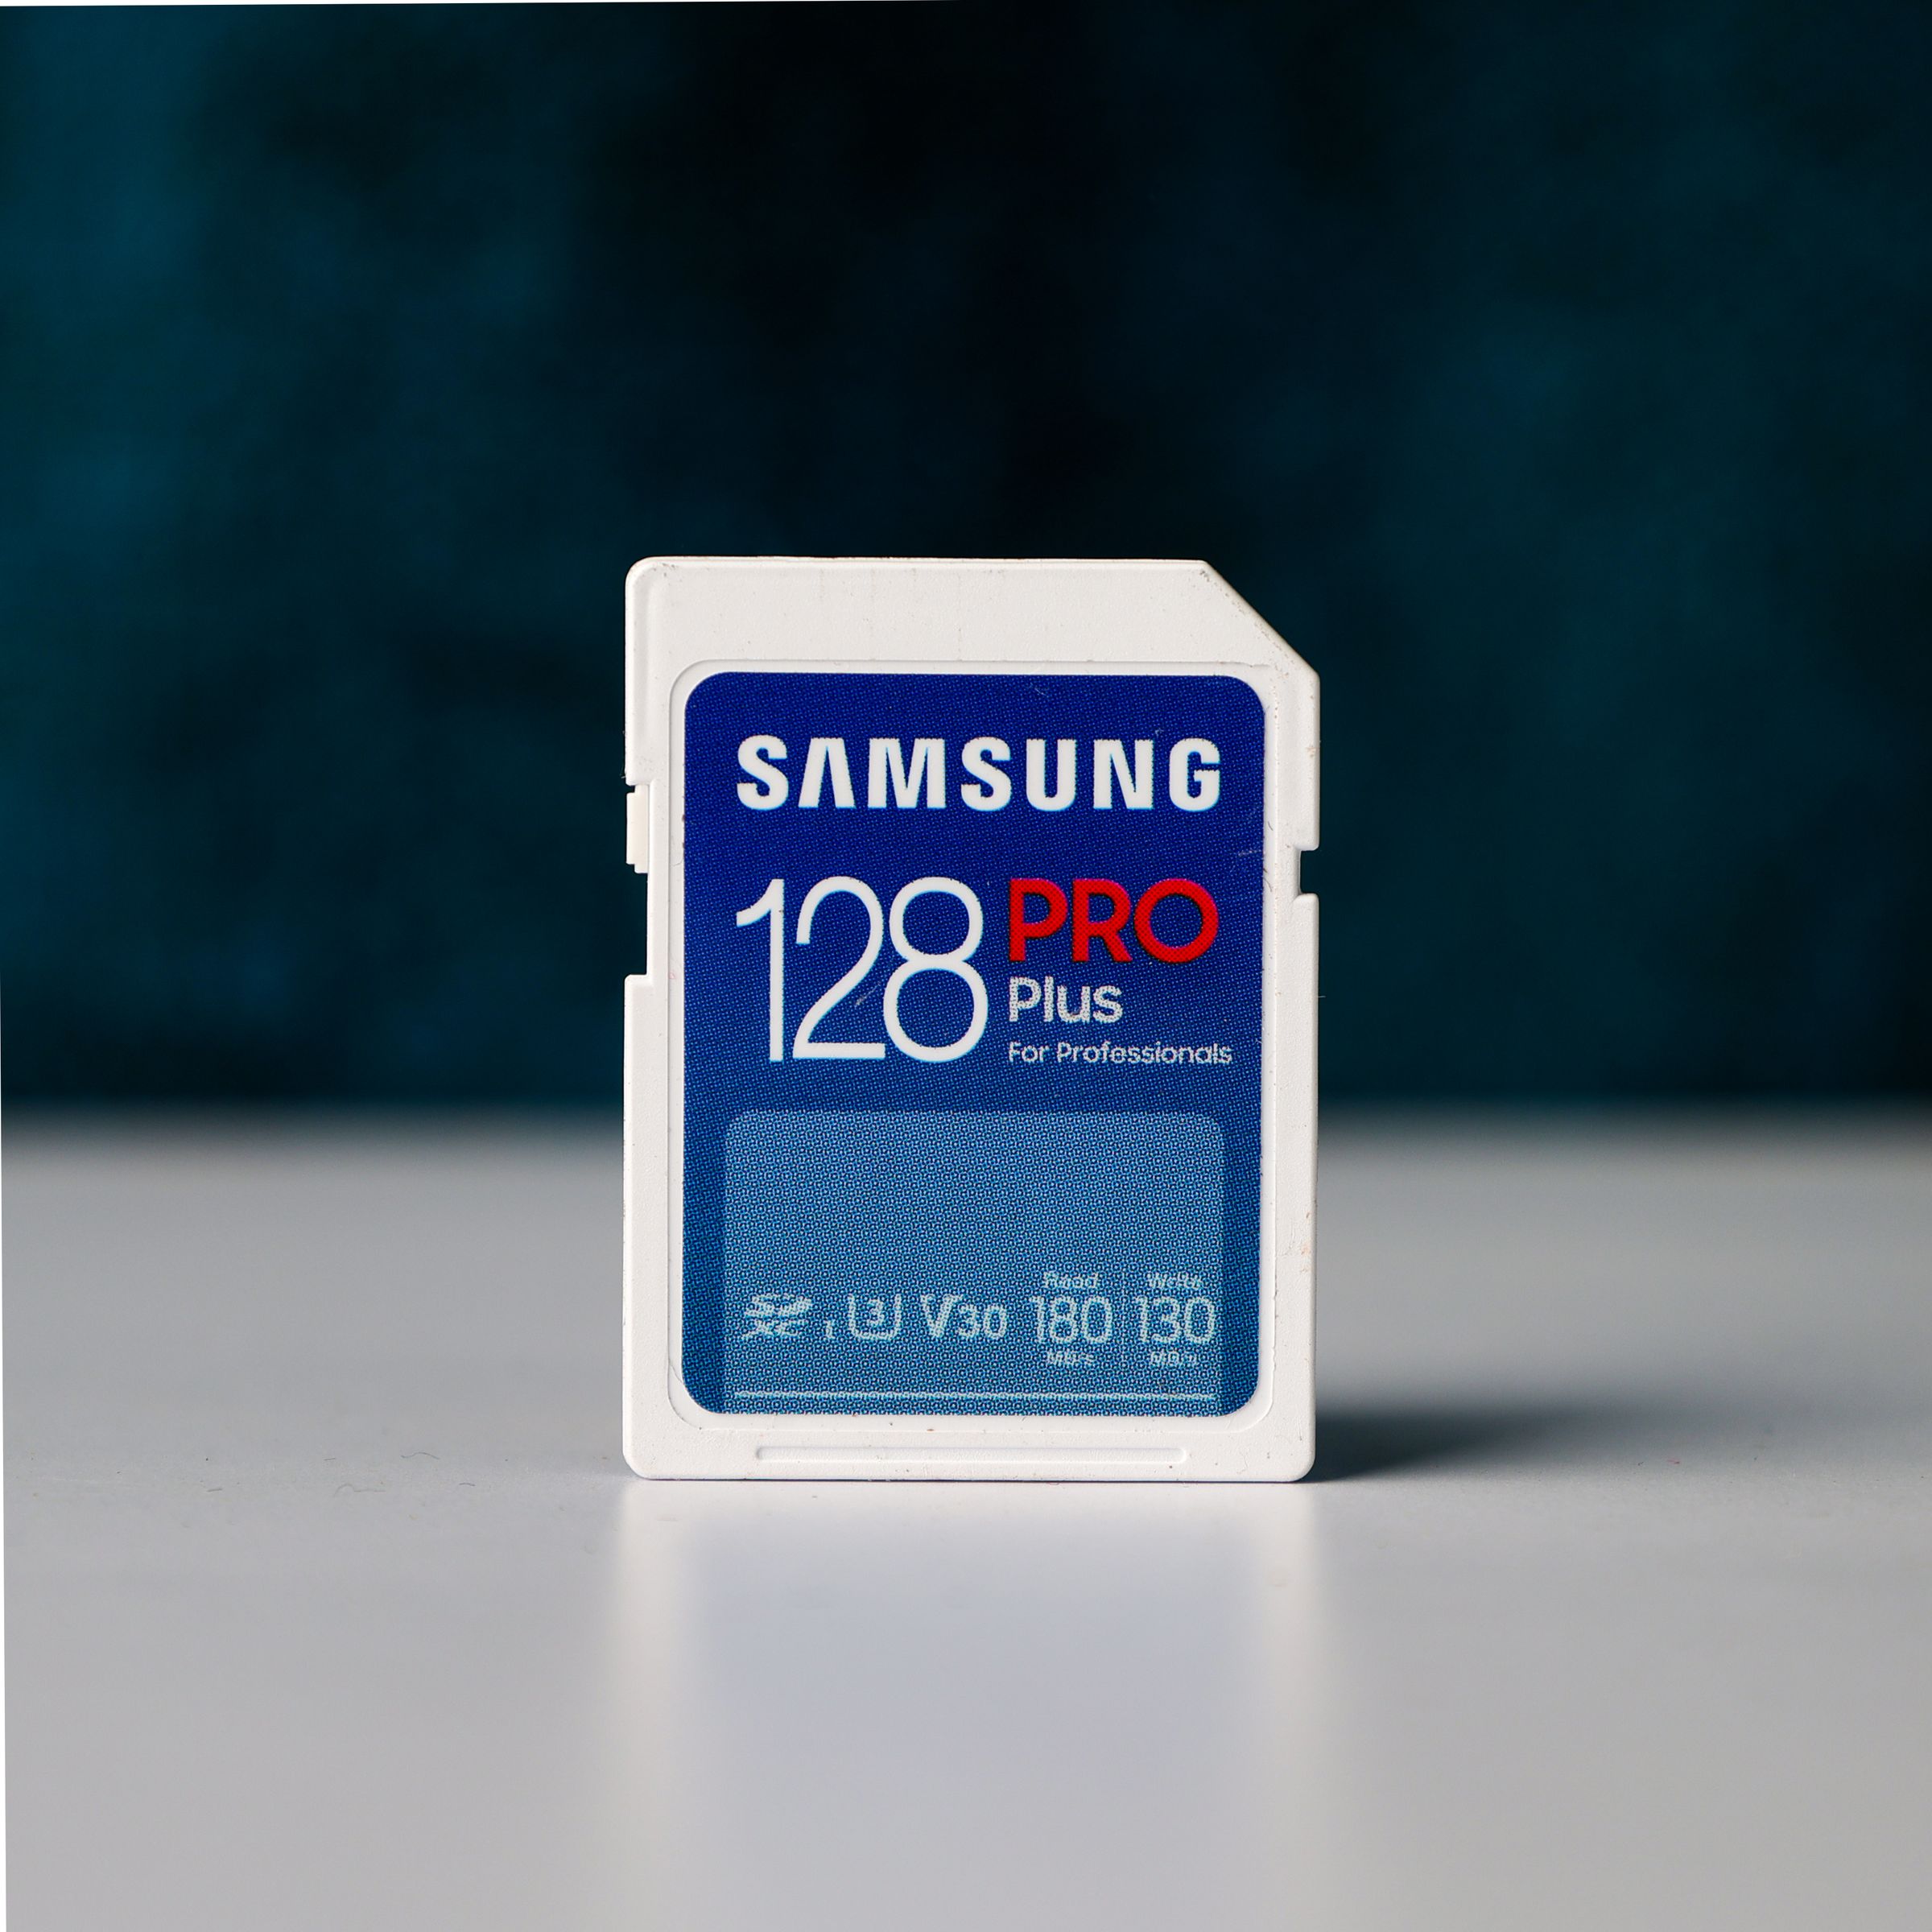 Save
Choose Copy, Add or another method deliberately
For a camera memory card, Adobe's basic import lesson uses Copy and notes that Add and Move are unavailable for that source. Copy places files at the selected destination while leaving the source copies in place. That is useful because the card remains available while you verify the import and backup. It does not remove the need to inspect the destination or preserve skipped videos separately.
For files already stored in their permanent folder on a drive, Add can record them in the catalog without moving them. Copy makes another set at the chosen destination. Move relocates files and removes them from their previous location, so do not choose it merely because the name sounds convenient. Copy As DNG adds a conversion decision for camera raw files; that is a separate choice from excluding video.
Read the method and destination together before clicking Import. When files are copied or moved, inspect the destination folder and any date-based or subfolder organization. Adobe documents italic folder names in the Destination panel as folders that will be added. Confirm the intended drive as well as the folder name. A tidy folder on the wrong disk is still the wrong destination.
Consider selecting the stills before Lightroom
Another approach is to copy the intended image files into a prepared folder using Finder or File Explorer, then import that folder into Classic. Sorting the source by file kind can help you identify groups, but inspect file extensions and contents rather than selecting a group by appearance alone. Keep the original source unchanged while you confirm that the copy contains the photographs you intended.
This method can suit a workflow in which stills and video have separate destinations from the beginning. It also creates an extra copy-and-selection step that you must check. If a raw image has an associated sidecar, preserve the files that belong together. If you intentionally recorded raw and JPEG versions, decide whether both should be kept. Similar base filenames do not make the two files interchangeable.
Be careful about drawing conclusions from the catalog count alone. Lightroom Classic has a preference for treating JPEG files beside raw files as separate photos, so a raw-and-JPEG capture can be represented differently depending on that setting. Verify the actual destination files and the behavior you intended. Do not delete a JPEG merely because it did not appear as a separate catalog thumbnail during your first inspection.
Handle videos that are already cataloged
If clips are already in the catalog, first decide whether hiding them from your current work is enough. In the Library module's Grid view, the Library Filter bar can filter by file kind, including video. Select the intended folder or catalog source first, then use Attribute and the relevant kind controls. Filtering changes what is displayed; it does not remove catalog entries or erase files.
 Save
Review the scope before selecting multiple clips. A filter in one folder is not evidence about every folder in your catalog, and a collection is not the same thing as the folder containing the originals. Check filenames, locations and a sample of the clips. If the goal is simply to concentrate on photographs, keeping useful videos cataloged and changing the view may avoid unnecessary file-management work.
When removal really is your choice, read the confirmation dialog carefully. Julieanne Kost explains the distinction between Remove, which removes catalog records while keeping the source files, and Delete from Disk, which removes the files from their storage location. The context matters, including whether you are viewing a folder or a collection. Do not confirm a deletion merely because you meant to make the Grid less cluttered.
Restore the view before diagnosing missing photographs
After reviewing videos, return the Library display to the view you need for stills. A video-kind filter can make a successful still-image import appear empty. Check the selected source and active filter before importing the card again. An empty filtered view tells you what matches the view, not necessarily what exists on disk or elsewhere in the catalog.
If expected photographs are still missing, compare the source files, destination files and import selection in that order. A file left unchecked should not be expected in the new import. A file copied to an unexpected folder may still exist, but needs a location check rather than a second blind copy. Write down what you can verify so that a troubleshooting step does not erase the evidence of the first operation.
Keep Auto Import separate from this workflow
Classic's Auto Import is a watched-folder workflow, not the ordinary Import window running unattended. Adobe documents an initially empty watched folder, a destination to which detected photographs are moved, and no monitoring of watched-folder subfolders. Those rules differ from selecting a mixed camera card in the normal importer. Do not assume that the steps or selection controls described above apply to Auto Import unchanged.
If you use a watched folder, test it with expendable copies and confirm the resulting destination and catalog records. Put only the intended material into that workflow and handle other media through a deliberate path. A video left outside a watched folder has not thereby been backed up. Equally, bypassing the normal Import window does not provide evidence that every file from a shoot has been preserved.
Avoid confusing previews with original files
The preview choices in File Handling concern how Lightroom displays photographs after import. Adobe distinguishes embedded camera previews from previews rendered by Classic, and documents Smart Previews as smaller files that can support editing when originals are disconnected. None of those display choices should be mistaken for the original photograph or an independent archive of the whole card. A visible image can be useful without proving that its original is currently available.
 Save
Choose preview settings for the work you intend to do, then verify storage separately. If an external drive is meant to hold the originals, confirm that drive and inspect the expected folder rather than assuming a fast preview means the copy was successful. Keep preservation checks independent of how quickly the Library becomes usable. This distinction makes the import workflow easier to diagnose when a drive is later disconnected or a file appears missing.
Finish with a small verification routine
Before clearing a card, inspect the destination with the operating system and open representative files. In Classic, confirm that the intended photographs are linked to the expected originals rather than judging only their thumbnails. Check a few files from the beginning and end of the shoot, and any unusual formats or raw-and-JPEG pairs. Review skipped clips independently if you decided that they should survive.
Keep a short record when the import was unusual: which source was used, where stills went, where video went and which backup was verified. That record can be a simple note rather than a complicated database. Its purpose is to avoid relying on memory when several cards or projects are involved. Reuse the card only after the preservation decisions are settled and the copies have been checked.
For practice, make a small disposable folder containing a few stills and a short video, with another copy stored safely elsewhere. Try sorting by media type, changing the checkboxes and importing the chosen stills. Then inspect the destination and the catalog. This lets you learn the difference between sorting, selection, copying and display filtering without making the only copy of a real shoot your experiment.
References and further learning
Adobe documents source selection, import methods and thumbnail checkboxes, video handling, Auto Import and Library display filtering. Its import-options guide covers duplicate checks and previews, while import preferences explains raw-and-JPEG representation. Julieanne Kost explains Remove versus Delete from Disk and collection context.
Continue with our Lightroom learning guide and Lightroom editing practice. Follow the documentation for your installed application when its interface differs.
Gear for the import stage
The existing comparison below is retained for reference, not as a tested import-speed result, a current offer or a guarantee. Advertised interface and card ratings do not predict your copy speed; the card, reader, cable, port and destination can limit the result. Confirm compatibility and current specifications on the linked product pages. The illustrative stock photographs do not establish which products were tested or used for this article.
Import speed comes down to three links in the chain: the card, the reader, and where the files land. Three options worth comparing – this is a comparison list, not a record of gear used for the photographs above:
- Lexar Professional Workflow UHS-II SD/micro SD Card Reader: a 10 Gb/s USB-C reader with UHS-II SD and microSD slots that works on its own or docks into Lexar’s Workflow station, so one reader covers both card sizes at full speed.
- Samsung 1TB T7 Shield Portable SSD (Black): a rubber-armored USB-C SSD for a working drive or a separate backup destination. A second folder on your working drive is not an independent backup; keep a copy on another device.
- Sony 128GB SF-G TOUGH Series UHS-II SDXC Memory Card: a V90 UHS-II card rated to 300 MB/s reads, which shortens the copy-and-import leg on long shoots.
Prices and availability can change; check the linked product pages for current information. Links are affiliate links: if you buy through them, we may earn a commission at no extra cost to you.
How do I import photos into Lightroom Classic without importing videos?
In the Import window, select the correct source, sort by media type and inspect the thumbnail checkboxes. Leave the videos unchecked and check only the still images you intend to import. Review the method and destination before clicking Import. Sorting changes order; the checkboxes determine inclusion.
Does Don’t Import Suspected Duplicates exclude videos?
No. That option checks for suspected duplicates already represented in the catalog using Adobe's documented filename, capture-time and file-size criteria. It is not a file-type selector. Review the checked state of the video thumbnails separately.
Will skipping videos delete them from my memory card?
Leaving videos unchecked excludes them from that import selection. It is not a deletion or backup operation. If you want to preserve the clips, copy and verify them through a separate workflow before formatting or reusing the card.
Can I hide videos that are already in Lightroom Classic?
Yes. In Library Grid view, choose the intended source and use the Library Filter bar's Attribute file-kind controls. Filtering changes the displayed results, not the files on disk or the catalog records. Restore the filter when you return to photographs.
What is the difference between Remove and Delete from Disk?
When managing originals from a folder, Remove takes the selected records out of the catalog while keeping the files on disk. Delete from Disk removes the files from their storage location. Collection behavior differs, so check your current source and read the confirmation dialog instead of using deletion to change a view.
Why does a raw-and-JPEG pair not always show two photographs?
Lightroom Classic has a General preference named Treat JPEG Files Next To Raw Files As Separate Photos. When selected, the JPEG can appear as a separate photograph; when deselected, Classic treats the paired JPEG as a sidecar. Check both your intended preference and the actual destination files.
Is Auto Import the same as selecting a mixed card in the Import window?
No. Auto Import uses a watched folder and moves detected photographs to a configured destination. Adobe documents an initially empty watched folder and no monitoring of its subfolders. Test that separate workflow with expendable copies and do not treat it as a backup of a mixed camera card.
Affiliate disclosure: Some links on this page are affiliate links. If you buy through them, ShutYourAperture may earn a commission at no extra cost to you. The credited stock photographs are illustrative, not tests of the pictured equipment or screenshots of these instructions.