Every photo you take is one decision made three ways: how much light hits the sensor (aperture), for how long (shutter speed), and how the sensor responds to it (ISO). That trade-off is exposure, and once it clicks, the camera stops being a black box. This guide covers the three sides, how they trade against each other, and the settings that work while you are still building instinct.
 Save
 Save
Aperture: Light and Depth of Field
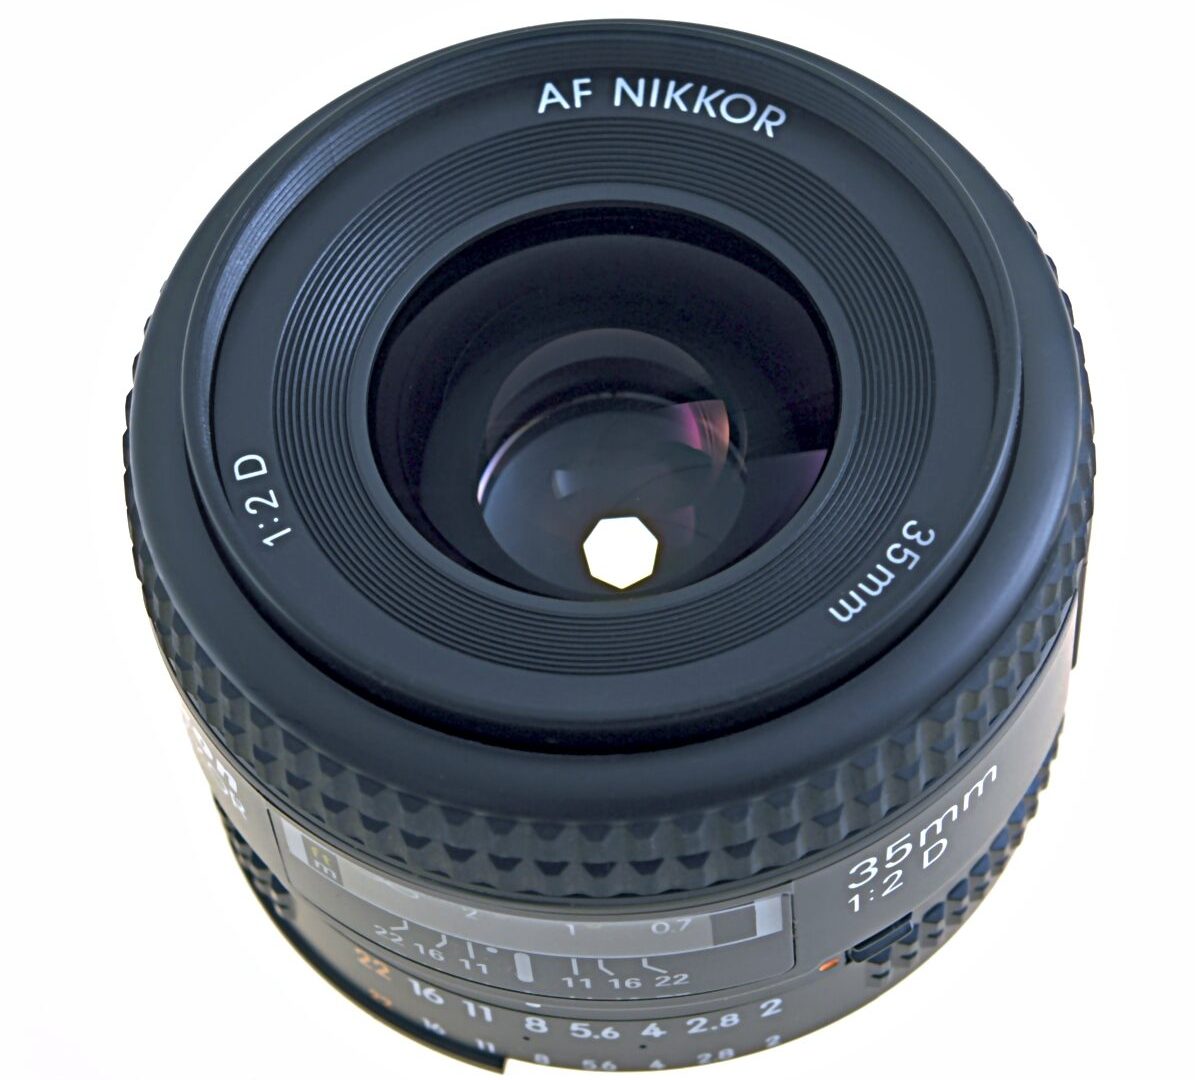
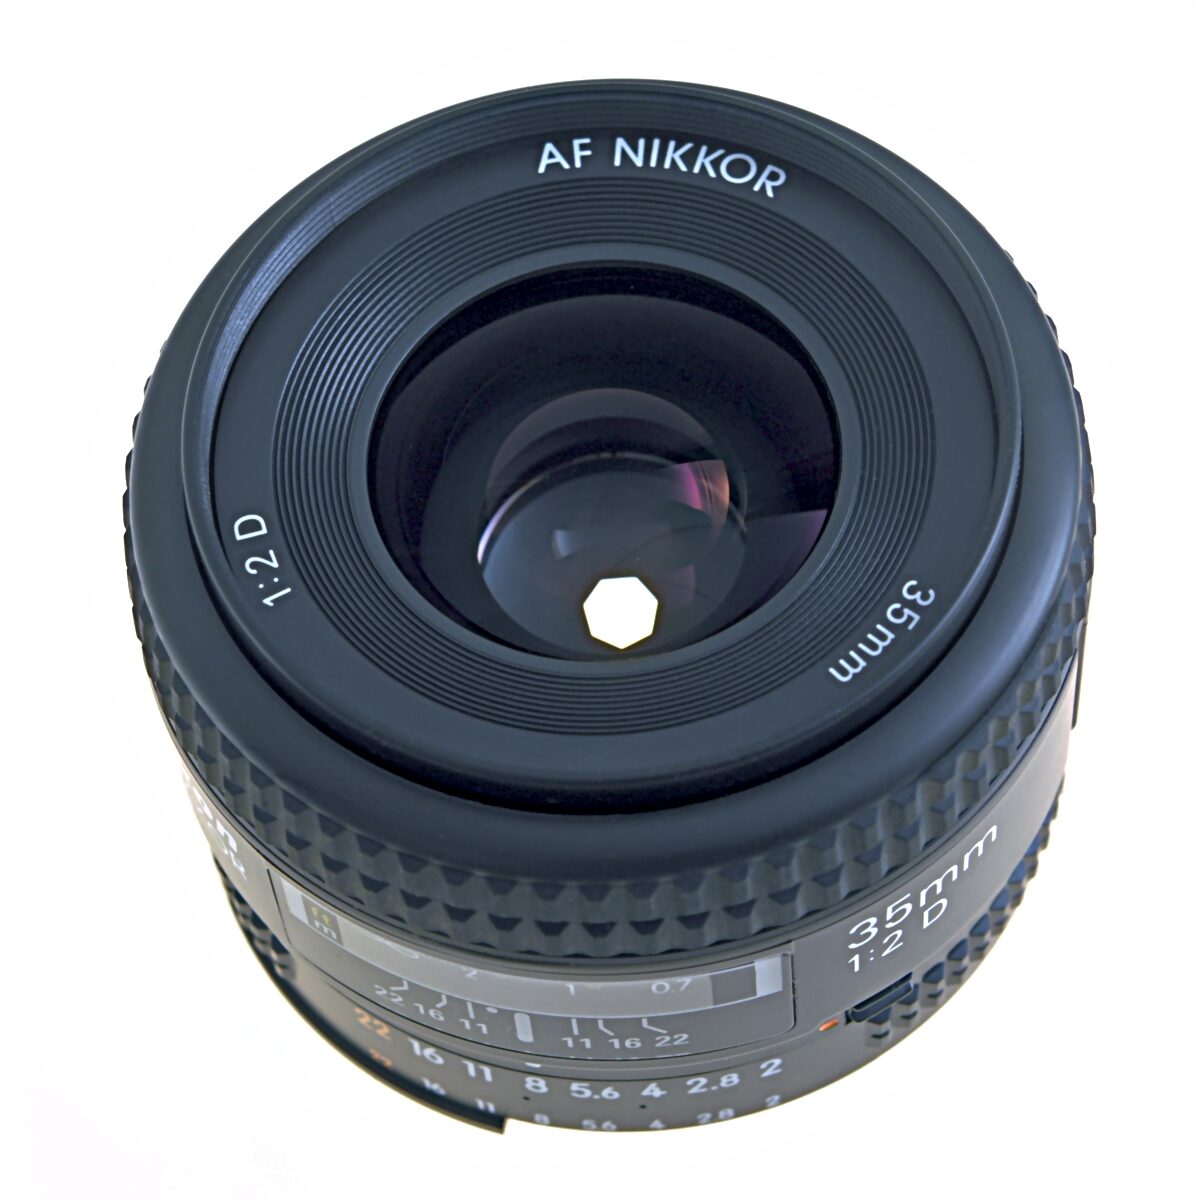
Aperture is the opening inside your lens, measured in f-stops. The confusing part: small numbers mean big openings. f/1.8 lets in a lot of light and gives you a shallow depth of field (blurry background). f/11 lets in less light and keeps more of the scene sharp. Portraits usually live at the wide end, landscapes at the narrow end. The full breakdown is in our aperture guide.
 Save
Shutter Speed: Light and Motion
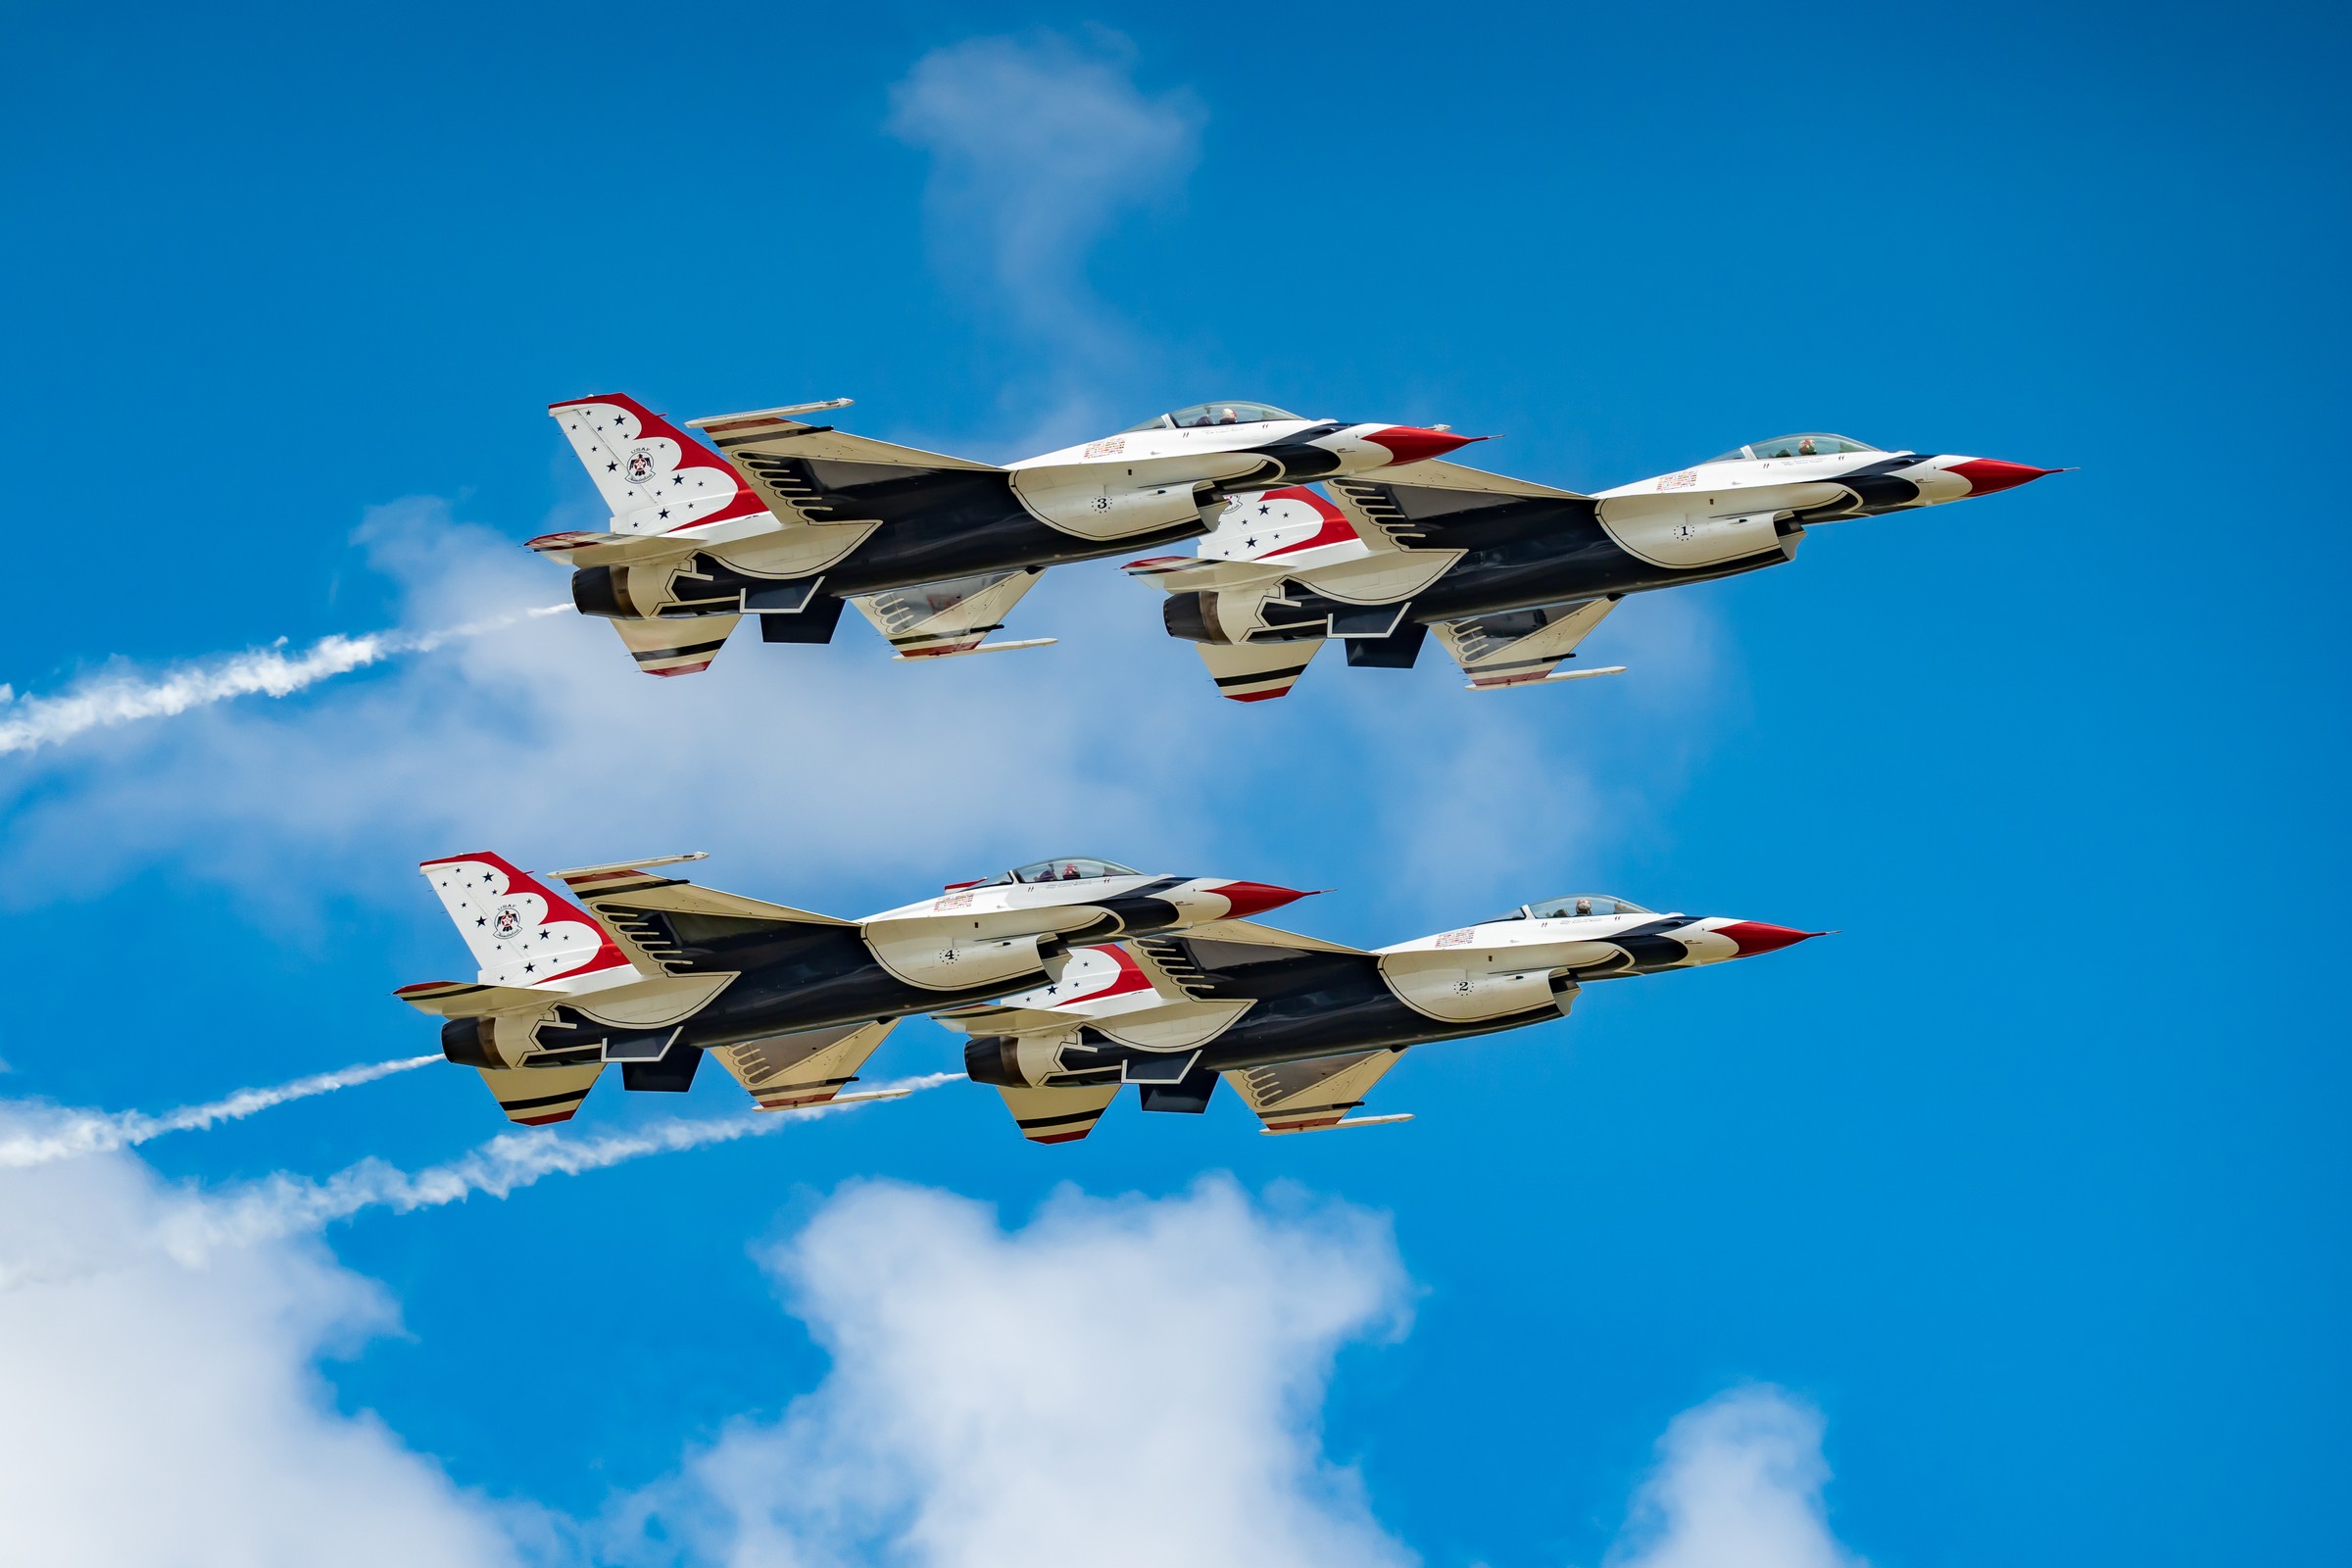
Shutter speed is how long the sensor sees the scene. 1/1000s freezes a sprinter; 1/15s turns a waterfall to silk; 2 minutes turns ocean waves into mist. The handheld floor for most people is around 1/focal-length (1/50s on a 50mm lens) before camera shake creeps in. Motion blur is a creative tool, not a defect, once you control it deliberately. More in our shutter speed guide.
 Save
ISO: The Trade You Make Last
ISO amplifies the signal after the light is captured. ISO 100 is clean; ISO 6400 buys you shutter speed in the dark at the cost of noise and dynamic range. The rule that keeps beginners out of trouble: set aperture for the depth of field you want, set shutter for the motion you want, then raise ISO only as much as the first two demand. Modern cameras handle ISO 3200 far better than the advice from ten years ago suggests. Details in our ISO guide.
How the Three Trade Off
Each side of the triangle moves in stops. Opening the aperture one stop (f/4 to f/2.8) doubles the light, so you can halve the ISO or double the shutter speed and keep the same exposure. That is the whole mechanic. When a photo comes out too dark, you now have three distinct levers and a reason to pick each one.
Want to go further? The ShutYourAperture Academy’s The Aperture Bible (7 modules, 28+ lessons) is built to help you control depth, bokeh and focus.
Starting Points That Work
- Portrait in daylight: f/2.8, 1/250s, ISO 100. Widen the aperture if the background is busy.
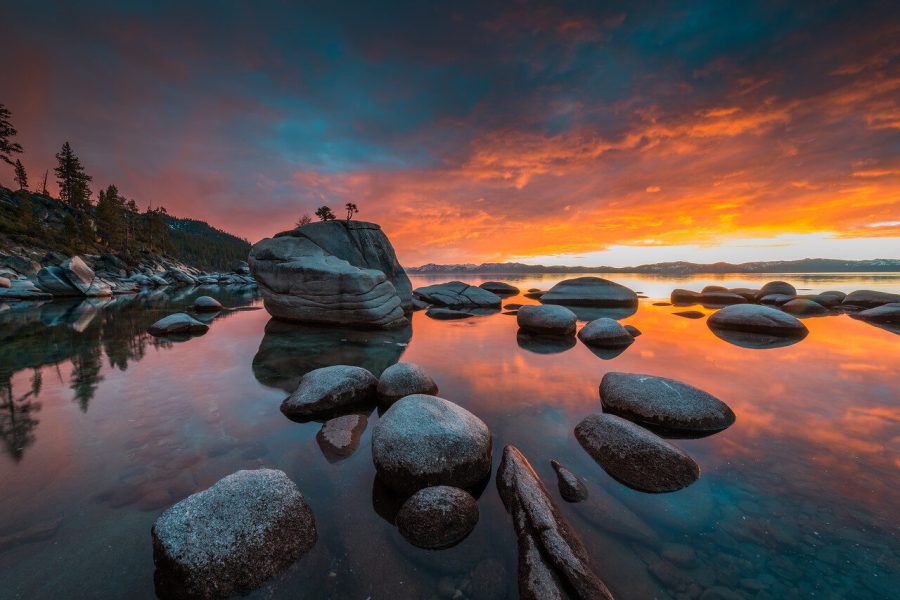
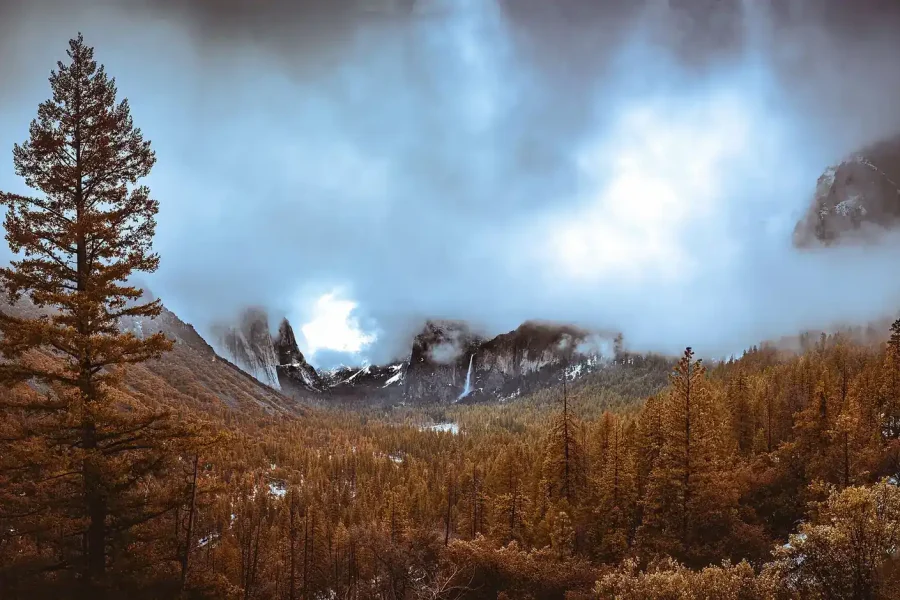
- Landscape on a tripod: f/11, whatever shutter the meter gives you, ISO 100.
- Indoor event: f/2.8, 1/250s, auto ISO capped at 6400.
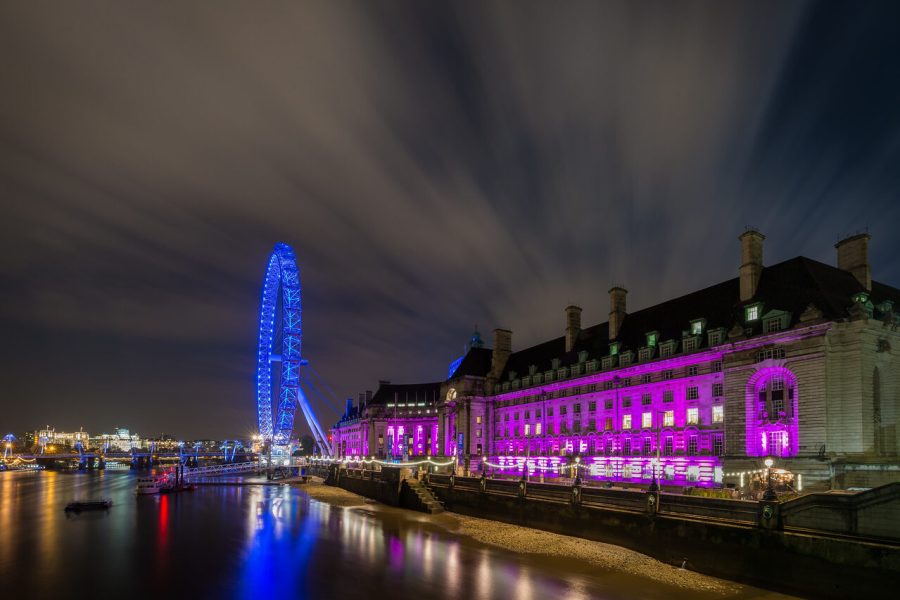
- Street at night: f/2, 1/125s, auto ISO. Grain beats blur.
Shoot in aperture priority while you learn: you pick f-stop and ISO, the camera picks shutter, and you watch what it chooses. Within a few weeks the relationship between the three becomes reflex. Our portrait photography guide applies these numbers to people specifically.
Once the capture is right, the edit gets easy. The free starter pack in our Lightroom presets guide gives you a clean base for processing your practice shots, and the Landscape, Cityscape and Drone Preset Pack covers the looks for the landscape end of this guide.