Updated October 2026
Macro photography settings are different from the settings you use for everything else. At close focusing distances, the zone of sharp focus becomes razor thin, light drops off fast, and even a gentle breeze can ruin a frame. If your close-up shots keep coming out soft, the cause is almost always one of a handful of settings: aperture, shutter speed, ISO, focus method and light. This guide covers each one, explains the trade offs, and ends with a clear workflow for focus stacking so you can get a whole subject sharp from front to back.
This post is about settings and stacking. If you want a wider overview of the craft, read our guide on mastering macro photography techniques. If you are still choosing a lens, see our macro lens guide.
 Save
SaveWhat “macro” actually means
True macro means the subject is projected onto the sensor at life size or larger. A magnification of 1:1 means a subject 10 mm wide takes up 10 mm on the sensor. Many lenses labeled “macro” reach 1:2, which is half life size, and that is still great for flowers and larger insects. Everything in this guide applies to both, but the closer you get to 1:1, the more extreme the effects become.
Two facts shape every setting choice:
- Depth of field shrinks as magnification grows. At close range, the sharp zone can be a few millimeters deep or less, even at a small aperture.
- Light gets scarce. Small apertures and high magnification mean less light reaches the sensor, so you need slower shutter speeds, higher ISO or added light.
Every setting below is a way of balancing those two problems.
Shooting mode: start with aperture priority or manual
Aperture priority is a good place to begin, because depth of field is the main decision. You pick the aperture, the camera picks the shutter speed, and you use exposure compensation to correct the result. Manual mode is better once you use flash or stack frames, because you want every frame in a stack to have the same exposure. If you need a refresher on the exposure triangle, our composition guide pairs well with the Academy courses on aperture, shutter speed and ISO.
Aperture: balancing depth of field and sharpness
Aperture is the most important macro setting. A wide opening (a small f-number such as f/2.8) gives a thin slice of focus and a soft, creamy background. A small opening (a large f-number such as f/16) gives more depth of field but introduces diffraction, a softening of fine detail that gets worse as the opening shrinks.
Here is a practical way to think about it:
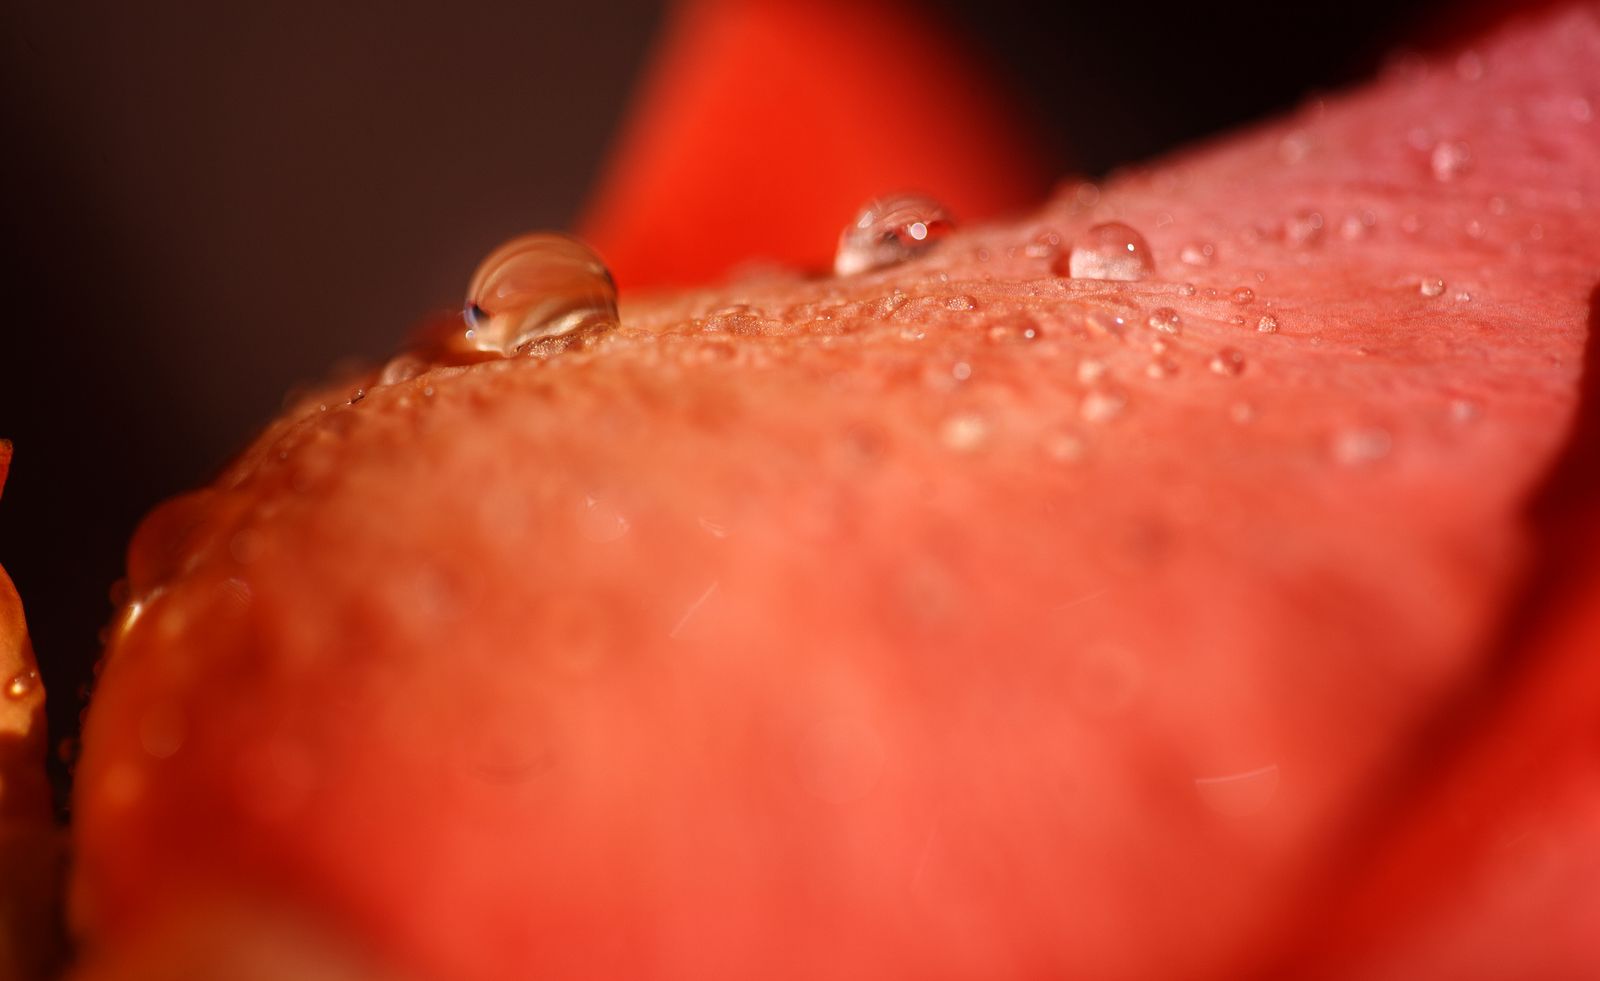
- f/2.8 to f/5.6: thin focus, strong background blur. Good for isolating one detail, like the eye of an insect or a single dewdrop.
- f/8 to f/11: a common middle ground. More of the subject is sharp, and diffraction is still modest on many lenses.
- f/13 and smaller: more depth of field, but visible softening from diffraction. Use only when you must. If you plan to stack frames, you can usually stay at a middle aperture and take more frames instead, which avoids that softening.
The exact point where diffraction becomes obvious depends on your sensor and lens, so test it. Photograph a flat, detailed object at several apertures and compare them at full size. Your own test tells you more than any rule of thumb.
 Save
SaveShutter speed: freeze the world, not just the subject
At macro distances, every tiny movement is magnified. A shutter speed that is fine for a landscape can blur a close-up of a flower. The right speed depends on what is moving.
- Camera on a tripod, still subject: shutter speed can be slow, as long as nothing moves.
- Camera on a tripod, breeze moving the subject: you need a faster speed, or a way to block the wind, such as a diffuser or your own body as a windbreak.
- Hand held: use a fast speed, and use flash if you can. Brace your elbows, and shoot a burst so at least one frame is sharp.
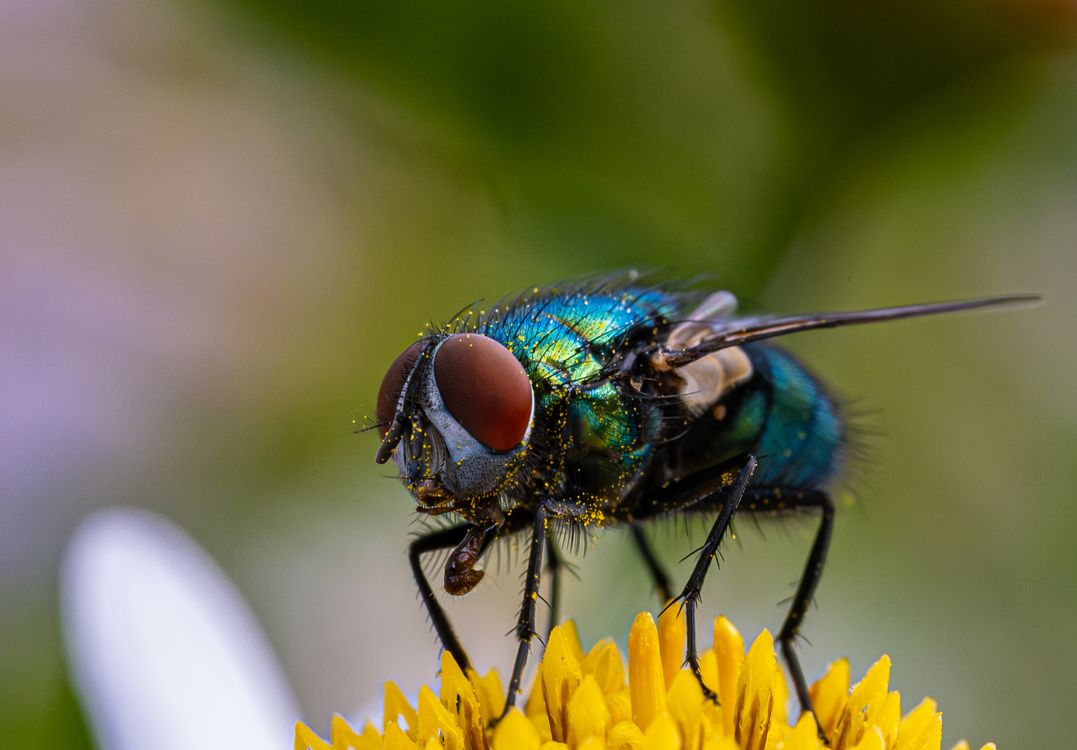
- Live insects: they can move fast and unpredictably, so a quick shutter speed or flash is the safest way to freeze them.
If you shoot on a tripod, turn off image stabilization unless your lens is designed to handle tripod use. Check the lens manual, because some systems work fine and others can introduce blur.
ISO: keep it low, but not at any cost
Low ISO keeps noise down and preserves the fine texture that makes macro images so pleasing. Use the base ISO of your camera when you can. But a sharp, slightly noisy image beats a clean, blurry one. If you need a fast shutter speed and a small aperture and cannot add light, raise the ISO. Modern noise reduction in programs like Lightroom can clean up a lot, and our Lightroom speed guide helps you keep that workflow fast on large files.
Focus: manual beats autofocus at high magnification
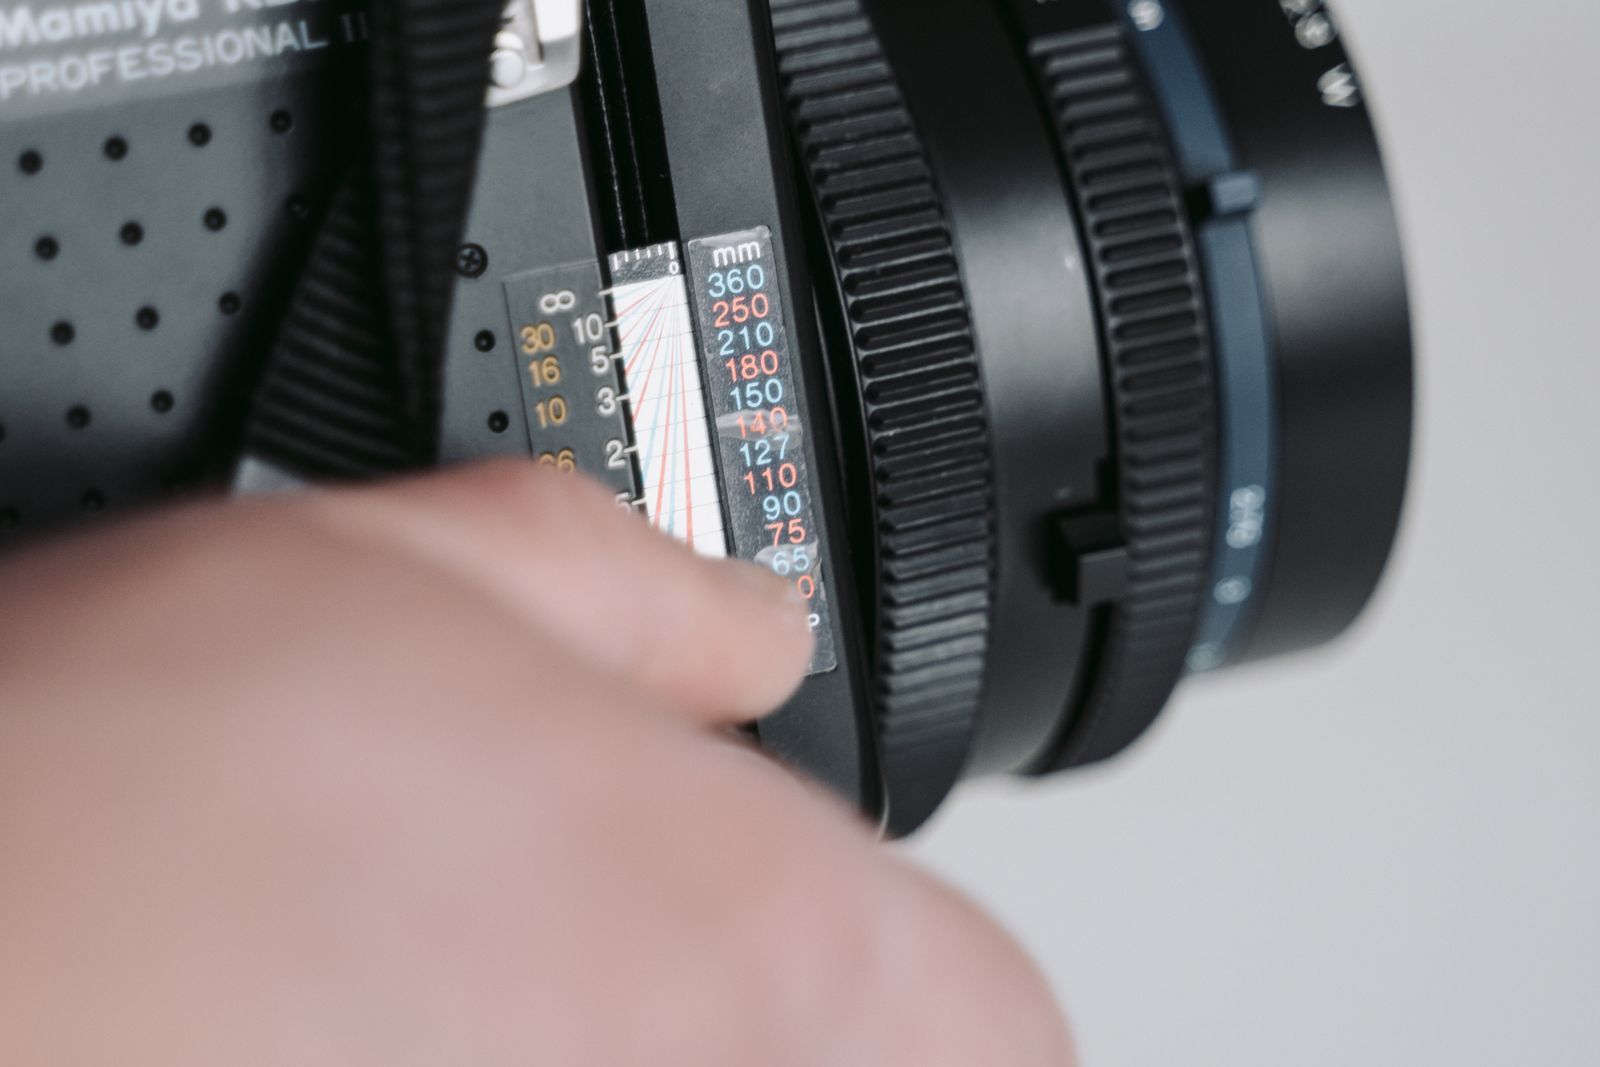
At close range, autofocus often hunts or lands on the wrong spot. Many macro shooters switch to manual focus and do one of two things:
- Set the magnification first, then move the camera. Turn the focus ring to a fixed distance, then rock your body or the camera gently forward and back until the subject snaps into focus.
- Use magnified live view. Zoom the live view display in and focus on exactly the part you care about. Some cameras also offer focus peaking, but check whether yours works while the view is magnified.
 Save
SavePick the focus point on purpose. For an insect, that is usually the eye. For a flower, it is often the nearest edge of the stamen or the front of the petal. Since depth of field is so thin, a small error in the focus point can leave the most important part soft.
Light: the setting you cannot see on the dial
Light is the secret ingredient in macro work. You have three main choices:
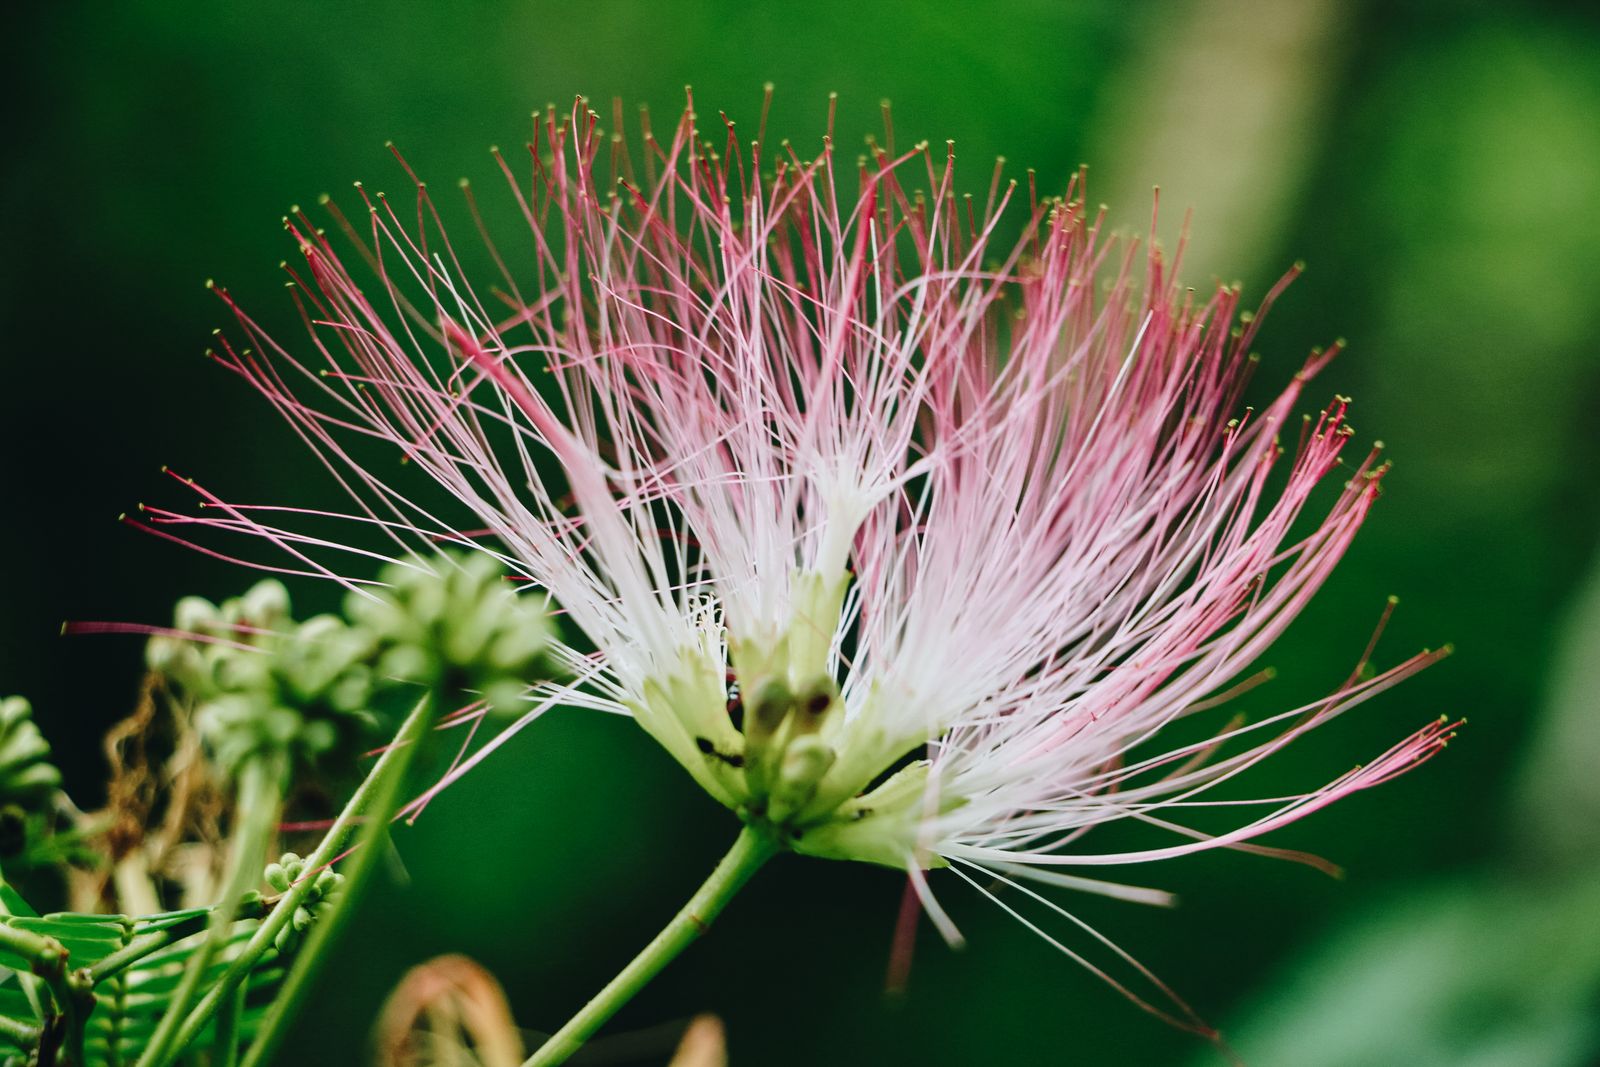
- Natural light. Soft, overcast light and open shade are flattering and simple. Backlight can make petals and insect wings glow.
- Reflectors and diffusers. A small reflector bounces light back into the shadows. A diffuser, even a white translucent panel, softens harsh sun.
- Flash. A flash lets you use a small aperture, a low ISO and a fast effective shutter speed all at once, since the burst of light freezes motion. Ring flashes and twin flashes are made for this. Diffuse the light, or it will look harsh and flat.
When you use flash, the shutter speed mostly controls the background (ambient light), while the flash controls the subject. That means you can darken a bright background by raising the shutter speed up to your camera’s flash sync limit, and keep the subject lit by the flash.
 Save
SaveFocus stacking: the real answer to thin depth of field
When one frame cannot hold the whole subject in focus, focus stacking is the answer. You take a series of images, each focused at a slightly different distance, then blend them. It lets you use a sweet-spot aperture, such as f/8, and still cover the whole subject, as long as the focus steps overlap and run from the nearest part of the subject to the farthest.
How to shoot a focus stack
- Use a stable setup. The camera should not shift by accident between frames. A sturdy tripod keeps it still. If you add a focusing rail, the rail moves the camera in small, equal steps, which is the one movement you want.
- Use manual focus and manual exposure. Lock your exposure so every frame matches. Turn off autofocus so it does not refocus between shots.
- Start at the closest part of the subject. Focus there for the first frame.
- Move the focus a small step farther away for each frame. You can turn the focus ring a little, or move the camera on a rail. Overlap the steps, so each zone of sharpness overlaps the last.
- Keep going until the farthest part is sharp. The number of frames depends on your magnification and aperture. It can be a handful or dozens.
- Use a remote release or timer. That avoids shaking the camera when you press the shutter.
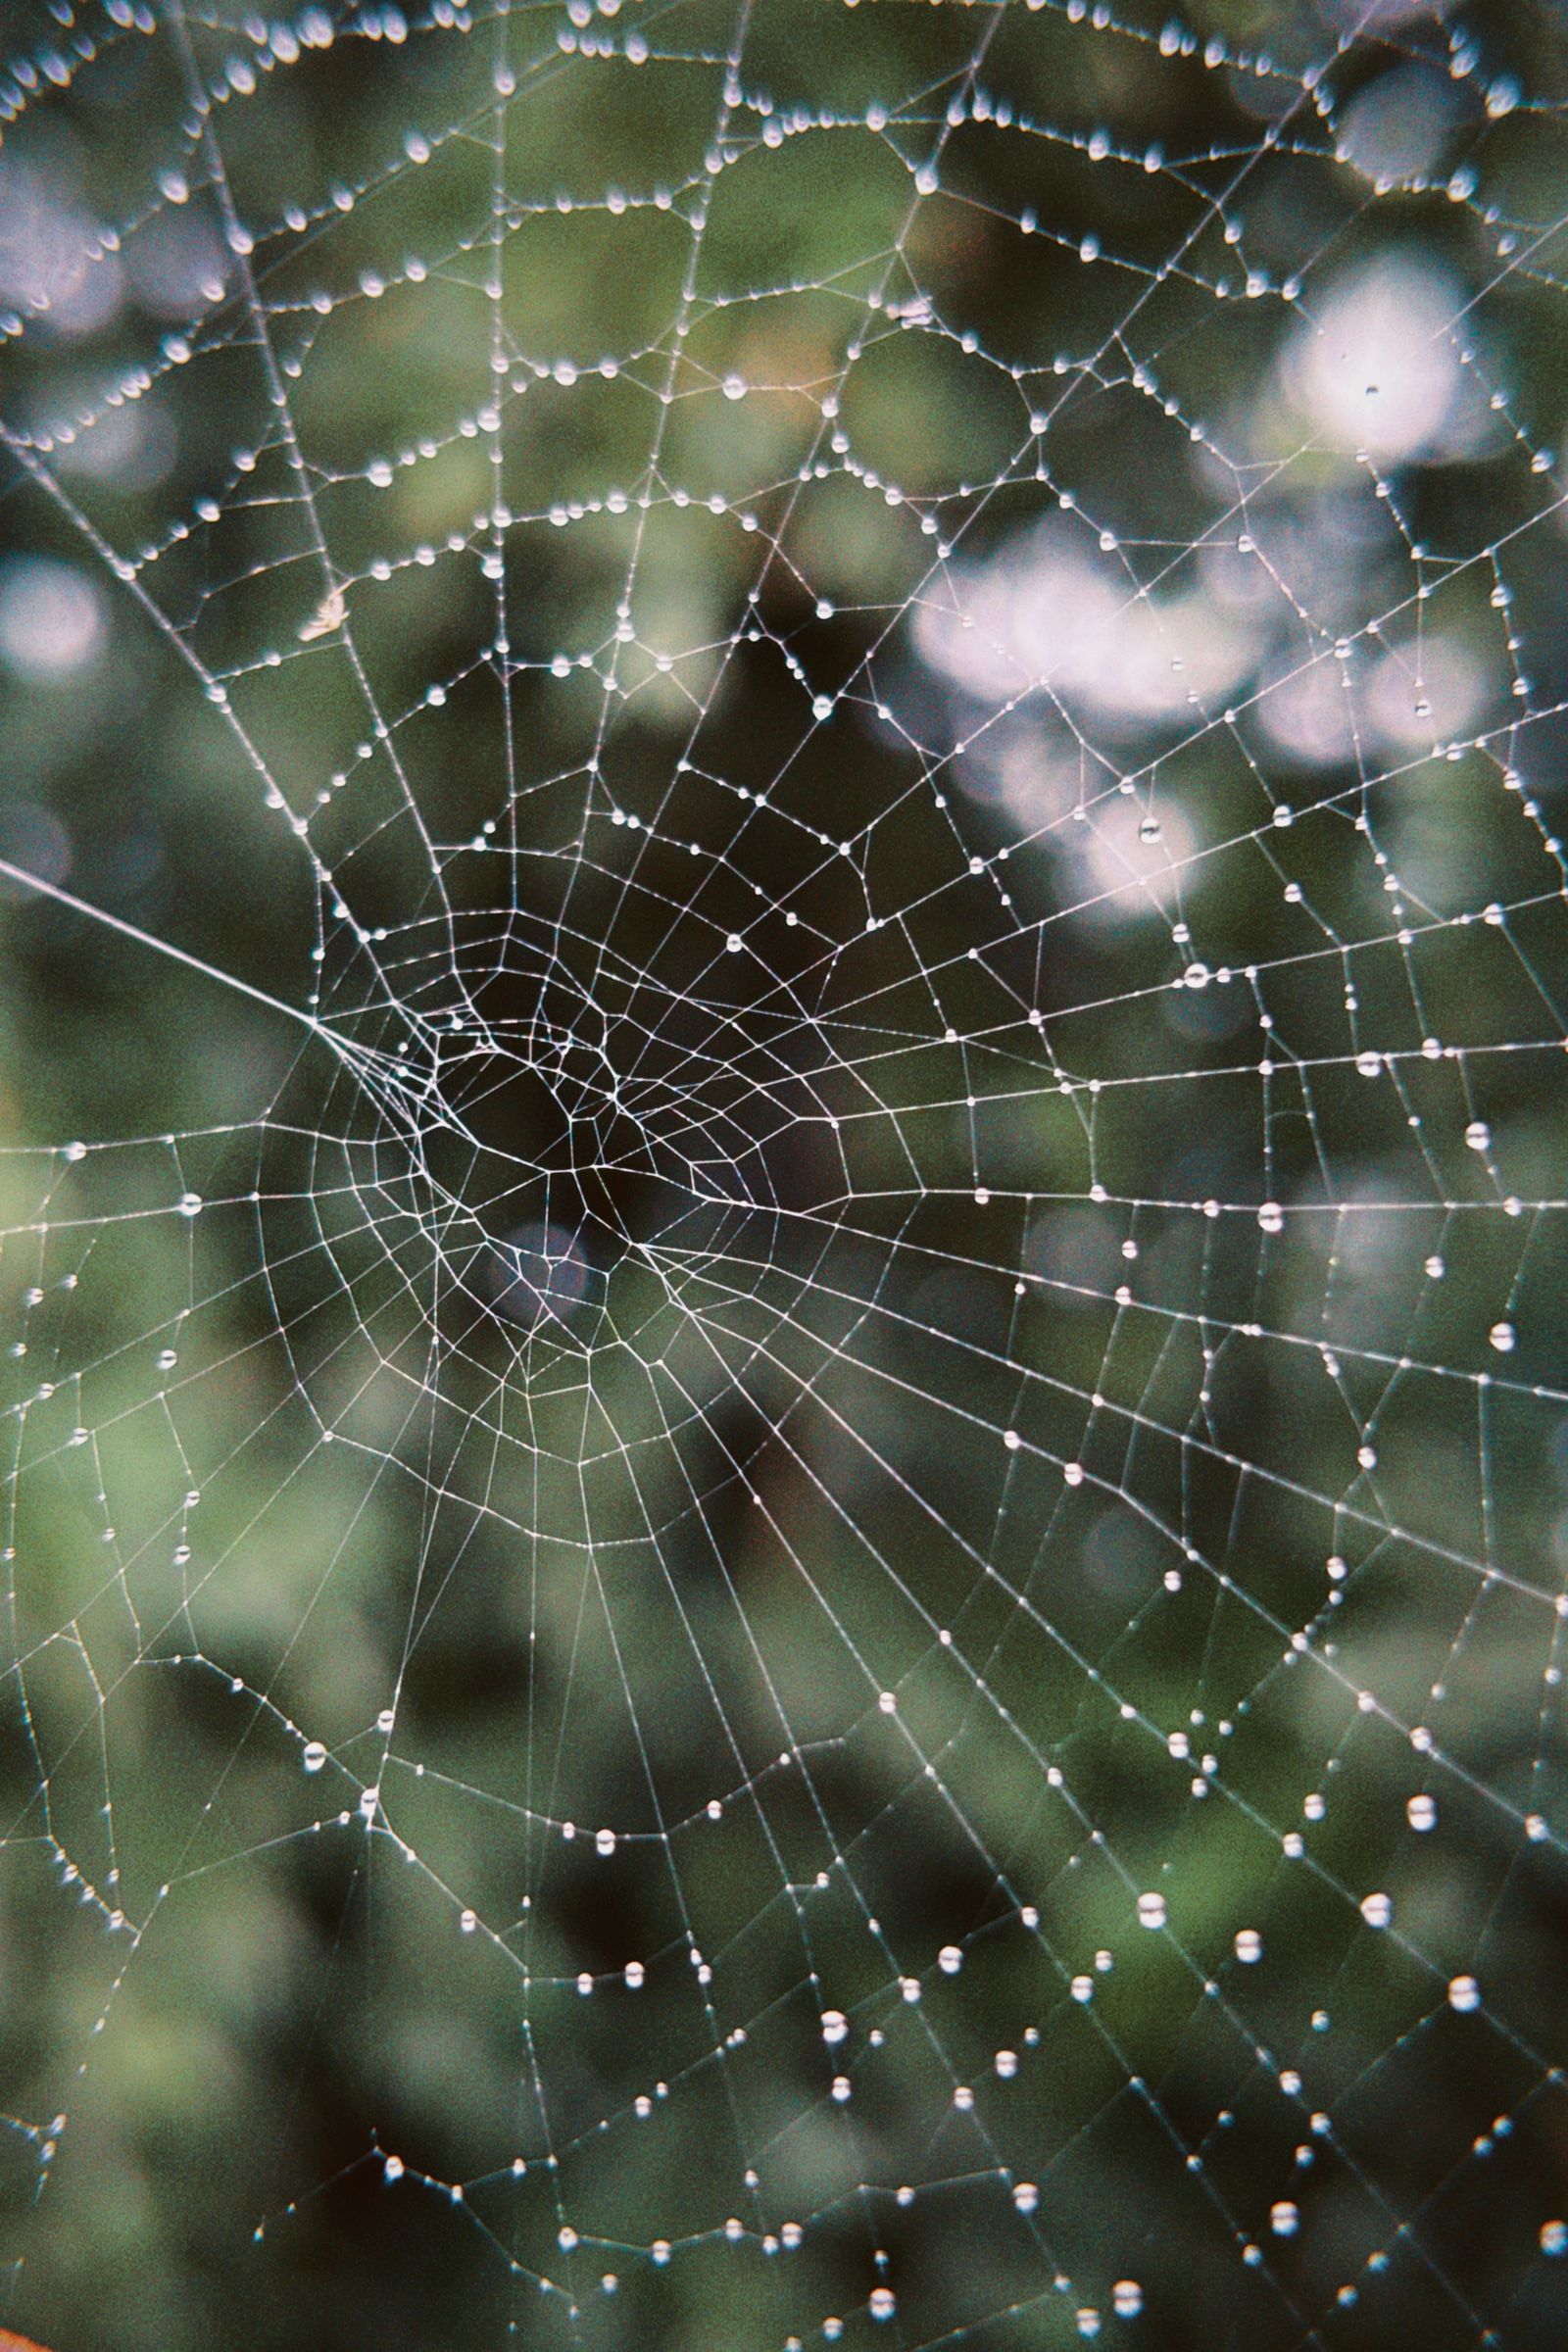
Some cameras have built-in focus bracketing that does the stepping for you. Check your camera menu, since many recent models include it. Still subjects like flowers, mushrooms and frost are the easiest to stack. Moving subjects, like insects or flowers in the wind, are much harder.
 Save
SaveHow to blend a stack in Photoshop
Adobe documents a standard method for blending images with different focus points. In summary:
- Load your frames into Photoshop as layers (for example from Adobe Bridge using Tools, Photoshop, Load Files into Photoshop Layers, or from Lightroom Classic with Photo, Edit In, Open as Layers in Photoshop).
- In the Layers panel, select all of the layers.
- Choose Edit, then Auto-Align Layers.
- With the layers still selected, choose Edit, then Auto-Blend Layers.
- In the dialog, set the Blend Method to Stack Images and click OK.
You can read Adobe’s own steps on its help page, Create a composite with extended depth of field. After blending, check the edges and any areas where the software made odd choices, and fix them with layer masks. Dedicated stacking programs also exist, and many photographers try a few to see which suits their subjects.
Cheap tools that change your macro results
- Extension tubes. Hollow rings that fit between camera and lens, letting it focus closer without extra glass. They reduce light, and the closer you focus, the thinner your depth of field gets.
- Close-up filters. Screw-on lenses that magnify the view. They are inexpensive, though image quality can suffer.
- A focusing rail. Lets you move the whole camera in tiny steps for stacking, instead of turning the lens.
- A remote release. Prevents shake.
- A small spray bottle. Adds artificial dewdrops to petals and leaves, if you do it gently and responsibly.
A starting recipe for common subjects
Treat these as starting points, not rules. Adjust to your light and your lens.
- Flower, still air, tripod: aperture priority around f/8, base ISO, manual focus on the nearest edge of the flower, remote release. Stack if the petals run front to back.
- Insect, hand held, daylight: a fast shutter speed, an aperture around f/8 with flash if you have it, higher ISO if needed, and burst mode.
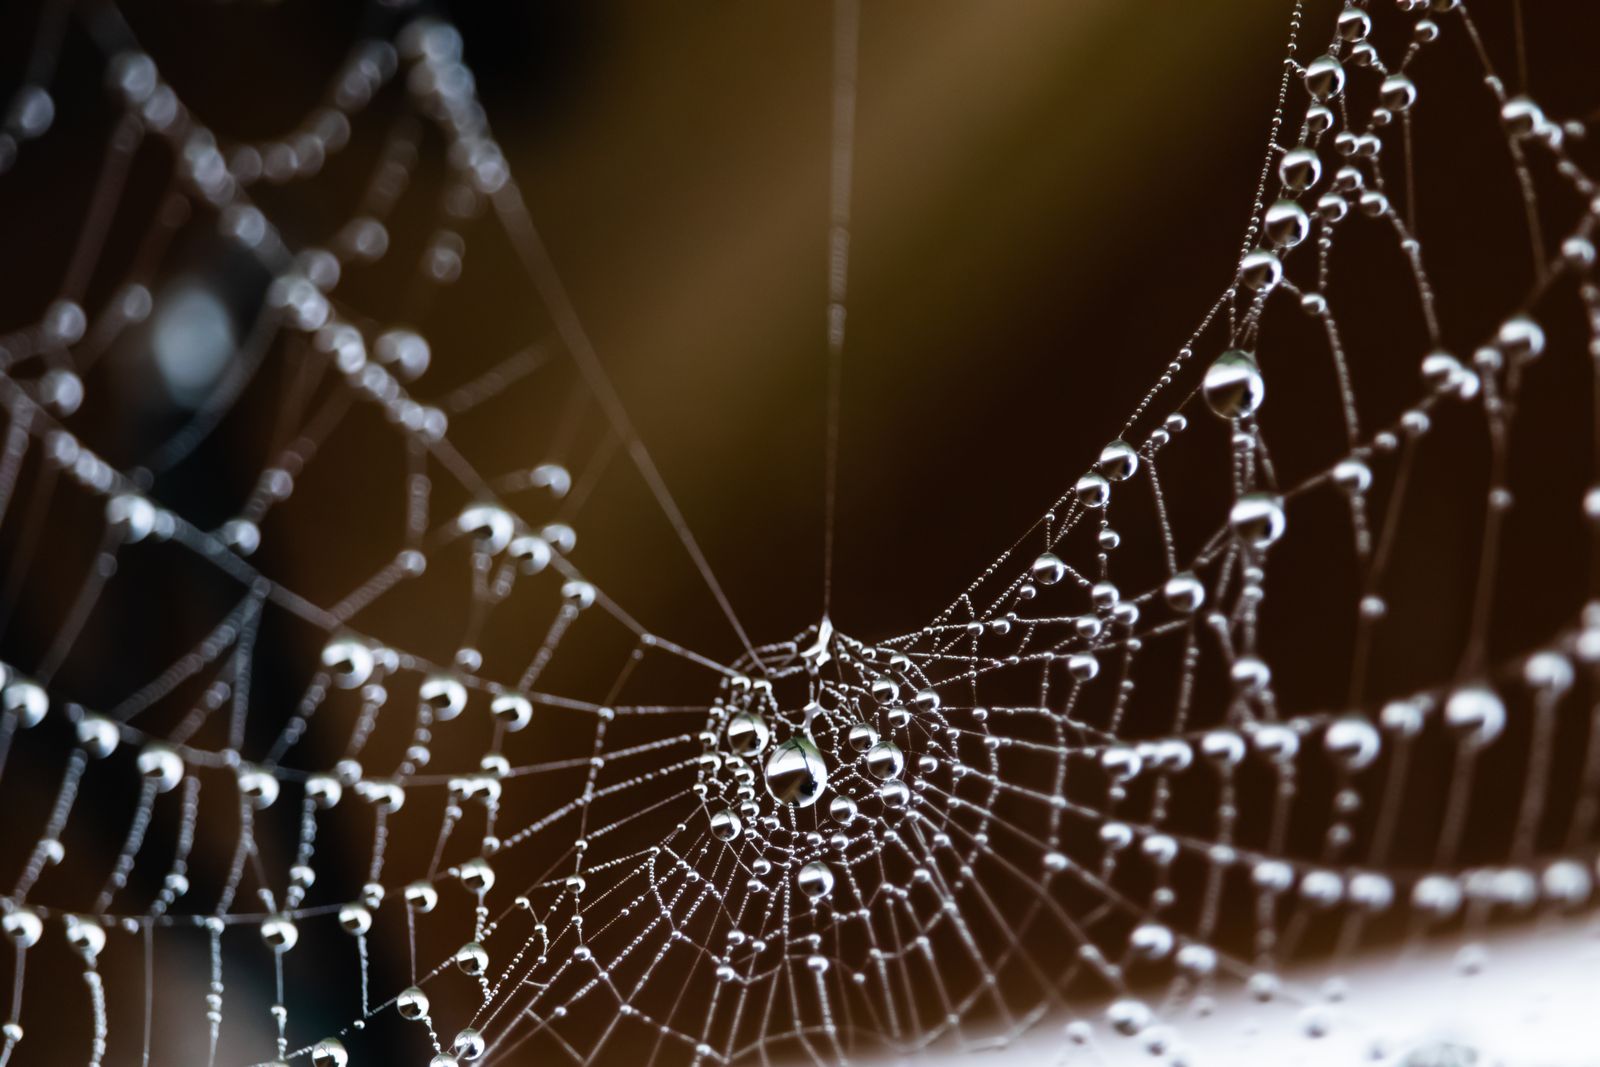
- Water drops: wide-ish aperture for a soft background, tripod, manual focus on the drop’s edge, and watch for the reflection inside the drop.
- Frost and ice: a tripod, base ISO, a mid aperture, and careful exposure compensation, since white subjects can fool the meter.
- Mushrooms and moss: a tripod, since forest light is often dim, with a mid aperture and a stack if you want both the cap and the stem sharp.
 Save
SaveCommon mistakes and how to fix them
- Everything is soft. Check for camera shake, a shutter speed that is too slow, or focus on the wrong plane. Try a tripod and a remote release.
- The subject is sharp but the background is distracting. Change your angle. Even a few centimeters can swap a busy background for a smooth one.
- Harsh flash shadows. Diffuse the flash with a softbox or a translucent panel.
- Edges look odd after stacking. Shoot more frames with more overlap, and keep the subject still.
- Everything looks flat. Look for side light or backlight to bring out texture.
Keep learning
Settings are only part of the craft. Explore more photography tips at the Shut Your Aperture Academy. For more subjects to practice on, try our guide to water macro photography.
Frequently asked questions
What aperture should I use for macro photography?
Most macro photographers start around f/8 to f/11 and adjust from there. A smaller opening adds depth of field, but past a certain point diffraction softens fine detail, so there is a trade off. Focus stacking lets you use a sharper middle aperture and still cover the whole subject.
What ISO should I use for macro?
Use the lowest ISO that still gives you a fast enough shutter speed. On a tripod with a still subject, base ISO is usually fine. Raise it only when you need a faster shutter for a moving subject or wind.
What shutter speed do I need for macro?
It depends on whether the camera or the subject moves. On a tripod with a still subject, the shutter speed can be slow. Hand held, or with a breeze moving the flower, you need a much faster speed, or flash to freeze the motion.
What is focus stacking?
Focus stacking means taking several photos of the same scene with the focus point moved a little each time, then blending the sharpest parts of each frame into one image with more depth of field than a single shot can give.
Do I need a ring flash for macro?
No. Natural light, a reflector and a diffuser can work well. Flash helps when you want a small aperture, a low ISO and a frozen subject at the same time, but it is optional.
Is a tripod necessary for macro photography?
Not always, but it helps a lot, especially for focus stacking and for low light. At high magnification, tiny movements shift the focus plane, so a stable support makes a big difference.
Gear box: research starting points
These are starting points for your own research, not endorsements. Compare current models, check compatibility with your camera, and read recent reviews first.
- Macro lenses: See macro lenses at B&H | See macro lenses on Amazon
- Extension tubes: See extension tubes at B&H | See extension tubes on Amazon
- Macro focusing rail: See focusing rails at B&H | See focusing rails on Amazon
- Macro flash (the B&H results include ring and twin flash units): See macro flashes at B&H | See macro flashes on Amazon
- Reflector and diffuser: See 5-in-1 reflectors at B&H | See 5-in-1 reflectors on Amazon
Affiliate disclosure: some links above are affiliate links. If you buy through them, Shut Your Aperture may earn a small commission at no extra cost to you. As an Amazon Associate, Shut Your Aperture earns from qualifying purchases.