Updated October 2026
The timeless dance of light and shadow, the purest colours of nature, and the intrigue of the world’s most majestic creatures – welcome to the realm of wildlife photography. Learning wildlife photography is not just about understanding the technical intricacies of your camera, it’s about immersing yourself in the natural world and persuading its inhabitants to let you capture their most intimate moments on film. This guide explores the crucial aspects of wildlife photography, starting with understanding your camera settings tailored for wildlife capture to mastering field skills and ethics, culminating in the art of post-processing to enhance your raw captures.
Understanding Camera Settings for Wildlife Photography
Mastering the Art of Wildlife Photography: Essential Camera Settings
Every ardent wildlife photographer knows that the right set of camera settings are the essence of capturing those magical moments with perfection. While wildlife photography brings with it an innate unpredictability, understanding and mastering your camera’s settings can arm you with the power to freeze those raw, untamed moments into beautiful stills.
Lighting, speed, focus, and more – let’s delve into the most useful camera settings that every wildlife photographer should know.
- Aperture Priority Mode:
If understanding how to manipulate your aperture, shutter speed, and ISO is still a work in progress, it’s recommended to start with Aperture Priority mode. This user-friendly setting allows the photographer to control the aperture manually while the camera automatically adjusts the shutter speed. This is particularly beneficial in environments with changing light conditions. - Shutter speed:
Fast-moving wildlife is a tricky subject to capture. Higher shutter speeds (1/500 to 1/1000 is generally sufficient) freeze action and minimize camera shake. However, it’s a game of balance; faster shutter speeds demand more light. In low light situations, one might need to adjust the ISO. - ISO levels:
ISO, along with shutter speed and aperture, forms the pillar of exposure. To maintain the quality of an image, it’s best to keep ISO at the lowest possible setting. In brighter conditions, an ISO of 200-400 works well. However, dusk, dawn or shady environments might demand higher ISOs, pushing it up to 800, 1600, or above. - Auto Focus – Continuous (AF-C/Al Servo):
Wildlife is rarely stationary, which makes the auto focus-continuous mode invaluable in tracking moving subjects. This will maintain focus on the animal even if it moves. - Drive Mode – Continuous High (CH):
Capture the essence of wildlife action with the Continuous High drive mode. This mode allows high-speed continuous shooting, which increases the opportunities of getting that perfect shot in a fast-paced situation. - Exposure Compensation:
Digital cameras often struggle with metering the light in high-contrast situations such as snow or dark shadows. Exposure Compensation allows the photographer to override the camera’s automatic settings to correct for these challenges. - Back Button Focus:
A much-loved tool amongst seasoned wildlife photographers, back button focus separates the focusing from the shutter button, thus giving separate control over focus and shutter release. This allows for greater control and ability to immediately react to unexpected wildlife movements. - Raw Format:
While JPEG may offer convenience, RAW grants the maximum amount of detail and flexibility in post-processing. Wildlife photography often involves tweaking the exposure or removing noise; the RAW format is more forgiving in this regard.
Harnessing these camera settings can indeed make a vast difference in wildlife photography. So grab your camera gear, head into the wild and let these settings be your companion in capturing the enchanting, wild essence in its most beautiful form.
Field Skills and Ethics in Wildlife Photography
The Elements of Ethical Wildlife Photography: A Walk On The Wild Side.
Wildlife photography boasts a captivating allure that extends beyond the realm of conventional photography styles. This rewarding yet challenging art form requires a blend of mastery in technical skills and a deep respect for nature. But, snapping that perfect shot should never compromise the wellbeing of your subjects. Hone your wildlife photography craft with the following guidelines, ensuring you approach wildlife safely and ethically.
- Understand the Species:
- Respect Wilderness Rules:
- Maintain a Safe Distance:
- Do Not Lure Animals:
- Make No Assumptions:
- Carry Essential Equipment:
The key to ethical wildlife photography lies in understanding the species you plan to photograph. Every species behaves and responds differently, so spend ample time learning about the animal’s habits, their comfort zones, seasonal movements, and signs of distress. This research not only minimizes potential harm to the animals but also helps capture their natural behavior in photos more accurately.
Every natural reserve, national park, or wildlife retreat works tirelessly to maintain the balance of the ecosystem while offering visitors the chance to observe its beauty. Therefore, it’s essential to respect all regulations set by these places. Stick to designated paths, keep noise levels down, and never discard waste in the wild.
Avoid crowding or approaching animals too closely. Many wildlife photographers recommend animal-tracking binoculars or telephoto lenses to capture detailed and intimate shots without intruding on the animal’s space. Remember, causing distress in the pursuit of a photograph is not ethical.
Using bait to lure animals into a certain position or disregarding their natural behavior for the sake of a photo, again, isn’t ethical wildlife photography. It’s important not to disrupt an animal’s diet, routine, or lifestyle in any way. The allure of wildlife photography lies in snapping unaltered, candid behaviors in their natural habitat.
Remember, never assume an animal’s comfort level with human presence. Even if an animal seems unperturbed, sudden movements or noises could startle them, potentially putting them and the photographer in danger. Being patient, composed, and observant is key in wildlife photography.
In addition to a camera and appropriate lens, consider a sturdy tripod for stability, especially when using heavy telephoto lenses. Weather-resistant gear is a must, as with an adequate supply of food and water for lengthy shoots. Also, protective clothing appropriate to the location and weather conditions ensures both your comfort and safety while in the wild.
In conclusion, moral wildlife photography balances the passion for capturing the wild’s beauty without compromising respect for nature and creatures themselves. The charm of wildlife photography lies in capturing the authenticity of the wild, and by observing these guidelines, one can not only enjoy the art of photography but also contribute towards conserving these subjects and their natural habitats.
Post-processing Techniques for Wildlife Photos
Now, as we delve deeper into this fascinating realm of wildlife photography, it’s time to discuss effective post-processing strategies designed to perfect your gorgeous captures even further. Our primary focus here will be on color grading, noise reduction, sharpening, compositional adjustments, and the use of presets.
Starting with color grading, it’s one of the most impactful post-processing features that can potentially transform a seemingly dull image into a lively and vibrant one. Wildlife often involves a plethora of natural hues, and proper color grading can enhance the subject’s detailing or sometimes, direct attention to them, thereby making them the image’s centerpiece.
Next on our list is noise reduction techniques. Although you’ve worked hard to capture the perfect shot, there’s a chance you might have high noise levels, especially on high ISO captures. Many photo editing software offers noise reduction tools that work brilliantly, such as Lightroom‘s Detail Panel or Photoshop’s noise reduction filter in the camera raw editor. Although these tools can sometimes soften the image, using them judiciously will ensure a realistic, pleasant looking shot.
Sharpening is another key post-processing technique in wildlife photography. Just be careful not to overdo the sharpening process, as it may introduce unnecessary noise and degrade image quality. It’s best to go slow and not push the sharpness slider too far. Remember, modesty is key when it comes to sharpening.
The importance of compositional changes cannot be overstated. Cropping can help you reframe a subject or eliminate any unwanted elements from a frame, making it a very powerful tool. Straightening the photo using your software’s rotation tool will keep your horizon lines level, giving a professional look to your images. Also, don’t be afraid to try different crop aspect ratios. Experimenting here might just give you that unique shot you’ve been seeking.
Finally, presets can be a very useful and time-effective technique. These handy tools let you apply a whole range of edits all at once, thereby maintaining the consistency of your photos and giving them a signature style. But remember, presets should not be your only editing strategy, they serve best as a starting point.
To capture the wild’s serene magnificence and bring life to your frames, every step counts, from the settings on your camera to adjusting just the right amount of shadows on your post-processed images. With these insightful techniques and a passion for preserving mother nature’s beauty, every click you make is sure to resonate with the soul of the wild. So, embrace your inner shutterbug and continue creating epic tales of the wilderness that speak volumes without a single word!
Fieldcraft: Getting Close Without Disturbing Animals
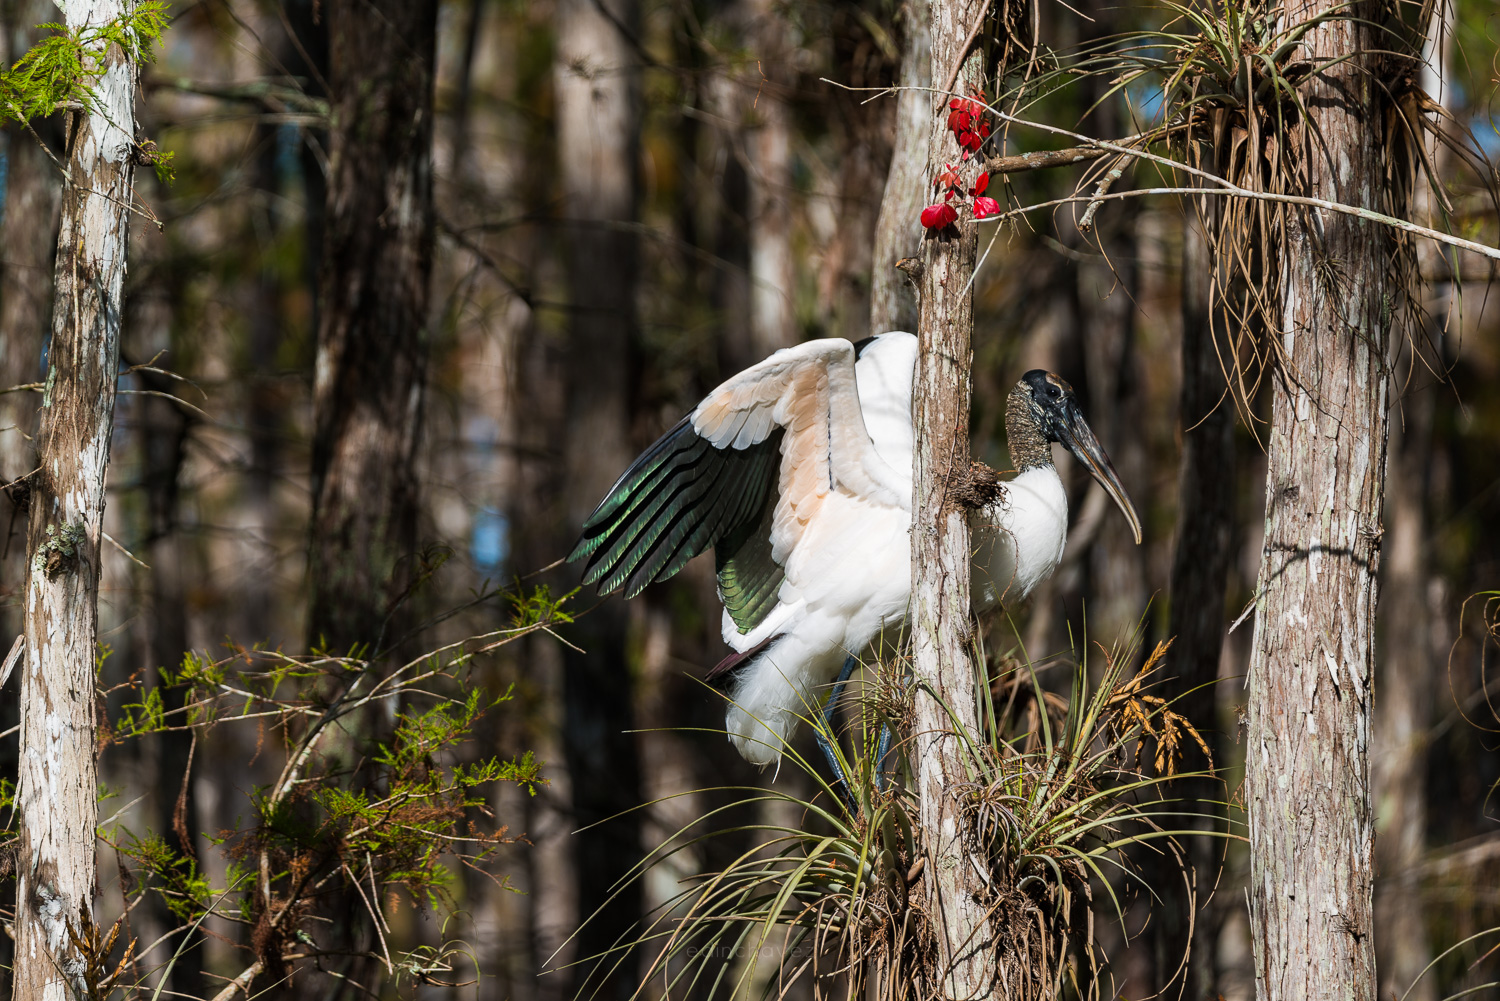
Good wildlife photos come from patience more than gear. Learn the animal before you go. Read about its habits, when it feeds and where it rests. Arrive early, since many animals are most active near dawn and dusk. Move slowly, avoid sudden gestures and wear muted clothing. Let the animal decide how close is comfortable. If it stops feeding, changes direction or watches you, you are too close, so back away.
- Use a longer lens instead of walking closer.
- Stay on marked trails and follow park rules.
- Never bait or feed wildlife to get a shot.
- Keep a safe distance from large or dangerous animals.
- Avoid nests and dens, since your presence can cause parents to abandon them.
 Save
 Save
Composition Tips for Wildlife
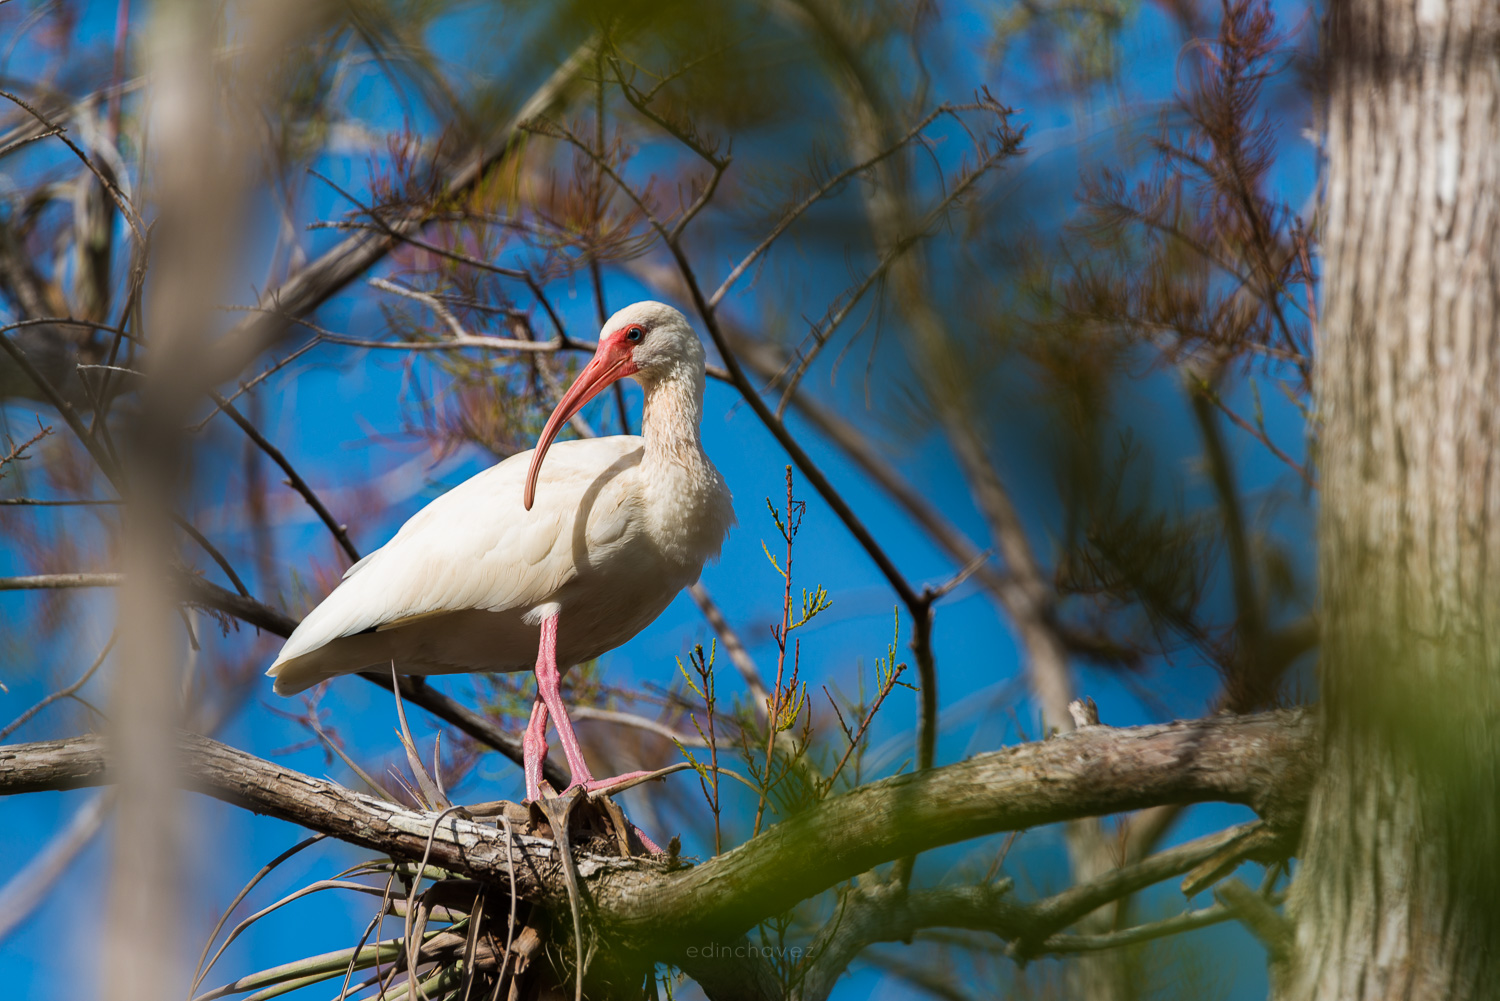
Focus on the eye. A sharp eye brings a portrait to life, even when other parts of the animal are soft. Leave space in the direction the animal is looking or moving, so the frame feels natural. Get low, since an eye-level view makes the viewer feel part of the scene. Use a wide aperture to blur a busy background, and look for clean backgrounds like water, sky or soft foliage. For behavior shots, wait for action such as feeding, flying or grooming. Check my composition guide for more ideas.
 Save
Shooting Birds in Flight
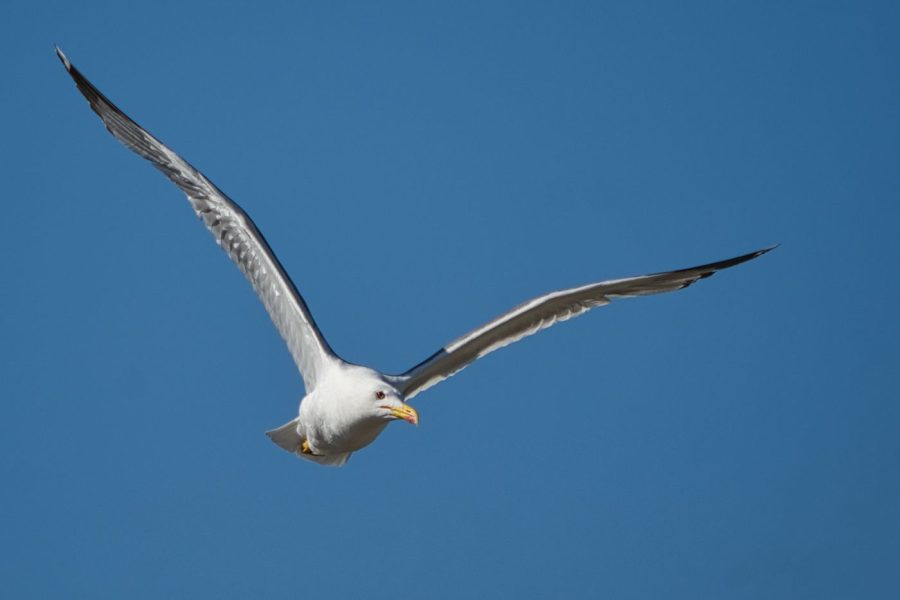
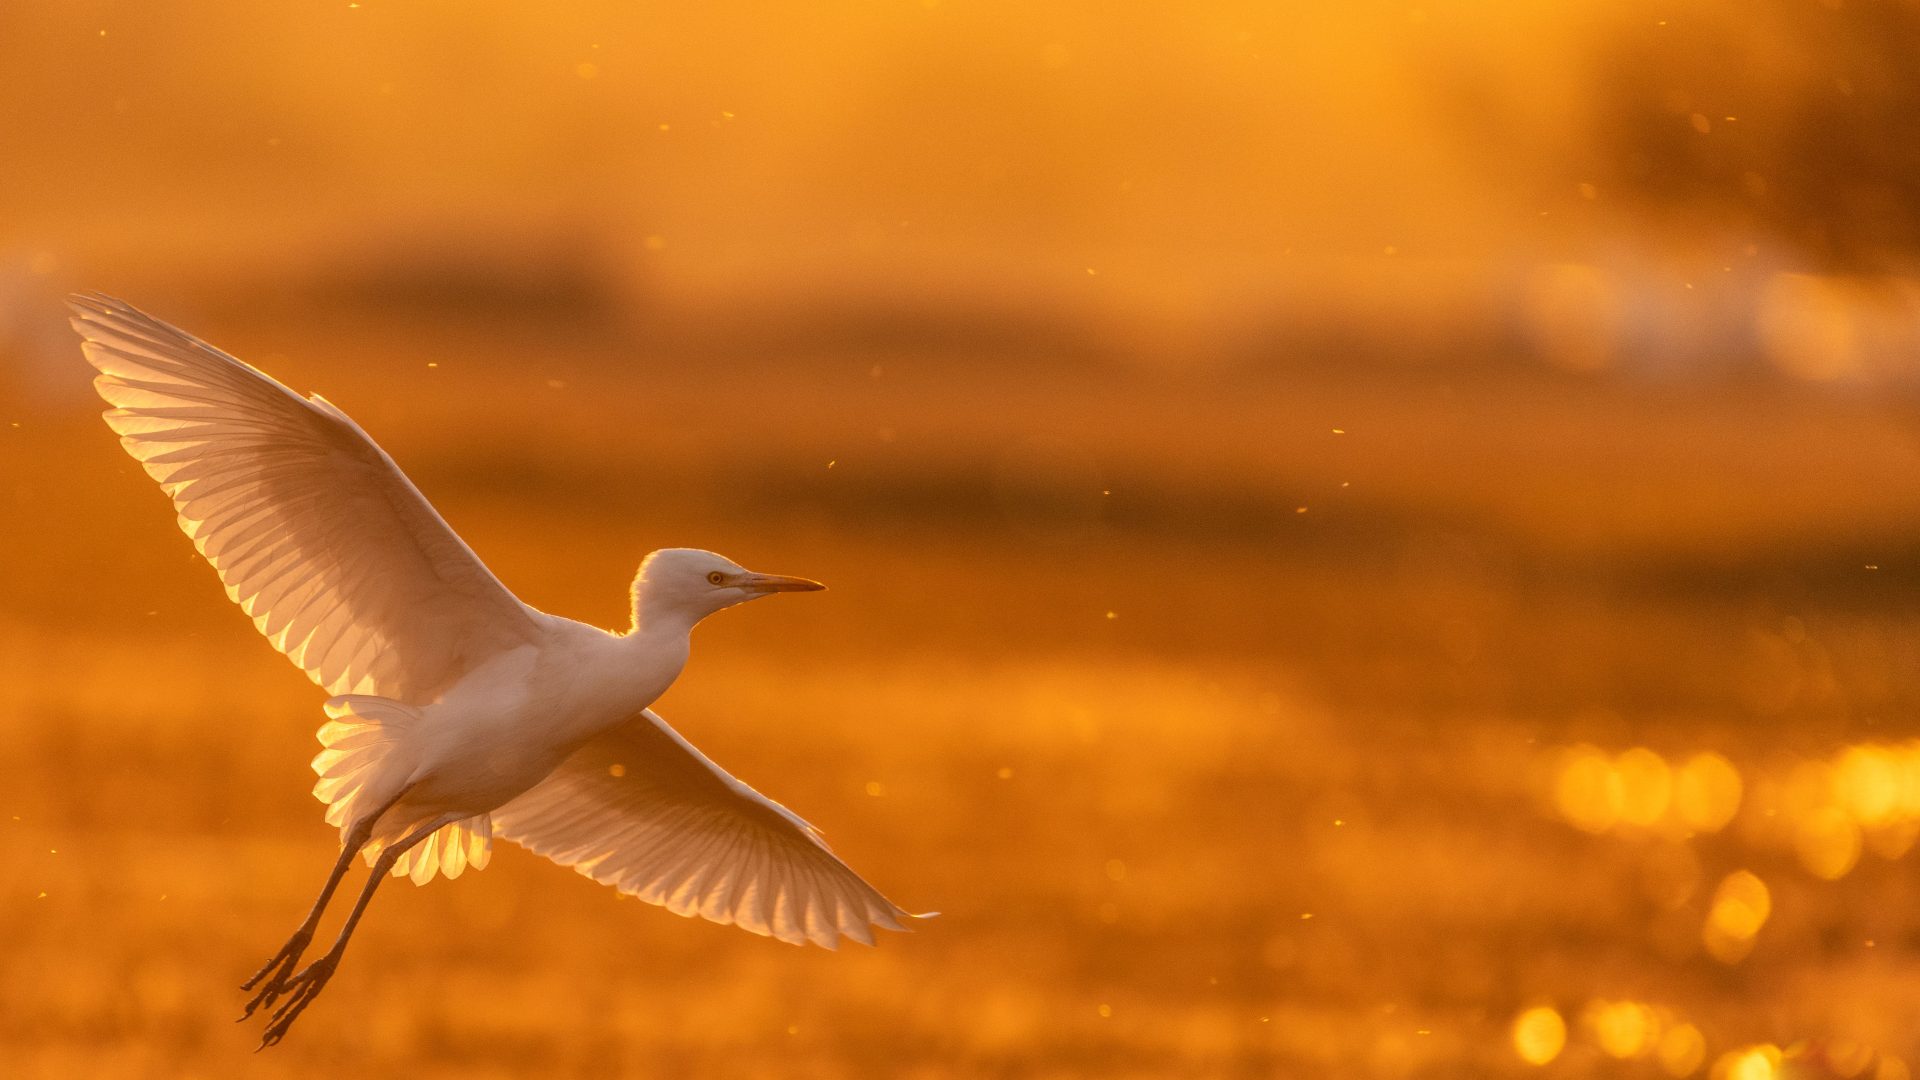
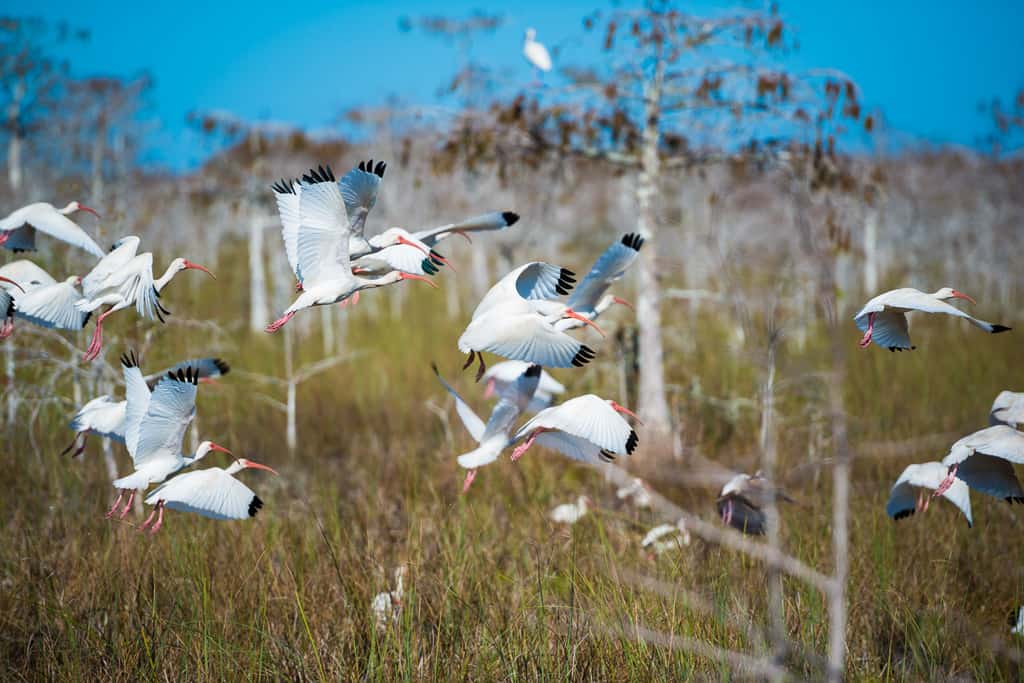
Flight shots are the hardest wildlife frames. Use a fast shutter speed, often 1/2000 sec or faster for small birds, and continuous autofocus with tracking. Pan smoothly with the bird and keep shooting in bursts. Start with a clear sky behind the subject, since autofocus holds on more easily. Practice on common birds near home before you travel.
 Save
Want to go further? The ShutYourAperture Academy’s Wildlife in Motion (6 modules, 24+ lessons) is built to help you freeze a sprinting cheetah and track birds in flight with confident autofocus and shutter control.
Wildlife Photography Questions
What shutter speed should I use for wildlife photography?
Start around 1/1000 sec for moving animals and 1/2000 sec or faster for birds in flight. Slow it down for still subjects when light is low.
What lens do I need for wildlife photography?
A telephoto zoom in the 100-400mm or 100-500mm range is a common starting point because it gives reach without a large prime.
What is the best time of day for wildlife photos?
Early morning and late afternoon, when animals are active and the light is soft and warm.
How close can I get to wild animals?
Stay far enough away that the animal behaves normally. Use a longer lens instead of moving closer, and follow local park rules.
Should I use burst mode for wildlife?
Yes. Burst mode with continuous autofocus raises your chances of catching the best wing position or expression.
Amazon and B&H links are affiliate links, and I may earn a commission at no extra cost to you. Photos are illustrative.
A masterful wildlife photograph is a coalescence of technical know-how, an ethical approach, and an eye for post-production finesse. With your refined knowledge of camera settings, you’re now ready to seize the perfect moment with precision. Armed with the understanding of not just observing but respecting wildlife, you are prepared to venture into the wild ethically and responsibly. Your newly acquired post-processing skills will allow you to polish your raw captures into captivating tales. Continue to explore, hone your skills, and never lose the awe for the wild wonders that surround us – your lens could be the pathway to making others see and respect them too.
Wildlife Photography Gear: Recommended Starting Points
Wildlife work rewards reach, fast autofocus and a camera that keeps shooting. A lens in the 100-400mm or 100-500mm range is a common first choice, and a body with good subject-tracking autofocus helps with birds in flight. The cameras below are starting points based on manufacturer specs. I am not claiming I used them in the field for this guide.
- OM System OM-1 Mark II. A Micro Four Thirds body whose smaller lenses give long reach at lower weight, with a high-speed burst mode. OM-1 Mark II on Amazon | on B&H
- Sony A6700. An APS-C body with subject-recognition autofocus, useful when you want crop reach in a compact body. Sony A6700 on Amazon | on B&H
- Nikon Z8. A full-frame pro body for demanding action and fast burst work. Nikon Z8 on Amazon | on B&H
For a full comparison, read my best camera for bird photography guide and my camera buyer guide.
Affiliate disclosure: We may earn a commission from qualifying purchases through these gear links at no extra cost to you. As an Amazon Associate, Shut Your Aperture earns from qualifying purchases.