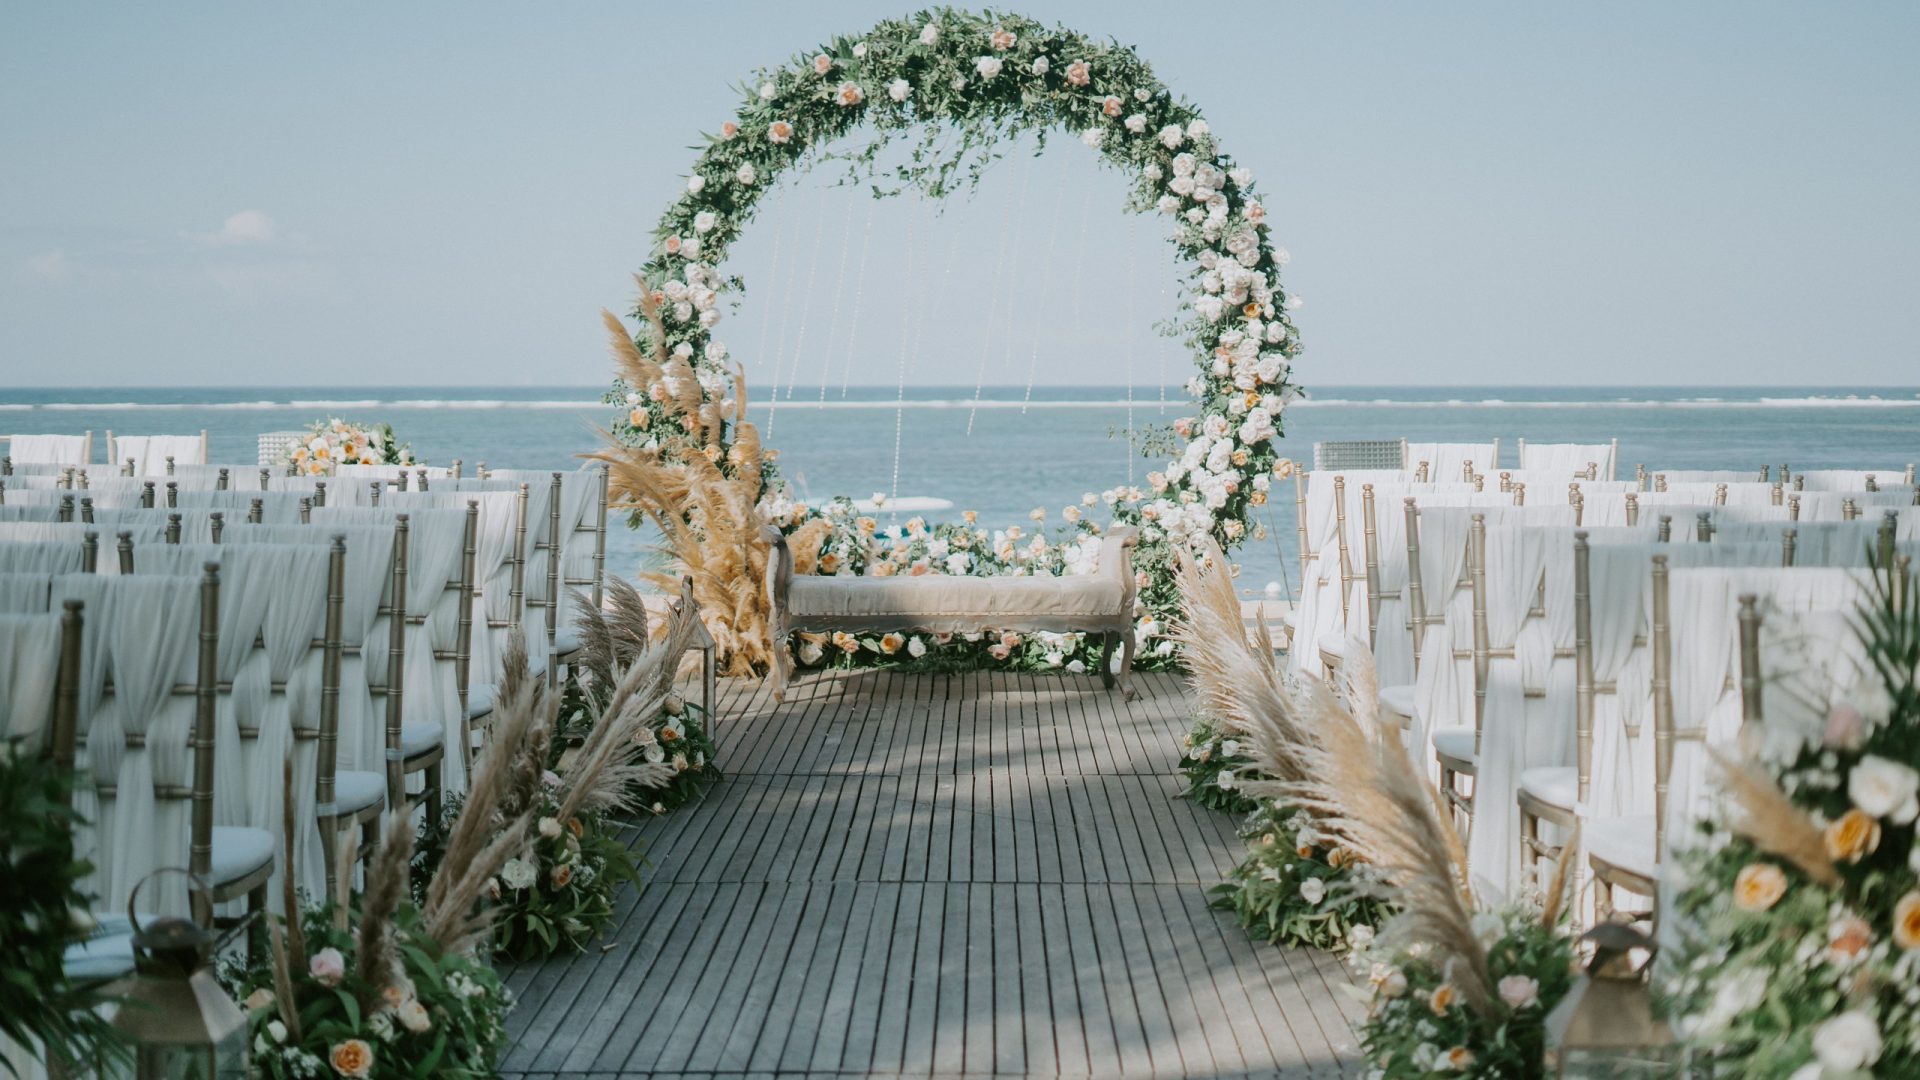
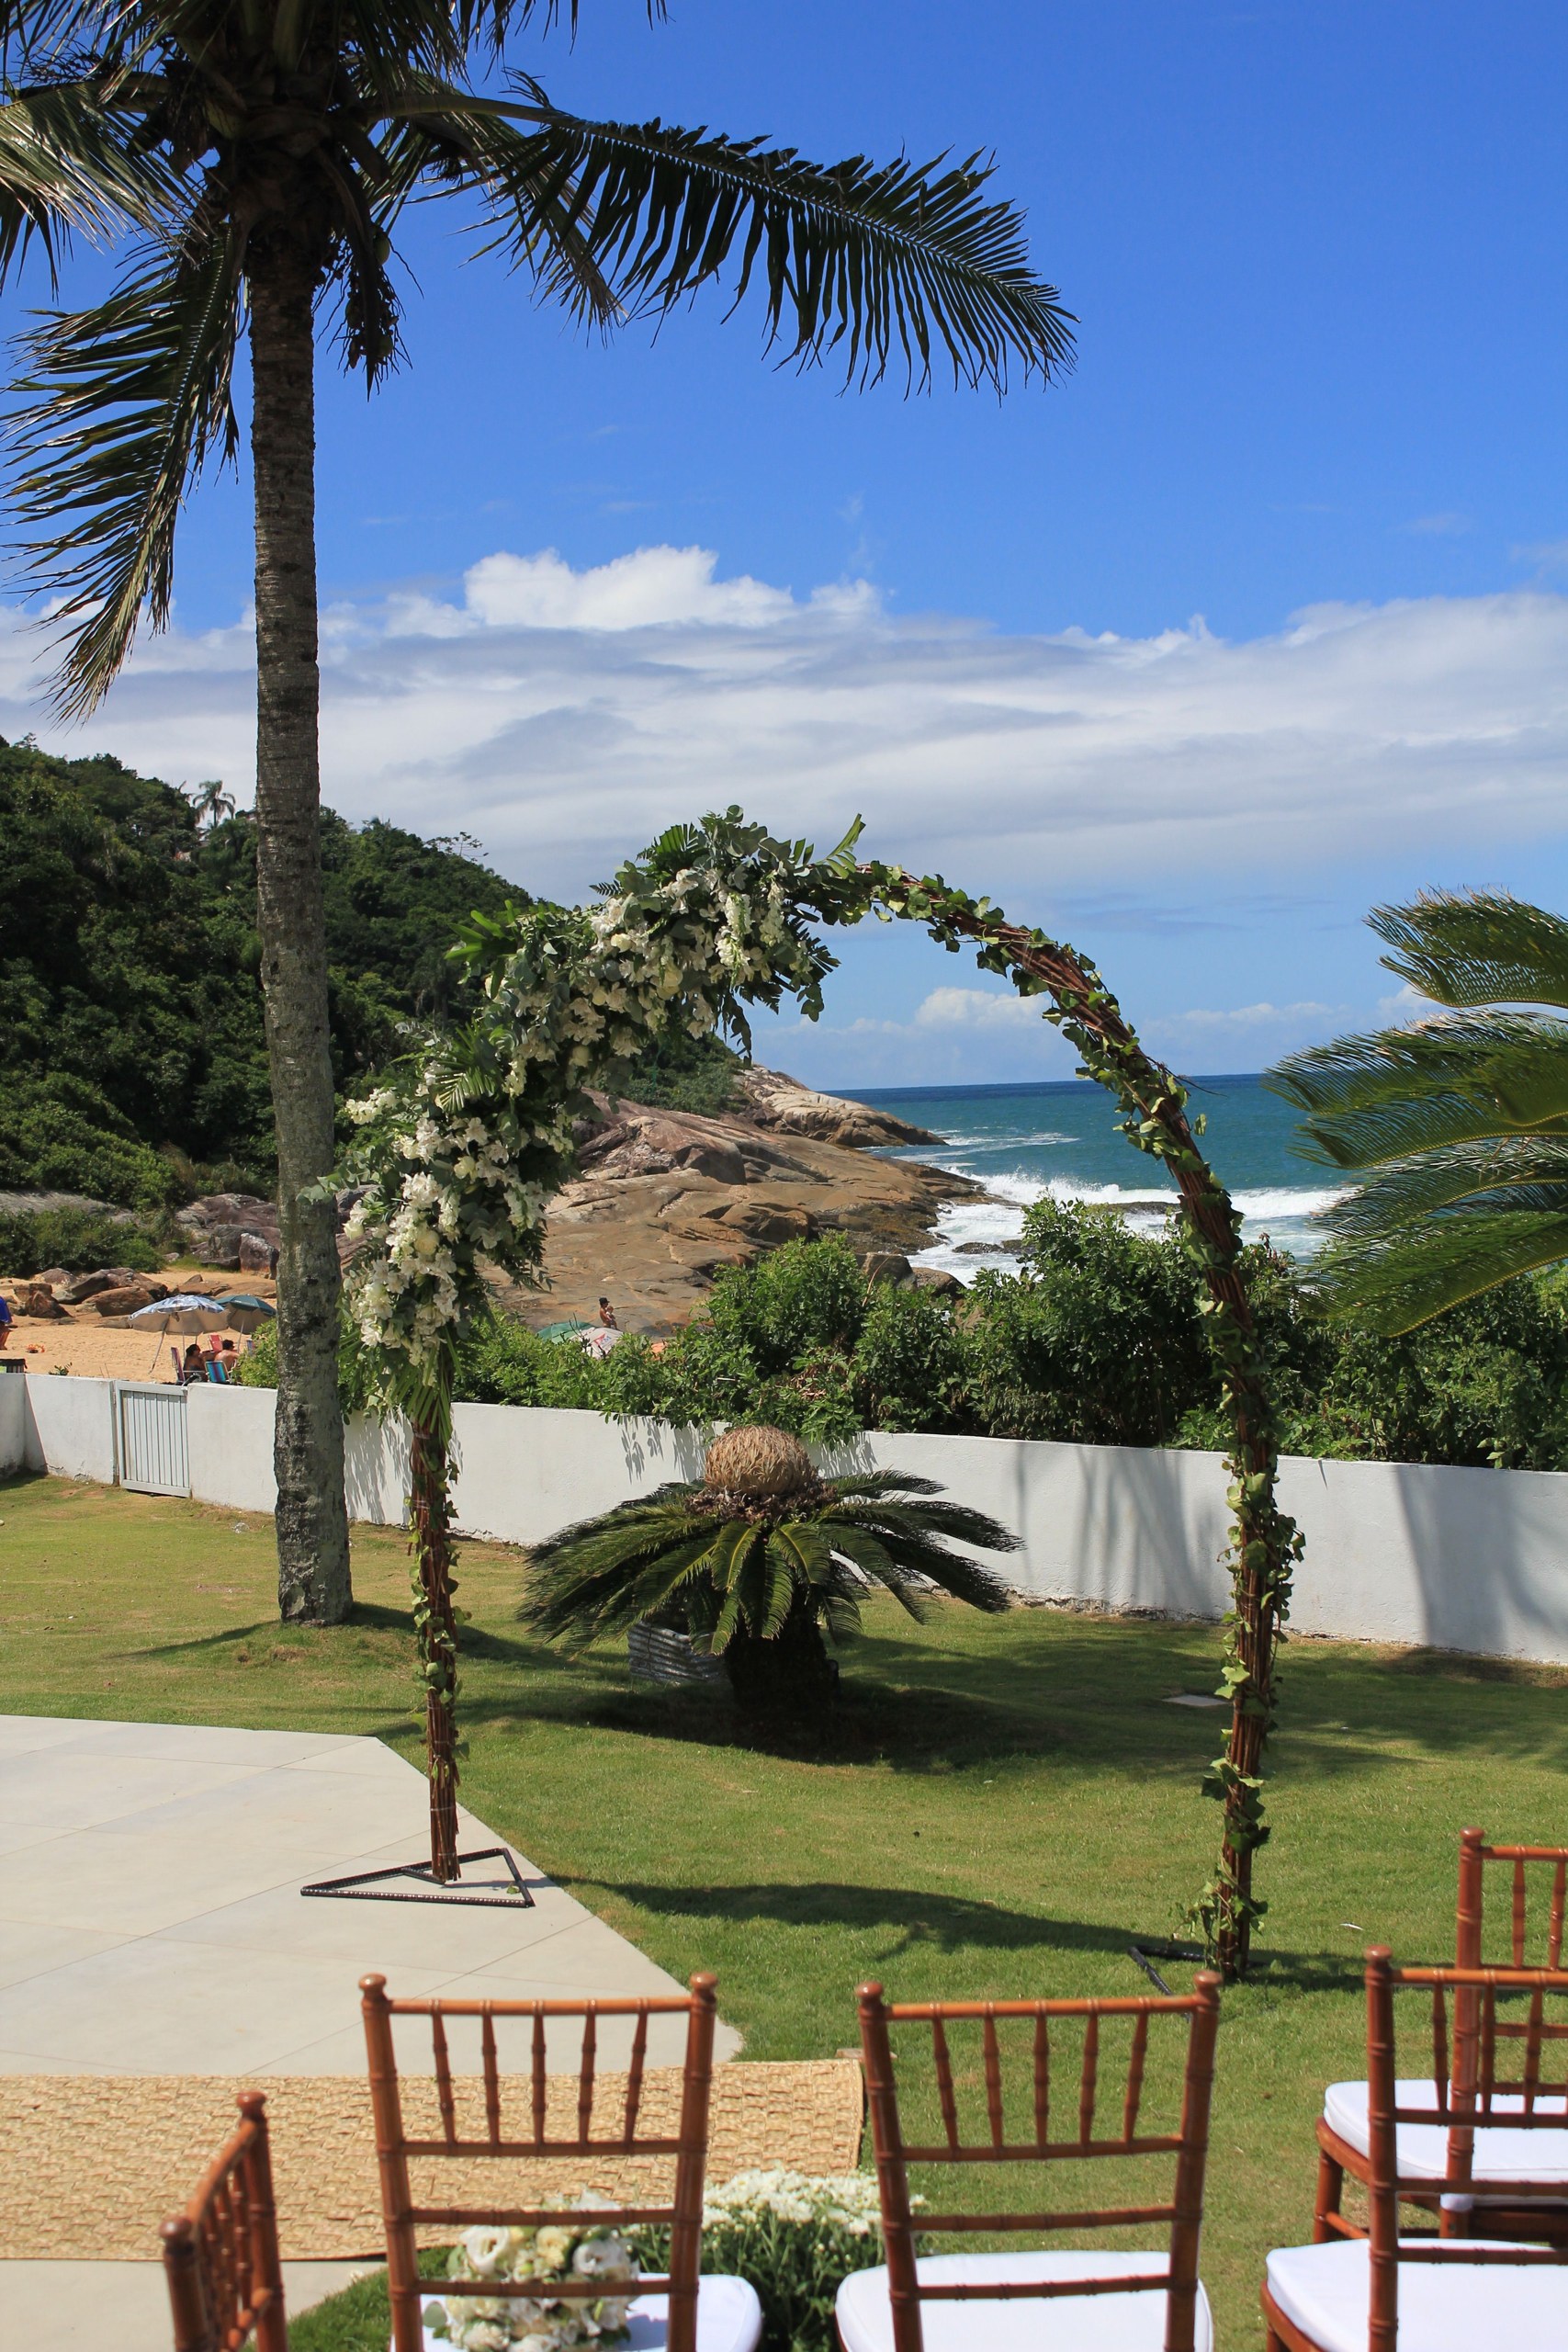
Photo by Agung Pandit Wiguna via Pexels: https://www.pexels.com/photo/photo-of-floral-arch-during-daytime-2788494/ – Pexels License (https://www.pexels.com/license/). (Stock photo, illustrative.)
Original date December 24, 2023. Updated November 2026.
A beach wedding gives a photographer one of the most striking backdrops in the business and one of the most demanding working environments. Open water, reflective sand, fast-moving weather, wind, salt, and spray all shape what your images look like and how long your gear keeps working. This guide covers location planning, exposure choices, kit, composition, safety, and the editing steps that carry a beach wedding gallery through delivery. Treat every number here as a starting point to test on your own camera, not a recipe.
Understanding the Beach Setting
Beach light behaves differently from venue light. Sand and water bounce sunlight back into the scene, acting like a giant natural reflector that can lift shadows on faces while also fooling your meter. The same scene can call for very different exposure decisions ten minutes apart as clouds move, so plan to reassess constantly rather than lock in one setting for the day.
Timing matters, but there is no single best hour that applies to every beach. Early morning and the stretch before sunset often give lower, softer light with warmer color, while midday sun is high and hard. Midday ceremonies are still workable: putting the sun behind the couple, using open shade where it exists, or adding a touch of fill can all keep faces usable. After the ceremony, watch for the softer light that typically develops later in the day for portraits, judged by what the sky is actually doing at that location rather than a fixed clock rule.
Wind is a creative gift and a practical problem at once. It animates veils, dresses, and hair for movement in a frame, and it also kicks up sand, flattens hairstyles, and turns large light modifiers into sails. Salt and humidity ride the same air. Salt residue corrodes contacts and coatings over time, and fine sand finds its way into rings, dials, and bags, so everything you bring should have a way to stay closed, covered, or wiped down.
Water is the defining variable. Tide levels change where the ceremony setup actually sits, how much dry sand you have to work on, and whether a portrait spot at the waterline stays reachable. Before the wedding day, check local tide tables and current forecasts from an official source such as NOAA Tides & Currents for the specific beach, and scout at a similar tide to the one expected during the event. Tide predictions are planning information, not a guarantee of wave behavior or safety, so keep a margin between your working area and the water.
 Save
Camera Settings: Principles, Not Recipes
A single aperture, shutter speed, and ISO cannot cover a whole beach wedding. Conditions change too widely for that. Bright overcast, direct noon sun, and the last ten minutes before sunset are three different exposure problems, so think in principles and verify on your histogram instead of memorizing numbers.
Start with aperture, because it sets both light gathering and depth of field. A wider aperture suits a couple isolated against soft sea blur, while group arrangements on the sand generally need more depth of field to keep rows of faces sharp. Very small apertures buy depth at the cost of light and, past a point, sharpness, so pick the aperture for the subject arrangement in front of you.
Shutter speed is your motion control. A walking processional, a twirling dress, and crashing waves each need a different choice: fast enough to freeze a moving subject, or deliberately slower if you want the water to streak and blur. Decide per moment what should be sharp and what is allowed to move, then set the shutter for that decision before worrying about the other two corners of the exposure triangle.
ISO is the balancing variable, not a number to avoid. Camera makers’ own teaching frames it this way: raise ISO as needed to sustain the shutter speed and aperture your subject requires. A low ISO is easy in full midday sun, but as light drops into evening, a higher ISO that holds a safe shutter speed beats a noise-free frame ruined by motion blur. Know where your camera’s quality starts to degrade and work confidently up to that line.
On exposure itself, resist blanket rules about always underexposing by a fixed amount at the beach. Instead, judge each setup by its information: check the histogram, turn on highlight warnings, and watch important detail in skin and the wedding dress, as well as bright water and sky. Detail in a white dress against bright sand is the classic casualty, so protect highlights where they matter and let unimportant bright water go if the trade-off demands it.
Focal length variety keeps a beach gallery from feeling flat. A wide lens takes in the sweep of shoreline and sky for scene-setting frames, while a longer lens compresses the couple against the water for portraits and lets you work candids from a respectful distance. Whatever lenses you carry, change them sparingly on the open beach, because every swap in wind and spray is an invitation for sand and salt inside the body.
 Save
The Beach Wedding Kit
A camera body with good dynamic range earns its keep here, because beach frames routinely hold bright sky, reflective water, and shaded faces at once. Reliable autofocus that tracks people moving toward or across the frame matters more than any single headline specification. If you are being paid for the day, redundancy in bodies and cards is the professional baseline, sand or no sand.
Protection is the beach-specific layer. A well-fitted clear protective filter can give you a replaceable front surface for spray and blowing grains, while a fitted rain cover helps keep mist off the body. Neither makes the camera waterproof, and a filter can add flare when shooting toward the sun. Use a hood where practical and follow the camera and lens makers’ care guidance. Plan lens changes for a sheltered spot away from the shoreline wind, and pack clean microfiber cloths and a blower. Remove loose grains before wiping rather than grinding sand across glass; for salt residue, use the cleaning method recommended for that equipment. Avoid leaving gear baking in direct sun or a closed hot car; extreme heat stresses batteries and lubricants.
A flash belongs in the bag even for a daytime beach wedding. In full sun, a touch of fill can open up eye sockets and balance faces against a bright background, and after dark it may be the only way to light the dance floor by the water. Keep modifiers honest to the conditions: large softboxes and umbrellas catch wind hard on an open beach, so either work with smaller, guarded modifiers, weight and attend stands constantly, or skip them when gusts pick up.
A tripod helps for long exposures of the shoreline and for low-light formals, but sand is an unstable footing. Work the legs into the surface, keep the center column low, and never leave a rigged camera unattended in wind. Some photographers prefer legs whose feet can be spread or spiked into sand; whatever you use, check stability before walking away from the frame.
Round the kit out with the unglamorous consumables: charged batteries plus spares kept cool, more memory cards than the day should need, a lens cloth within reach, and a bag that closes completely and can be set down without its contents meeting the sand. A comfortable carry strap keeps the camera secure while you move between setups on uneven ground; one option is compared in the box at the end of this guide.
Techniques on the Sand
Work your angles. A low camera position near the sand puts the couple against sky and cleans busy backgrounds out of the frame, while a higher vantage point takes in the curve of the shoreline and the pattern of the ceremony setup. Moving a few steps often changes the background more than any lens swap.
Compositional fundamentals travel well to the beach. Placing the horizon on a third rather than dead center keeps it from splitting the frame in half, and giving the couple room to look or walk into the frame reads naturally. Watch the horizon line behind heads: a line crossing through the neck or eyes distracts, so shift your height until it sits where you want it.
Candid coverage records what is specific to this wedding, whether its style is formal or relaxed. Wind moving a veil, guests greeting each other, and a quiet exchange after the ceremony can carry the feeling of the day. Keep a longer lens ready and stay observant between the scripted moments rather than only during them.
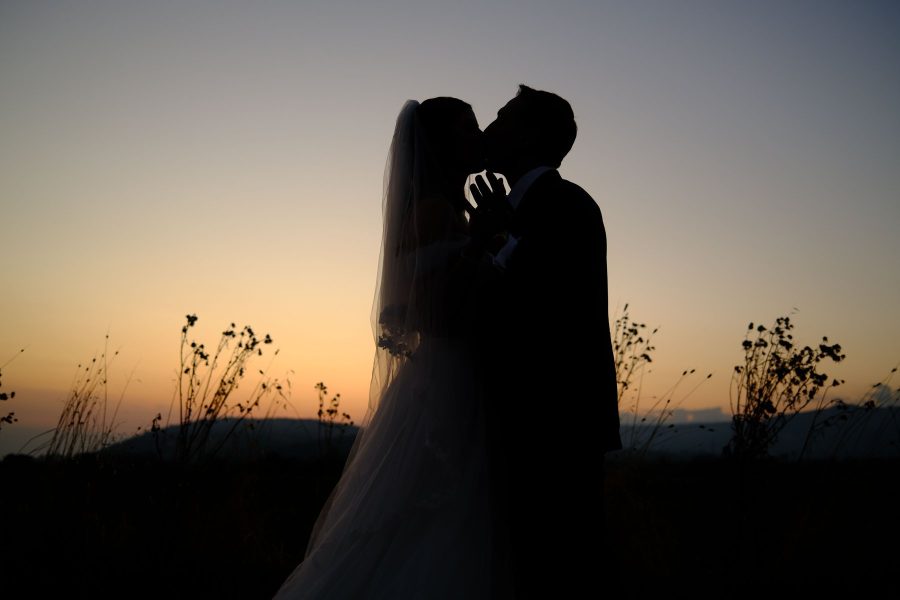
Backlight is your sunset tool. Positioning the couple between the camera and a low sun produces rim light, flare, or a full silhouette depending on how you expose; meter deliberately for the effect you want rather than letting the camera average the scene. Silhouettes work especially well against bright water, where the reflection path doubles the shape.
Look for reflections and foregrounds. Wet sand at low tide mirrors the sky, tide pools double a pose, and shooting through grasses or the ceremony flowers adds depth. And when color gets chaotic or the light turns harsh, a deliberate black and white conversion can emphasize shape and contrast, so shoot raw and keep that option open.
Want to go further? The ShutYourAperture Academy’s The Wedding Day is an option for further wedding photography study.
 Save
Safety, Tides, and Contingency Planning
Safety planning is part of the job, not a footnote. On lightning, National Weather Service lightning guidance is clear: if you can hear thunder, you are close enough to be struck. Move everyone to a substantial building or an enclosed metal-topped vehicle with the windows up, and stay there until 30 minutes after the last thunder. There is no safe place outdoors during a thunderstorm; tents, canopies, and palm trees are not shelter. Build that threshold into your timeline conversations with the couple before the wedding, so a weather hold is a plan, not an argument.
Respect the water beyond the tide chart. Wave conditions vary with offshore weather you cannot see, and an occasionally much larger wave can surge farther up the sand than the pattern before it. Choose stable, dry ground well back from the reach of waves. Do not move people onto wet rocks, slippery algae, or an exposed waterline for a photograph. A lookout can help spot changing conditions but does not make an unsafe location safe; abandon the shot when the margin is uncertain.
Heat and sun load affect the couple, the guests, and your gear. Schedule the most physically demanding portraits for the gentler light when you can, keep water nearby, and give the wedding party shade breaks. For portraits after the ceremony, watch for the softer, lower light that typically arrives later in the day at your specific location rather than promising a fixed golden-hour minute; season, latitude, and cloud cover move it.
Have the paperwork conversation early. Beach venues frequently involve permits, access rules, and vendor requirements, and insurance questions come with them. Our guide to wedding photography insurance and venue checks covers that side of the planning. Confirm who handles permits, what areas are off-limits, and what happens to the timeline if weather forces a delay.
Finally, carry a contingency mindset through the whole booking: a safe indoor alternative if one is available, a charged phone, a plan for protecting gear during a sudden squall, and a couple that knows the plan. Prepared photographers look calm when the weather turns, and calm photographs well.
 Save
Post-Production for Beach Wedding Photos
Beach files reward a disciplined edit. Before culling, copy all original files to at least two separate storage locations and verify the copies open. Keep the cards unchanged until the backup is confirmed. A Lightroom catalog backup does not include the original photos, so protect both the photo files and the catalog. Then cull without deleting the only copy of any frame. From there, the recurring beach problems are predictable and fixable.
White balance is the first lever. Sand and water reflect the color of the sky into everything, so frames from the same setup can swing warm or cool as clouds move. Pick a consistent target for skin across a sequence and sync the correction, rather than letting auto white balance drift shot to shot.
Highlights are the second. If important highlights were not clipped at capture, the raw file may hold detail you can refine. Editing cannot restore detail that was never recorded: pull highlights and whites down selectively, then open shadows on faces with masking instead of flattening the whole frame. A gentle gradient over the sky restores drama in clouds without touching the couple.
Haze and low contrast from salt air respond well to modest dehaze, texture, or clarity adjustments, applied with a light hand so skin stays natural. Straighten the horizon; a tilted sea line is the fastest way a beach frame looks accidental. Finish by checking the set as a whole, because a gallery reads as professional when color and contrast feel intentional from first frame to last.
What camera settings should I use for a beach wedding?
There is no single correct recipe, because beach light swings from hard midday sun to soft evening color in a few hours. Choose an aperture for the depth of field your subject arrangement needs, a shutter speed that freezes or intentionally blurs the motion in front of you, and an ISO that sustains those two choices. Then verify with the histogram and highlight warnings, watching skin and the wedding dress for clipped detail, instead of trusting any fixed f-number, shutter speed, or ISO combination.
How do I protect my camera from sand and salt at a beach wedding?
Keep the body covered between setups, consider a clear protective filter as a replaceable front surface, and add a fitted rain cover when spray is in the air. These measures do not make the camera waterproof. Change lenses sparingly and only in a sheltered spot, since every swap in wind invites sand and salt inside. Remove loose sand with an appropriate blower before wiping, follow the maker’s cleaning guidance for salt residue, and keep gear out of direct sun and hot cars when it is not working.
What is the best time of day for beach wedding photos?
There is no universal best hour for every beach and season. Lower sun near sunrise and before sunset usually gives softer, warmer light that flatters portraits, while midday sun is high and harsh but workable with backlighting, open shade, or fill flash. Judge the actual light at the location on the day, and plan portraits for the softer light that typically develops after the ceremony rather than promising a fixed clock time.
What should we do if there is thunder during a beach wedding?
If thunder is audible, move to safe shelter immediately. Move everyone to a substantial building or an enclosed metal-topped vehicle with the windows up, and wait until 30 minutes after the last thunder before going back out. Tents, canopies, and palm trees are not safe shelter, so agree on this plan with the couple before the wedding day.
Do I need a flash for a beach wedding?
Often, yes, even in daylight. In full sun a small amount of fill flash can open up shadows on faces and balance the couple against a bright background, and after sunset it may be your only light source. Keep modifiers realistic for the conditions: large umbrellas and softboxes catch wind hard on open sand, so use smaller or guarded modifiers, weight and attend your stands, or go without when gusts rise.
How do tides affect beach wedding photography?
Tide level decides how much dry sand you have, where setups and guests can stand, and whether waterline portrait spots stay reachable. Check local tide tables and forecasts for the specific beach from an official source and scout at a similar tide to the one expected during the event. Treat predictions as planning information rather than a guarantee of wave behavior, and keep a safety margin between your working area and the water.
Carry the camera between beach wedding photographs
A black Peak Design Slide Lite camera strap, model SLL-BK-3, is one carry option to compare for moving between beach setups. According to the retailer’s listing, the strap adjusts from 39 to 57 inches in length, is 1.3 inches wide, and uses removable anchor connectors. Check the camera attachment points and the full camera-and-lens weight before buying, follow the attachment instructions, and inspect the anchors regularly. A strap does not seal a camera against sand or salt water, protect it from every condition, or make a shoreline safe. Compare the current retailer specifications; no hands-on test, price, or stock promise is being made here.
Affiliate disclosure: We may earn a commission from qualifying purchases through these gear links at no extra cost to you.
Check Peak Design Slide Lite Camera Strap Black SLL-BK-3 at B&H