
Updated October 2026
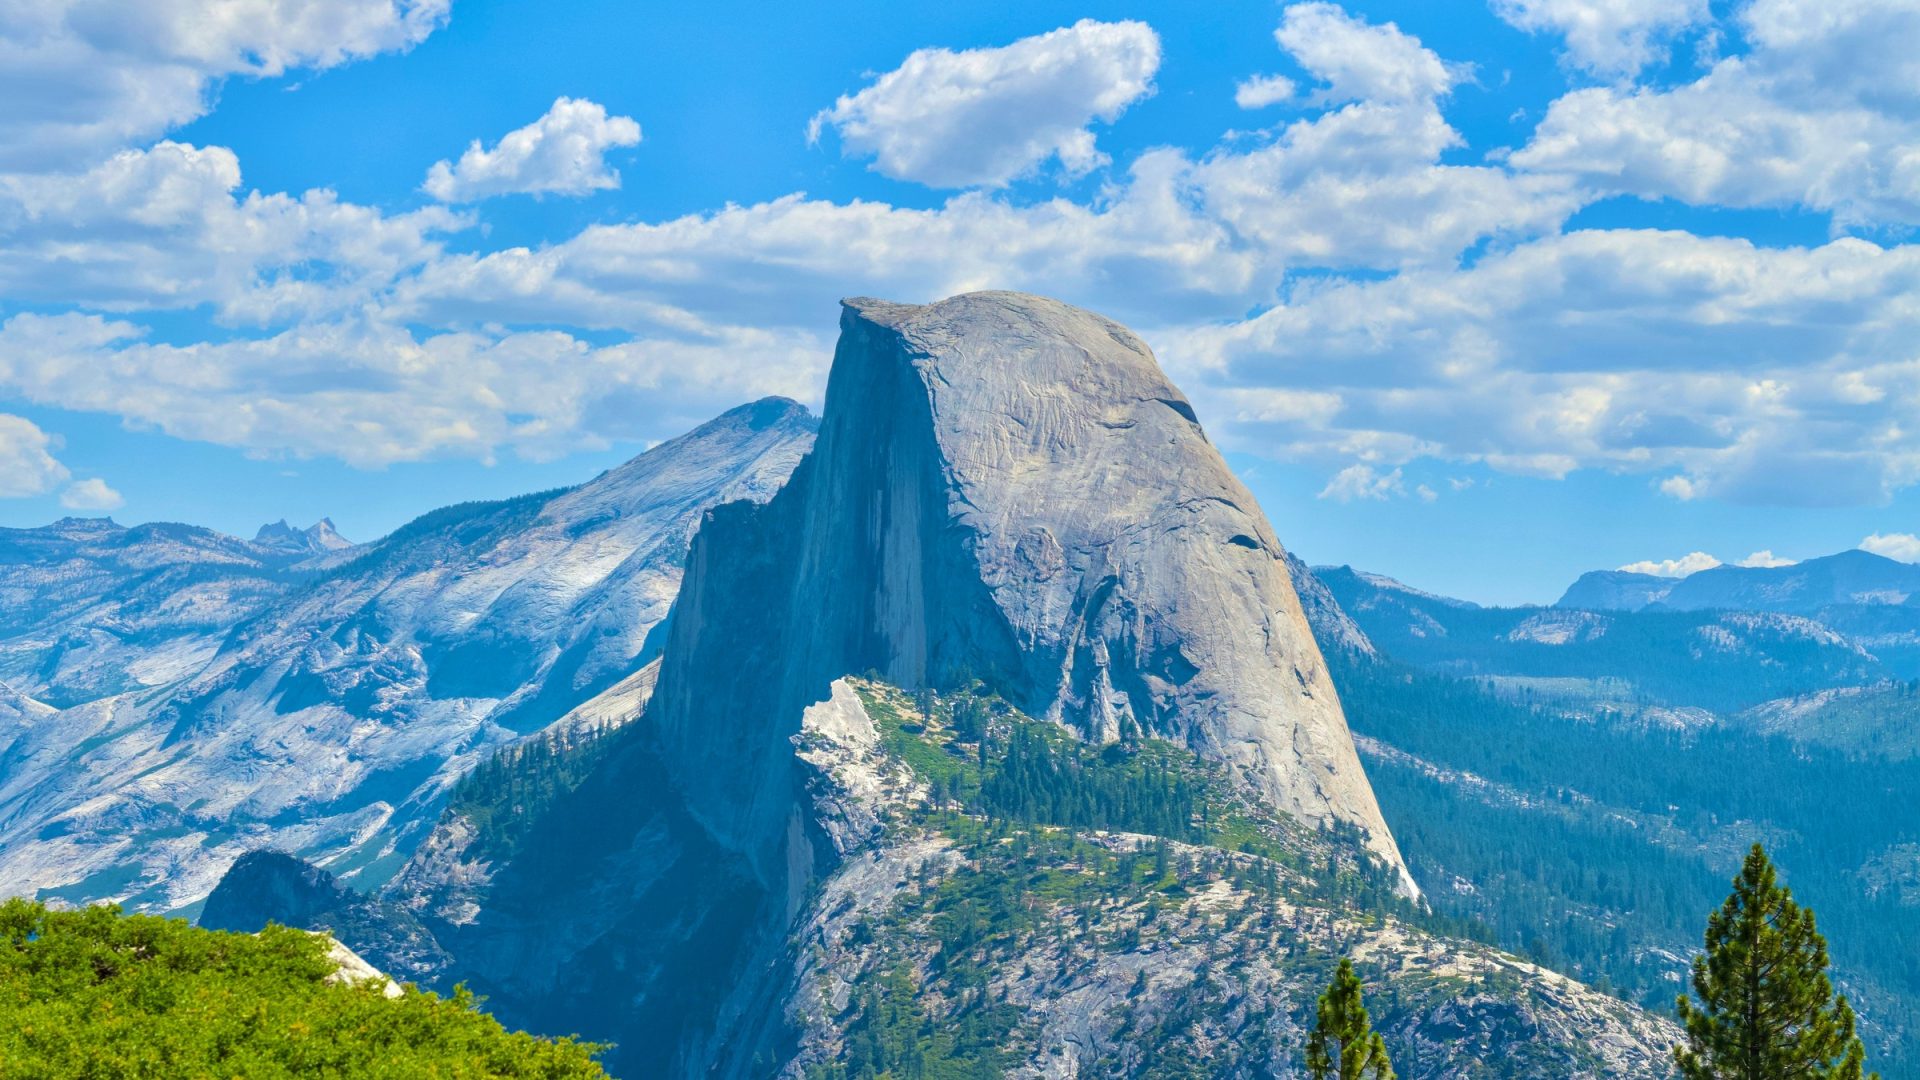
Featured image: Stock photo, illustrative. A wide frame separates Half Dome from the foreground and sky. Source capture time and current conditions are not established. Photo: Spencer DeMera. Source · Unsplash License. Resized full frame; no generative edits added here.
Glacier Point Yosemite photography brings Half Dome, distant granite ridges, and the depth of Yosemite Valley into one view. The challenge is deciding which relationship to show. A wide frame can describe the setting, while a tighter composition can separate a lit rock face from a shaded ridge or valley wall.
This guide is for the Glacier Point overlook and its visitor approach, not a park-wide location list or a winter hiking route. Start with current road and weather information. Then choose the photograph that fits the light, the available viewing space, and the equipment you can use safely.
Know what Glacier Point gives you
 Save
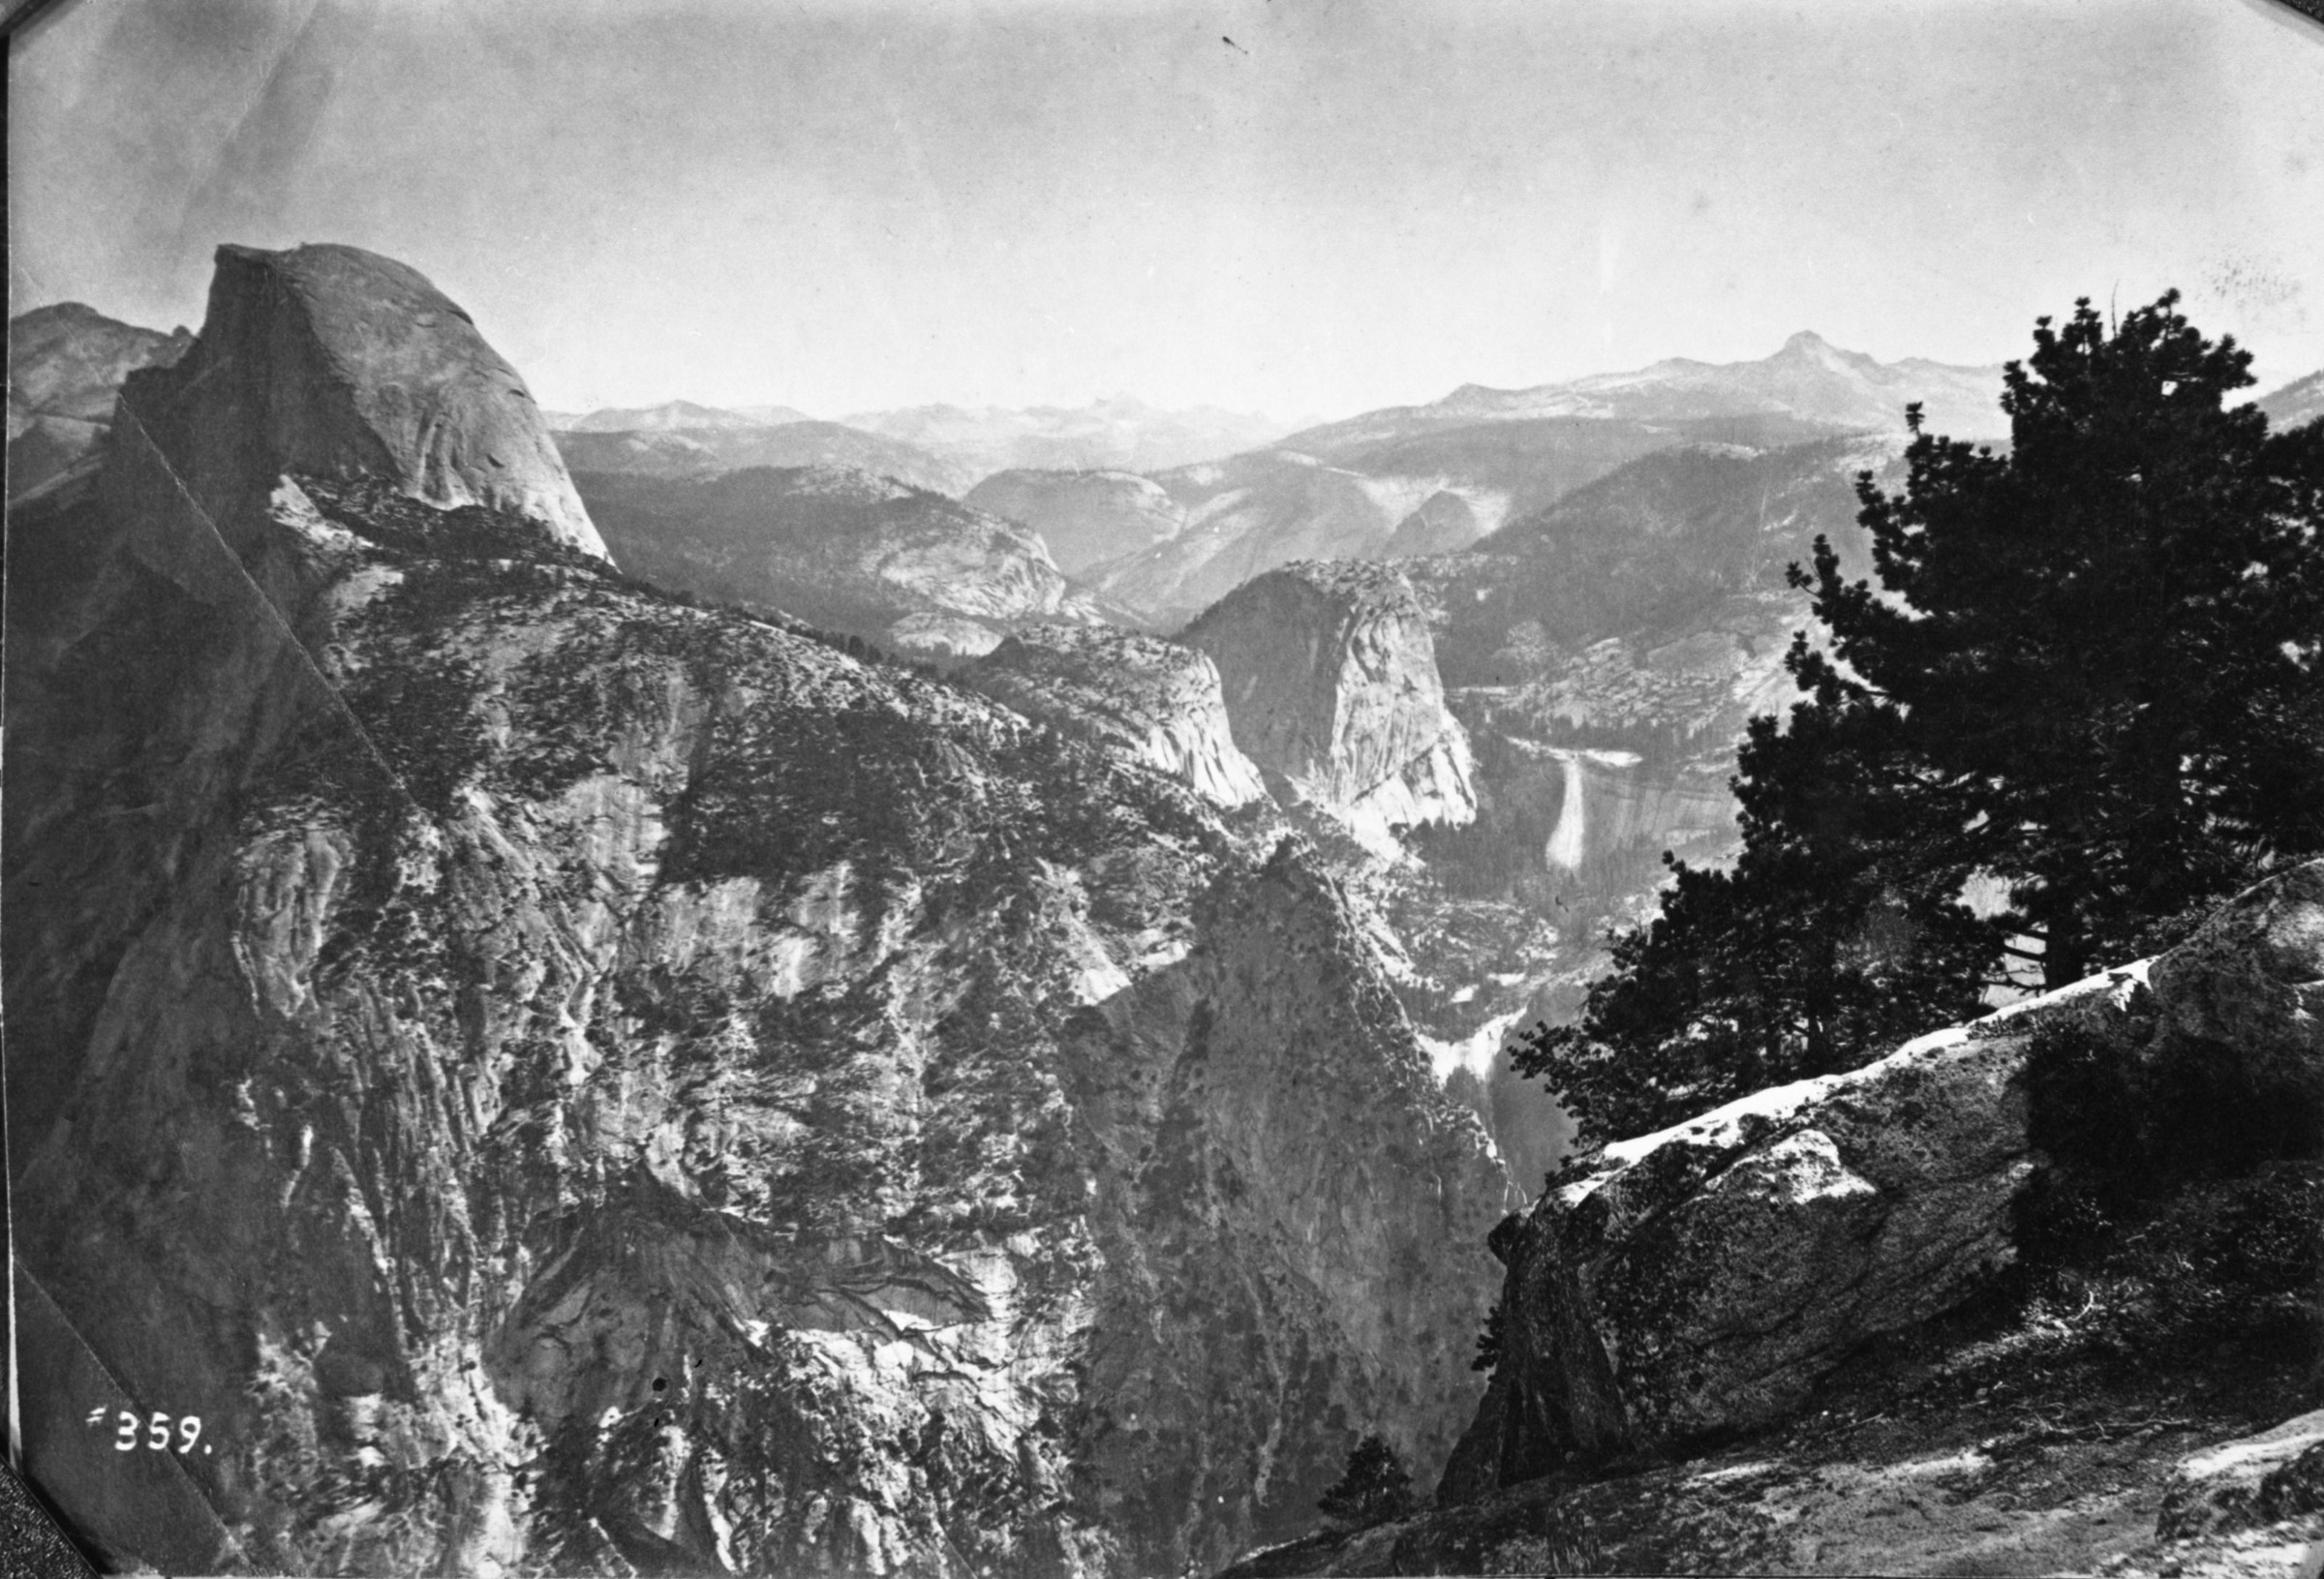
The NPS Glacier Point description identifies the overlook’s views of Yosemite Valley, Half Dome, Yosemite Falls, and the high country. It places the viewpoint more than 3,200 feet above the Valley’s Curry Village area. That height helps explain why a photograph from the overlook feels different from one made on the Valley floor.
Use that difference as a compositional starting point rather than trying to include every visible landmark. Half Dome may be the visual anchor, but the darker slopes, intervening trees, and distant ridges determine how clearly it reads. Begin by looking at the whole scene without the camera, then choose the strongest arrangement of shapes.
A waterfall can add a bright detail when it is visible and flowing, but do not build the entire visit around a promised volume of water. The park’s current conditions report seasonal changes, including waterfall flow, smoke, and road restrictions. A stock photograph of a full waterfall is a past view, not evidence of what you will find on arrival.
Nor does a familiar photograph establish a safe camera position. Work within designated visitor areas and respect barriers. Do not climb onto a projecting rock or follow someone past a protective boundary to reproduce an angle. A clear frame from a safe position is the aim.
Check the road, not an expected opening month
 Save
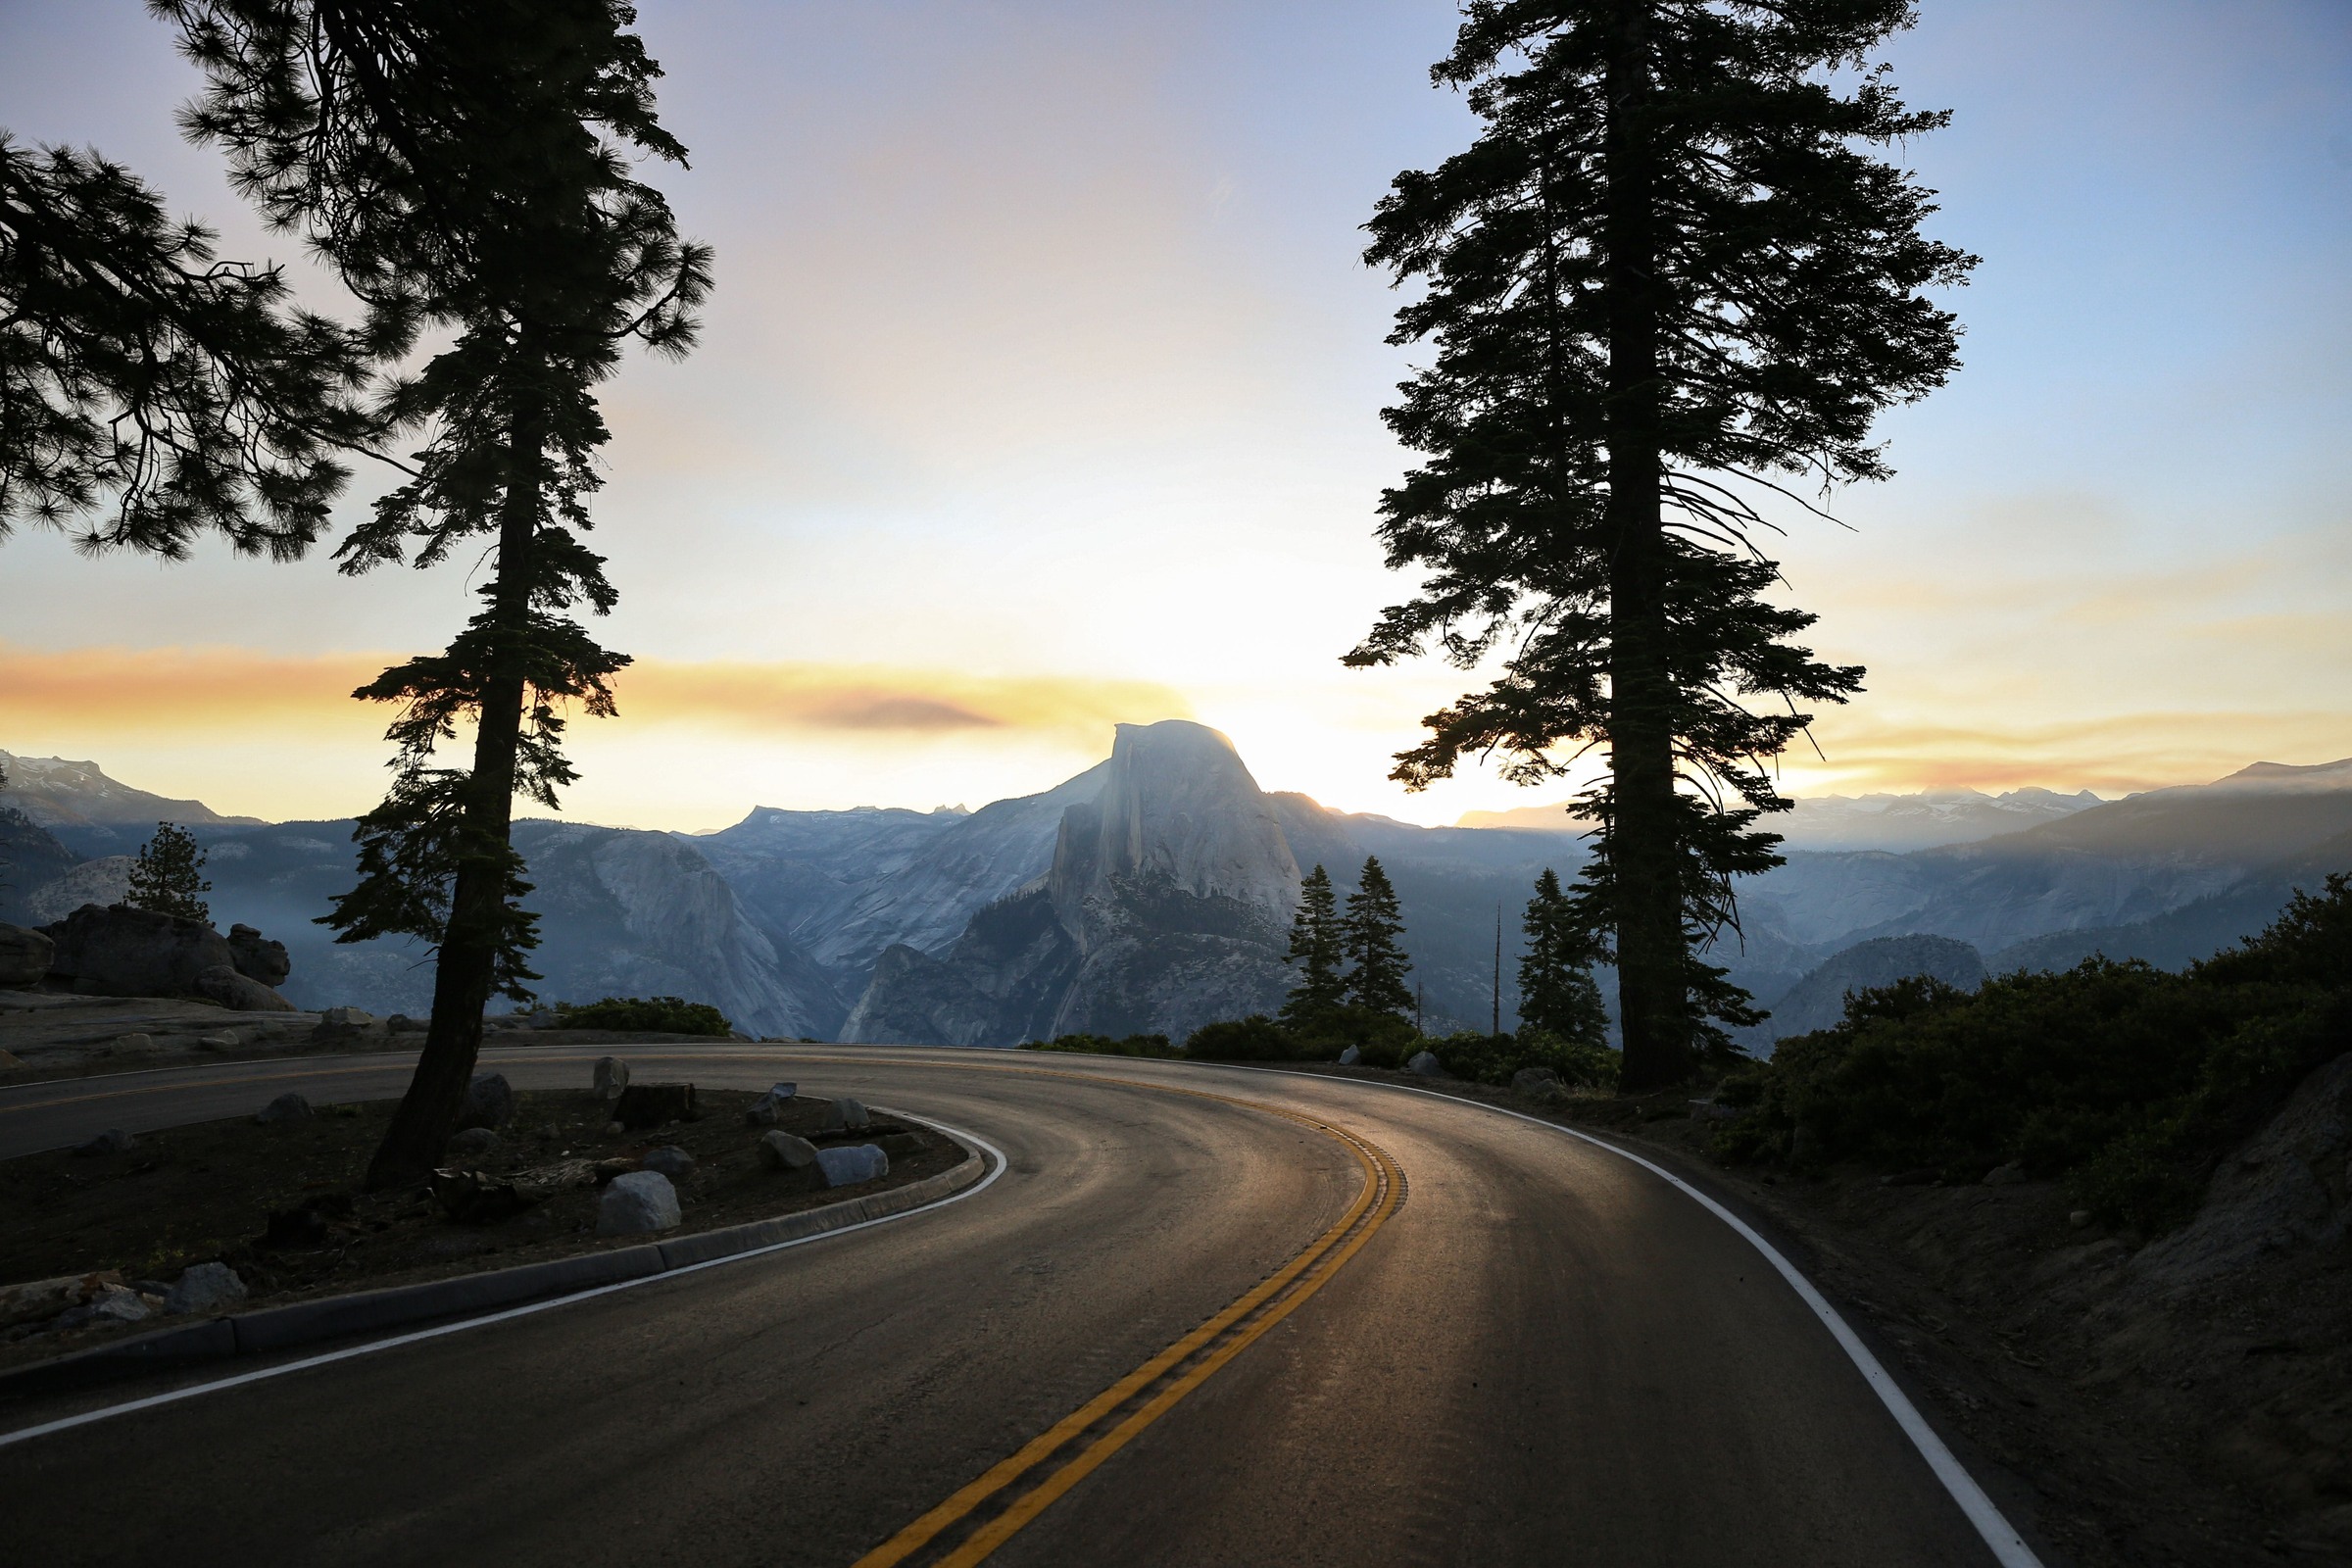
Glacier Point Road is seasonal. The park’s winter road guidance says you cannot drive to Glacier Point when that road is closed. Typical opening and closing seasons are background information, not dates to use as travel clearance. Snow, storm impacts, fire activity, maintenance, and other restrictions can change the plan.
Check the current road status before leaving for the overlook and follow signs and staff directions on the day. An open entrance to Yosemite does not mean Glacier Point Road is open. A road open partway toward a winter recreation area also does not mean the road continues to the viewpoint.
Allow for the actual drive rather than assuming the overlook is a short detour from the Valley. NPS describes Glacier Point as approximately 30 miles from either Yosemite Valley or Wawona. Distance is more useful here than a guaranteed driving time, because traffic, road conditions, and stops can change the journey.
Review vehicle and parking restrictions if you are traveling in a large vehicle or with a trailer. The road has limits that do not apply uniformly throughout the park. Use the official rules for your vehicle rather than assuming that a route suitable for a car is suitable for every rental or RV.
Separate entrance rules, transport, and the overlook walk
 Save
Read the current Yosemite entrance-reservation policy for your travel date. Policies can change between seasons and years. Do not rely on an old claim that Glacier Point has its own summer timed-entry requirement, and do not confuse entrance arrangements with permission for camping, a special shoot, or another separately managed activity.
Check current entrance-fee and pass information through NPS. This guide does not quote a fixed price or promise that an entrance transaction reserves parking. Arrive with a plan for a lawful place to park, and leave space for traffic and other visitors. Never stop in a travel lane to photograph a view on the approach.
The NPS Glacier Point-area hiking page says there is no shuttle between Yosemite Valley and Glacier Point. A limited seasonal tour-bus service is not a guaranteed pickup or a general-purpose return shuttle. Do not start a hike or stay late assuming a bus will solve the trip back.
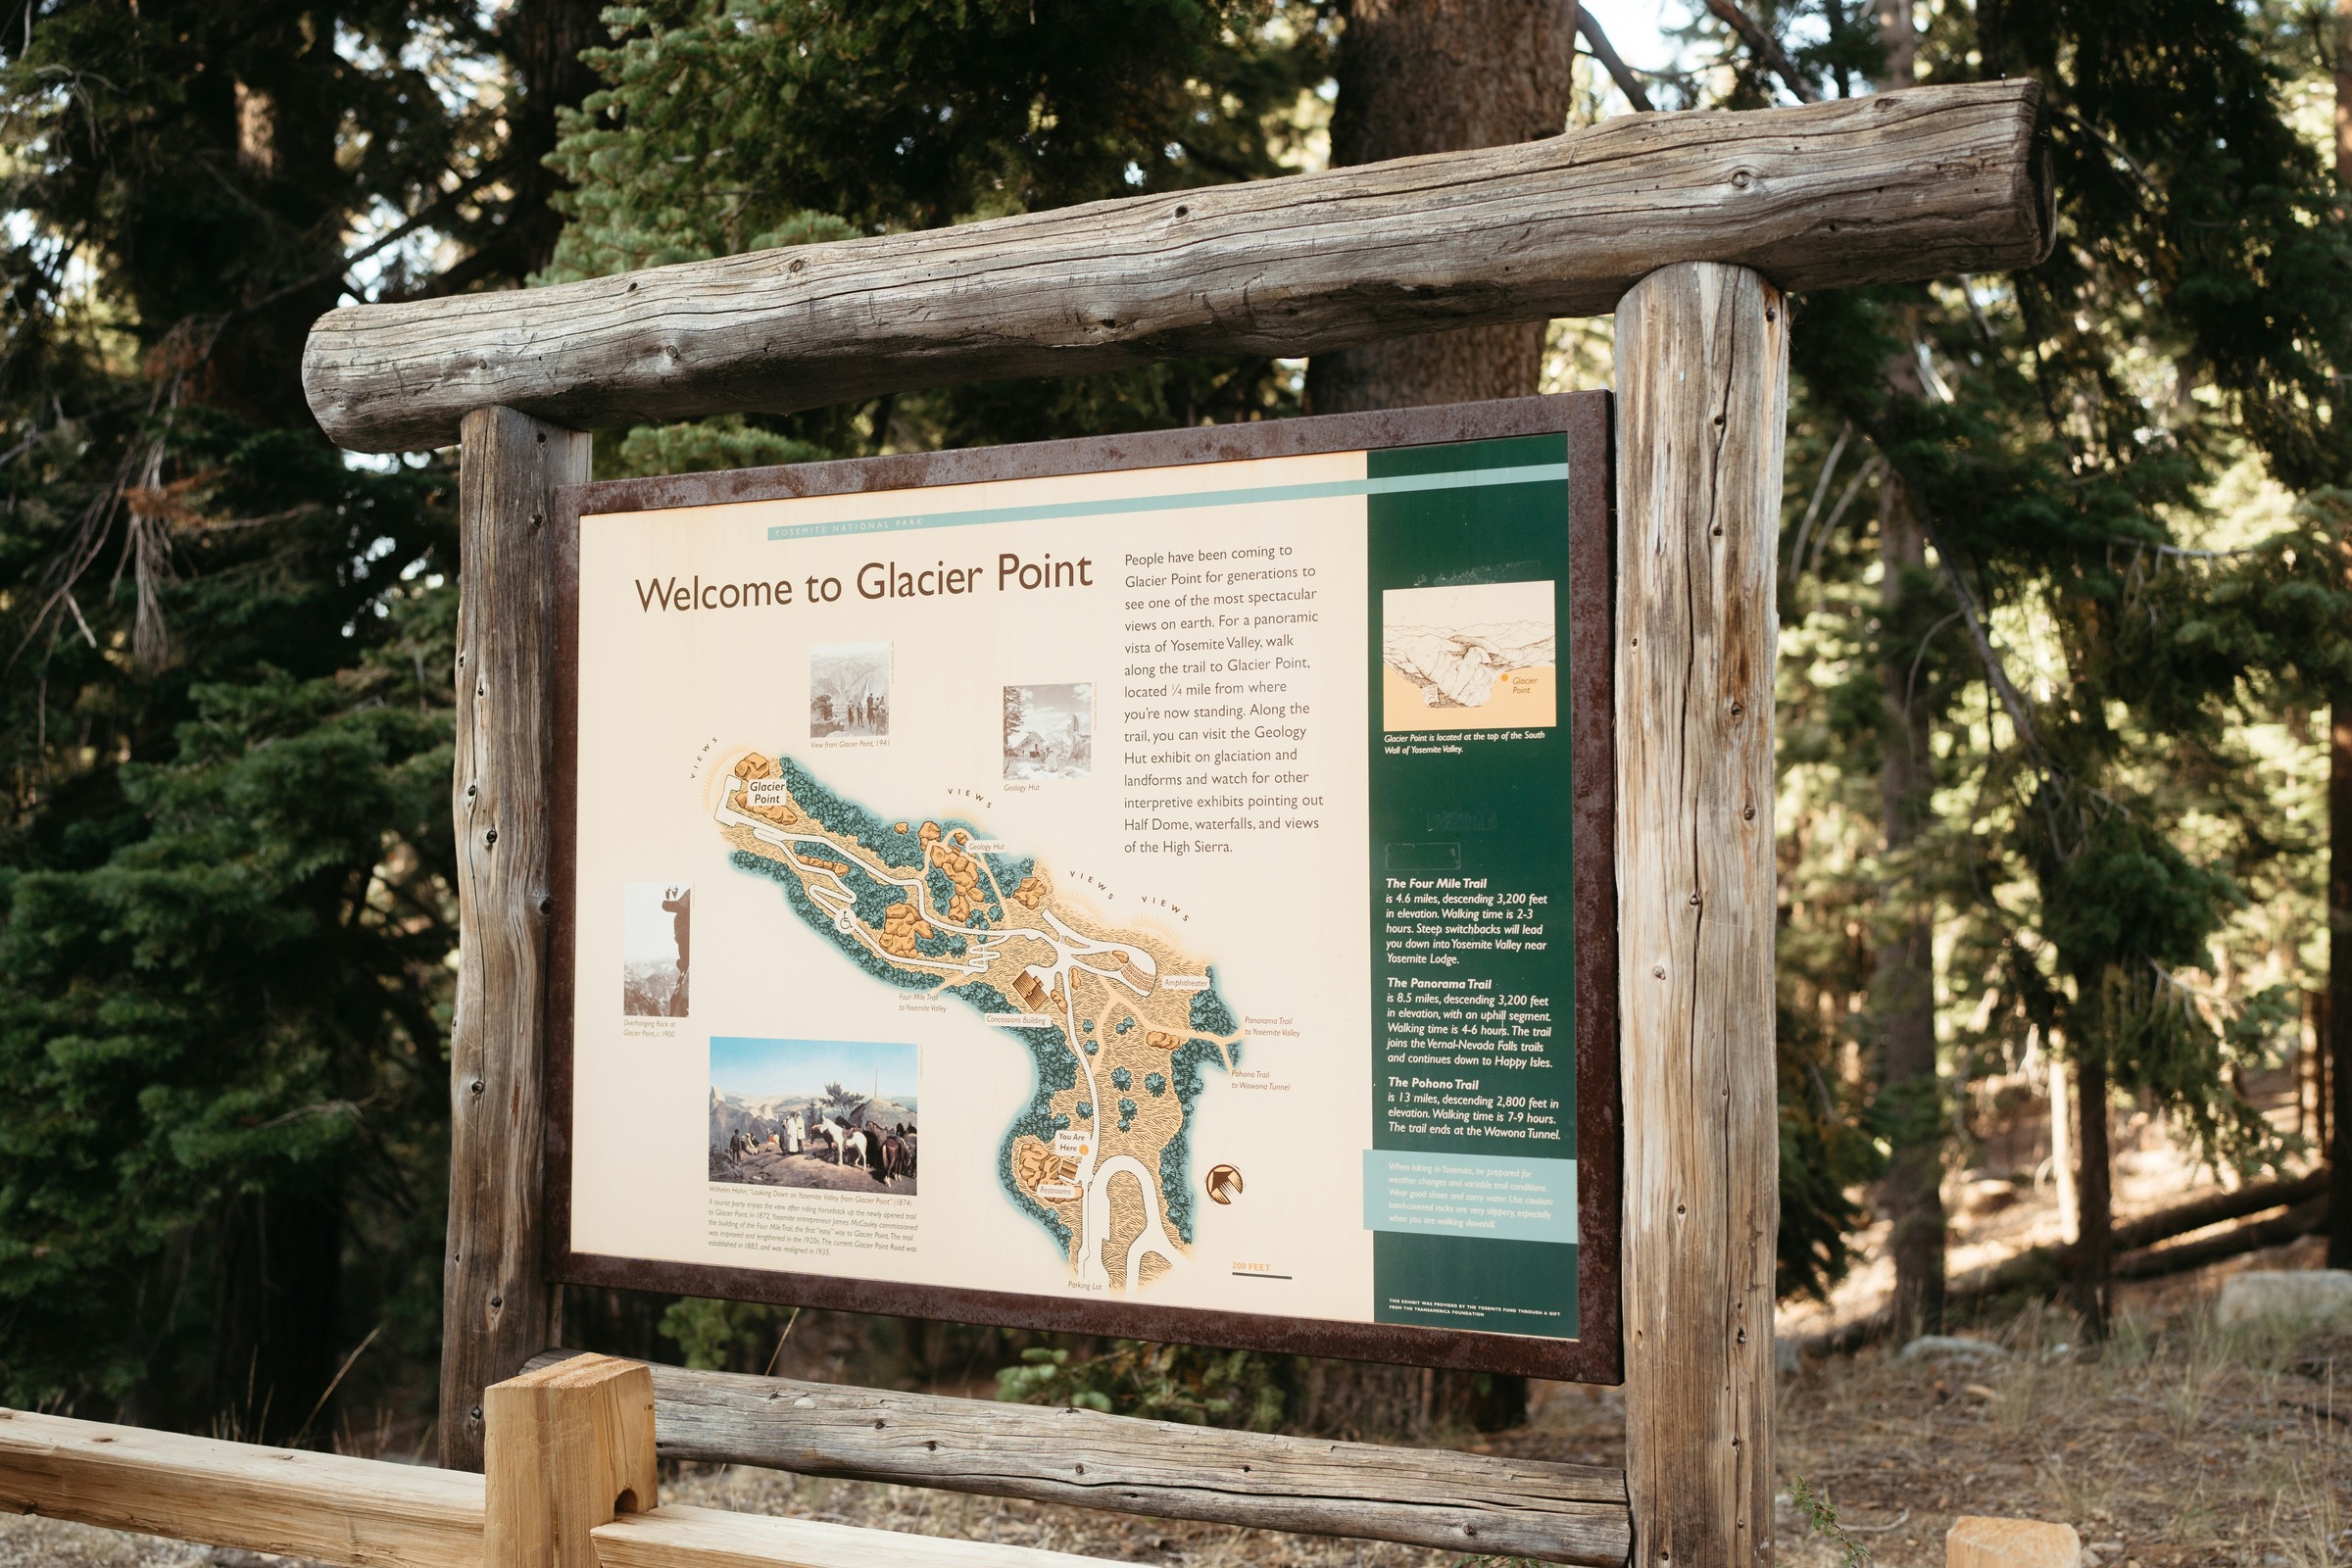
From the main parking lot, NPS describes a roughly 300-yard paved, switchback approach to the accessible overlook. Paved does not mean every surface will be dry, ice-free, or suitable for every visitor in every condition. Check access needs and current conditions with the park, and keep the camera packed until you have reached a stable place to stop.
Let the light choose the photograph
 Save
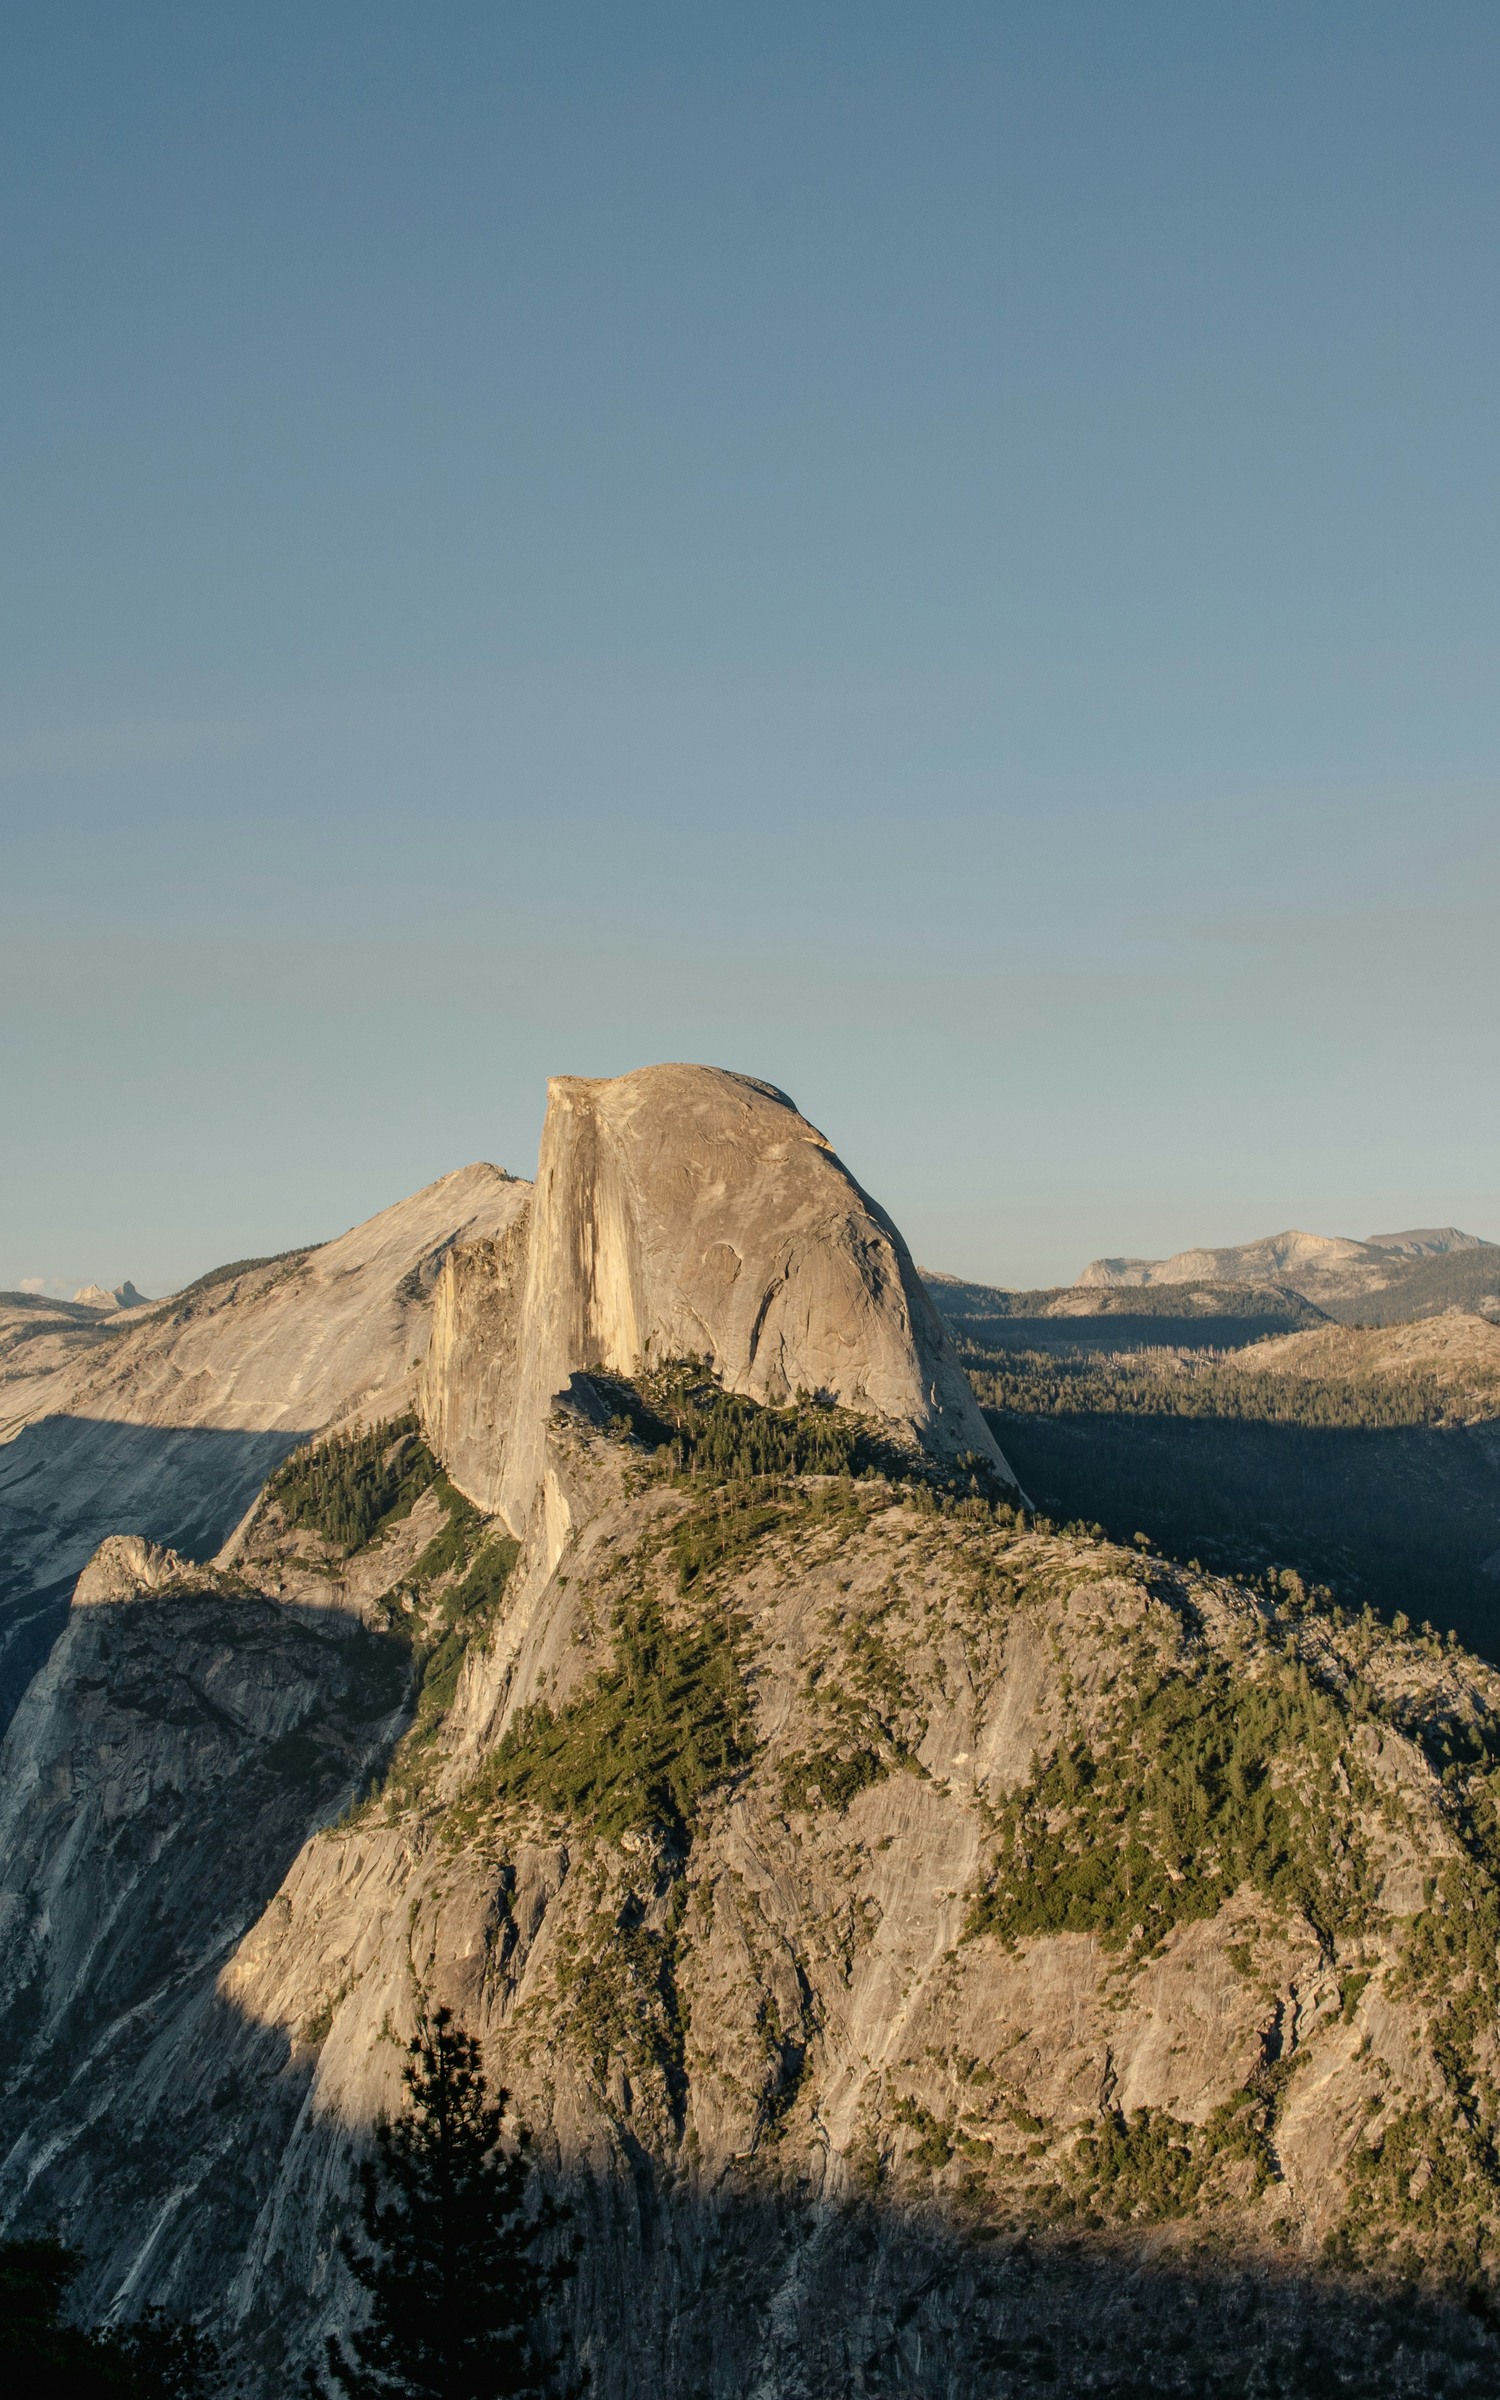
Late light can warm the granite while the Valley below becomes darker. That contrast can help separate Half Dome from its surroundings, but a warm face is not guaranteed at a fixed interval before sunset. Cloud cover, smoke, the sun’s position, and the angle of the particular surface all affect the result.
Look for changes across the rock itself. A bright edge beside a shaded plane may describe the form more clearly than a uniformly warm surface. Make a frame when those relationships work, not only when the color reaches its strongest point. Keep watching the background as well as the main subject.
If clouds block the direct light, change the composition instead of waiting with the same exposure and expectations. Soft light can favor texture and quieter color. A tighter crop can remove an empty sky, while a wider view may work when clouds add a useful shape above the ridges.
After direct light fades, the scene can become more even and less saturated. That may suit a simpler frame built around the granite outline and darker layers. Recheck focus, shutter speed, and the histogram as brightness falls. The settings that worked a few minutes earlier are not a rule for the rest of the evening.
Build a wide view without losing the subject
 Save
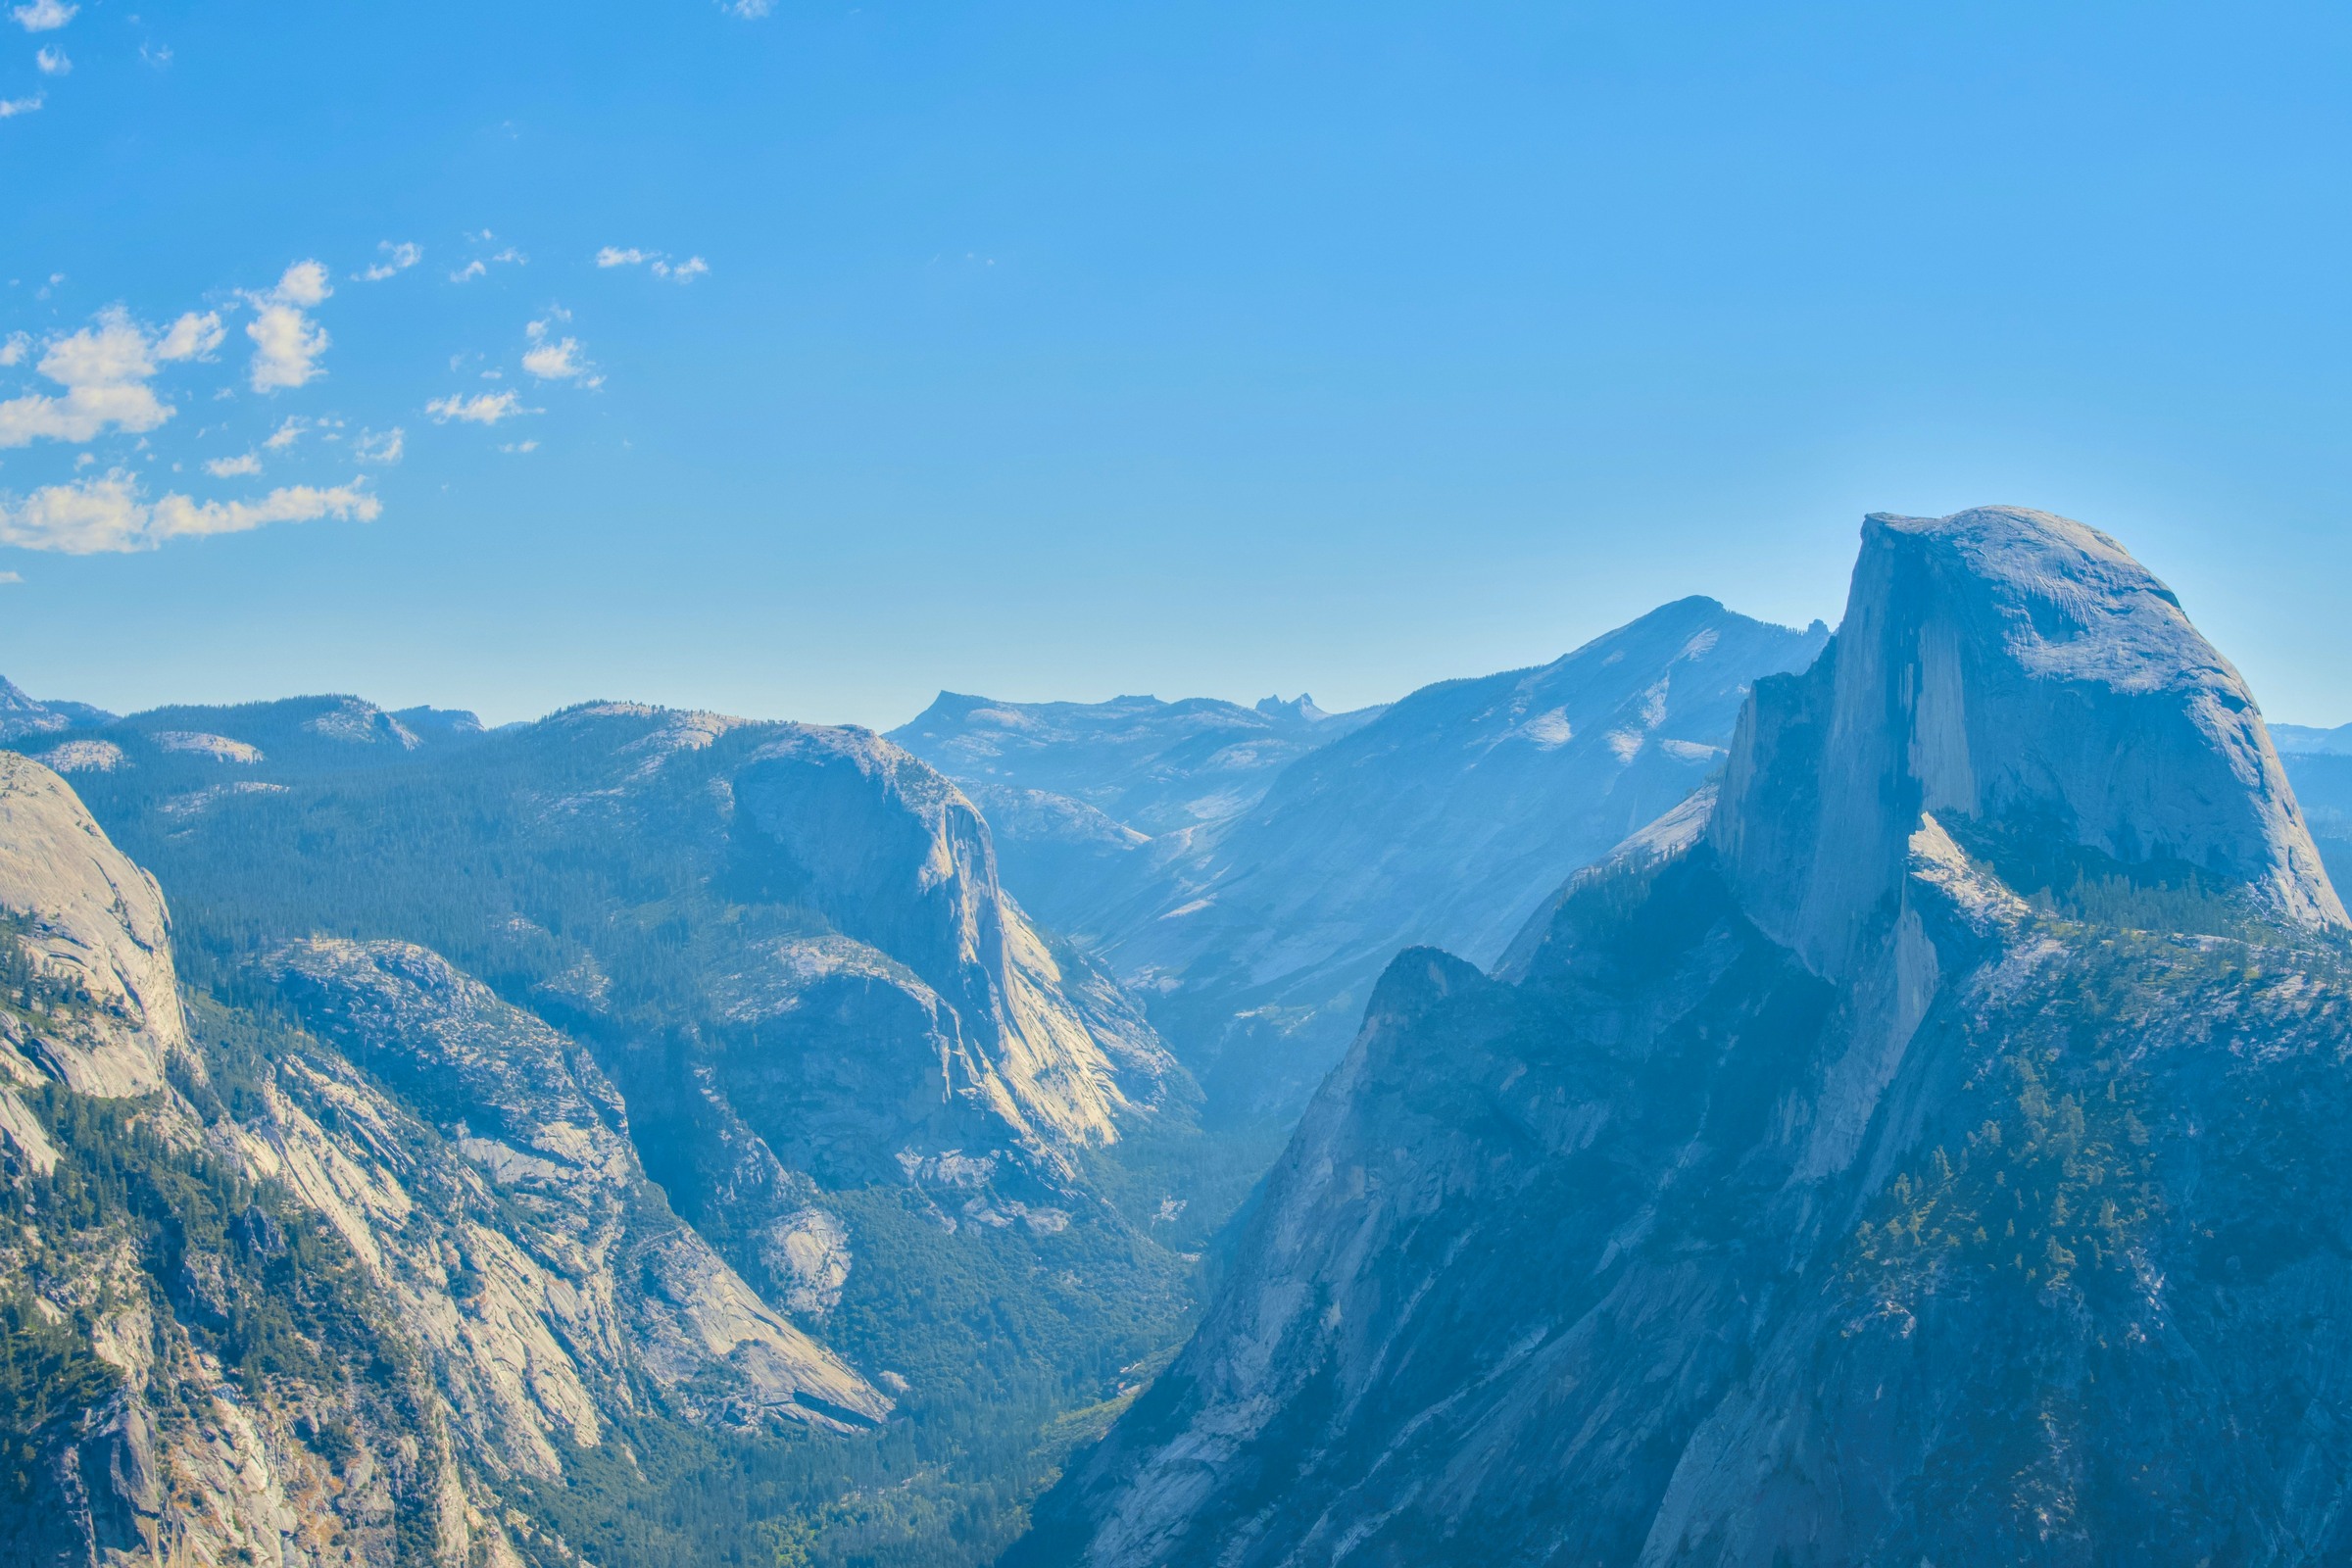
A moderately wide lens can describe the relationship between Half Dome and the surrounding landscape. Start with the main anchor in a clear part of the frame, then decide how much Valley and sky are needed to explain it. Including more is useful only when the additional space supports the image.
Inspect the near edge. A foreground rock or tree can provide depth, but an unrelated dark strip may simply make the scene harder to read. If the foreground does not help, leave it out. Do not move beyond the permitted viewing area to find an object that fits a familiar landscape formula.
Check for awkward mergers. A branch crossing an important granite edge can be distracting even when it looked minor through the viewfinder. A small change in camera direction or crop may solve that problem without moving your feet. Look at all four corners before taking a sequence.
Panoramas are an option when a single frame does not describe the space as you want. Keep the camera level, allow overlap, and use consistent exposure when practical. Moving people, clouds, or branches can create stitching problems, so inspect the merged result later rather than assuming a successful capture sequence guarantees a clean panorama.
Use a longer lens for granite and layered ridges
A tighter view can simplify a crowded landscape. It may place a lit face against a darker slope or show the repeated outlines of receding ridges. Look for one clear relationship first. You do not need to fill the frame with a named landmark if a smaller arrangement of light and rock is stronger.
Keep some room around an important outline. A tightly cropped edge may feel accidental if it nearly touches the border. Make a slightly wider alternative before committing to the tightest version. This gives you a useful comparison without requiring a different camera position.
At a longer focal length, camera movement and focus errors become easier to see. Check a test frame at enlarged view. If an edge is soft, examine shutter speed, wind, support, and focus before changing aperture. A small aperture alone cannot fix a moving camera.
A longer lens changes the framing from your chosen position; it does not remove haze or manufacture detail in a distant subject. In smoky or hazy conditions, a smaller set of strong shapes may work better than an ambitious detail crop. Do not assume that more magnification always gives a more informative photograph.
Choose exposure and focus for the actual scene
There is no required focal length, ISO, or aperture for Glacier Point. Choose aperture for the depth you need. A frame containing close foreground and distant rock may require a different focus decision from a tighter frame made entirely of distant layers. Check the important areas rather than applying the same small aperture to everything.
A lower ISO can be useful with stable support, but a faster shutter may matter more when the camera is handheld or wind is affecting the setup. Increase ISO if that is the better tradeoff. A slightly noisier sharp frame is usually more useful than one blurred by camera movement.
Protect important bright granite and cloud detail. Use the histogram and highlight warning to see whether those areas are clipping. If they are, reduce exposure and test again. Do not judge exposure only by the apparent brightness of a rear screen viewed in strong or fading light.
Deep shadows can remain part of the composition. Trying to make the Valley floor as bright as a sunlit face can flatten the depth and reveal noise. If you use exposure bracketing for a static scene, keep the camera steady and plan for moving branches or visitors. A bracket offers editing flexibility, not a guarantee that every tonal range can be merged naturally.
For color, auto white balance or a daylight reference can both be reasonable starting points. RAW capture can help with later adjustments if your camera supports it. Avoid forcing every shadow into blue or every granite surface into orange. Compare the whole scene after local edits so that the relationships still make sense.
Keep the setup small and the viewing space shared
A tripod can help when a slower shutter is useful and there is a safe, permitted space to use it. Keep every leg on a stable visitor surface and leave room for people to pass. Do not place equipment beyond a barrier, attach it to a protective railing, or create a trip hazard across the approach.
Check the setup for wind movement. A loose strap, a raised center column, or a camera that is not securely attached can compromise a frame. Make adjustments while standing safely back from an edge. If the wind or crowding makes support impractical, choose a faster handheld exposure or simplify the session.
Use the equipment you can manage comfortably. A wide-to-normal option and a tighter framing option may cover your intentions without several lens changes. A phone can also make a useful daylight view when you choose a clear subject and check the bright areas. Do not mistake a longer gear list for a better composition.
For staged work, exclusive use, special equipment, or a production with additional people, check the park’s current photography and filming rules and contact NPS as needed. Ordinary visitor access is not approval for every kind of shoot. This guide offers no workshop reservation, private camera position, or guaranteed access after dark.
Keep night photography conditional
NPS lists Glacier Point among its stargazing areas when accessible. A night visit still depends on the road, weather, parking restrictions, and your ability to return safely. Scout the approach in daylight when possible and know where you will sleep afterward. Stargazing is not permission to camp at the overlook or sleep in a parked vehicle.
Read the seasonal overnight-parking rules before planning a long session. A published closing restriction can apply even while the road remains open during the day. Do not assume that remaining beside the camera removes a parking limit, or that a midnight finish is allowed because a workshop advertisement describes one.
Bring layers, water, and enough battery power for the visit. NPS recommends red light for stargazing and asks visitors to avoid white light that resets night vision. Keep screens dim and be considerate of nearby observers. Use the light you need to navigate safely while following staff instructions and respecting other visitors.
Point-like stars and star trails are different photographic goals. For points, test a shutter duration short enough for your focal length and acceptable level of star movement, then enlarge a frame to check. For trails, a stationary camera and a series of exposures can record apparent star movement for later combination. Tracking the sky is not a standard recipe for keeping the landscape fixed while making trails.
No single twenty-minute exposure or fixed ISO is appropriate for every night scene. Moonlight, sky brightness, lens choice, sensor performance, and the desired result matter. Test conservatively and keep your setup within a safe visitor area. A night photograph is not worth moving toward an unlit edge or staying too late to drive safely.
Do not turn a closed road into a casual winter hike
When Glacier Point Road is closed, there is no ordinary drive-up visit to the overlook. The park’s winter guidance describes long ski or snowshoe travel under suitable conditions, which is a separate undertaking requiring appropriate skills and planning. It is not an interchangeable substitute for a short camera walk.
The Panorama Trail is not an eight-mile roundtrip winter shortcut. NPS describes it as a long one-way route between Glacier Point and the Valley, with substantial elevation change and route-dependent distance. This guide does not recommend it as a closed-road alternative. The Four Mile Trail also has seasonal closures and demanding terrain; its name is not a complete distance or safety description.
If a winter road closure prevents the visit you planned, change the plan rather than inventing an approach from an old article. Check current park information, respect closures, and leave expedition decisions to a properly prepared trip. The overlook will not become safer because the light looks promising in a photograph.
Leave the viewpoint as you found it
The park’s safety guidance asks visitors to keep wildlife wild, store food properly, dispose of waste responsibly, and use designated places to stop along roads. Keep food and trash under control during a photo session as well as during a hike. Do not approach or feed an animal to include it in the frame.
Keep your movements deliberate near the overlook. Put the camera down before walking, check the surface again, and avoid backing up while looking through the viewfinder. Respect anyone else’s space and privacy. Waiting for a clear moment is better than asking people to stand in an unsafe place for scale.
A useful Glacier Point session can be simple: a wider view that explains the setting, a tighter study of light on granite, and a quieter frame as the contrast changes. Let the actual conditions determine the set. Safe access and a clear composition matter more than copying an exposure recipe or collecting every possible angle.
Glacier Point photography FAQ
When is the best light for Glacier Point photography?
Late light can warm the granite while the Valley falls into shade, but there is no guaranteed sunset window. Clouds, smoke, season, and the subject’s angle affect the result. Choose a composition for the light you actually find.
Can you drive to Glacier Point in winter?
Not when Glacier Point Road is closed. Road access is seasonal and conditions can change. Check current NPS road information before traveling; an open park entrance or a road open only partway does not establish access to the overlook.
Is the overlook a long hike from the parking lot?
NPS describes a roughly 300-yard paved, switchback approach from the main parking lot to the accessible overlook. Check current surface conditions and individual access needs. This short approach is separate from the demanding trails connecting Glacier Point with Yosemite Valley.
Do you need a particular lens for Glacier Point?
No. A moderately wide lens can show the setting, while a longer lens can isolate granite faces and layered ridges. Choose framing, focus, and exposure for the subject rather than treating a focal length or aperture as mandatory.
Can you photograph stars at Glacier Point?
NPS identifies Glacier Point as a stargazing area when accessible. Check road, weather, and parking restrictions first, use considerate lighting, and plan a safe return and a lawful place to sleep elsewhere. A night visit does not authorize camping at the overlook.
Is the Panorama Trail a short alternative when the road closes?
No. It is a long one-way route with substantial elevation change, not an eight-mile roundtrip winter shortcut. Do not treat a road closure as a reason to improvise a hike. Use current park guidance and plan any demanding trip separately.
For a broader park plan, see our Yosemite photography spots guide. Compare the lower viewpoint in our Tunnel View photography guide, or review our Yosemite photography tours guide when planning a guided visit. Those are separate starting points, not reservations or access guarantees.
Optional gear for the overlook approach
Keep the camera packed or securely carried while walking. A black Peak Design Slide Lite camera strap, model SLL-BK-3, is one optional carry accessory, not a requirement for Glacier Point photography. Check your camera attachment points and full camera-and-lens weight, follow the attachment instructions, and inspect the anchors. A strap does not replace keeping safely back from edges or respecting barriers.
Compare the Slide Lite SLL-BK-3 on Amazon | Check the Slide Lite SLL-BK-3 at B&H
Affiliate disclosure: We may earn a commission from qualifying purchases through these links at no extra cost to you. As an Amazon Associate, Shut Your Aperture earns from qualifying purchases. Check current retailer specifications before buying; no hands-on test, price or availability promise is made here.