Posing is not memorizing fifty rigid positions. It is understanding the handful of principles that make a body look natural and balanced in a two-dimensional frame, then applying them on the fly. Learn the principles and the poses invent themselves. Here is how it actually works.
 Save
SaveThe Six Principles Under Every Good Pose
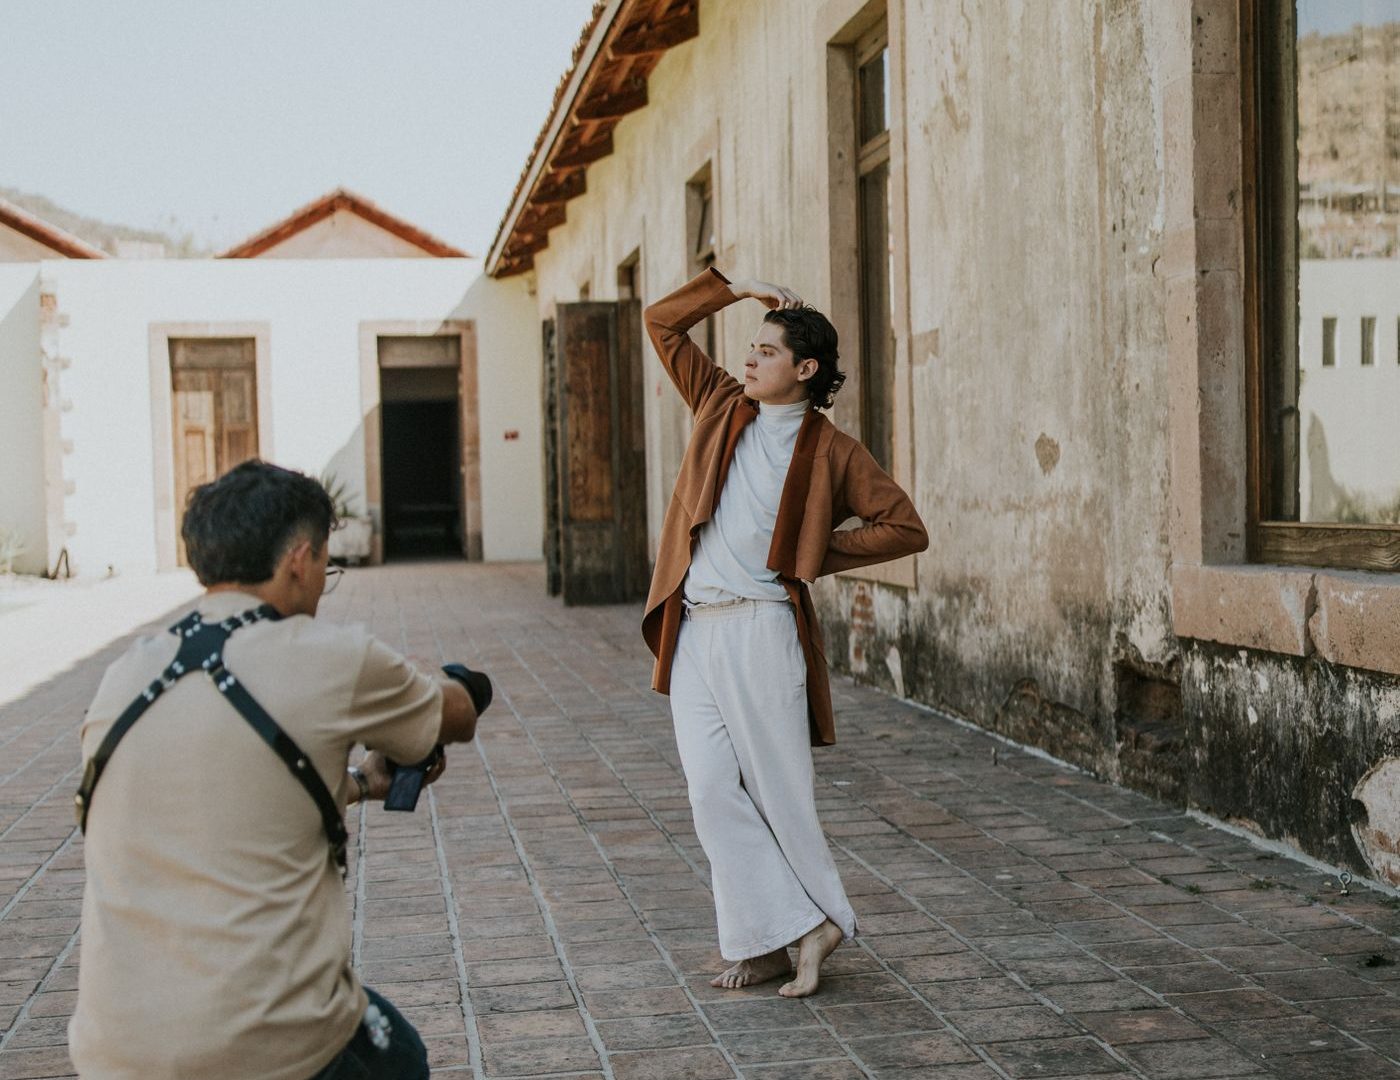
- Weight on the back foot. Front-foot weight reads as stiff and square-on. Weight back creates an instant, natural S-curve.
- Angle the body, face the camera. Forty-five degrees slims and adds depth; square shoulders flatten.
- If it bends, bend it. Elbows, wrists, knees, fingers. Soft bends read relaxed; locked joints read mannequin.
- Chin forward and slightly down. Feels strange, photographs as a defined jawline. This is the single highest-leverage direction you can give.
- Give hands a job. In pockets, holding a lapel, touching hair, clasped lightly. Hands with nothing to do are where awkwardness lives.
- Create triangles. Bent limbs form triangular shapes, and triangles are what the eye reads as dynamic composition inside the pose itself.
Reliable Setups by Scenario
Standing: weight back, one hand in a pocket, shoulder angled, chin out. Or lean against a wall with the far shoulder, crossed ankles, arms loosely folded. Sitting: forward on the seat, elbows on knees for engagement, or leaned back with one arm along the rest for ease. Walking: shoot continuous while the subject walks toward you slowly; mid-stride frames give natural posture for free. Couples: forehead touch, walk-and-laugh, one whispering something genuinely funny. Connection beats symmetry. Groups: stagger depths, never a single line; give the group a shared action instead of a held smile.
Want to go further? The ShutYourAperture Academy’s The Portrait Masterclass (8 modules, 32+ lessons) is built to help you build portraits around faces, stories and human connection.
Direction Beats Posing
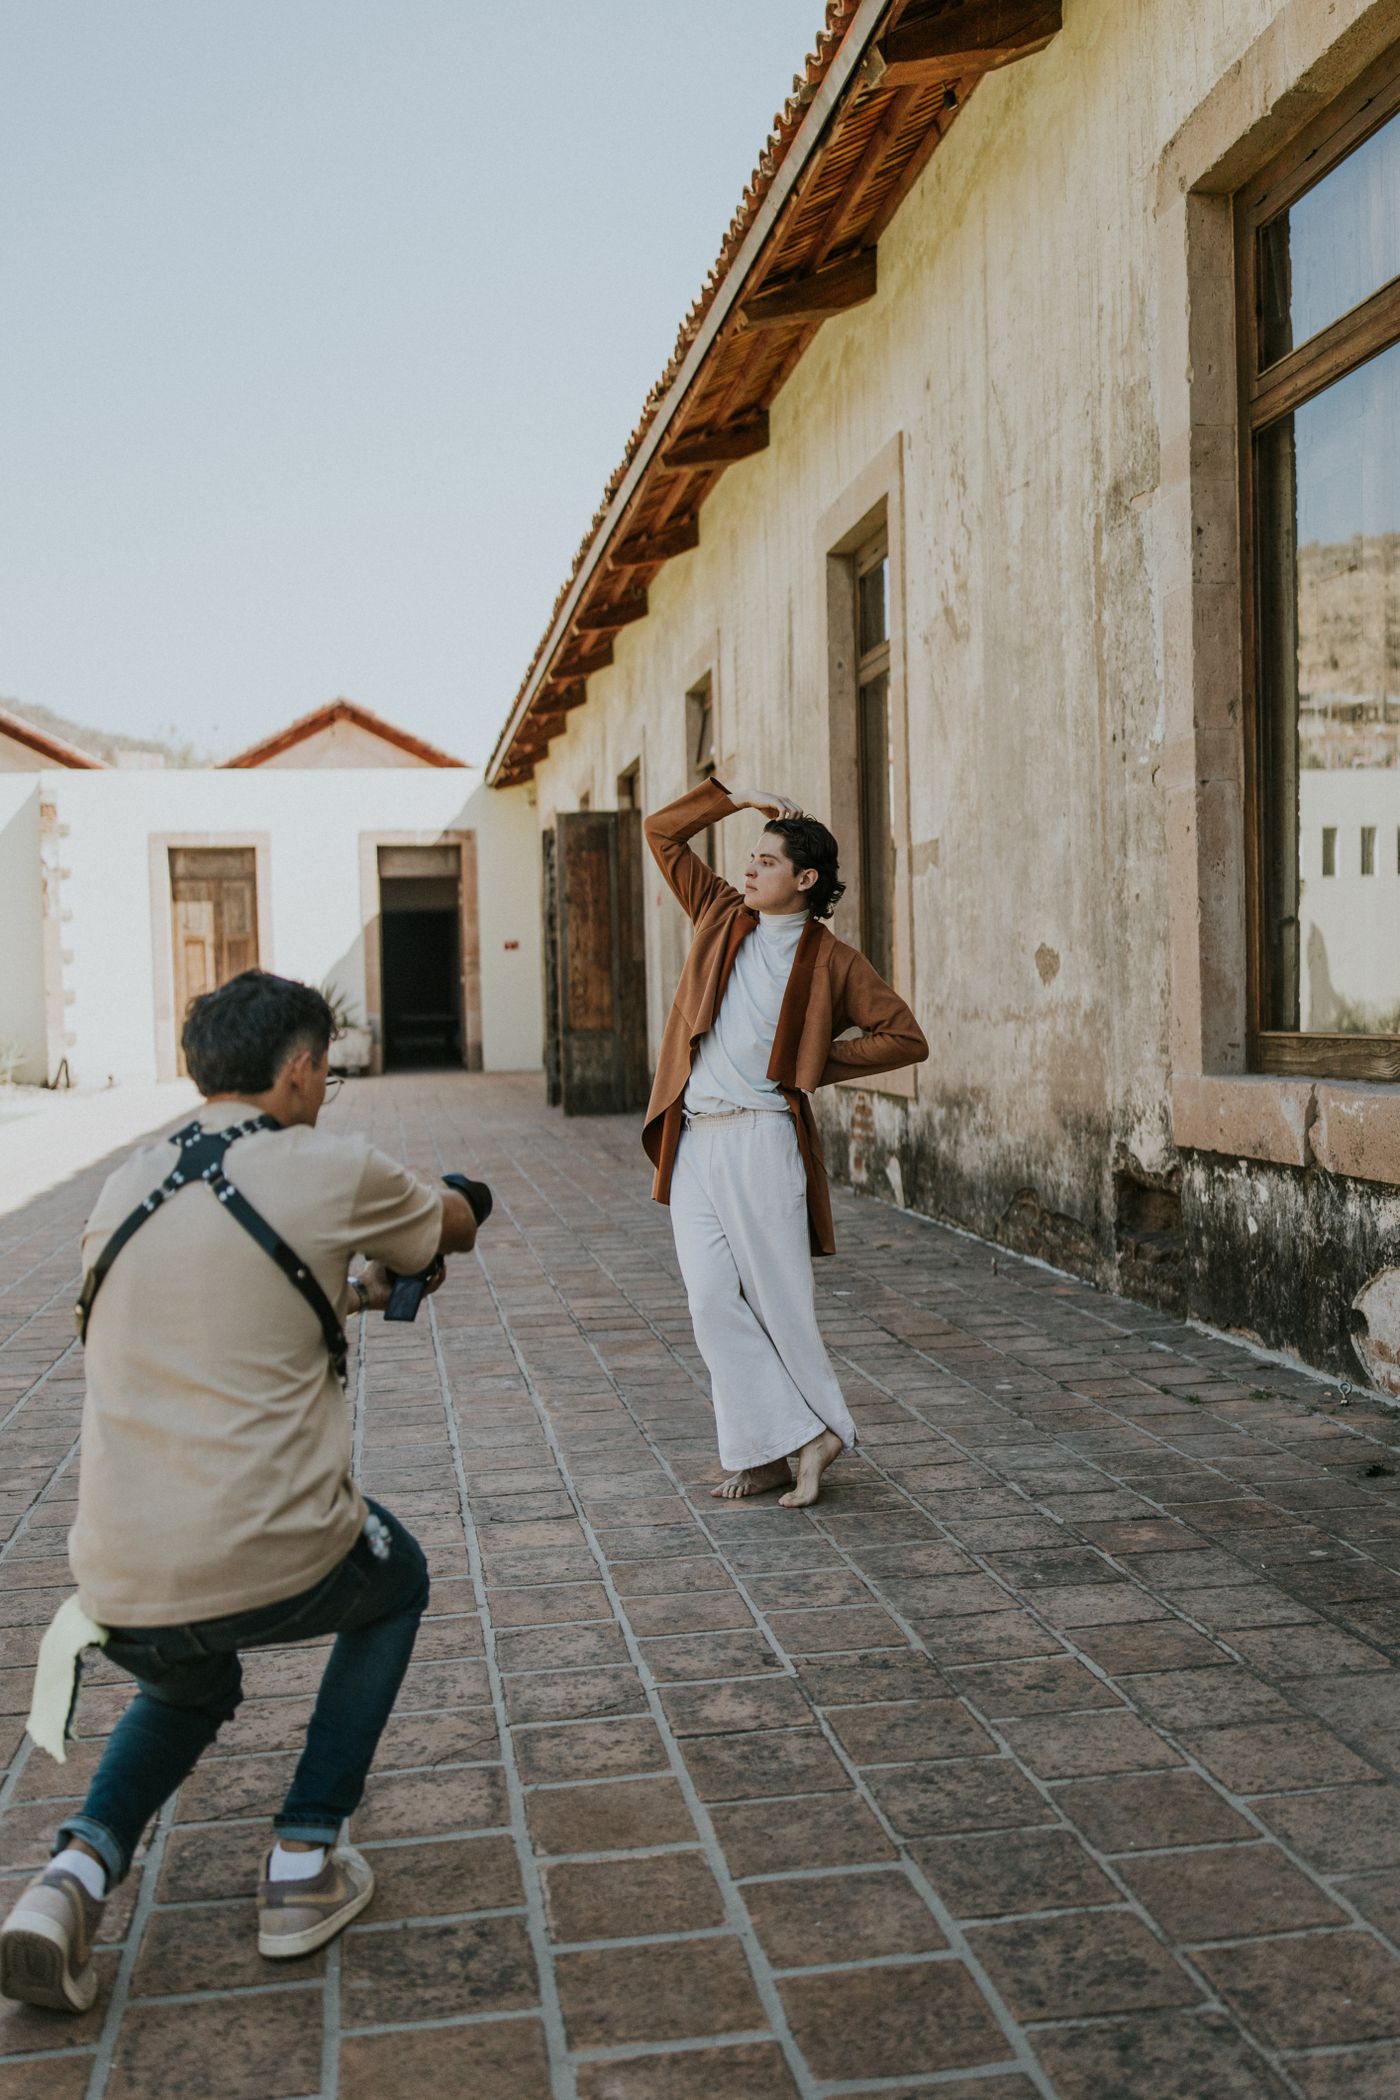
The best portrait photographers barely “pose” at all; they give prompts. “Walk toward me and look over your shoulder” produces a real expression with usable posture, where “hold this position” produces neither. Demonstrate with your own body, keep the subject moving between micro-adjustments, and shoot the transitions. The frame between two poses is usually the keeper.
Settings and light for these setups are in our portrait photography guide, and the best lenses for portrait photography covers the glass that flatters them. When the session is done, the Portrait Preset Pack handles the skin-tone and light looks these images need, and the free starter pack in our Lightroom presets guide is the no-cost starting point.
Gear for a portrait-light comparison
Direction comes first. If the face needs a little light control, the Impact R2522-51 22-inch 5-in-1 reflector is one option to compare for a small portrait setup. Try the white surface while keeping the pose and camera position the same, then review the face and background together. Check size and how an assistant will hold it safely. It does not replace a clear prompt or make every group fit the same lighting setup. Compare the current retailer specifications; no hands-on test, price or stock promise is being made here.
Compare Impact R2522-51 22-inch 5-in-1 reflector on Amazon | Check Impact R2522-51 22-inch 5-in-1 reflector at B&H
Affiliate disclosure: We may earn a commission from qualifying purchases through these gear links at no extra cost to you. As an Amazon Associate, Shut Your Aperture earns from qualifying purchases.