A drone gives you a different position for the camera. It does not make the composition for you, and it does not make a risky flight worthwhile. The original DJI Mavic Air put a small camera and a three-axis gimbal into a folding aircraft, but the useful way to approach it is to understand the camera, the flight limits and the work needed before takeoff.
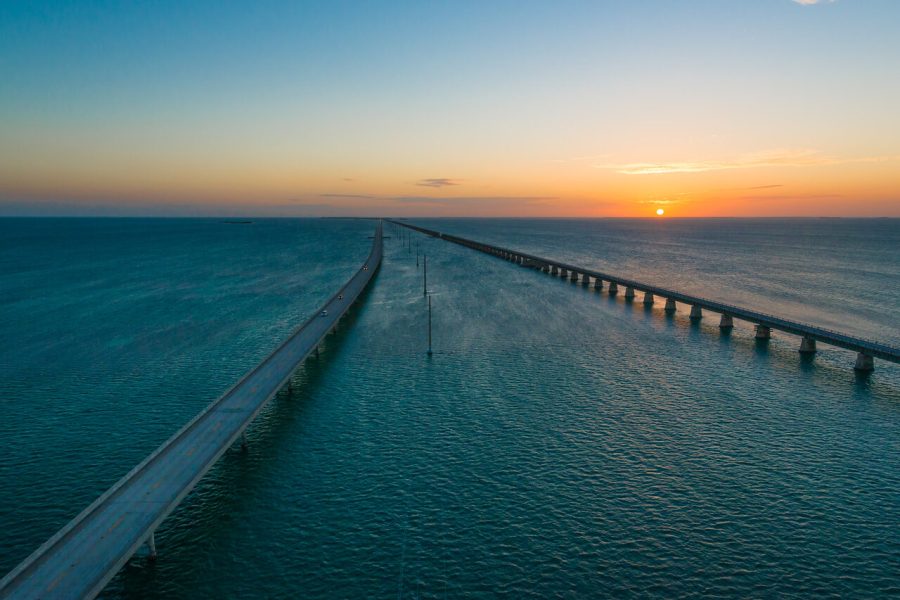
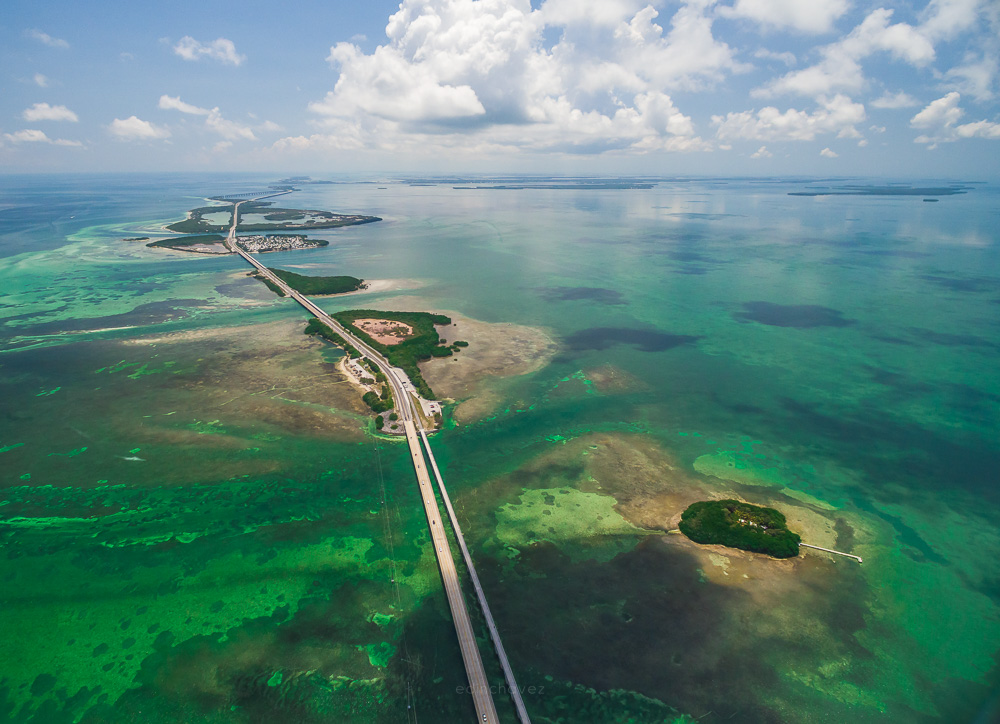
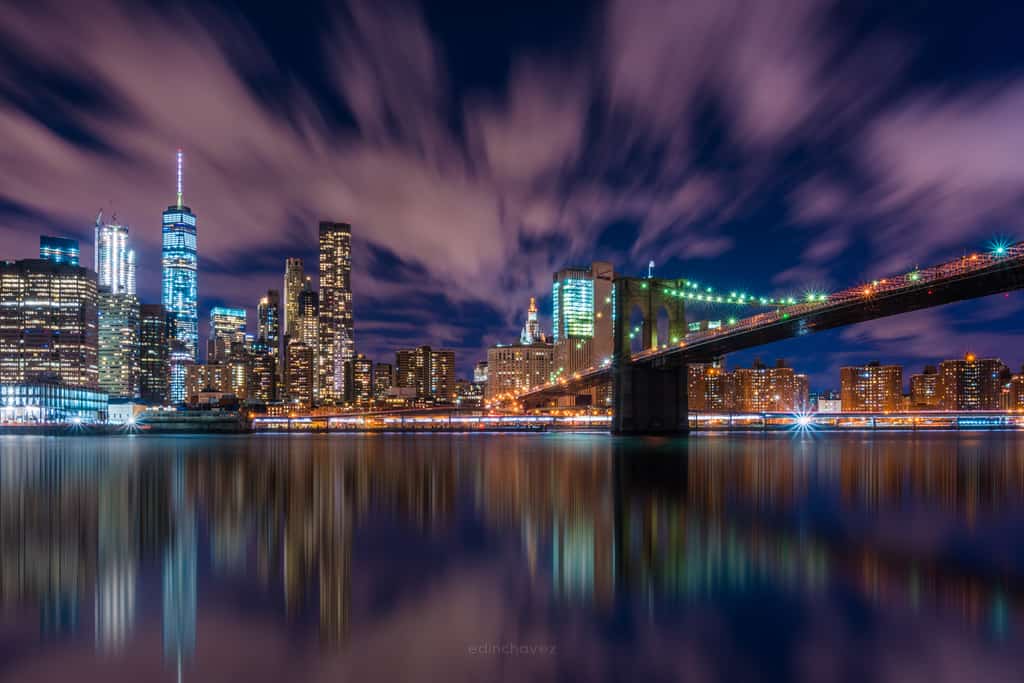
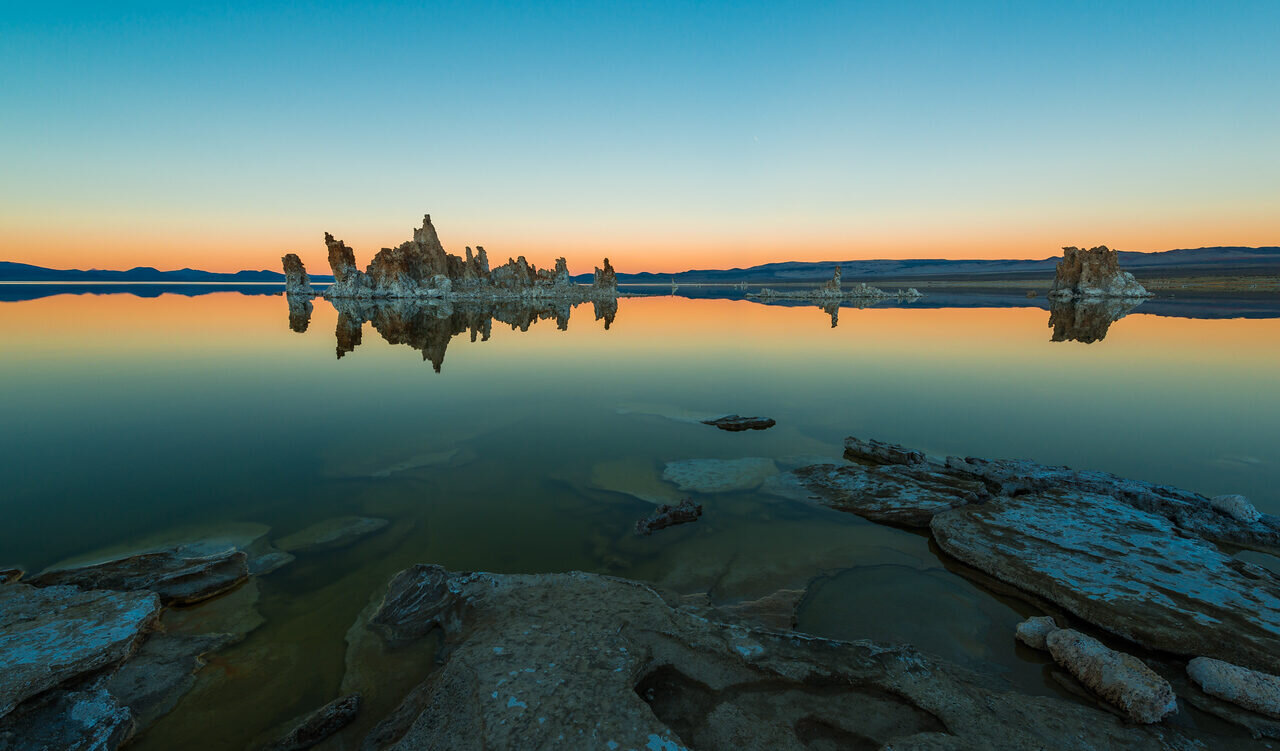
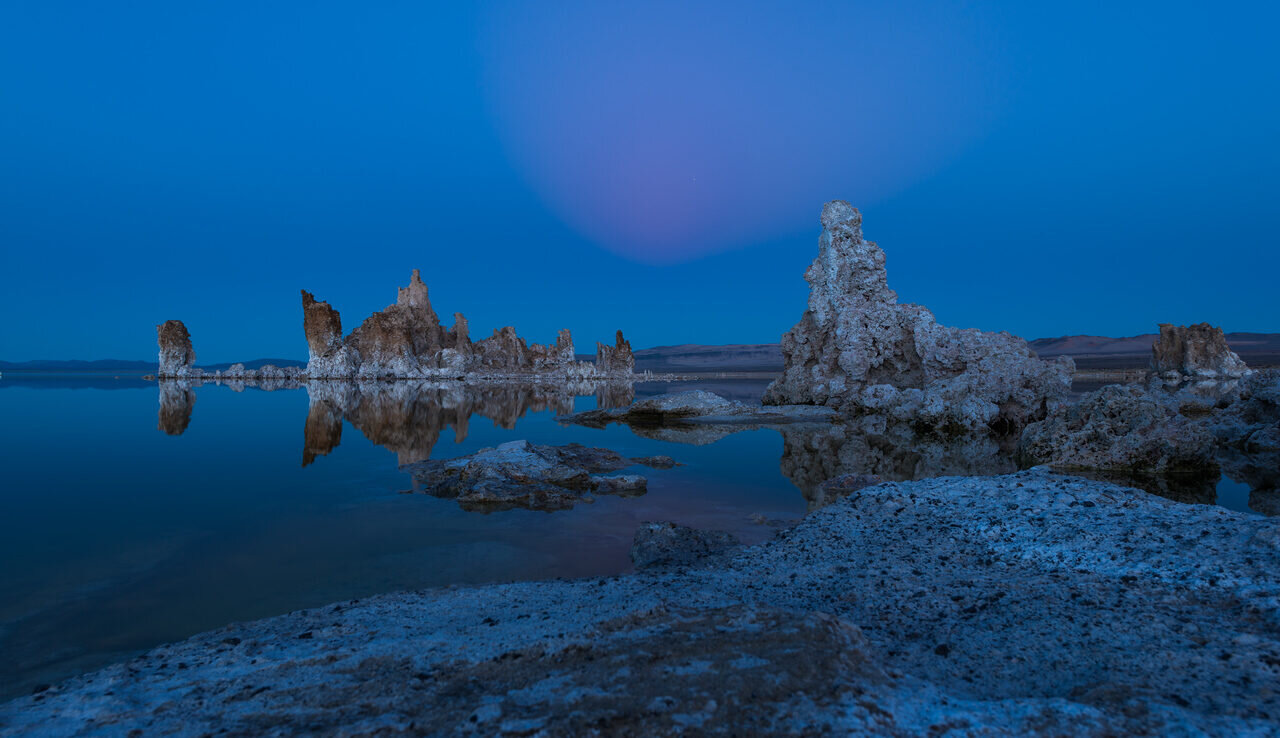
This guide covers the original 2018 DJI Mavic Air, not the Mavic Air 2 or Air 2S. The old launch copy has been replaced with a technical photography guide based on DJI’s published documentation and current U.S. FAA guidance. This is not a new-product announcement, a hands-on review or a claim about current stock. The scene photos illustrate composition and light; they are not presented as Mavic Air samples or evidence that a flight is permitted at those locations.
Updated October 2026.
Know the camera before planning the flight
DJI’s original Mavic Air manual, version 1.2, lists a 1/2.3-inch sensor with 12 effective megapixels, a fixed f/2.8 lens and an angle of view described as 24mm in 35mm-format terms. The gimbal stabilizes the camera mechanically on three axes. These are the capabilities of the original model, not specifications borrowed from a later Air.
That camera gives you a broad view, but a broad view is not automatically a good photograph. Find a clear subject and decide how its shape relates to the background. A higher viewpoint can reveal lines, spacing and patterns. It can also flatten the scene or make the subject too small. Plan the position that helps the picture rather than climbing simply because the aircraft can.
Look for a composition you can make safely from an allowed position. If the only attractive angle requires a prohibited flight, poor visibility or a difficult return, choose another photograph. The camera position is one part of the image, not a reason to ignore the conditions around it.
Use still files with an editing plan
The manual lists JPEG and DNG RAW photographs, along with single, burst, interval, HDR and panorama modes. JPEG gives you a processed image; DNG gives you more control during editing. Choose intentionally and test the files in your software before an important trip. RAW does not recover detail that was never recorded or fix movement blur.
Watch bright skies and dark foregrounds. A scene that looks pleasant on the phone can still have lost highlights in the recorded file. Review exposure and make deliberate changes rather than relying on an automatic mode to solve every high-contrast scene. Keep the composition consistent when comparing test exposures.
DJI lists automatic exposure bracketing options. A bracket is a sequence of different exposures, not a guarantee of a clean finished blend. Moving water, vegetation, traffic or aircraft movement can complicate the result. Check alignment and subject movement before treating a merged file as an improvement.
Panorama modes combine several views. The stitched output is not evidence of a different single-frame sensor resolution. Give the sequence room and time, then inspect the finished file for joins, moving subjects and awkward edges. A panorama works when the wider composition has a purpose, not merely because the mode is available.
Video resolution and movement are separate decisions
The original model’s manual lists UHD 4K up to 30p and a video storage bitrate of 100 Mbps. Full HD includes higher-frame-rate options, including 120p. Choose the recording size and frame rate for the finished work, not just the largest number in the menu.
Slow, controlled camera movement often makes a scene easier to read. Decide where the shot begins, what changes during it and where it ends. Do not combine a turn, climb and fast sideways move simply to show that the drone can do all three. A clear movement with a useful subject gives the viewer something to follow.
Test footage in the editing program you intend to use. Check playback, the actual recording settings and export behavior. A successful file transfer does not prove a smooth editing workflow. Keep a short test file when changing a phone, card, computer or software version.
The three-axis gimbal reduces unwanted camera movement. It does not create permission to fly, remove obstacles or prevent every recording defect. Review actual clips for exposure changes, unwanted movement and horizon behavior before relying on a setup for work that cannot be repeated.
Storage is part of the flight preparation
The manual lists 8 GB of internal storage and a microSD slot. Its camera section specifies a UHS-I microSD card for the recording demands and warns not to remove the card while the aircraft is on. Read the original model’s requirements and use a card you have tested, not an unverified spare pulled from another device.
Check the recording destination and free space before launching. Internal storage is useful, but it is not an unlimited fallback. Confirm that a test photograph and video are saved where you expect them. Record a realistic clip, play it back and inspect it on a computer when evaluating used equipment.
After the flight, copy the files and make a separate backup before clearing the card or internal storage. Keep the originals until the copy has been checked. Losing a file after a safe flight is still losing the photograph, and it is often preventable with a simple repeatable routine.
Obstacle sensing has important gaps
The original Mavic Air has forward, backward and downward vision systems. That is not full coverage around the aircraft. The manual describes conditions that can interfere with vision, including water, reflective or transparent surfaces, low-texture areas, changing light and small objects such as branches or wires.
Do not treat a sensor icon as proof that the route is clear. Survey the area, leave space and keep control of the flight. Sideways movement deserves particular care because a sensor facing another direction cannot be assumed to protect the side of the aircraft. A visible opening may still contain fine wires or branches.
Sport mode disables the forward and backward vision systems and changes response and stopping behavior. The manual warns that the aircraft cannot automatically sense and avoid obstacles in that mode. Maximum speed is therefore a flight-condition decision with consequences, not a setting to enable for every camera move.
Advanced Pilot Assistance Systems, or APAS, are described for P-mode and depend on the vision systems. The manual says APAS is automatically disabled during Intelligent Flight Modes. Do not combine feature names into a blanket promise that obstacle avoidance protects every automated shot. Read the limits for the mode you actually select.
Plan the return before the photograph
DJI’s listed maximum flight time is 21 minutes under a stated no-wind test condition at a consistent speed. It is not a promise that an old battery provides 21 minutes of useful photography or enough power for an out-and-back route. Wind, temperature, battery condition and maneuvers change the practical margin.
Inspect batteries and follow DJI’s battery safety instructions. Do not fly with damage, swelling or unresolved battery warnings. Set a conservative plan for returning and landing before the battery becomes the decision-maker. A long outbound leg with a difficult headwind return is not made safe by a good camera view.
Return to Home uses the recorded Home Point and has specific GPS, obstacle and operating limits. Check the Home Point and return settings for the location before takeoff. Read the manual’s RTH section in full rather than assuming the aircraft will choose a safe path around everything.
Do not use an advertised transmission distance as a target. A control signal reaching the drone is not the same as being able to see it, legally fly there or bring it home with reserve power. If conditions change, shorten the flight or land. The useful result is the aircraft and files safely back, not a maximum number on the screen.
Check the rules for the flight you intend
In the United States, start with the FAA’s recreational flyer guidance and determine whether the flight is genuinely recreational. The FAA says almost all non-recreational operations fall under Part 107. Receiving no payment is not, by itself, proof that a flight is recreational.
The FAA’s recreational guidance includes visual-line-of-sight requirements, TRUST, registration rules and airspace limits. Controlled-airspace operations require the relevant authorization. Do not assume that the aircraft’s ability to take off means the location is allowed. Check airspace, temporary restrictions, launch-site rules and other requirements for the exact flight.
Remote ID needs its own check on an older aircraft. The FAA’s Remote ID guidance says drones required to be registered, or that are registered, must comply with the rule. It describes Standard Remote ID, broadcast modules and FAA-recognized identification areas. Verify the actual aircraft and any added equipment rather than assuming a 2018 model meets today’s requirements.
This is a starting point, not a complete legal checklist or an approval for a specific flight. Outside the United States, use the relevant aviation authority and local site rules. Permission from a landowner does not replace airspace requirements, and airspace authorization does not settle every launch, privacy or property issue.
Evaluate the whole older system
DJI’s original product support page and download center are better references than an old shopping link. Verify the remote controller, aircraft, batteries, propellers and charging equipment in the actual package. Model names that look similar are not a compatibility guarantee.
The original manual uses DJI GO 4. Its old phone and operating-system requirements are historical, not proof that your current phone works. Test installation, connection, camera view, controls and file transfer with the intended device. Check firmware and support instructions without installing an unrelated model’s update.
Inspect the gimbal and camera, arms, hinges, propellers and battery connections. Ask about crashes, repairs and storage history. A clean exterior does not establish the condition of a battery or the reliability of the aircraft. Read the return terms and allow for the cost and uncertainty of missing or damaged parts.
Make equipment checks on the ground before considering a flight test. Any test flight still needs a legal location, a safe area and a competent operator. Do not launch a questionable aircraft merely to find out whether it is damaged. Stop when a warning or inspection finding remains unresolved.
Make the position serve the picture
Once the equipment and flight are suitable, simplify the photographic plan. Pick a subject, choose the light and decide which viewpoint adds something. Repeating a careful composition from a slightly different position can teach more than collecting dozens of unrelated overhead frames.
Review the photographs for shapes, edges and distractions. Aerial perspective can make roads, shadows and shorelines useful compositional elements, but the same basic judgment applies from the ground. If the flight is not a good fit, make the photograph from another position. A strong image does not need a drone to justify it.
Frequently asked questions
Which Mavic Air does this guide cover?
The original 2018 Mavic Air, not the Mavic Air 2 or Air 2S. This is a technical guide from published sources, not a hands-on review.
Does obstacle sensing protect every direction and mode?
No. The original model has forward, backward and downward vision systems with lighting and surface limits. Sport mode disables the forward and backward systems.
Does the 21-minute figure promise useful flight time?
No. DJI lists it under a no-wind test condition at a consistent speed. Battery condition, wind and maneuvers affect the practical return margin.
Can an advertised signal distance be used as a flight target?
No. Signal distance is not a legal or safe operating distance. Visibility, airspace, conditions, battery and a safe return still govern the flight.
Does an old drone automatically meet current Remote ID rules?
No assumption is safe. In the U.S., check the FAA requirements and the actual aircraft or added equipment before flying.
Are these scene photos Mavic Air samples or flight permissions?
No. They illustrate composition and light, not files from this aircraft or permission to fly at the pictured locations.
Gear to check for an original Mavic Air setup
Confirm the exact model, condition and legal requirements first. These links are shopping starting points, not guarantees of fit, stock, price or flight approval.
Original Mavic Air equipment: Browse Amazon or B&H. Verify the item against your actual aircraft and recording needs.
Recording media: Browse Amazon or B&H. Verify the item against your actual aircraft and recording needs.
Transport protection: Browse Amazon or B&H. Verify the item against your actual aircraft and recording needs.
Affiliate disclosure: This article contains affiliate links. If you buy through them, we may earn a commission at no extra cost to you. As an Amazon Associate, we earn from qualifying purchases.
For practical photography tips, visit the Shut Your Aperture Academy. Build your understanding of composition and light before deciding where to put the camera.