For many people, pets are considered as part of the family. They bring us joy, comfort, and companionship, creating unforgettable moments that are worth cherishing. One of the best ways to capture these special moments is through photography. Pet photography, however, may present unique challenges from the unpredictable behavior of animals to the technical aspects of getting the perfect shot. This guide aims to share valuable insights into understanding pet behavior to predict and respond appropriately for natural-looking portraits, mastering camera settings for high-quality pet images, and utilizing natural light to accentuate your pet’s best features.
Understanding Pet Behavior
Enhancing Photography Skills Through an Understanding of Pet Behavior
Capturing the candid moments of beloved pets through the lens of a camera requires more than skill, it requires understanding. Let’s explore the ways in which understanding pet behavior can significantly enhance one’s photographic work.
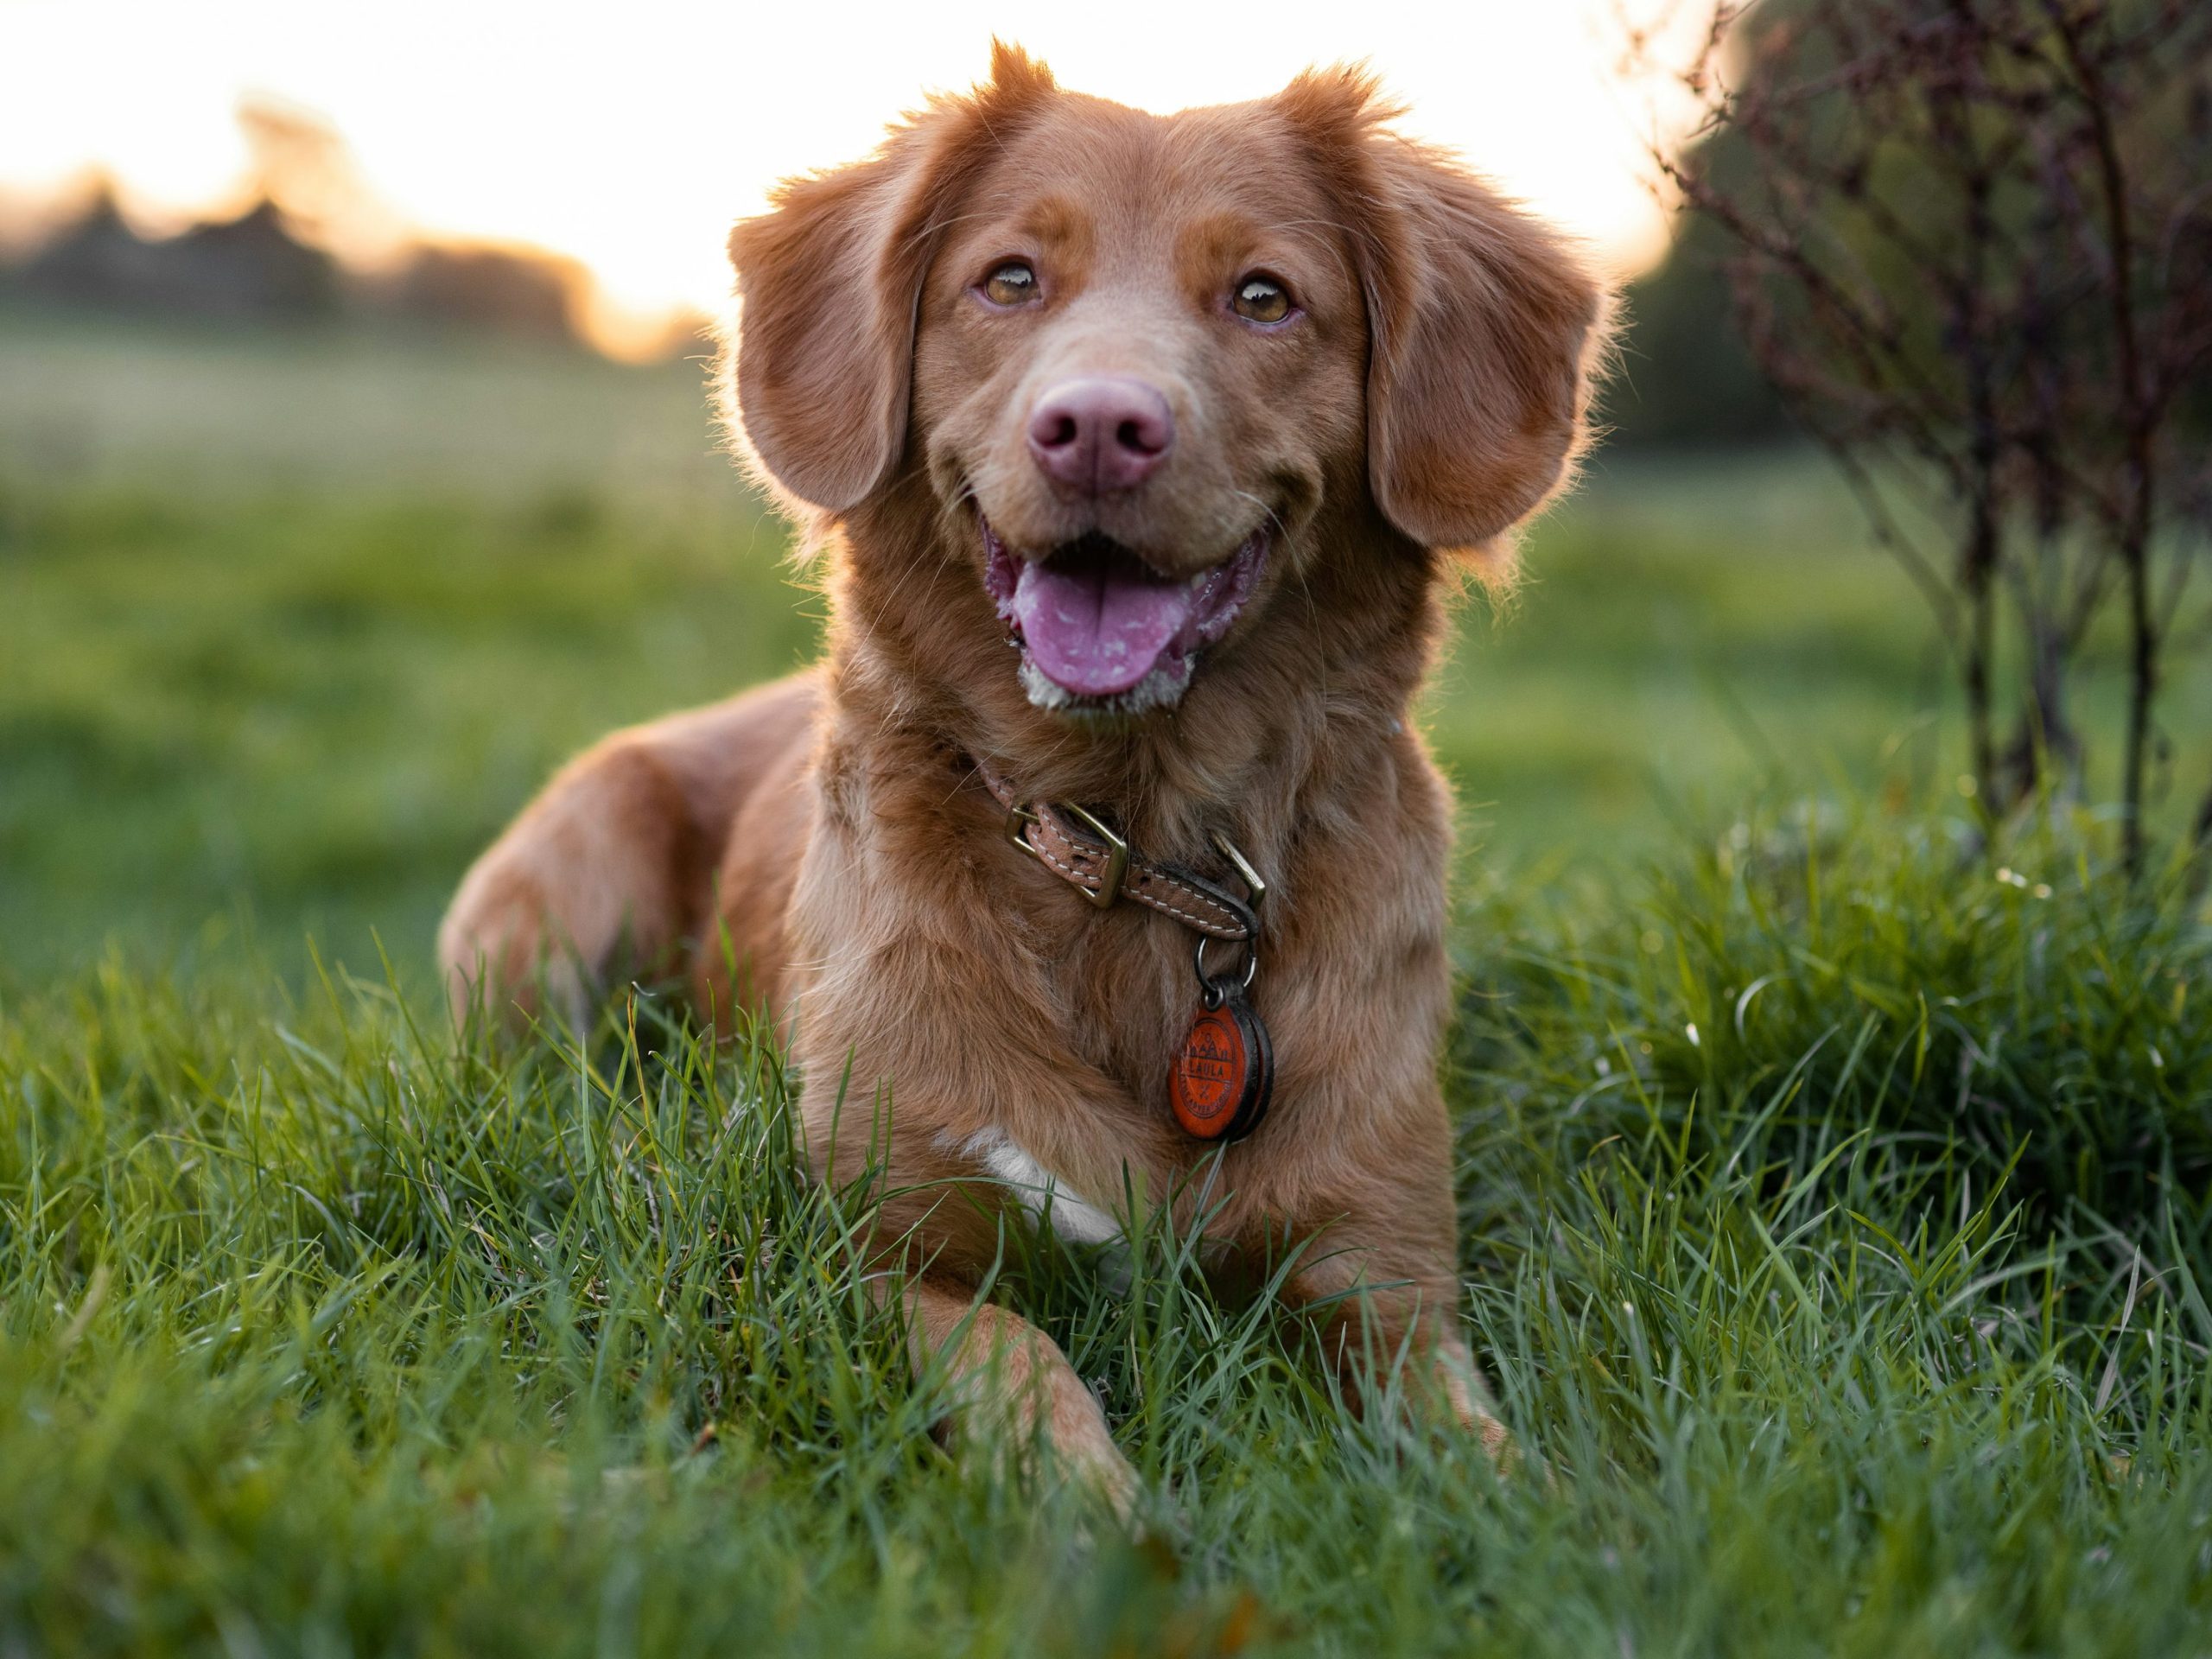
The first benefit of understanding pet behavior lies in the prediction of movements. By observing pets and identifying their patterns, photographers can often predict their behaviors and actions. This gives a unique advantage when it comes to capturing candid shots or preparing for pivotal photo opportunities. Every pet has its quirks – a certain twitch of the ear, a unique meow or a signature wiggling of the tail. Learning to anticipate these traits allows for the capture of stunning shots that truly embody a pet’s character.
A fundamental understanding of pet behavior also means that comfort zones can be identified and respected. This is crucial in maintaining a calm and relaxed pet, which is undoubtedly more photogenic than a stressed or anxious one. Knowing what soothes a pet or catches their interest can significantly influence the overall tone and quality of a photograph, ranging from playful portraits to peaceful candid shots.
Timing is everything and patience is key in pet photography. By understanding pet behavior, one learns the optimal times to engage in a photo shoot. Use the individual pet’s normal routine to choose a session time. A familiar, comfortable setting matters more than a fixed morning or evening rule.
Moreover, a strong understanding of pet behavior aids photographers in developing an empathetic approach. Being empathetic towards pets while photographing them, creates a more comfortable environment, resulting in pictures that truly reflect the pet’s personality. It’s wonderful how just a little empathy and understanding can create a world of difference in the final result.
Understanding pet behavior improves compositional choices as well. Knowing where your pet likes to laze around, or the games that get them excited, can help in setting up perfect shots. By understanding these behaviors, one can create thoughtful compositions that highlight the subject’s personality.
In conclusion, understanding pet behavior can significantly boost the quality of pet photography. It allows photographers to predict movements, respect comfort zones, choose optimal times for shooting, apply empathetic approaches, and make informed compositional choices. It’s safe to say that being a pet owner and a photography enthusiast is more intertwined than one may have realized. So, pick up that camera and start observing. The world of pet photography awaits!
 Save
Mastering Camera Settings
Mastering the Finesse of Camera Settings for Pet Photography
After embracing the art of predicting the flurry of pet movements, respecting their comfort zones, displaying great patience, and utilizing the deep understanding of pet behavior to improve image composition, a crucial component to excel in pet photography is mastering the camera settings.
As any seasoned pet photographer would attest, figuring out the perfect camera settings can feel daunting. Yet, once these basics are grasped, it becomes an exciting part of the photography journey. The aim here is to simplify, provide practical insights, and ease any such complexities, so get your cameras ready!
For a fairly still portrait, consider setting your camera to Aperture Priority mode. In this mode, the photographer decides the aperture (f-stop), while the camera automatically sets the shutter speed. This aspect is critical as it allows for quicker adjustments to capture the impromptu moments pets are known to deliver. Ideally, use an aperture range from f/2.8 to f/5.6 to create a depth of field that keeps your pet perfectly focused in the foreground, while maintaining a pleasingly blurred background.
Are you shooting in dim lighting conditions? Then, adapt by raising the ISO. Remember, a higher ISO increases the sensor’s sensitivity to light but may also introduce grain into the photo. ISO 400-800 can be a daylight starting point, not a ceiling. Use a higher ISO when needed to keep the shutter fast enough for a moving pet.
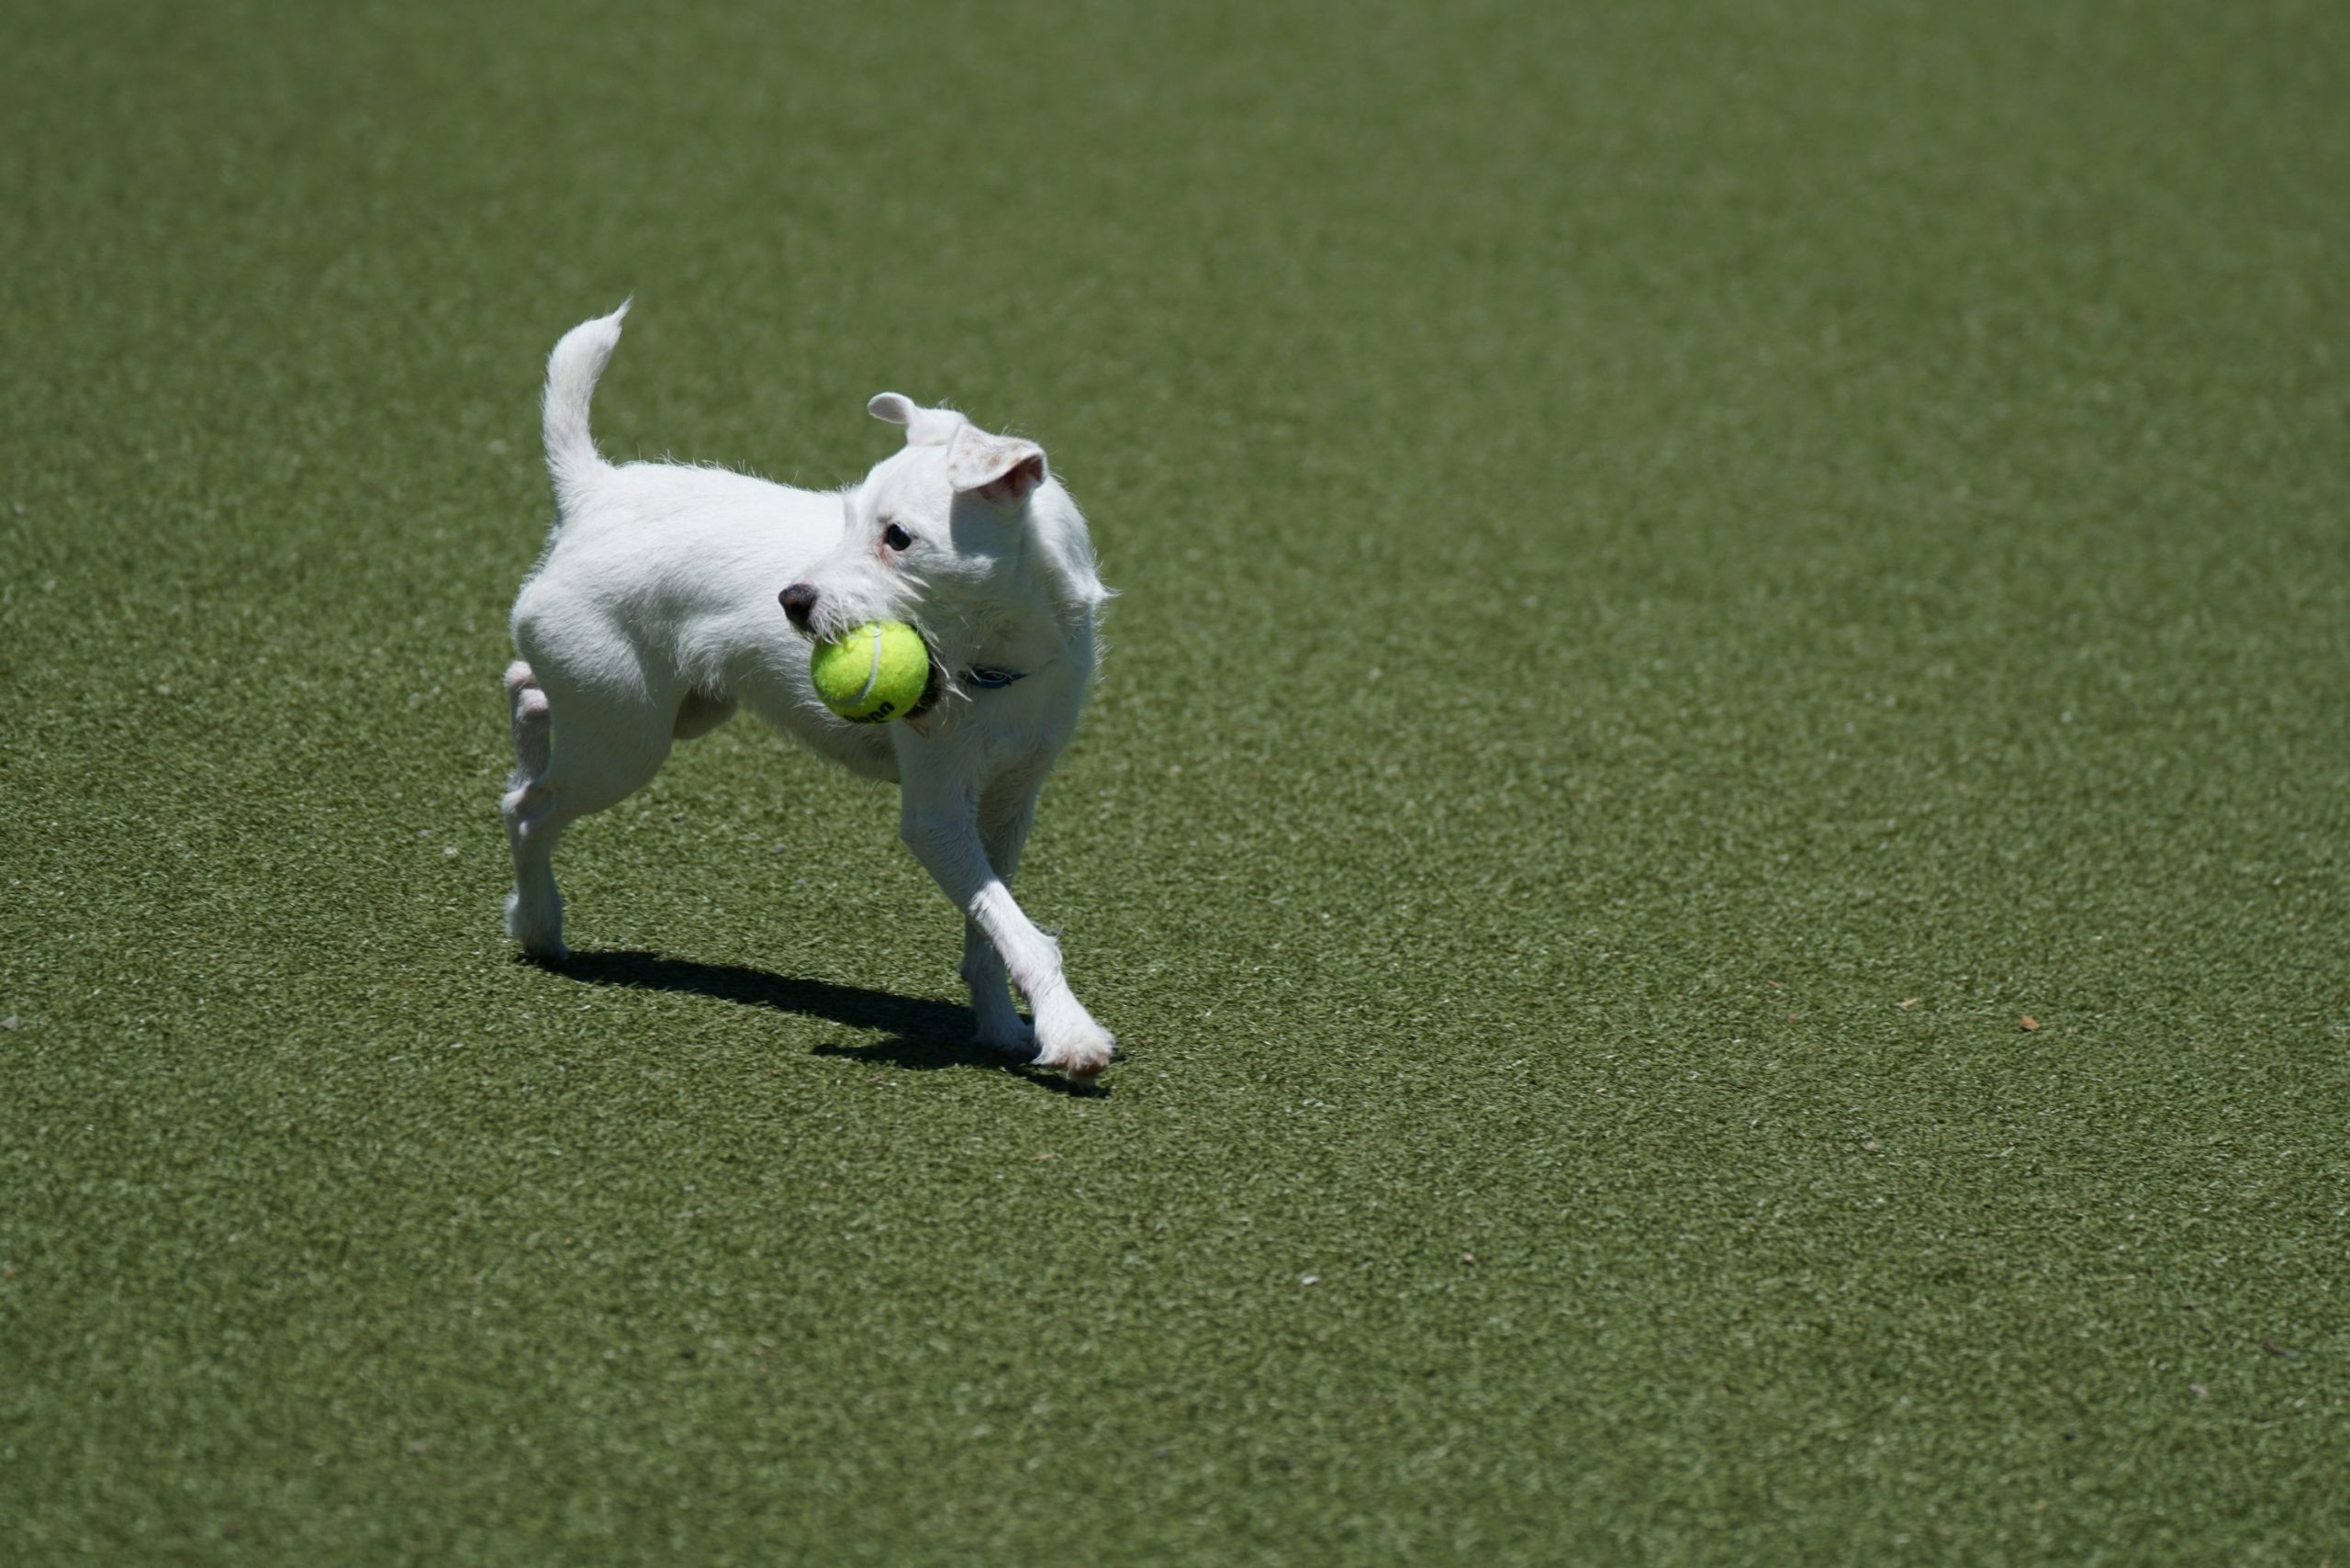
Shutter Speed is another crucial setting with hyperactive pets, so learning to adapt quickly is essential. Fast shutter speeds freeze motion, perfect for those action-packed shots. Try starting at around 1/500th of a second and adjust as necessary. Indoors, add available light or raise ISO before slowing the shutter enough to blur a moving pet.
Additionally, consider utilizing Burst Mode, perfect for capturing those spontaneous, precious moments that pets tend to offer unannounced. With burst mode on, the camera takes several photos in quick succession, increasing the chance of capturing that paw-fect shot.
Last but not least, let’s talk about focus. Auto-focus can be a real pet-photography game-changer. Selecting Continuous or AI Servo AF mode helps maintain sharp focus if your pet subject is moving around. Also, try to focus on their eyes for the most engaging snapshots.
And voila! Once you’ve absorbed these simple yet effective tips on camera settings, pet photography becomes incredibly gratifying. However, remember the golden rule – there’s no definitive right or wrong setting. It’s about understanding your camera and being agile enough to adapt swiftly to your pet’s antics. Keep practicing, stay patient, and let your love for pets shine through every click!
 Save
Making Use of Natural Light
Understanding Light:
One of the most powerful but often overlooked tools in pet photography is natural light. Natural light refers to any light that emanates from the sun – sunlight in the daytime, twilight during sunset or sunrise, overcast light on a cloudy day, and so forth. By leveraging the quality, direction, and color of natural light, you can accentuate the dimensionality and texture in your pet photos which will add more depth and character to the shots taken.
The Power of Indirect Sunlight:
The most flattering natural light for pet photography typically comes from indirect sunlight. When shooting outdoors, try to aim for early morning or late afternoon when the sun’s rays aren’t as harsh. This will help you to avoid tricky shadows and overexposure. Indirect sunlight casts a soft gleam on your pets, highlighting their adorable features without causing them to squint or creating harsh shadows.
Indoor Equivalents:
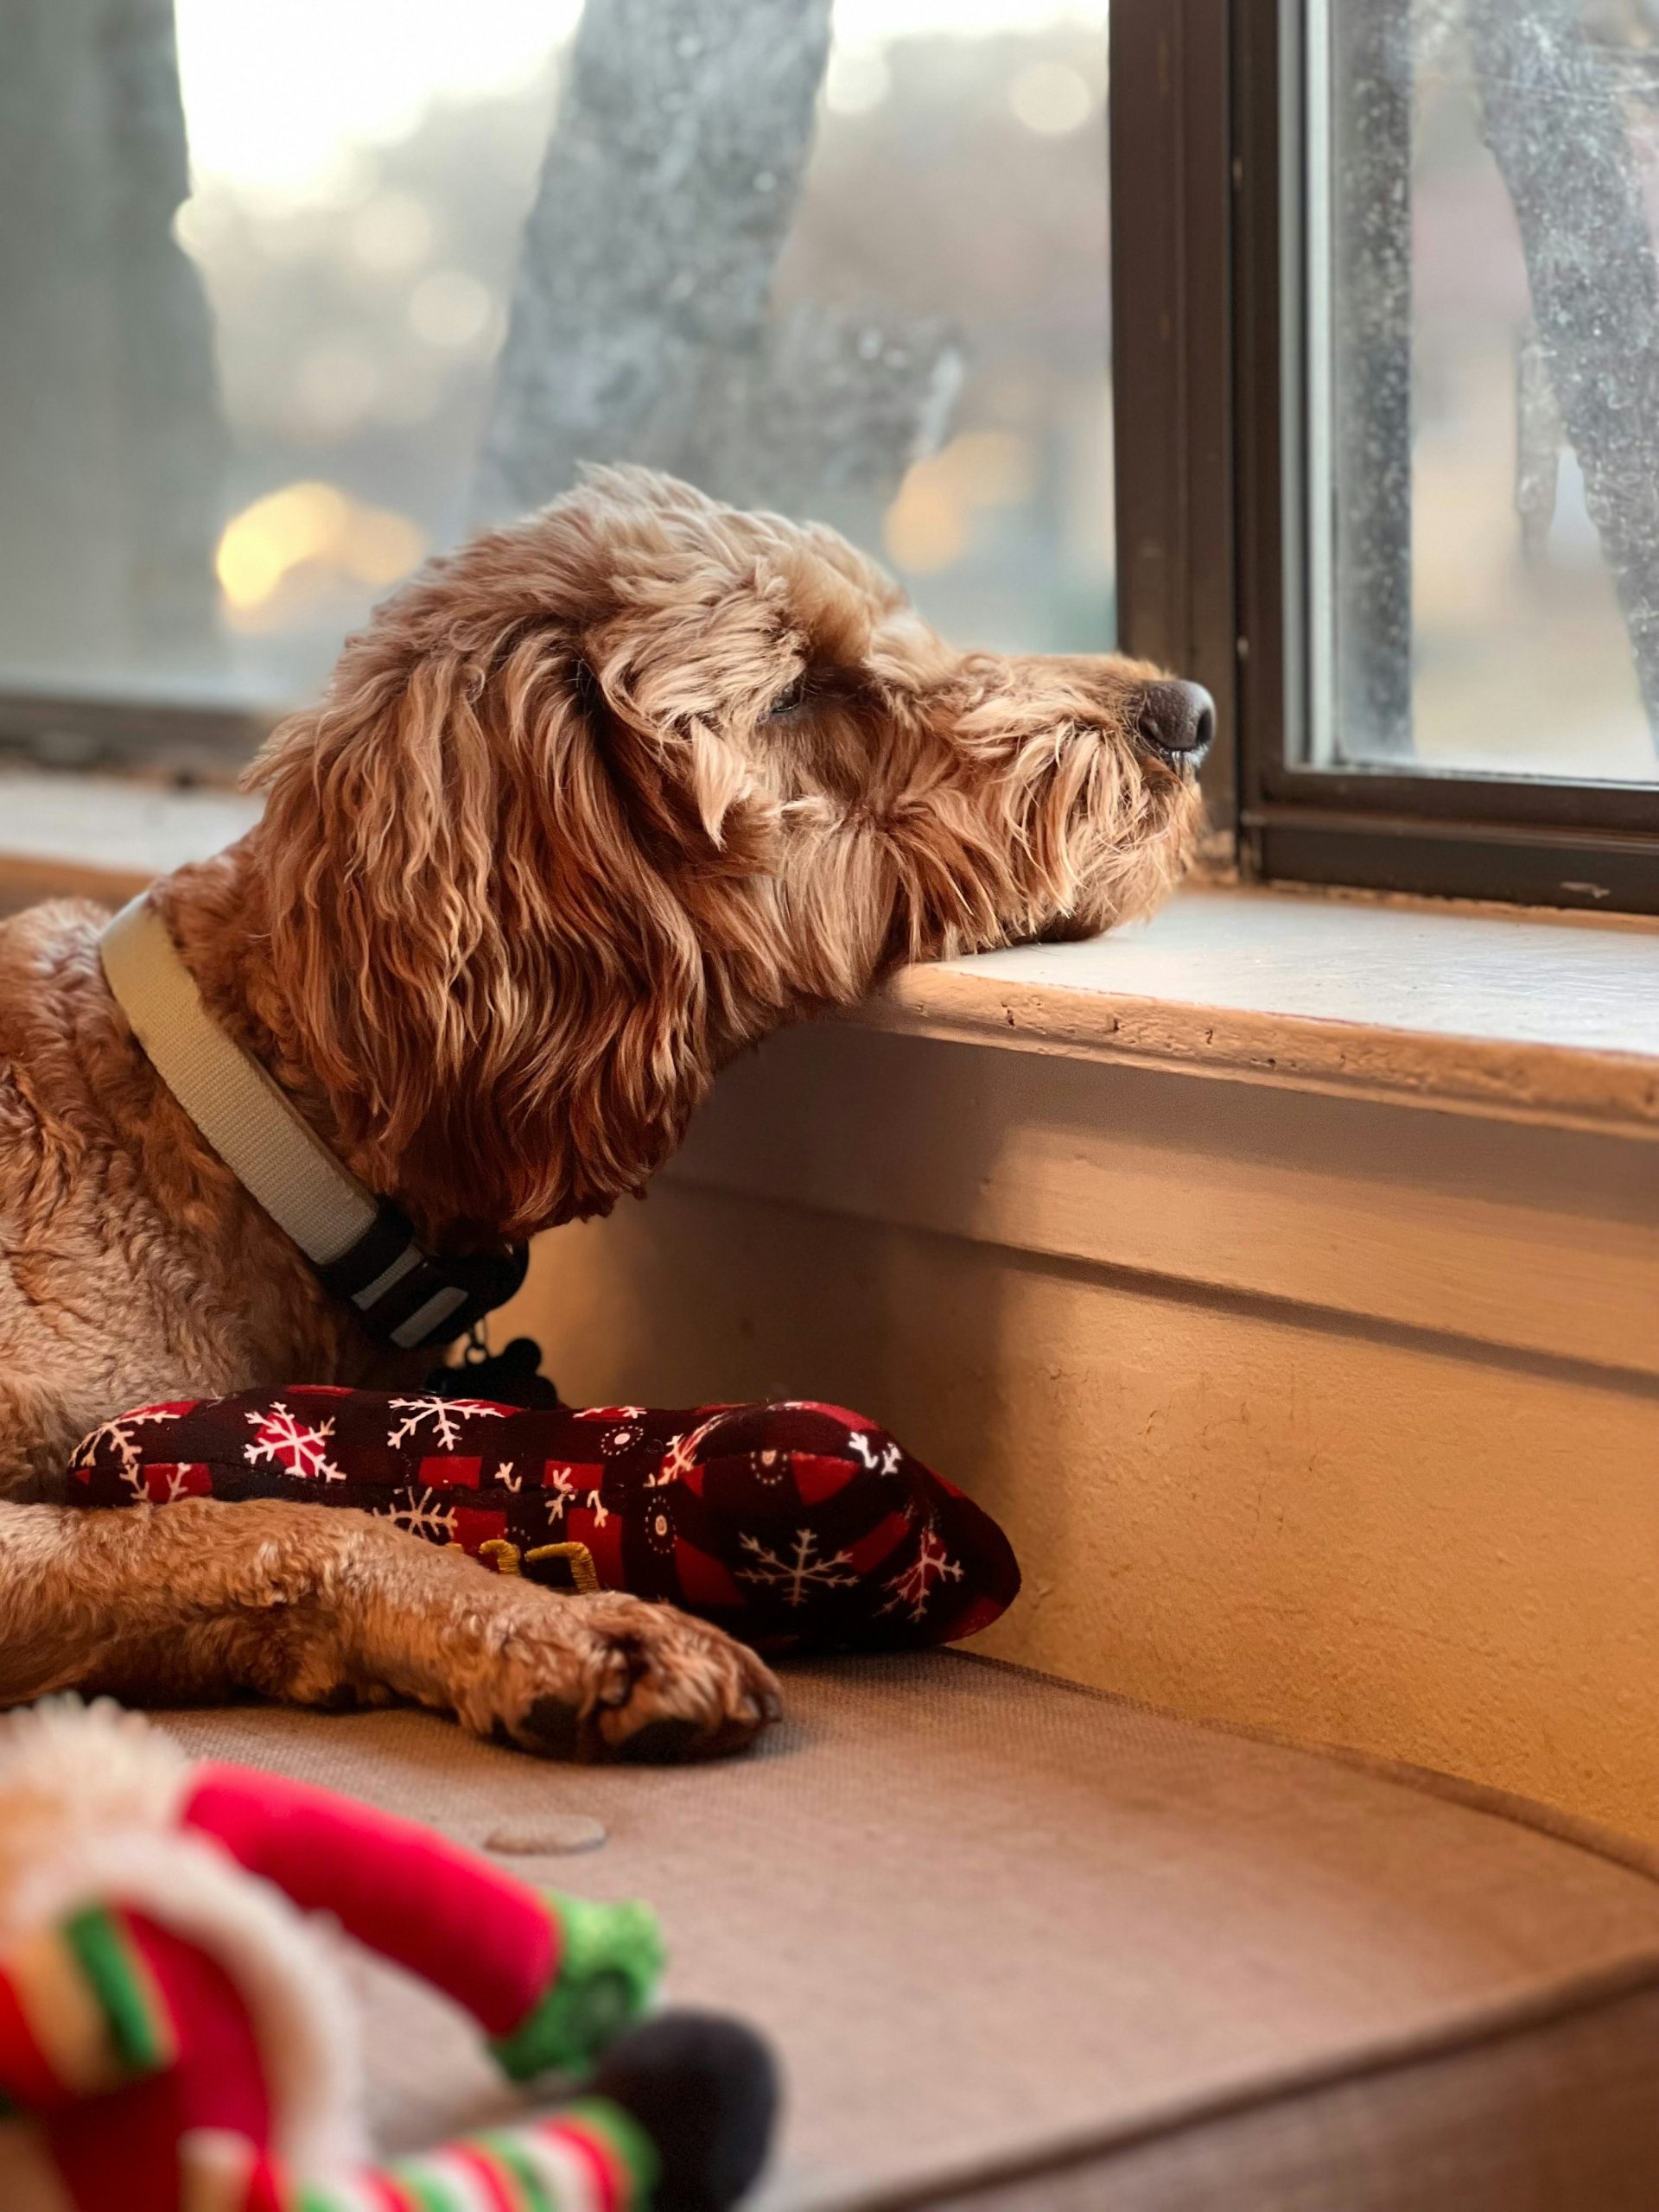
If you’re shooting indoors, position your pet near a large window. Make use of the soft, diffused light flooding in to illuminate your pet from one side. This side lighting technique introduces a dramatic play of light and shadow. Backlight can create an outline around dark fur, but check that the face still has enough light and visible detail. Side light from a window or open shade may be an easier starting point.
Golden Hour:
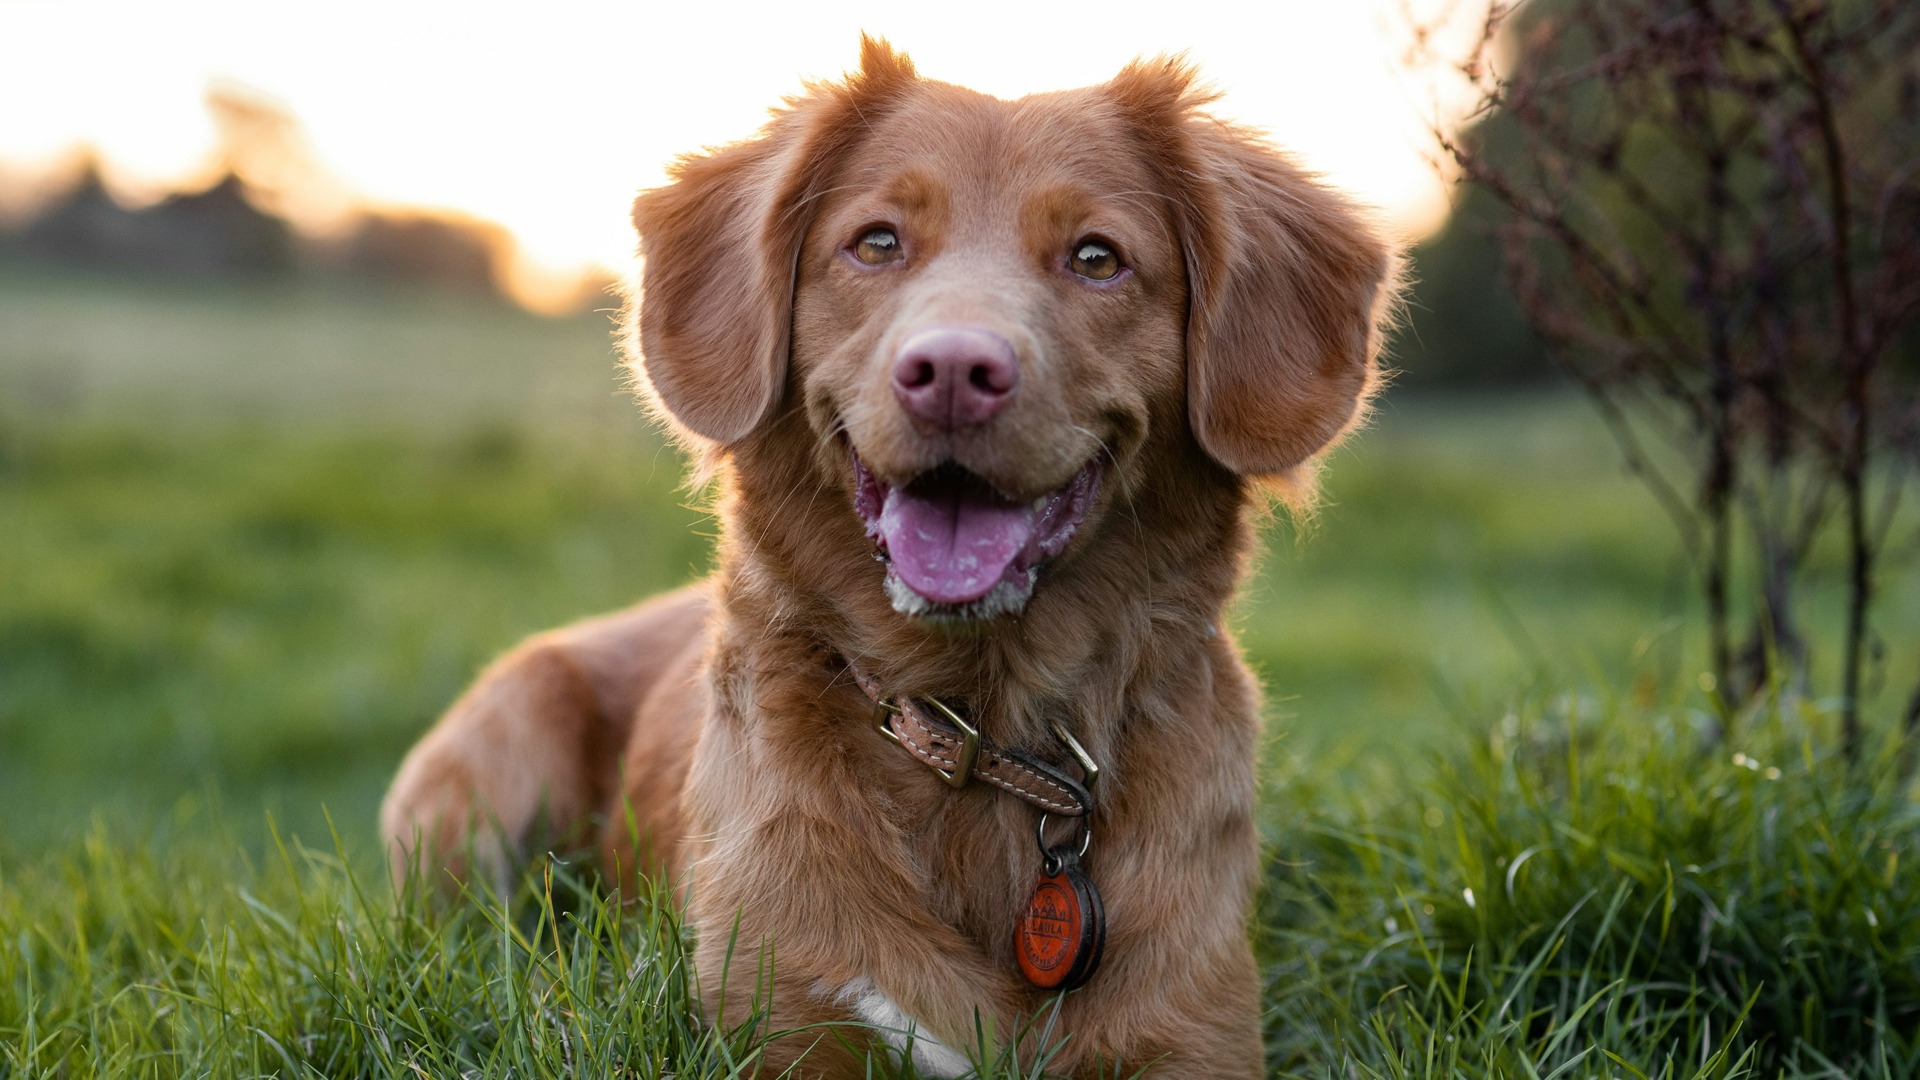
Another magical time for capturing stunning pet photos is during the golden hour, which is the period shortly after sunrise or before sunset. The light during these periods is warm, soft, not too harsh, creating glorious rim lighting and long shadows. It’s perfect for capturing scenic photos of your pet in a captivating landscape.
Blue Hour:
One of the less-known gems of light-based pet photography is blue hour – the brief period before sunrise and after sunset when the indirect sunlight takes on a predominantly blue hue. The cooler light can be a creative choice, but the low light makes moving pets harder to photograph sharply. Keep watching the shutter speed.
Avoid Flash:
When considering natural light, it’s essential to mention that using flash, especially direct flash, is generally not recommended for pet photography. Flash can cause red-eye or frighten pets, leading to artificial, harsh lighting impacts and a stressed subject.
White Balance:
Remember to set the correct white balance on your camera according to the color temperature of your daylight source. This will keep your pet’s colors as accurate as possible.
Natural light is a versatile, dynamic, and freely available tool in pet photography. It can be manipulated, diffused, bounced, reflected, and refracted to create a wide array of photographic effects. With nothing more than sunlight, a keen eye for quality, and an appreciation for timing, even the simplest pet portraits can be transformed into masterpieces.
 Save
Mastering the art of pet photography isn’t a feat achieved overnight. It demands patience, understanding, and a significant amount of practice. With the essential tips discussed above, from interpreting your pet’s behavior, refining your camera skills, and manipulating natural light, you can profoundly enhance the quality of your pet portraits. Remember, the goal is to capture your pet’s personality — their unique quirks, funny gestures, and moments of joy. With time, you’ll discover your pet not only through your lens but also through a perspective filled with love and warmth, ultimately yielding images that tell a story, your pet’s story.
Pet photography field checklist: portraits and action
Technical guidance reviewed October 2026 against Canon’s pet-photography guidance and the model-specific EOS R100 manual. These are starting points for practice, not a hands-on camera test.
Set up before asking the animal to pose
Choose a familiar, safe spot and make the background simple before bringing the pet into position. Let an unfamiliar animal get used to you and the camera. A helper can handle the pet while you frame the shot. Follow the animal’s own routine rather than assuming every pet is most active at sunrise or sunset. If the animal is restless or uncomfortable, pause or finish the session instead of repeating commands until it cooperates.
A quiet portrait: protect the eye detail
Start around 1/200 second for a fairly still animal, then use a faster shutter if its head or ears keep moving. Aperture priority is useful when background blur matters, but watch the shutter speed the camera selects. A wide aperture can separate the pet from the background; it is not a promise that both eyes and the nose will be sharp. Focus on the nearer eye and check the result at full magnification. If the depth of field is too thin, stop down and make another frame.
Place the pet beside a large window or in outdoor shade. Look for light on the face and a small reflection in the eyes. Backlight can outline dark fur, but it is not a universal fix: check that the face is still bright enough and that the fur retains detail. Move the pet or change your shooting angle before changing lots of settings. Blue-hour light is an option for a quiet subject, not an automatic advantage for cool-colored fur; the lower light makes moving pets harder to photograph sharply.
A running dog: choose the shutter first
Canon’s rescue-centre guide suggests at least 1/1000 second as a starting point for action. Try shutter priority, or manual exposure with Auto ISO, so movement does not push the shutter below your chosen speed. Continuous AF or Servo AF follows a moving subject; short bursts give you several poses to choose from. Use a safe, controlled space. Keep a lead on when needed and have a helper manage the animal. A photograph is not a reason to remove a safety restraint.
Do not treat ISO 400-800 as a ceiling. Let ISO rise when needed to keep the shutter fast enough. Make a short sequence and inspect the eye, face and paws. If movement is blurred, raise the shutter speed. If the background is sharp but the face is not, check the focus point or subject-tracking setup. Change one thing and repeat while the animal is still happy to play.
Check your exact camera’s animal detection
Animal-eye detection is helpful only when your camera actually offers it. Check the model manual rather than assuming that every camera in a brand’s system has the same subject modes. For example, the EOS R100 manual describes people-face tracking and eye detection; do not buy or configure it on the assumption that it provides dedicated animal detection. If animal detection is unavailable or misses the eye, place a single AF point over the nearer eye and use the focus mode that suits the pet’s movement.
Finish with a small set, not a long session
A simple practice session can produce a close portrait, a wider frame that shows the pet’s familiar space, and a short action sequence. Get down to eye level where practical, then check the frame edges for distractions. Pick the images with sharp eyes, useful expressions and clean backgrounds. Keep edits consistent and leave the animal’s markings looking natural. Use the camera and lens you already have before deciding that a new body or fast prime is necessary.
Sources for the technical update
- Canon: Pet photography tips (light, shutter speed, focus and posing).
- Canon: Top pet photography tips (animal comfort, portrait/action settings and safe handling).
- Canon EOS R100 manual: AF method (model-specific focus modes).