Original date December 14, 2023. Updated November 2026.
The best travel photo days rarely happen by accident. They come from a simple arc: pack light the night before, research the place and then walk it, work the changing light from morning to blue hour, and protect the files before you sleep. This guide organizes one full day of travel photography into a repeatable plan you can run in any city, town, or trail.
The practices below come from Canon’s interviews with travel photographers Diana Millos and Frauke Hameister, Nikon’s interview with veteran travel photographer Blaine Harrington, US aviation rules for camera batteries, and Adobe’s own backup documentation, each linked where it appears. Named habits are attributed to the photographer who practices them. Treat every time and setting as a starting point, and let the place bend the plan.
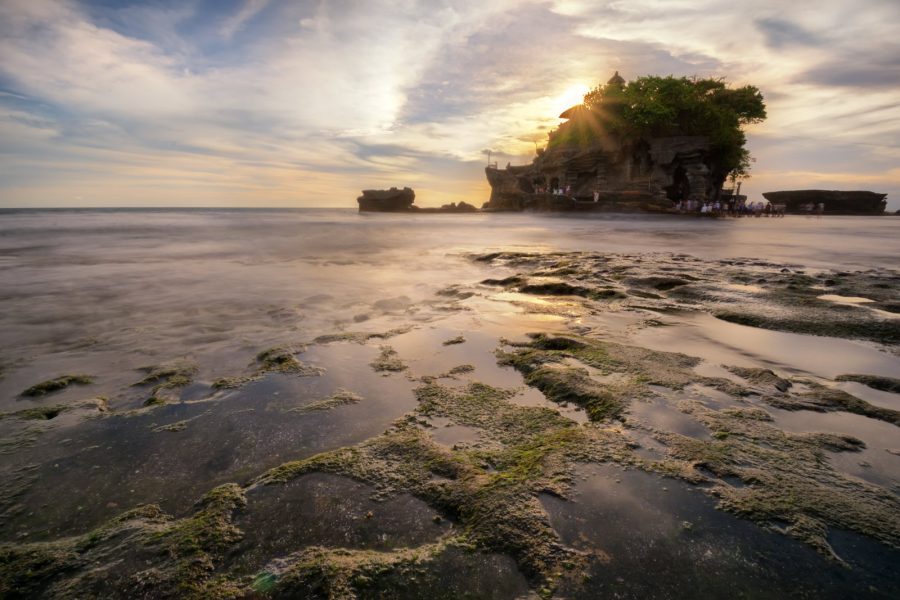
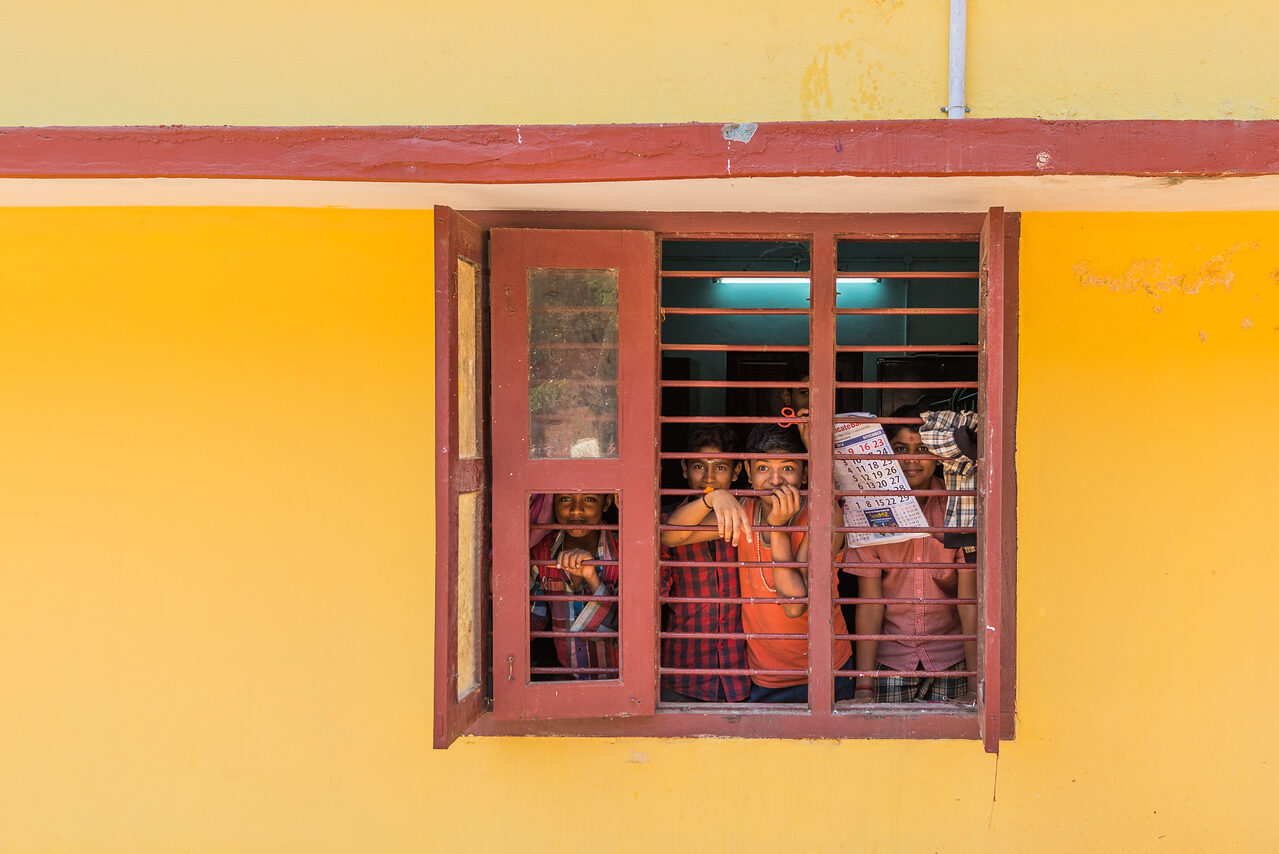
Featured image: An establishing view gives the smaller details in a travel sequence a setting. Revisit a scene when the light changes. Photo: Edin Chavez.
The night before: pack for one day on foot
The working principle is carry less, use more. Diana Millos, in Canon’s travel tips feature, says that when she is out shooting from dawn to dusk she keeps additional lenses to a minimum because she does not want to haul a heavy bag, and she prizes a camera small enough to ride in a handbag-sized bag with a lens or two, her own preference as a working travel photographer. The general version of her point: a camera you will happily carry for eight hours beats a complete kit resting in the hotel.
How light is light enough? Nikon’s interview with Blaine Harrington is honest about the trade. On assignment he flies with two bodies and a stack of lenses, and neither he nor Nikon recommends that load for an enthusiast: his own shortlist for a walking day is one camera with one versatile zoom, and his tip-sheet rule is to carry the lens that gives you the views you most appreciate. Knowing whether you shoot mostly wide scenes, distant details, or people close-up is what makes one lens the right one for you.
Batteries and cards are the small items that decide whether the big ones keep working. Pack spares of both. If the day starts with a flight, US rules require spare lithium batteries, the ones not installed in a device, to travel in carry-on baggage with the terminals protected against short circuit, per the FAA’s PackSafe guidance; protect each battery using its retail packaging, a suitable battery case, or insulated terminals in a separate protective bag or pouch. If a carry-on is taken at the gate, remove the spares and keep them with you in the cabin. Check the Wh rating on each rechargeable lithium-ion pack rather than assuming it qualifies: the FAA baseline is 100Wh per battery, with separate approval rules for some larger packs. Airlines can impose stricter limits, so check your carrier and route before packing. One last night-before task from Harrington: if any piece of the kit is new, do a shakedown shoot at home first, so the trip is not where you learn what it does.
Arrival: research done, now walk it
Good days start before arrival. “Planning ahead is absolutely essential,” Diana says; she researches places of interest online through social media, blogs, and Pinterest until she has a framework of where she wants to go, and then, on the ground, deliberately hunts angles she has not already seen online. Frauke Hameister starts from old magazines and books plus mapping apps, and adds the lowest-tech tip in the whole guide: once you are in the area, talk to people, because locals will recommend places if you give them more than a couple of minutes.
Hold the plan loosely, though. Harrington’s first point in the Nikon interview is that a detailed shot checklist matters for his assignment work, but he would not hand one to an enthusiast: research what has been done so you know what to expect, then enjoy the advantage the professional does not have, photographing whatever catches your eye. His own planning goes one level deeper than locations: he picks his Europe travel dates by season, fall first and spring second for the light and thinner crowds, his preference, and he checks the local calendar for festivals and special events, since a market, parade, or celebration can hand you a ready-made story in one place.
Then walk before you shoot. A first loop without commitment shows you where the light falls now and where it will fall later. Diana’s habit is to return to favorite locations at other times of day, because shadows and light change a scene fundamentally as the sun moves; a landmark lost in morning shadow can glow by afternoon. And do not write off the busy hours: she points out that bustling scenes capture the culture and mood of a place as well as any empty sunrise frame.
 Save
Morning: the early shift
Be out before the crowds. Diana calls sunrise her favorite time to shoot: tourists spots get busy even early, so she gets up early enough to photograph scenes empty, or with a single person adding interest, and the low golden-hour light is the bonus. Golden-hour light falls around sunrise and sunset, but its useful duration varies with latitude, season, weather, and terrain. Be in position early rather than treating the phrase as a guaranteed sixty-minute window.
Adapt to the weather rather than chasing a forecast blindly. Stay clear of lightning, floodwater, exposed edges, and closures; a photograph is not a reason to enter unsafe conditions. Frauke says she finds it worth going out when the forecast looks poor, because a little rain and fog can make a place completely different from the sunny postcard version, her experience offered as one photographer’s taste. Harrington’s version is practical: use bad-weather stretches to scout the frames you want when conditions turn, and keep the camera available when it is safe and protected, because poor weather can sometimes make an interesting scene.
Keep the morning’s settings simple. Aperture Priority covers most walking frames; glance at the shutter speed the camera picks and raise ISO rather than accept motion blur on anything that moves. Diana’s related habit is to shoot RAW so she can fine-tune white balance and exposure when she edits later, which is a sensible default for changing light. Check the first frame for focus, exposure, and shutter speed, then look up rather than reviewing every frame while the scene changes.
A simple starting setup for the walk
Try Aperture Priority with Auto ISO if your camera supports it, then set a minimum shutter speed appropriate to the subject. For a person walking across the frame, try 1/250 second as an initial test, inspect the result, and go faster if movement is still blurred. For still architecture, choose an aperture that keeps the important planes sharp, then check the near and far detail instead of assuming the smallest aperture is best. These are starting choices, not promises: focal length, subject speed, steadiness, and available light change what works. The shutter speed guide explains the motion trade-off.
Set a focus mode deliberately. Use continuous autofocus for a moving subject and a single point or small area when you need to choose a precise detail. Before leaving a stop, enlarge one frame to check the intended subject is sharp. If the sky is far brighter than the street, check the histogram and highlight warning; change exposure or framing rather than assuming RAW can recover any blown area. Use a short checklist at each new location: subject, light, background, focus, shutter speed, edges. Make a wide frame, a closer frame, and one detail, but move on when they repeat the same idea. This gives the evening edit a sequence without turning the day into a rigid assignment.
Midday: details, shade, and people
Harsh overhead light is a reason to try a different subject or seek shade. Midday is when the close material shines: Canon’s guide suggests hunting the small details that make a place unique, from textures to street details, and a close-up or macro approach turns them into strong frames when the big vistas are flat. Try markets, arcades, permitted interiors, and open shade rather than forcing a wide view into light you dislike. Ask before photographing in private spaces and follow posted restrictions.
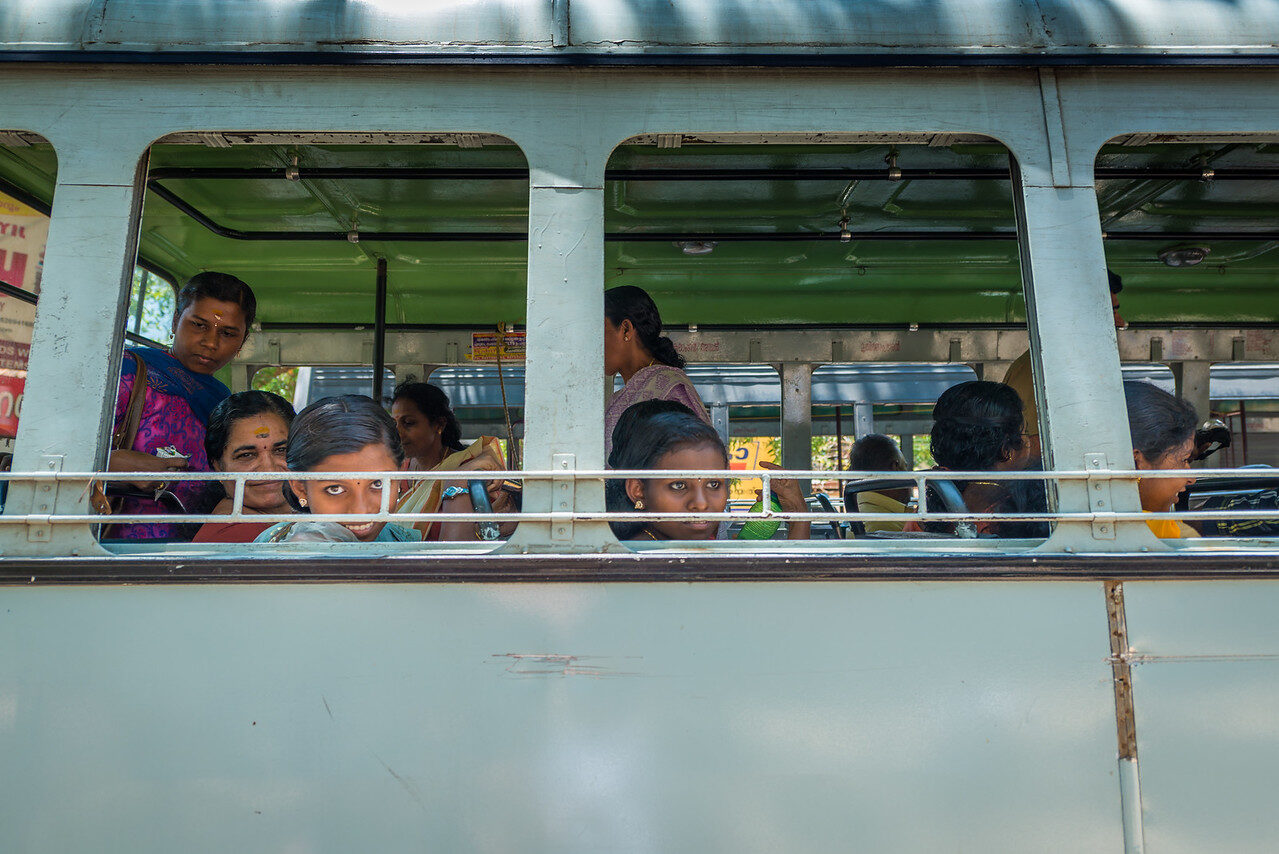
Midday is also prime time for what Harrington calls life-goes-by photos: people at a sidewalk cafe, a town square, a quiet side street. When he wants people in a scene, he approaches and makes contact rather than sniping from a distance, and he is emphatic about being technically ready first, no fumbling with settings or lens changes, so the encounter stays brief and warm. When you see shopkeepers, artisans, or people repairing and installing things, his advice is to document the work without getting in the way: go wide for an establishing shot, then zoom in for the revealing detail, and acknowledge the skill you are photographing. Read reactions as you go and stop when the welcome ends.
While you walk, consider a handful of short video clips as well. Canon’s guide suggests capturing brief moving moments, fountains, traffic, waves, flags in the wind, which sit naturally between the stills of a trip and cost only seconds to take. They are seasoning, not the meal: a few seconds of motion per scene is enough to bring the day’s story back to life later.
If the day turns genuinely hostile to cameras, duck into a museum, a market hall, or a long lunch near a window and review the morning’s take. Note what deserves a second chance this evening. A missed frame identified at noon can often be reshot; one identified at home cannot.
 Save
Afternoon into golden hour: the story frames
As the light warms, return to the morning’s best spot and work the story, not just the view. Canon’s guide argues a strong visual story beats a single shot of a viewpoint: capture the build-up, close-ups of incidental details, and diary-style frames that support the final image, so the set shows the experience rather than one postcard. Frauke admits she once focused so hard on the technical side that it got in the way of storytelling; with practice, she says, the technique becomes muscle memory and frees you to enjoy telling the story, which is exactly what this day’s structure is for.
This is also the hour for the frame with you in it. Diana’s own signature is finding symmetry and clean lines in a scene, then putting herself in the picture: she sets the camera on a tripod, walks into the frame, and uses Canon’s Camera Connect app to preview and adjust from her phone, her technique, offered as an example to adapt. For another angle, crouch where it is safe, or use an accessible elevated viewpoint. Keep routes clear and do not lift equipment over people or reach across barriers.
When a composition refuses to work, change position before you change settings. Shoot the same scene from several distances and heights, keep the frames that say something, and let the failed angles go without grief. The light at this hour changes fast, and the cost of an experimental frame is one tap of the shutter.
 Save
Blue hour to evening: low light, then the backup
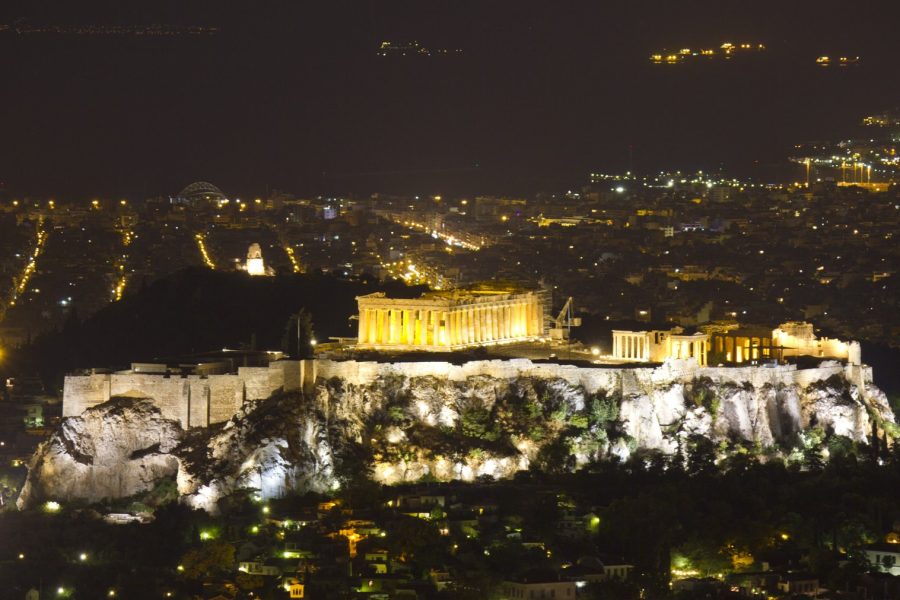
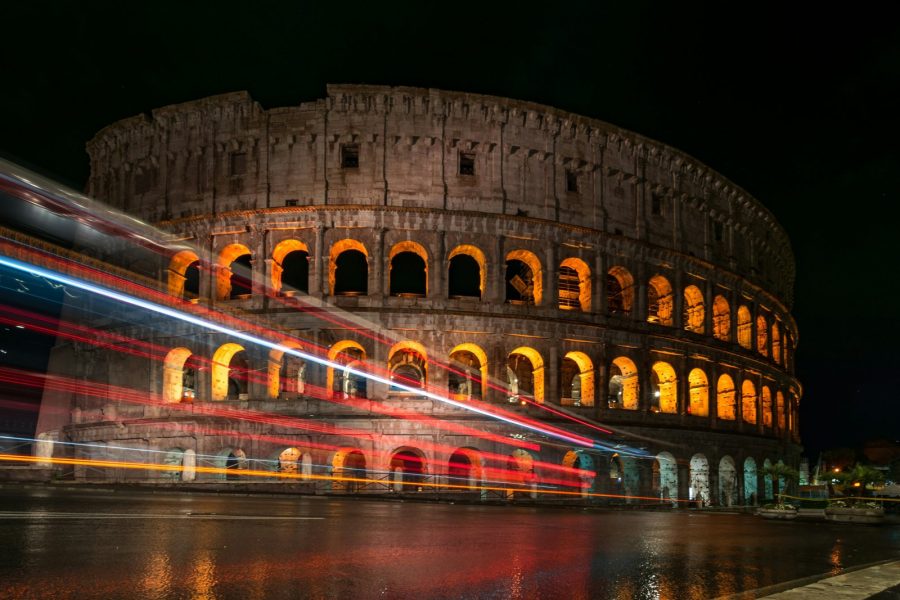
Stay out past sunset. Diana loves the blue hour, just after the sun goes down or before it rises, for the cool colors and deep blue sky it lays over cityscapes, and notes that even late at night there are brightly lit scenes worth shooting. Canon’s night guidance is that slow shutters and a stable surface or a portable tripod prevent camera shake on long exposures. Harrington pushes the other way for ordinary twilight and indoor frames: he says you can usually leave the tripod at home and lean on a modern camera’s high-ISO capability instead. Both are right about different shots: plan a long-exposure night scene and you want support; walking frames at dusk can ride on ISO.
Then do the least glamorous, most important work of the day: the backup. Harrington describes saving the day’s images to two external drives each evening. Adapt that routine cautiously: keep at least two verified copies on separate devices, keep the devices apart, and retain the cards when possible. Open several files from both copies before you consider reusing a card. Separate copies reduce the chance that a single card failure, lost bag, or stolen camera takes every version; they do not guarantee recovery.
One caveat catches out Lightroom Classic users: Adobe’s own documentation states that Lightroom’s catalog backups include only the catalog file, not your photos, so edited images and exports must be backed up independently, and Adobe recommends keeping catalog backups on a separate disk or volume from the original. Adobe also suggests making extra copies of photos at import time, while noting that an import copy covers only the originals, not your edits. The short version for a travel day: protect the files themselves, on two devices, and treat the catalog backup as one more layer, not the layer.
 Save
The five-minute review that improves tomorrow
After the backup, spend five minutes with the whole take, not just the keepers. Which frames worked, and when in the day were they made? Which spot deserves a return at a different hour tomorrow, which is exactly Diana’s revisit habit applied to your own results? Write the two or three things you would do differently on a note, because the plan for day two should be day one, corrected. Keep the cull itself quick: flag the obvious keepers, and park anything you are unsure about rather than deleting it on a small screen in low light. Make room for tomorrow only after checking the backups; deleting an uncertain frame can wait.
The deeper goal of all this structure is attention. Harrington insists on being one hundred percent technically ready so that no moment goes to fumbling, and Frauke’s point about muscle memory is the same idea from the other side: when packing, scouting, settings, and backup run on rails, the whole of your attention is free for the story in front of you. That is what mastering a travel day actually means: not heroics, but a repeatable routine that leaves you ready when the scene is.
Want to go further? The ShutYourAperture Academy’s Wander & Capture: Travel Photography is built to help you cover the art and practice of photographing a place well.
Travel photography questions
What camera gear should I pack for a day of travel photography?
Keep it to what you will happily carry all day. Nikon’s interview with travel photographer Blaine Harrington notes that his assignment load of two bodies and many lenses is not a model for enthusiasts: for a walking day he suggests one camera with one versatile zoom, and his rule is to carry the lens that gives you the views you most enjoy. Add spare batteries and memory cards. If you fly, US FAA rules require spare lithium batteries in carry-on baggage with terminals protected, and if the bag is gate-checked, the spares ride in the cabin with you.
How do I find good photo spots in a place I do not know?
Research first, then walk. Diana Millos, in Canon’s travel tips, researches online through social media, blogs, and Pinterest to build a framework, then deliberately hunts angles she has not already seen. Frauke Hameister adds old magazines, books, mapping apps, and simply talking to locals. Harrington’s advice in Nikon’s interview is to research what has been done so you know what to expect, but not to overplan: the enthusiast’s advantage is photographing whatever catches your eye.
What is the best time of day for travel photos?
Early and late serve the big scenes: Diana shoots at sunrise to beat crowds and catch golden-hour light, and she favors the blue hour after sunset for cityscapes. Midday can suit details, shade, permitted interiors, and bustling street scenes, and Diana recommends returning to favorite spots at different hours because the light changes a scene fundamentally. Overcast or drizzly weather can be a feature, not a failure, for moodier frames.
How do I turn a day of shooting into a story?
Shoot the build-up, not just the view. Canon’s travel guide recommends supporting the hero image with close-ups of incidental details and diary-style frames so the set shows the experience. A workable sequence is: a wide establishing frame of the place, the people and work that give it character, details and textures, and a closing frame in evening light. Hameister’s encouragement is that technique becomes muscle memory with practice, which frees you to concentrate on the storytelling.
How should I back up photos on a trip?
Copy the day’s images to two separate devices each evening, verify files from both copies, and keep the devices apart. Retain the cards when possible rather than treating a completed transfer as permission to erase them. If you use Lightroom Classic, note Adobe’s warning that its catalog backups contain only the catalog file: your edited photos and exports must be backed up independently, and catalog backups belong on a separate disk or volume from the original.
How do I photograph local people without being rude?
Harrington’s approach in Nikon’s interview: for candid cafe and square scenes, shoot the life-goes-by moments respectfully, and when you want someone in the scene, approach and make contact rather than hiding the camera. Be technically ready before you ask, so the encounter is short. Document people at work without getting in the way, go wide for context and then zoom for detail, acknowledge their skill, and read reactions, stopping when the welcome ends. Rules about photographing people vary by country, so check local norms and laws for your destination.
Do I need to carry a tripod when traveling?
It depends on your shot list. Harrington tells Nikon you can usually leave the tripod at home and rely on a modern camera’s high-ISO capability for twilight and indoor frames. Canon’s guide counters for deliberate night work: long exposures of night skies or city scenes need a stable surface or portable tripod to avoid camera shake. Decide by whether you plan posed self-portraits, blue-hour cityscapes, or light trails; if yes, pack a compact support, if not, decide whether you would actually use it enough to justify carrying it.
Further reading
- Canon: 10 top travel photography tips (Diana Millos and Frauke Hameister on research, light, angles and story).
- Nikon: Do a little research, then go light on the gear (Blaine Harrington on packing, people and daily backups).
- FAA PackSafe: Lithium batteries (US carry rules for spare camera batteries).
- Adobe: Back up catalogs in Lightroom Classic (what a catalog backup does and does not include).
A camera carry option while traveling
A black Peak Design Slide Lite camera strap, model SLL-BK-3, is one carry option between travel photographs. Check the camera attachment points and full camera-and-lens weight before buying. Follow the attachment instructions and inspect the anchors. A strap does not plan a trip, improve a composition or replace awareness of your surroundings. Compare the current retailer specifications; no hands-on test, price or stock promise is being made here.
Search Peak Design Slide Lite straps on Amazon
Check the SLL-BK-3 strap at B&H
Affiliate disclosure: We may earn a commission from qualifying purchases through these gear links at no extra cost to you. As an Amazon Associate, Shut Your Aperture earns from qualifying purchases.