Updated October 2026
There is nothing worse than a portrait that has been edited to death. Plastic skin, glowing eyes, no pores, no person. Most of the time, a headshot needs a few smart moves and nothing more. You do not have to spend hours cleaning up a portrait. You only have to know what matters most and leave the rest alone.
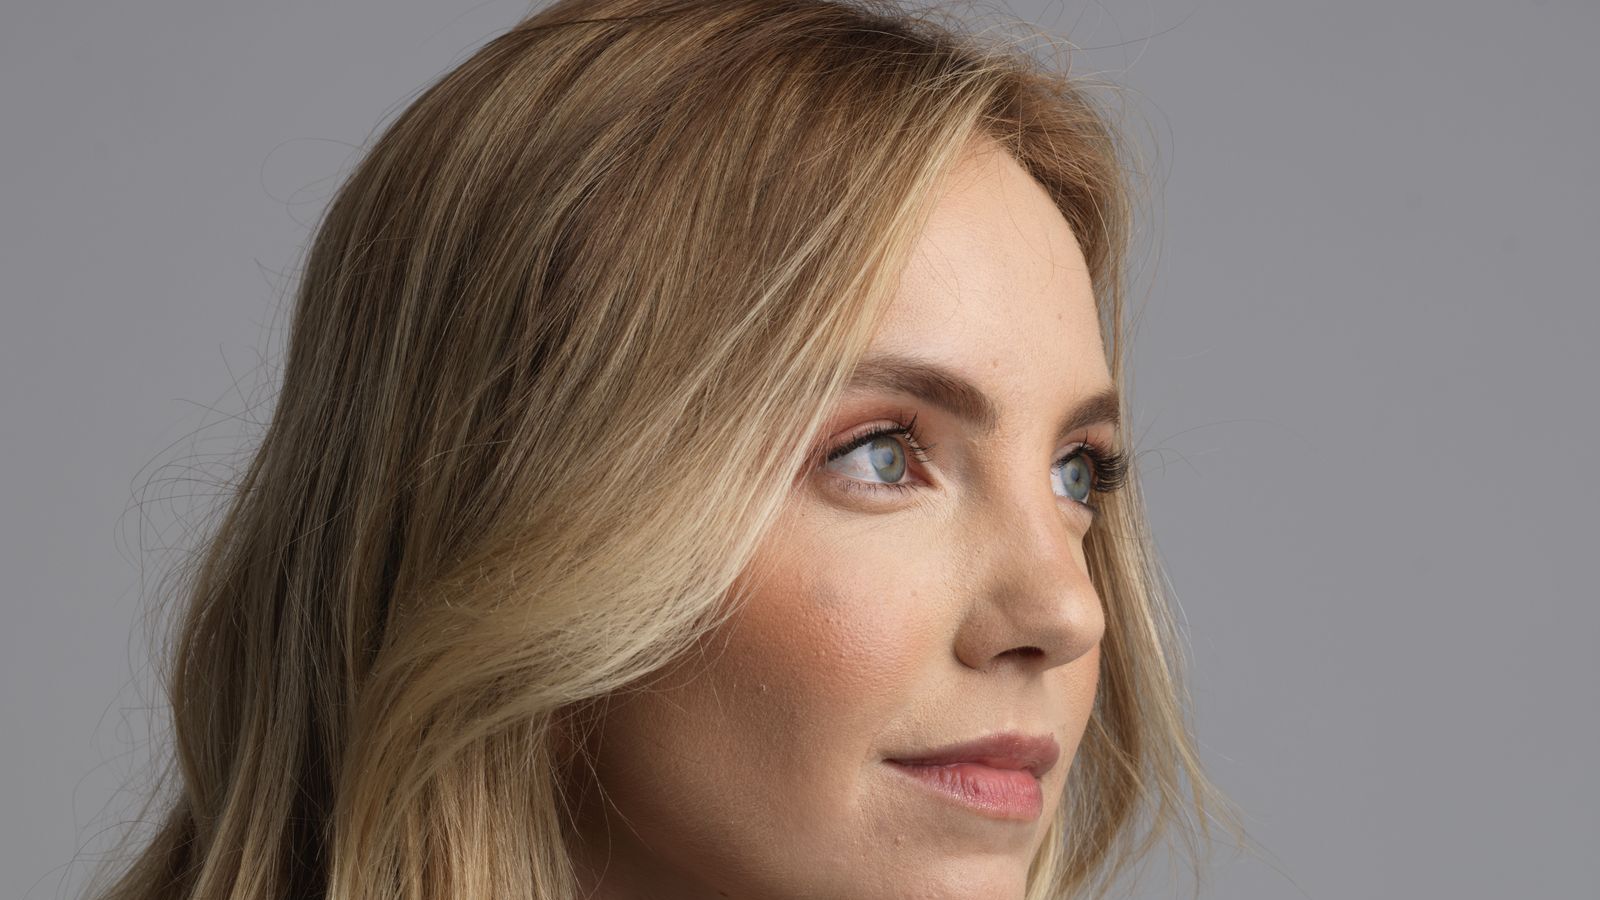
This guide walks through how to edit headshots and portraits in Lightroom with a light touch. We start with the basics, move to skin, eyes and teeth, then finish with color and export. The before and after below shows what a restrained edit looks like: the same person, the same light, just cleaner and calmer.
Before:

After:

The golden rule: edit to look better, not different
A good portrait edit keeps the person recognizable. Friends and family should look at the photo and say, “That looks just like you, on a great day.” They should never say, “What did you do to your face?” Keep that test in mind for every slider.
Real skin has texture. Real eyes have small veins and shadows. Real faces have lines that tell a story. Your job is to remove distractions, not personality. If you ever feel you went too far, drop the sliders by half and look again.
Step 1: Start with the basics
Before you touch the face, fix the photo. Open the Develop module and work through the Basic panel.
- Crop and straighten. Use a clean headshot crop: top of the frame just above the head, bottom at the chest or mid-torso. Keep the eyes about a third of the way down from the top.
- White balance. Use the eyedropper on a neutral gray or white area, like the whites of the eyes or a shirt. Then nudge warmer or cooler for a pleasant skin tone.
- Exposure. Set the face brightness first. Skin should look healthy, not washed out or muddy.
- Highlights and Shadows. Pull Highlights down a little to protect bright skin. Lift Shadows to open up the eyes.
- Contrast. Keep it gentle. Portraits like softness.
Skip heavy Clarity and Texture on faces. Both emphasize pores and wrinkles. If you want to add punch, apply it to the background or clothing with a brush, and leave the skin alone.
Step 2: Clean up with the Spot Removal tool
Now clean up the small stuff. Use the Spot Removal tool, set to Heal, with a brush size a little larger than the spot. Click on blemishes, stray hairs, dust spots and temporary things like a pimple or a bug bite.
Be selective. Remove what is temporary and leave what is permanent. A pimple that showed up this morning is gone tomorrow, so it can go. A scar, a mole or a freckle is part of the person, so keep it unless the subject asks you to remove it.
Zoom in to 100 percent and move around the face in a pattern: forehead, cheeks, nose, chin, neck. Then zoom out and check the result. If the edit shows, you did too much.
Step 3: Smooth skin without killing it
The skin smoothing tool is where most portraits get ruined. The goal is to even out tone, not erase texture.
Use the Adjustment Brush and set it to a soft brush with low Flow. Reduce Clarity slightly, around minus 10 to minus 20, and add just a hint of negative Sharpness if your version offers it. Paint only over skin. Keep away from eyes, eyebrows, lips, nostrils and hair. Then check the result at normal size and again zoomed out.
If you can see where you painted, back off. Most of the time, the best skin edit is one that you cannot see. Lower the amount of the effect until the face looks natural, then stop.
Another option is to use the Mask tools and select Subject, then Skin, in the latest versions of Lightroom. This gives you a clean selection to work with. Keep the effect small, and use the Amount slider to dial it back.
Step 4: Eyes, teeth and the details that matter
The eyes are the heart of a portrait. A tiny adjustment goes a long way.
- Brighten the eyes. Use a small adjustment brush, raise Exposure by 0.1 to 0.3 stops and add a touch of Contrast. Paint over the iris and a bit of the white.
- Clear the whites. Lower Saturation slightly on the whites of the eyes to take down redness. Do not make them pure white, or they will look fake.
- Add some pop. A tiny amount of Sharpness on the irises makes them feel alive.
- Whiten teeth gently. Paint over the teeth, lower Saturation and raise Exposure a hair. Stop while they still look like real teeth.
Check each edit by toggling it on and off. If the difference is clear at first glance, it is too much.
Step 5: Use a radial filter for gentle light
A radial filter is a great way to draw the eye to a face. Place a wide, soft oval over the face, feather it heavily and invert the mask so the effect applies outside the oval. Lower Exposure a little. This darkens the edges, adds a subtle vignette and keeps the focus on the face.
You can also place a second radial filter on the face itself and lift Exposure a touch. This acts like a soft fill light, and it is a quick fix for portraits taken in slightly flat or dim light.
Step 6: Color and tone
Skin tones are easy to push too far. Use the HSL panel with care.
- Orange: This controls most skin. Adjust Luminance up slightly to brighten skin, or Saturation down slightly if it looks too warm.
- Red: Lower Saturation a little to calm blotchy skin. Do not drop it too far, or lips and cheeks will look gray.
- Yellow: If skin looks sallow, lower Saturation a touch.
- Green and blue: Use these to tone the background and clothes without touching the face.
For a style, try Color Grading with a hint of warm in the highlights and a subtle cool tone in the shadows. Keep the sliders low. A little goes a long way on faces.
Step 7: Sharpen and finish
Portraits need less sharpening than landscapes. Open the Detail panel, add Sharpening around 30 to 50, and use the Masking slider with the Alt or Option key to limit it to edges, like eyes, lips and hair. Add a little noise reduction if the photo was shot at a high ISO.
Then step back. Look at the photo at a small size and then at full size. Flip between before and after with the backslash key. If the after looks like a better version of the same person, you are done.
A fast portrait workflow you can reuse
- Crop and straighten.
- Fix white balance and exposure.
- Pull highlights, lift shadows.
- Remove temporary blemishes and stray hairs.
- Smooth skin lightly with a low-flow brush.
- Brighten eyes, clean teeth.
- Add a gentle radial filter on the face.
- Adjust skin tones in HSL.
- Sharpen edges, reduce noise.
- Check before and after, then export.
Save your settings as a preset once you have a version you like, and use it as a starting point for the rest of the shoot. Sync the basic adjustments across similar photos, then fine-tune each one. A set of ten headshots can go from raw to ready in under an hour that way.
Common portrait editing mistakes
Over-smoothing. The number one mistake. If the skin looks like plastic, undo it.
Overusing Clarity and Dehaze. These sliders make faces look gritty and harsh.
Glowing eyes. Too much brightness turns eyes into lamps. Keep the edit small.
Fixing the wrong things. Remove the distractions, not the person’s character.
Editing on a bright screen. Dim your monitor a little and check your photo again. Over-bright screens hide problems.
Ignoring the background. A clean, neutral background makes the person stand out. Use a gentle brush to fix hot spots or distractions.
Retouching with respect
Retouching is also a conversation with the person in the photo. Before you start, ask what they like and dislike about how they look in pictures. Some people want every line left alone. Others would love a calmer neck or less shine on the forehead. Listen, and keep their wishes in mind.
Headshots for work, such as LinkedIn photos and company pages, should look like the person on the day they meet a client. A natural, polished result builds trust. Big changes to face shape, skin color or age can feel dishonest, and they can backfire when the person shows up in real life. Keep body and face shape changes out of your workflow unless the client asks and you both agree.
Finally, keep your original files. Work non-destructively in Lightroom so you can reset any edit. Deliver a small set of strong images instead of a huge gallery, and give the client a version with a clean, natural look and, if they want, a slightly more polished option. Most clients choose the natural one. If a client ever asks for more, show them a middle version first, so they can see how far is too far before you commit to it. That small step saves time, protects the relationship and keeps your portfolio looking honest and consistent.
Shoot it right, edit less
The easiest edit is the one you never have to do. Good light at the shoot saves time later. Use soft window light or open shade, place your subject a few feet from the background and shoot with a medium telephoto lens, around 85mm full-frame equivalent. Ask your subject to angle their body slightly and push their chin forward and down a touch. Talk to them, and keep it relaxed. A natural smile beats a perfect retouch every time.
Learn the whole workflow with the Academy
If you want to edit portraits with more confidence, the Lightroom editing course in the Shut Your Aperture Academy is the place to start. It is a beginner-friendly post-processing course taught by Edin Chavez, with 10 modules and 42+ parts you can take at your own pace, and you get lifetime access. If portraits are your thing, check the Portrait course too, or browse the full Academy. For a faster look at sunrise edits, read our Lightroom sunrise tutorial.
Frequently asked questions
How do I edit a portrait in Lightroom without over-editing?
Fix exposure and white balance first, remove only temporary blemishes, smooth skin with a low-flow brush and keep every slider small. Toggle before and after often.
What is the best way to smooth skin in Lightroom?
Use an adjustment brush or a skin mask with slightly lower Clarity and a low amount. Avoid eyes, lips and hair, and stop before the texture disappears.
How do I brighten eyes in Lightroom?
Paint over the irises with a small brush, raise Exposure slightly and add a little Contrast and Sharpness. Keep it subtle.
What Lightroom settings are good for headshots?
Soft contrast, protected highlights, lifted shadows, light skin smoothing, gentle sharpening on edges and a small vignette to draw the eye to the face.
Should I retouch every blemish?
No. Remove temporary things like pimples and stray hairs. Leave moles, scars and freckles unless the subject asks.
Can I use the same preset on every portrait?
Use it as a starting point. Lighting and skin tone differ from shot to shot, so fine-tune exposure, white balance and skin edits for each photo.
Gear box: portrait starting points
These are research starting points, not rankings. Check current specs, reviews and prices before you buy.
- A portrait lens around 85mm: Browse 85mm lenses at B&H or on Amazon.
- A 5-in-1 reflector: bounces soft light into the face and costs very little. See reflectors at B&H.
- A monitor calibrator: helps skin tones look right on other screens. See monitor calibrators at B&H.
Affiliate disclosure: some links above are affiliate links. If you buy through them, Shut Your Aperture may earn a small commission at no extra cost to you.