
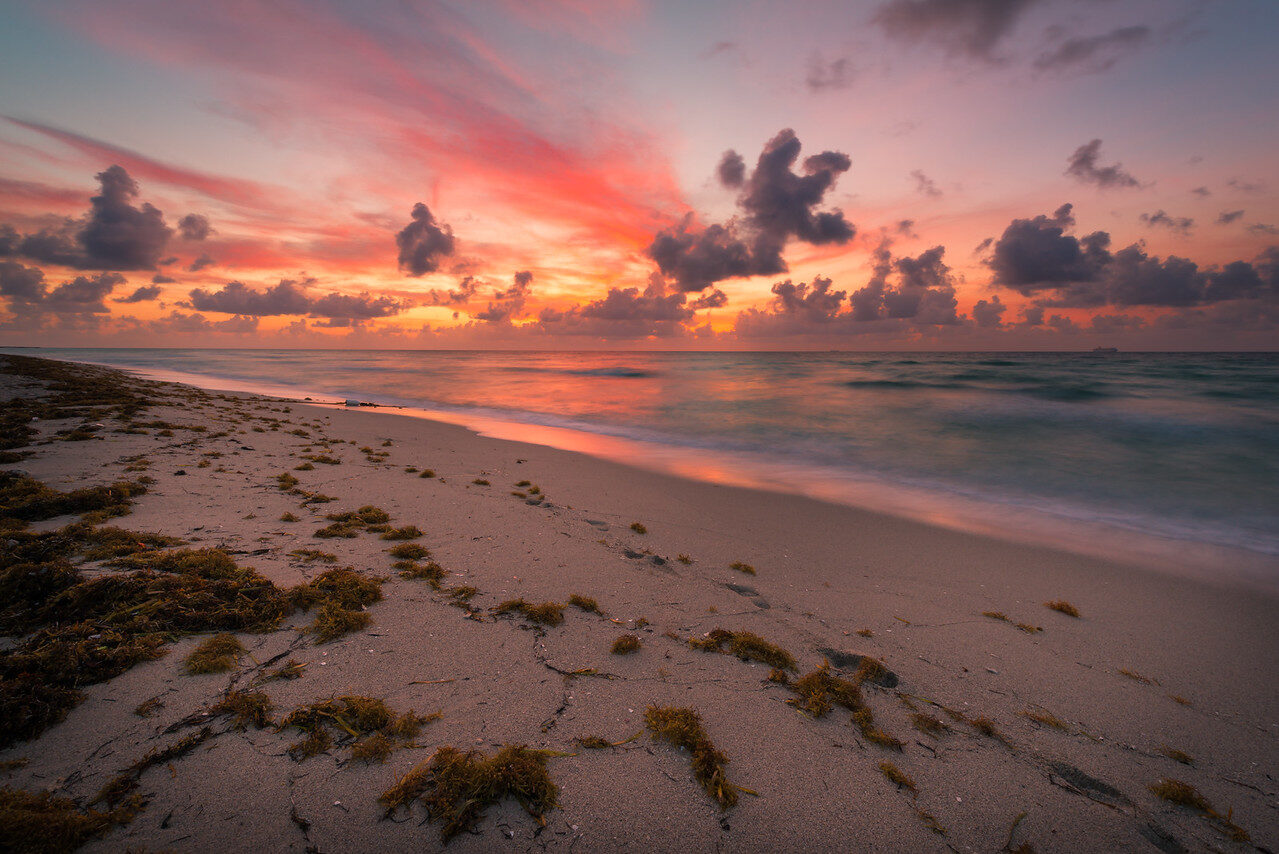
Here is a beautiful sunrise on the beach, edited from one single RAW file. I used the basic panel, local adjustment brushes, and single color adjustments to bring it to life without overdoing it. A few sliders can go a long way. Here is the whole process.
1. Basic panel first
Everything starts in the basic panel. Pull highlights down to recover the brightest part of the sky around the sun, then lift shadows until the foreground water and sand show detail. Set whites and blacks by holding Alt (Option on Mac) while dragging, so you see exactly where the frame clips.
2. White balance for sunrise warmth
Beach sunrises often come out cooler than they felt. Nudge temperature warm until the light on the water matches your memory of the morning. If the clouds go magenta, pull the tint back toward green.
3. Local brushes where the light matters
With the adjustment brush, paint over the part of the sky where the sun breaks through and add a touch of exposure and warmth. Then paint the reflection on the water and give it the same treatment. Local work is what separates a finished sunrise edit from a global slider push: the light source and its reflection should be the brightest, warmest parts of the frame.
4. Single color adjustments in HSL
This is the quiet power move. In HSL, saturate only the oranges to make the sunrise glow, and desaturate the blues slightly so the sky does not fight the warm tones. One or two color channels, small moves. If you find yourself touching every slider, you have gone too far.
5. Restraint check
Before exporting, toggle the before view. The edit should look like the best version of that morning, not a different planet. If the clouds look crunchy, back off clarity and dehaze until they soften.
Questions? Drop them in the comments. To speed up edits like this, see our Lightroom presets guide.

