Original date December 24, 2023. Updated November 2026.
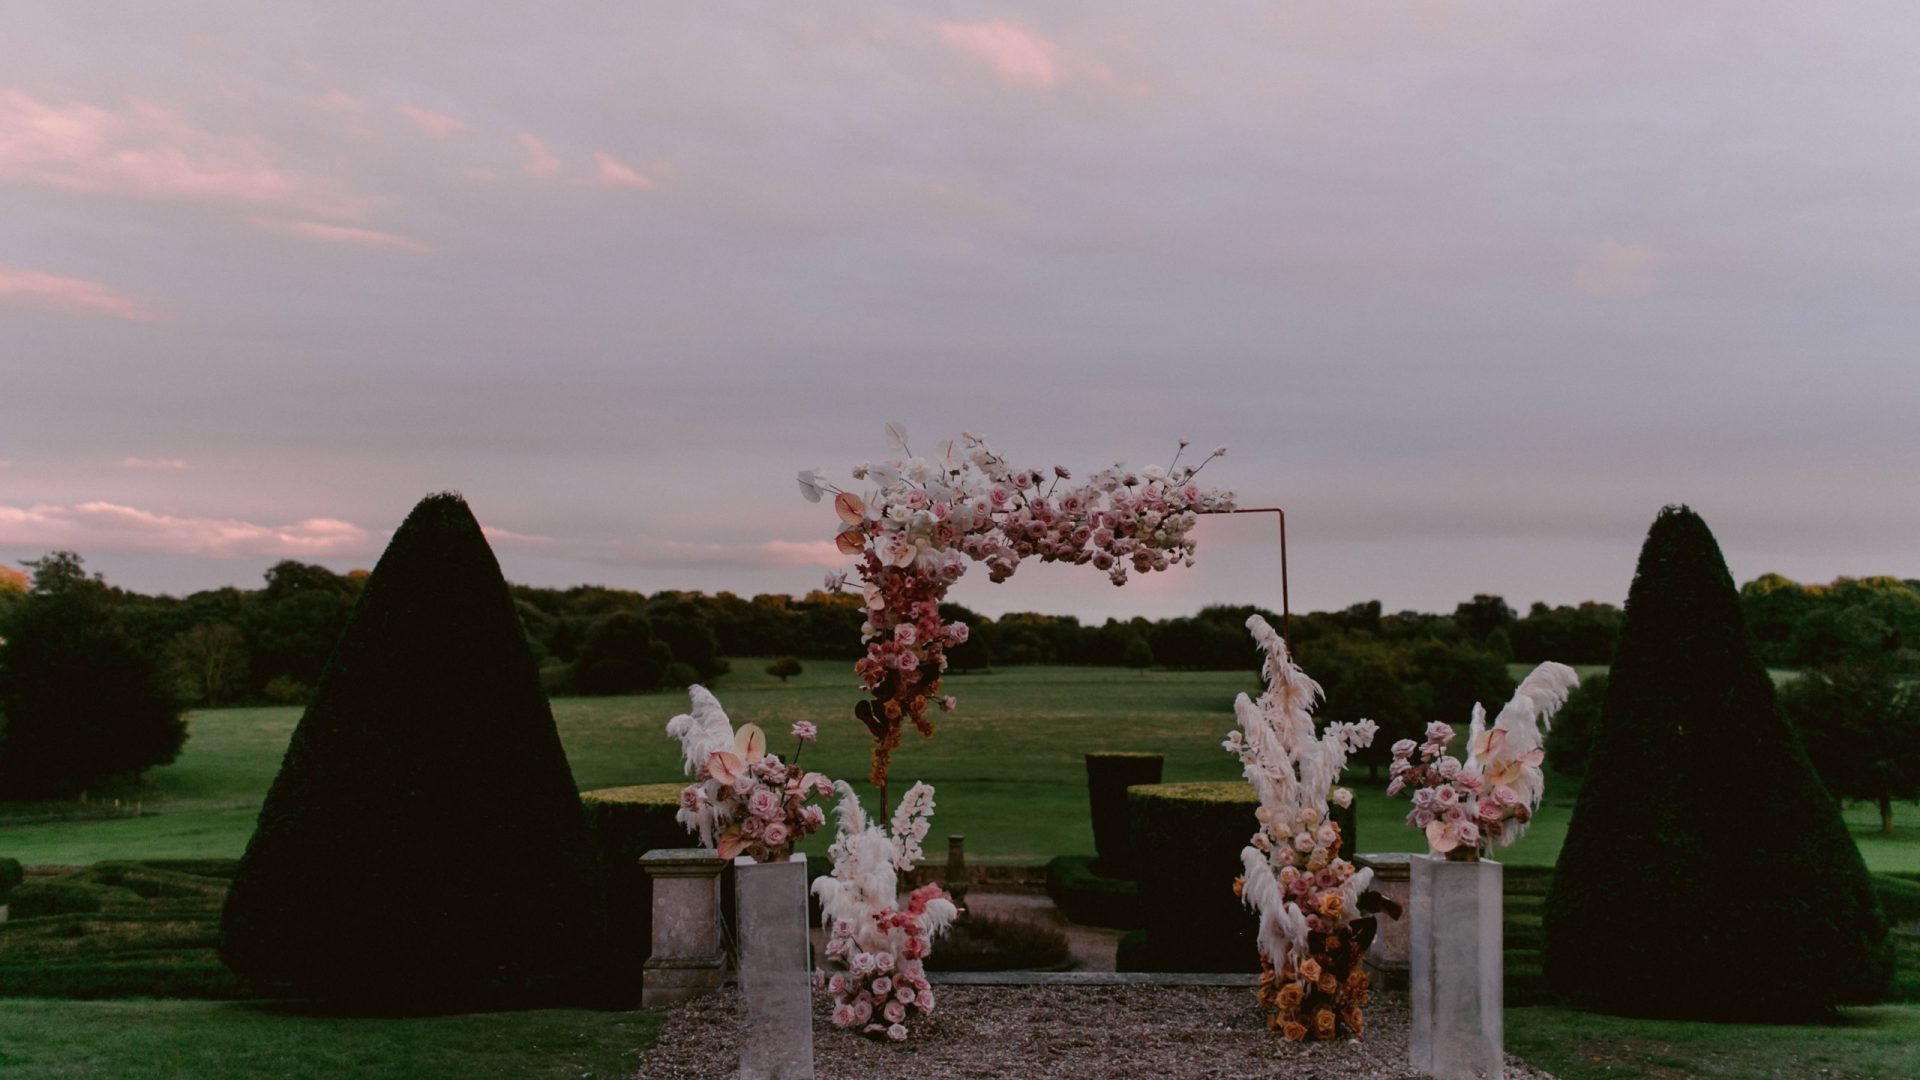
Photo by alleksana via Pexels: https://www.pexels.com/photo/beautiful-wedding-arch-decorated-with-flowers-and-feathers-on-pathway-4234545/ – Pexels License (https://www.pexels.com/license/). (Stock photo, illustrative.)
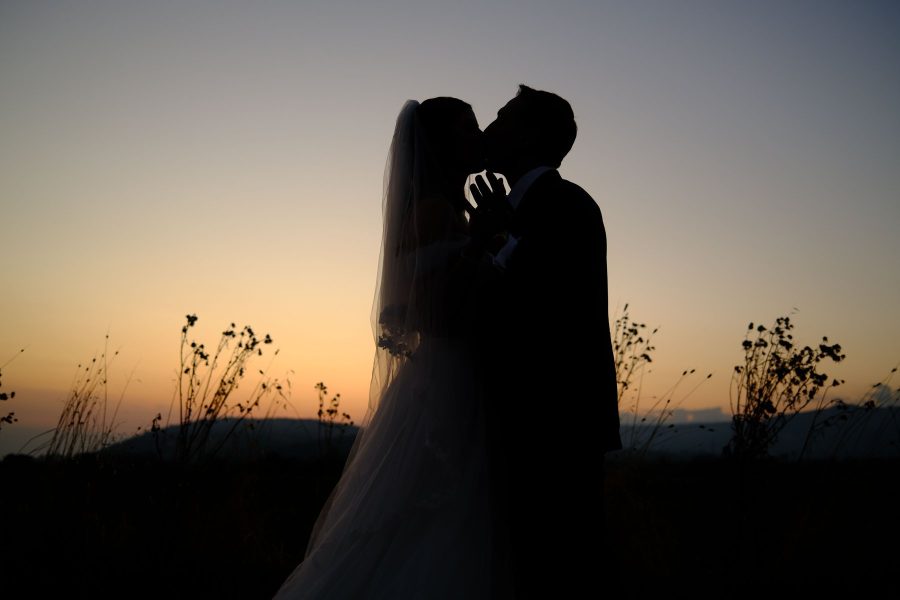
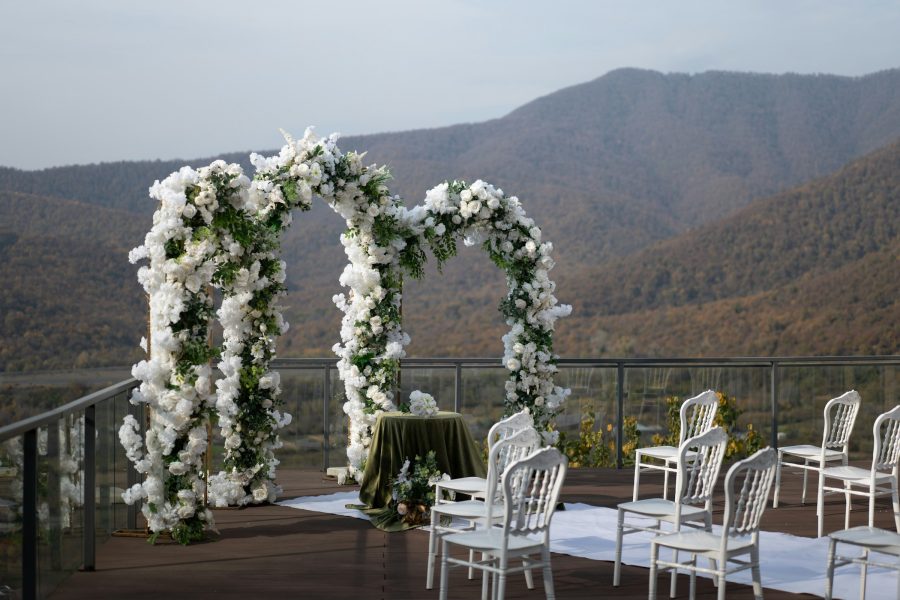
The stock photographs illustrate location-scouting ideas, framing and available light. They are not examples of a commissioned couple session or a photographer’s portrait portfolio.
Pre-wedding photography gives a couple time to make portraits before the wedding day, with room to choose a setting, try ideas and learn how they work with their photographer. It can be a casual engagement session, a planned portrait session in formal clothes or something in between. Those labels do not define the service. Agree on the photographs, practical arrangements and intended uses before choosing a location or packing equipment.
Start with the purpose of the photographs
Ask what the couple wants to do with the finished images. A portrait for a printed invitation has different layout needs from a wide photograph for a website banner. A small album needs variety across a sequence, while a framed print may depend on one strong image. Ask for the actual design requirements when they exist, including orientation, crop, space for text and the date the files must reach the designer or printer.
Do not build the schedule backward from an assumed turnaround time. Confirm the photographer’s delivery agreement, allow for the couple’s selection process and check any printing deadline directly. If an invitation needs a photograph before the full gallery is ready, agree on a specific early delivery rather than expecting an informal favor. Keep the promised format and editing scope clear, especially when a session is included in a larger wedding package.
A session is an option, not a test that couples must pass before marriage. Some people want elaborate portraits; others want a quiet walk with a camera present. Discuss what feels comfortable, which photographs matter and what the couple does not want to do. The useful result is a session that fits them, not a reproduction of someone else’s social feed.
Choose a location that works as well as it looks
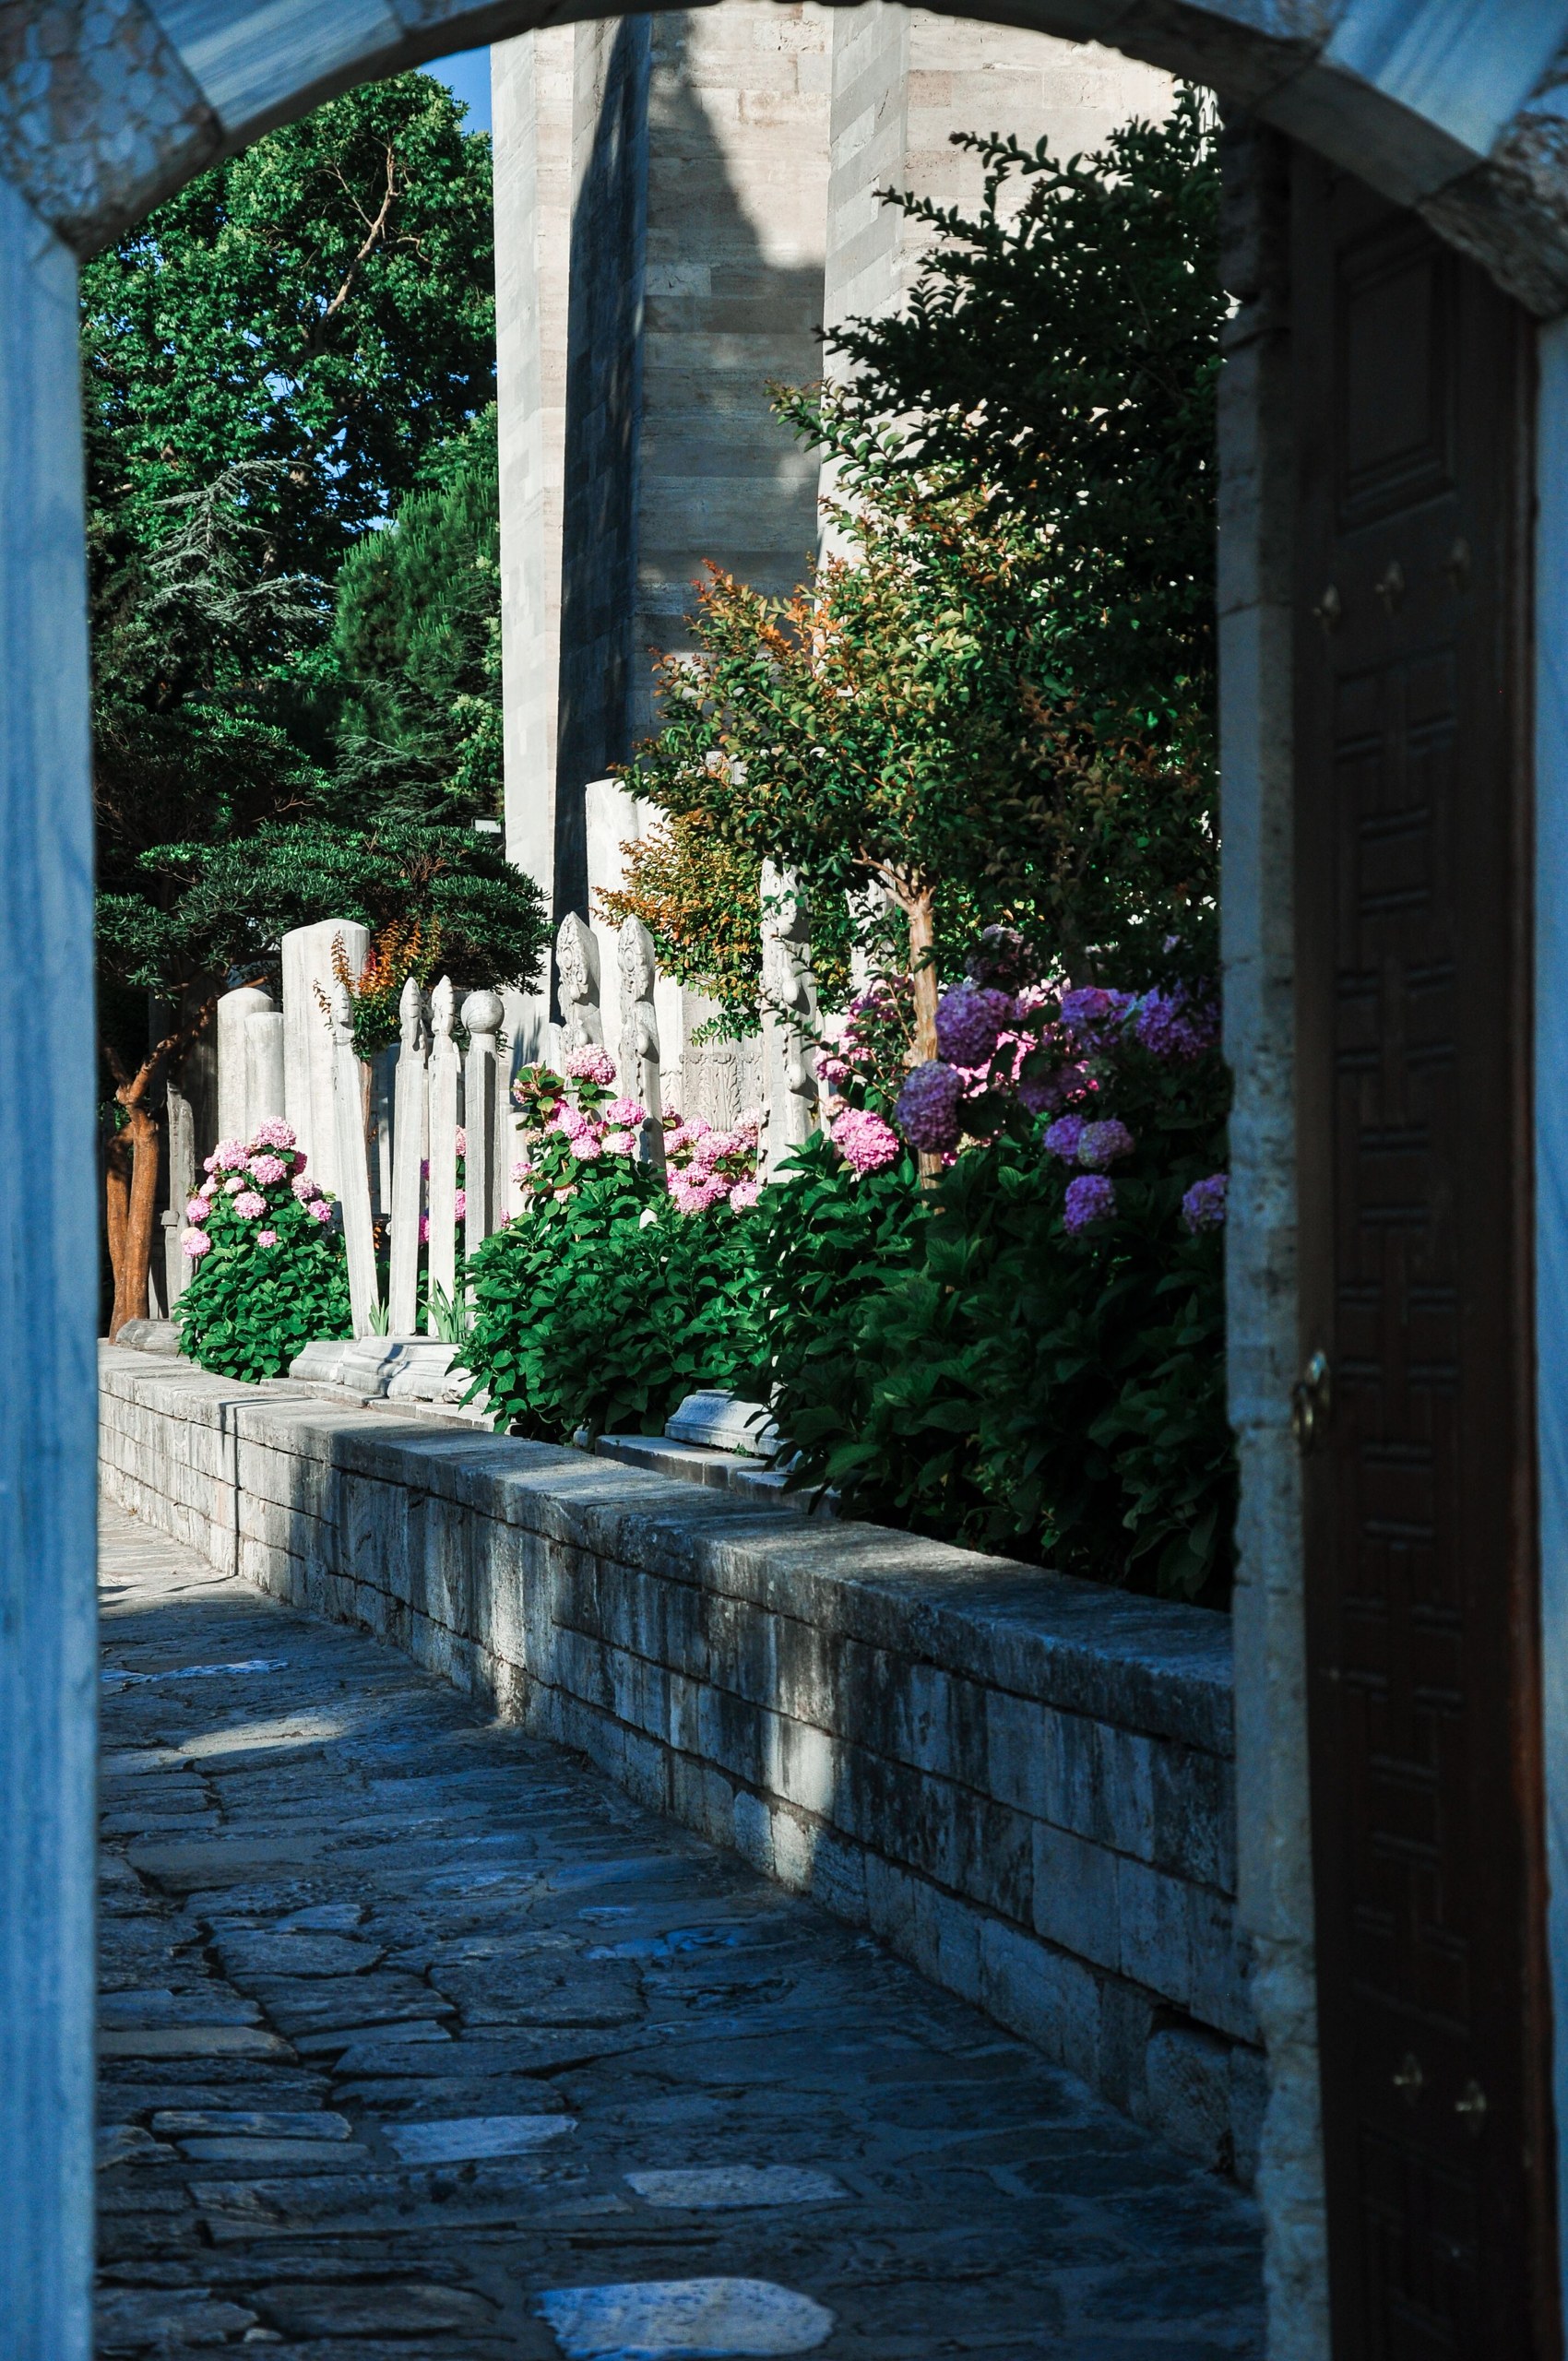
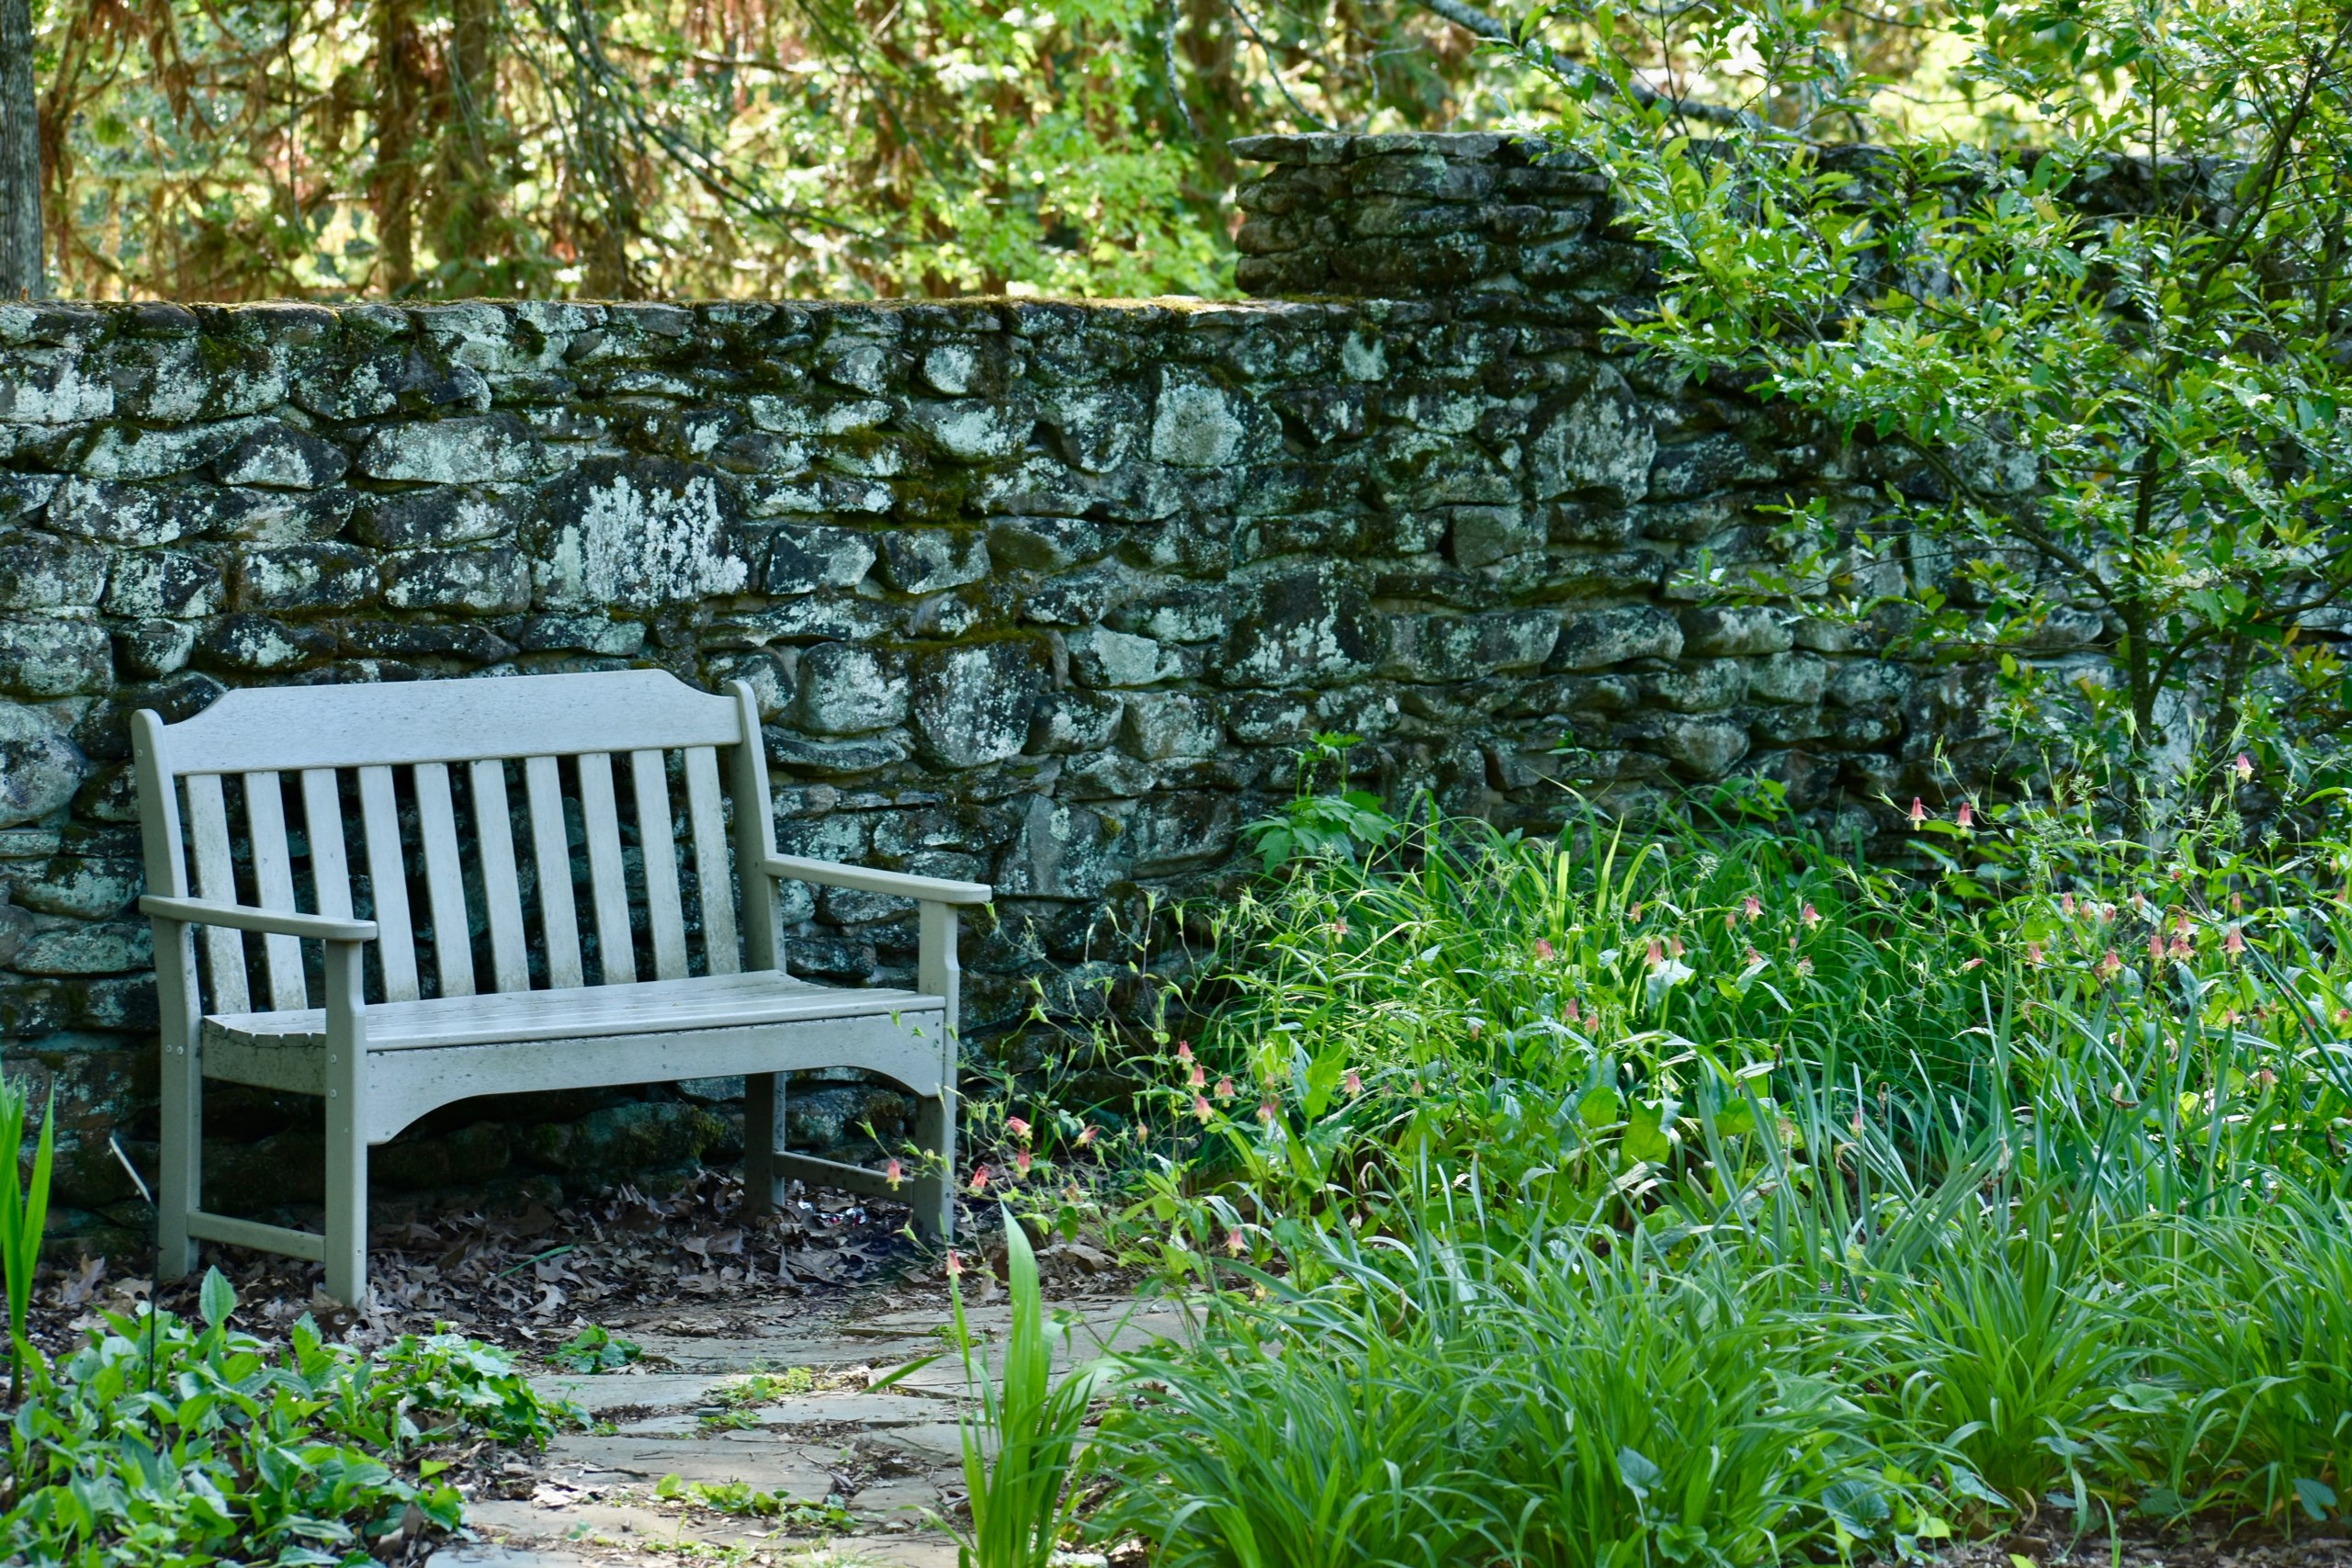
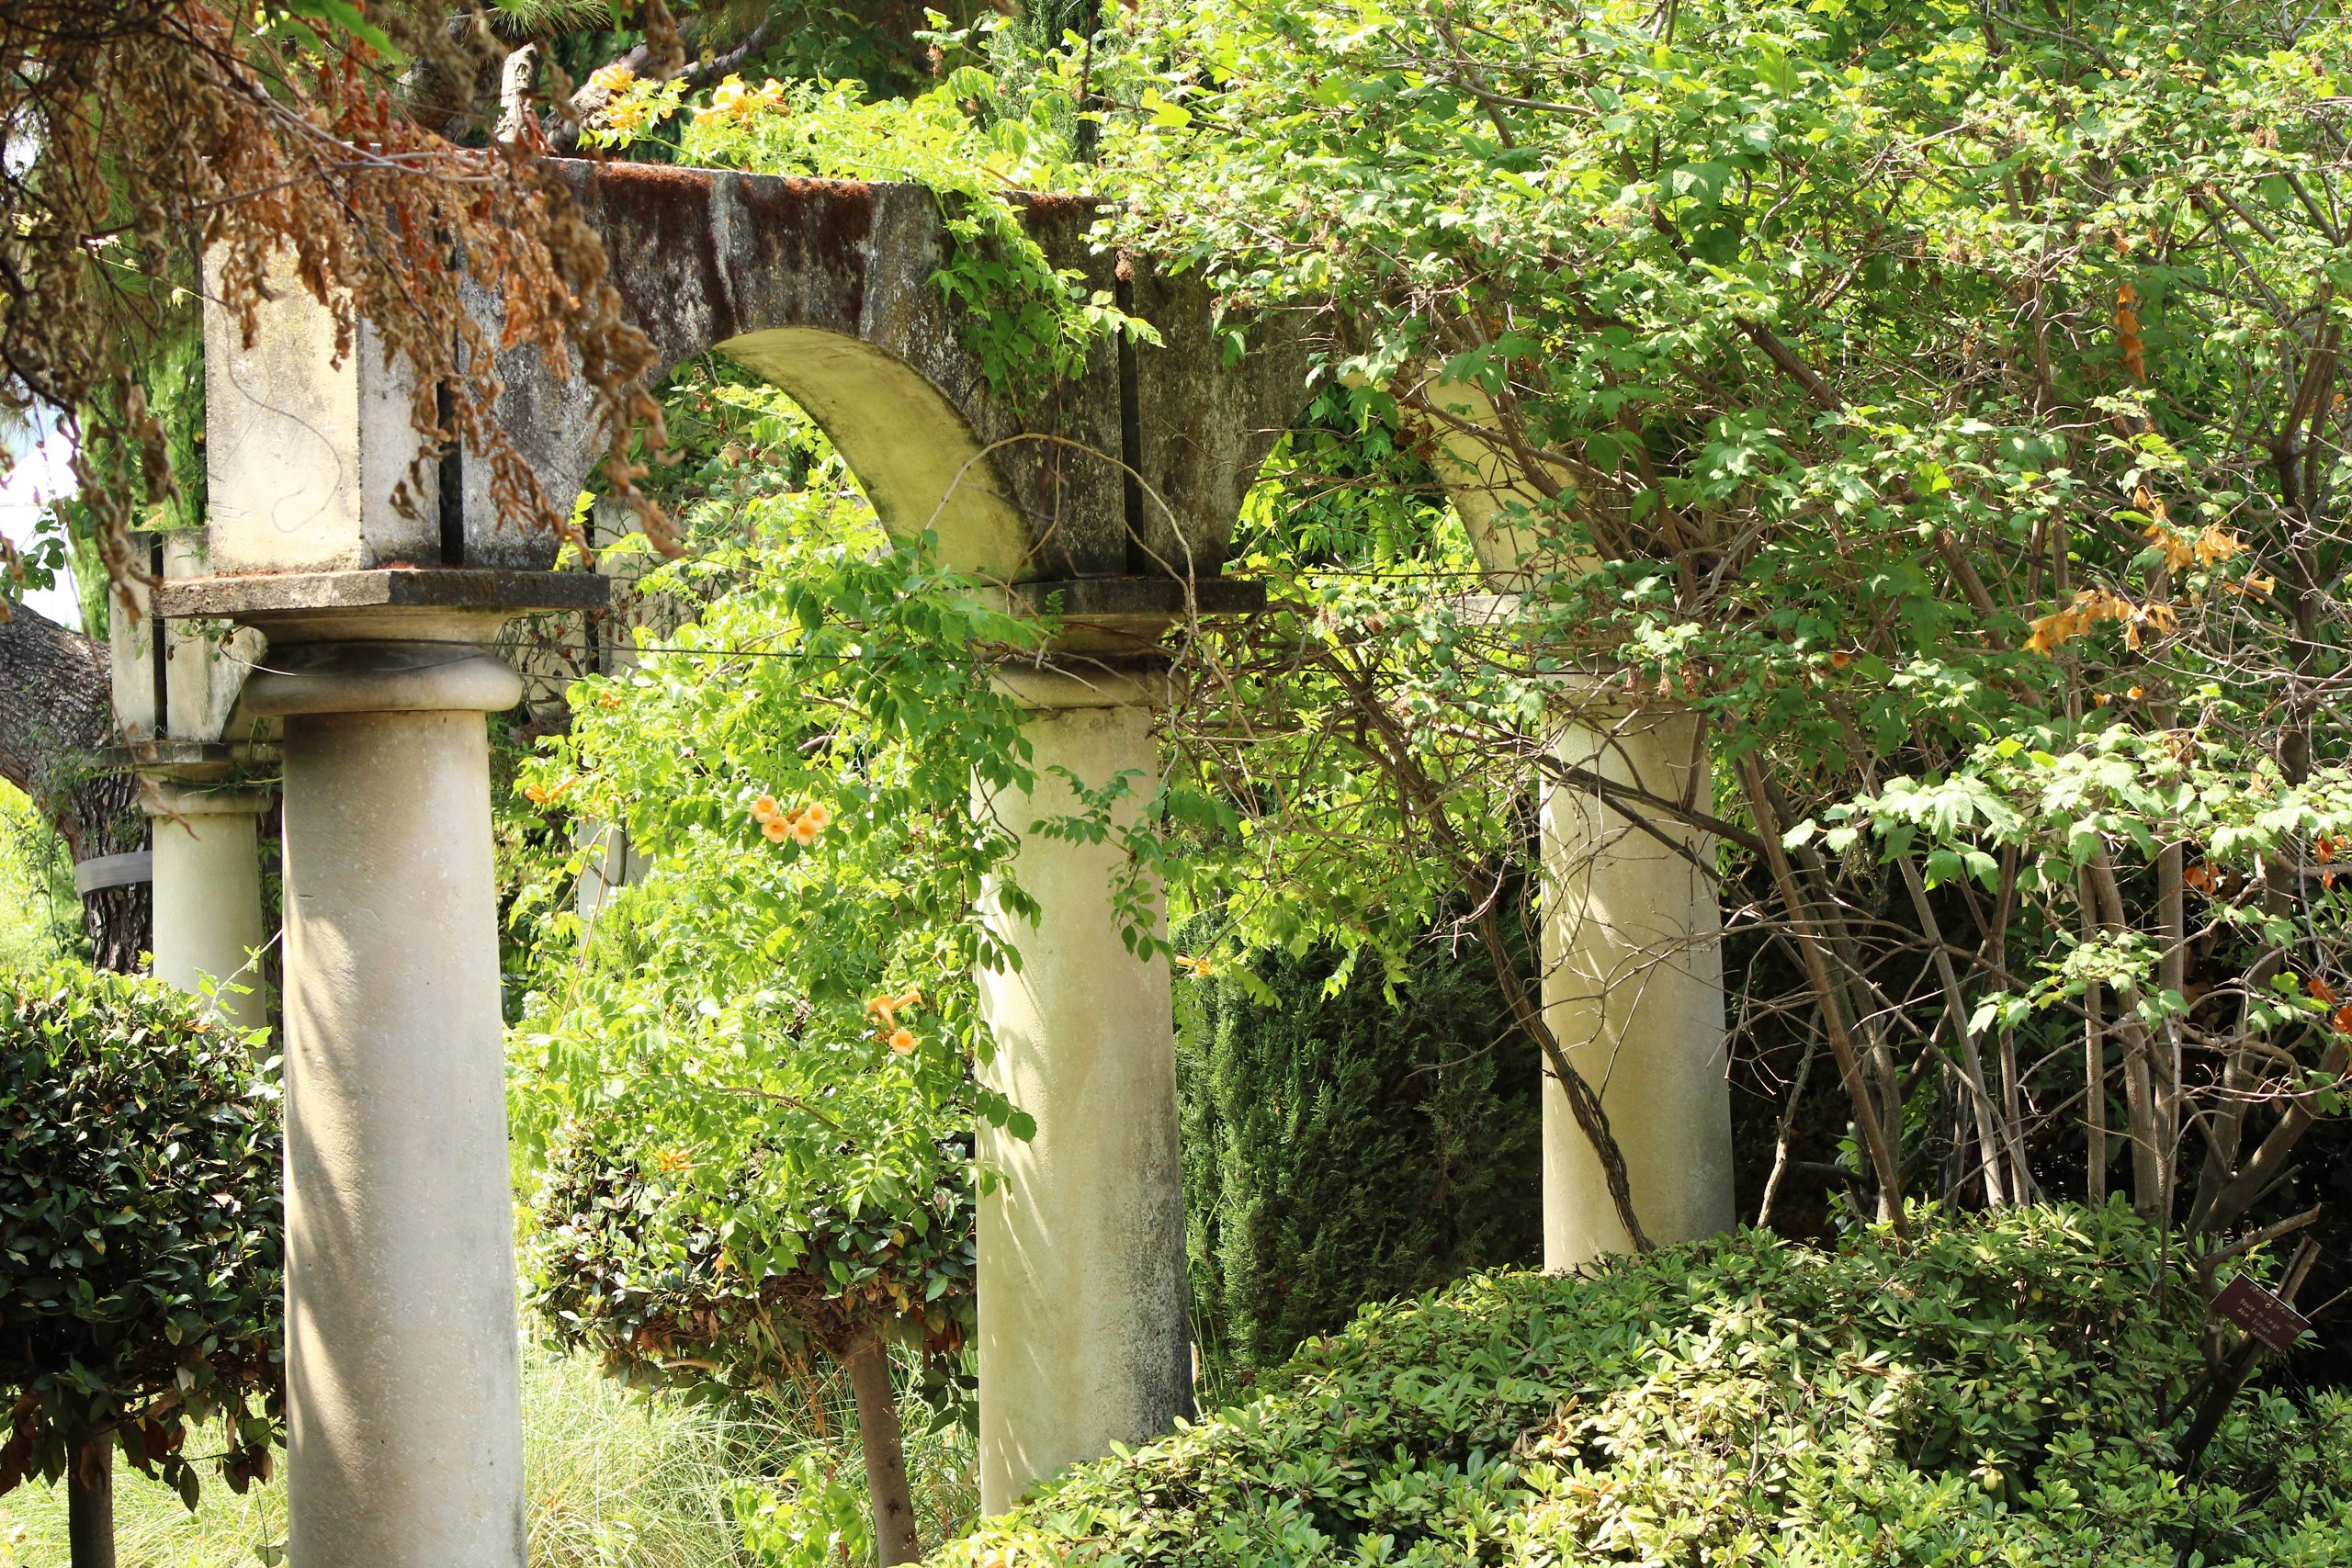
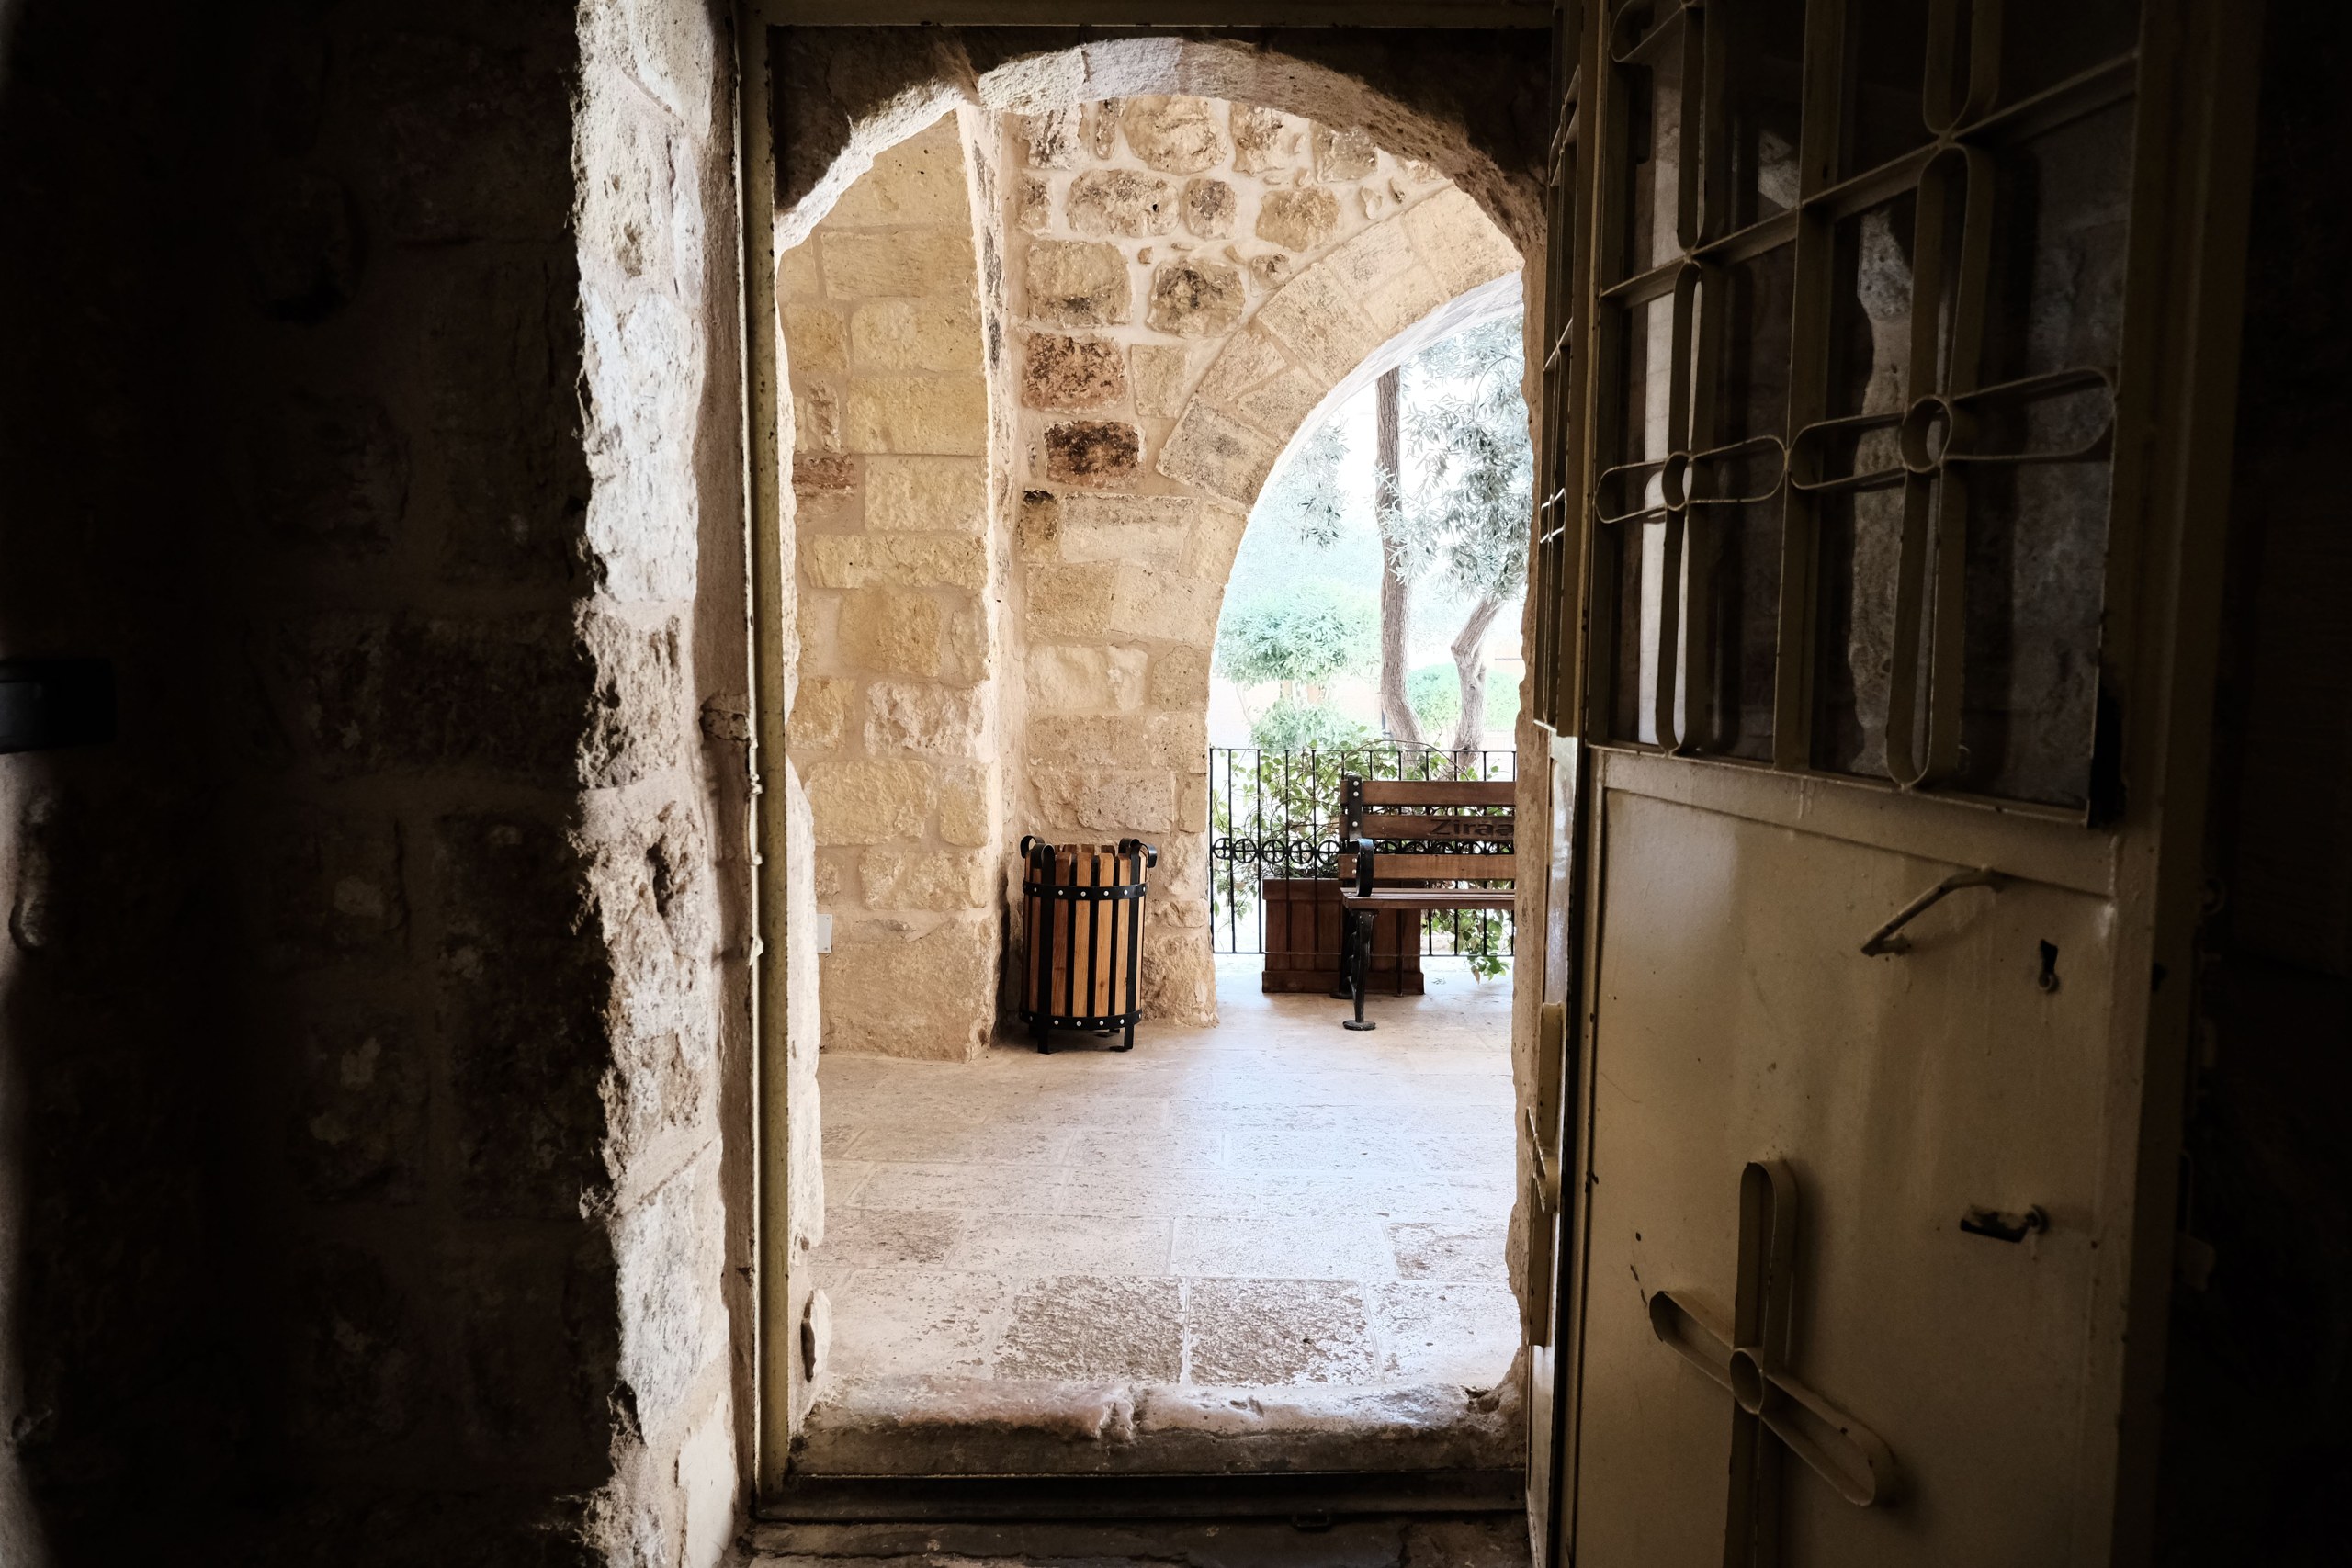
Begin with places that have meaning or a visual character the couple enjoys. That could be a familiar neighborhood, a permitted garden, a studio or a home. Then assess the practical route: travel, parking or transit, walking distance, accessible surfaces, restrooms and somewhere private to change if clothes changes are planned. An impressive view is a poor choice if reaching it uses most of the session or excludes one partner.
Check access with the owner or land manager. Public access does not automatically mean a professional photo session, tripod, light stand or reserved area is allowed. Ask about photography permission, current restrictions, fees, opening hours and competing events. Keep confirmation available on the day. Do not copy a permit price or rule from another photographer’s old blog and assume it applies to this session.
Scout with the intended photographs in mind. Look at backgrounds, safe standing positions and the light at a comparable time of day. Find several usable views within a manageable area instead of planning a long list of distant stops. Identify an alternative if the main background is crowded, closed or in poor light. A shorter route with useful options often leaves more room for actual photography.
 Save
Plan around light, access and weather together
Low-angle sunlight can provide warm backlight or side light, but a sunset booking does not guarantee flattering portraits. Buildings, hills, trees and clouds change what reaches the subjects. A location may lose direct light before the published sunset time. Decide where the couple will stand, where the camera can go and how faces will be lit, rather than treating a clock time as a complete lighting plan.
Open shade, an overcast day or a permitted indoor space can also work. Check the direction of light and the contrast between faces and the background. Watch for patches of sun through leaves and strong color reflected from nearby walls. Make test photographs and adjust the position or exposure. Do not ask the couple to stare into uncomfortable light simply because the background looks attractive.
Agree on a weather decision and a way to contact everyone. A covered alternative is useful only if it is actually accessible and photography is permitted there. Check the local forecast and relevant warnings before leaving, then change plans when conditions become unsafe. Do not turn lightning, dangerous heat, unstable ground or heavy surf into a creative challenge. A photograph is not a reason to ignore a closure or someone’s discomfort.
Prepare clothes and belongings without making new problems
Ask the couple to try their chosen clothes while standing, sitting and walking. Check whether they can move comfortably and whether an outfit needs constant adjustment. Consider the setting and weather, not only the color combination. Comfortable shoes for moving between photographs can be useful even when different shoes are planned for a stationary portrait. Leave bags and spare clothes somewhere secure without blocking the working area.
Coordinate rather than enforcing a universal wardrobe rule. Some couples want quiet colors; others want strong contrast or cultural dress. Look at both outfits together and against the intended background. Check distracting labels, unwanted pocket bulges, creases and items the couple would prefer not to feature. Explain what the camera is seeing without making negative judgments about bodies, age or personal style.
Outfit changes need real time and privacy. Agree on where changes will happen and who will look after belongings. Props should have a reason to be there and be permitted by the location. If a pet joins part of the session, plan appropriate handling and a responsible person who can care for it when it is not being photographed. Do not assume every location welcomes animals or loose decorations.
 Save
Make the first photographs straightforward
At the start, explain the plan in plain language. Tell the couple where the first photograph will happen, how you will give direction and how they can ask for a pause or a different approach. Confirm any boundaries about touch, closeness or particular poses. A photographer does not need to manufacture embarrassment or pressure someone into a kiss to make an expressive portrait.
Begin with a stable position and a simple instruction. Ask both people to stand or sit comfortably, then make small changes one at a time. Describe what to do with a hand, where to look or how to turn rather than listing several body adjustments at once. Demonstrate from your own position when that is clearer, and ask before physically adjusting clothing or moving someone.
Make an uncomplicated portrait looking toward the camera if it is part of the agreed brief. Then offer an interaction that fits the couple, such as walking together along a clear route or talking while seated. A prompt is an invitation, not a guaranteed emotional result. If it feels awkward or excludes someone’s abilities, change it. Pay attention to how both people respond instead of forcing the planned pose.
Build variety from a useful setup
Once the light and position work, make more than one kind of photograph before moving. A wider frame can establish the place; a medium view can show the relationship between the two people; a closer frame can emphasize an expression or gesture. Change your position carefully and watch the background as the angle changes. Variety should add something, not create a gallery of minor duplicates.
Check the edges of the frame. Avoid cutting through a hand accidentally, merging faces with a sign or letting a bright background object dominate. Leave enough space for the crop the final use requires. If a card designer needs room for words, make that version deliberately as well as a tighter portrait. Do not assume the designer can recover space that was never photographed.
Keep the couple’s comfort and balance ahead of an elaborate shape. Choose stable surfaces and leave walking routes clear. A relaxed seated portrait can be a better solution than an awkward standing pose. If both faces matter, check that neither is hidden by the other person or by clothing. Review the actual frame at a useful size before repeating a setup that is not working.
 Save
Choose camera settings for two people, not a preset
Start with the movement you need to record. A walking sequence generally needs a shorter exposure than a still portrait, but there is no universal shutter speed for every couple and lens. Make a test, inspect faces and hands and shorten the exposure if movement is unintentionally blurred. Camera stabilization can reduce camera movement; it does not make moving people stand still during the exposure.
Choose aperture for the depth you need. Two faces at different distances can fall outside a narrow zone of focus. Stop down, change the arrangement or alter the camera position when both need to be sharp. A wide aperture is a creative choice, not an automatic mark of professional work. Check focus on both people instead of accepting one sharp eye as proof that the whole portrait succeeded.
Use autofocus behavior you have practiced. Face or eye detection may select the nearer person when you intended the other one. Know how to choose the subject or focus area and how to respond when detection is unreliable. Set ISO to support your shutter and aperture choices, then inspect highlights on faces and light clothing. Keep a backup camera, charged batteries and suitable cards ready for a paid session.
Add light only when you can control it safely
Available light may be enough, especially when you can adjust where the couple stands. If a face is too dark against the chosen background, first decide whether a different angle or background would solve the problem. A reflector or flash is another option, not a requirement. Use equipment you know and test it before making the couple wait through a new technical experiment.
With flash, check the camera and flash instructions for synchronization, shutter mode and any high-speed-sync limitations. Balance the background exposure and the light on the people, then inspect the result. A recipe from a different camera or a photographer’s older article is a starting example, not a guarantee. Watch for unwanted reflections in glasses and changes in skin color from nearby surfaces.
Keep stands and cables out of paths, follow the location’s rules and have a suitable way to manage equipment. Do not leave an unstable light unattended or ask a couple to hold a difficult position while you solve a safety problem. If the planned lighting setup cannot be used safely, simplify the photograph. A smaller setup that works is better than equipment that takes over the session.
Keep the session moving without rushing people
Work from a short list of priorities rather than a rigid catalog of poses. Cover the photographs that meet the brief first, then use remaining time for a new angle or an experiment. Travel and clothes changes belong in the timeline. If the plan starts slipping, explain the choice between fewer setups and a change to the agreed session, rather than silently cutting the photographs that matter most.
Offer breaks and check how people are doing. A couple may be cold, tired or uncomfortable without wanting to interrupt. Keep instructions specific and feedback honest: mention a useful expression or a position that works rather than repeating empty praise. When a setup is finished, say so clearly. No one should have to keep holding a pose while wondering whether the camera is still in use.
Before leaving the final location, check the brief and equipment. Confirm that you have the required orientations and any agreed individual or detail portraits. A ring detail or a landscape can support the sequence, but neither replaces the couple portraits they commissioned. Check batteries, cards and bags before moving, and explain what happens next with selection and delivery.
Edit and deliver for the agreed use
Choose photographs for expression, focus, composition and variety. Remove accidental duplicates and frames that do not meet the technical or creative brief. Keep color and tone consistent across related images without pretending that every location had identical light. Retouch within the agreed scope. Changes to someone’s body, appearance or meaningful surroundings should not be assumed simply because editing software can make them.
Export the files in the formats and sizes promised. Confirm a printer’s actual requirements for a specific job instead of treating one resolution number as a universal rule. Check the files after export and keep tested backups. Explain gallery access periods, download steps and any selection deadline. An online gallery should not be presented as permanent storage unless that service is explicitly included.
Separate the couple’s permission to print or share from the photographer’s proposed advertising or portfolio use. Put meaningful permissions and restrictions in the agreement. In the United States, the photographer is generally the initial copyright owner, with exceptions such as qualifying work made for hire; that fact alone does not settle every privacy or publication issue. Follow applicable law and get qualified advice when needed.
Frequently asked questions
 Save
Is a pre-wedding session the same as an engagement session?
The terms can overlap, but the service varies. Confirm whether the session is casual or formal, what it includes and how the photographs will be used rather than relying on the label.
Do we need a pre-wedding photo session?
No. It is an optional portrait session. Choose it if the photographs or time working with your photographer matter to you, not because a tutorial calls it essential.
When should we schedule the photographs?
Work backward from the actual delivery and printing deadlines, then consider access, light, weather and everyone’s availability. Confirm the photographer’s turnaround instead of using a universal number of months before the wedding.
Do we need a photography permit?
Check with the specific property owner or land manager. Access, professional photography, tripods, lights and reserved areas may have different rules. Another location’s policy does not establish permission for yours.
Do we have to kiss or use romantic poses?
No. Discuss boundaries and choose directions both people are comfortable with. A portrait can show connection through conversation, shared space or a simple pose without pressure to perform affection.
Should we only shoot at sunset?
No. Low-angle sunlight is one option, but the location, weather and direction of light matter. Open shade, overcast conditions or a permitted indoor space may fit the session better.
Can we use the pictures on invitations and social media?
Confirm the rights granted in your agreement and the file requirements for the intended use. Also discuss the photographer’s separate portfolio and advertising permissions; do not assume both sides have unlimited uses.
Sources and further reading
For more direction ideas, read our wedding photography poses guide. For choosing a photographer and comparing services, see how to choose a wedding photographer.
For planning and location checks, read Canon’s engagement-session guide. Compare Neil van Niekerk’s lighting and posing example with Nesh Soni’s session structure and Formed From Light’s planning advice. Individual settings, timing and equipment in those articles are examples, not requirements. For US copyright basics, use the US Copyright Office’s photographer guide.
For readers learning to photograph weddings, the ShutYourAperture Academy offers The Wedding Day. Review the current course details before enrolling.
Support for a planned pre-wedding portrait
A Peak Design Aluminum Travel Tripod, model TT-CB-5-150-AL-1, is one support option for a planned pre-wedding portrait. Check the full camera-and-lens weight, plate fit and working height before buying. Check the locks, ask where the setup may stand and keep paths clear. Support does not choose a meaningful location, direct a pose or freeze moving people. Compare the current retailer specifications; no hands-on test, price or stock promise is being made here.
Affiliate disclosure: We may earn a commission from qualifying purchases through the following gear link at no extra cost to you.
Check Peak Design Aluminum Travel Tripod TT-CB-5-150-AL-1 at B&H