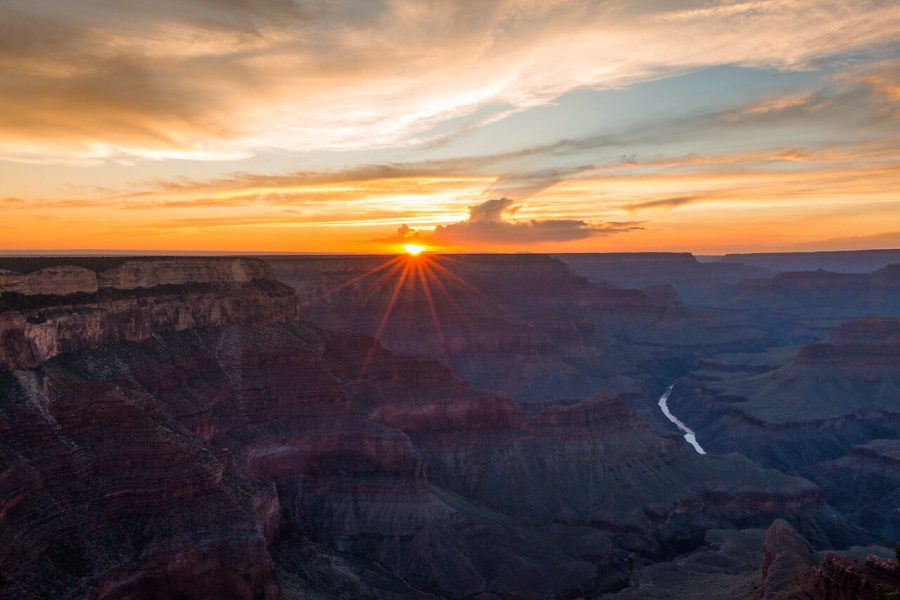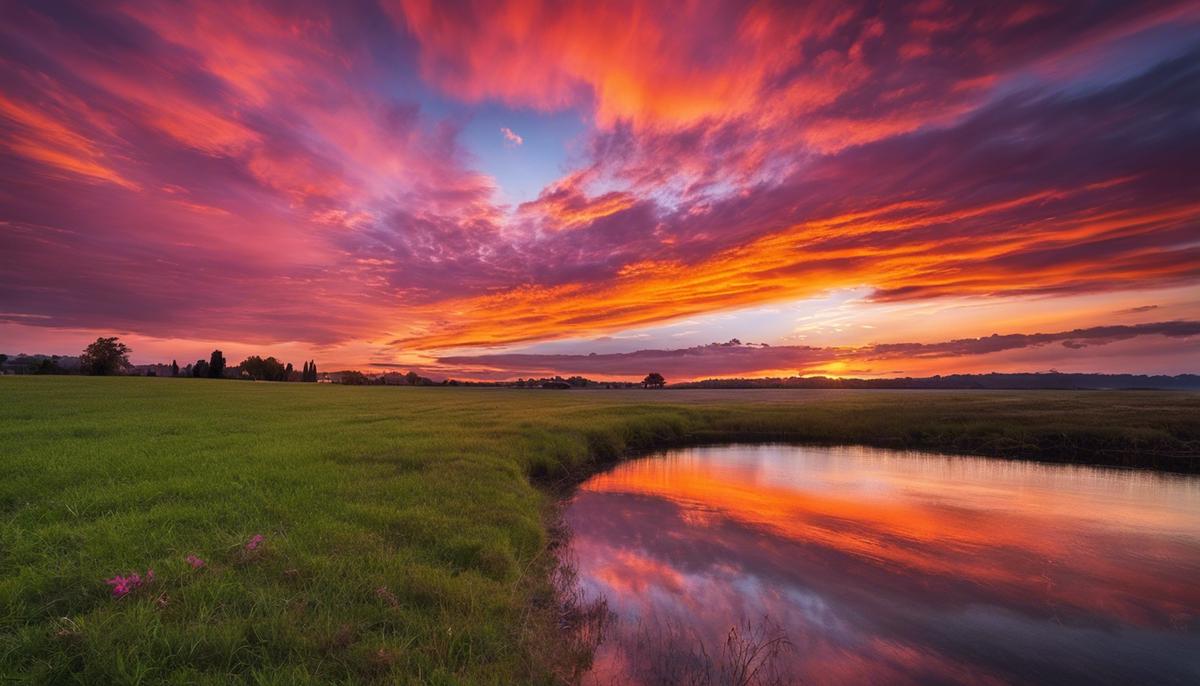
A good sky can rescue a flat landscape photo, and Photoshop’s sky replacement makes swapping one in almost too easy. The catch: the tool is only as good as the skies you feed it. Building your own sky library gives you replacements that match your style and stay legally yours. Here is how to shoot skies worth keeping and how to organize them so the right one is always a few clicks away.
Shooting skies worth keeping
Time it. Golden hour, just after sunrise and before sunset, gives you warm, directional light and soft gradients. Post-storm skies deliver the most dramatic cloud structures. For stars and the Milky Way, plan around the new moon and get away from city lights.
Pick clean foregrounds, or none. If the sky is destined for the replacement library, shoot it with a low, simple horizon or no horizon at all; busy foregrounds limit where the sky can be reused. An open, unobstructed view is what you want.
Use a tripod and manual mode. A tripod matters most at night and at the edges of the day. During the day, keep ISO low and set aperture and shutter for the light. At night, open the aperture wide, raise ISO as far as your camera stays clean, and choose a shutter speed that keeps stars sharp. Our guides to aperture, ISO, and shutter speed cover the tradeoffs.
Compose with intent. The rule of thirds keeps a strong cloud formation or sun position from drifting dead center. And a polarizing filter adds contrast and cuts glare in daytime skies, while a graduated ND filter balances a bright sky against a darker foreground when you want both in one frame.
 Save
SaveEditing skies in Photoshop
Work non-destructively so every sky stays reusable. Duplicate the base layer and use layer masks to isolate the sky, then stack adjustment layers (Curves and Levels do most of the work) so brightness, contrast, and color changes touch only the sky. Selective Color lets you push the blues of midday or the reds of a sunset without wrecking the balance, and a Gradient Map at low opacity can add warmth that reads as natural golden-hour glow. Dodge and burn sparingly to bring out cloud contours, and sharpen only the sky layer so texture stays clean. Subtlety is the whole game: the moment a sky looks edited, it stops working.
 Save
SaveOrganizing your sky library
A sky collection gets unwieldy fast, so set up a system before you need it:
- Creative Cloud Libraries. Create a dedicated library for skies (Window > Libraries) and tag assets by mood: stormy, sunset, clear blue. They sync across machines and drop straight into a composite.
- Bridge Collections and keywords. Group images by location, date, or cloud type in Bridge’s Collections panel, and apply keywords like “cirrus” or “golden hour” so search finds the exact sky in seconds.
- Color labels. Mark each sky’s status: unedited, in progress, or ready to use. Right-click > Label.
- A boring folder structure. Year, then type or event. Keep the hard drive layout and your library consistent with each other.
- Smart Objects. Convert skies you composite often into Smart Objects so replacements and re-edits never degrade the original.
- Actions. Record once, reuse forever: resizing, watermarking, and export prep are perfect candidates for Photoshop Actions.
- Consistency. Whatever naming and tagging rules you pick, keep them. The system you actually maintain beats the perfect system you abandon.
 Save
SaveOnce your library is organized, sky replacement stops being a rescue tool and becomes a creative one. If most of your sky work happens in Lightroom rather than Photoshop, the Landscape, Cityscape and Drone presets are built for exactly these files.