
Updated October 13, 2026. This guide has been revised with new text and photos; the original publication date is retained.
Blurry photos at events come from two causes: your camera moved, or your subject moved. Image stabilization targets the first one. This guide shows you how stabilization works, which tools help at events and how to combine them with the right shutter speed, so you have a better chance of sharp photos.
 Save
What is camera stabilization?
Camera stabilization reduces blur from small movements of your hands while the shutter is open. It uses motion sensors to detect shake, then shifts a part of the camera or lens to cancel it out. The result can be that you use a slower shutter speed than normal and still get a sharp picture.
That matters at events. Rooms are often dim, flash is often not allowed and moments do not repeat. Stabilization gives you a bit more room when the light is low.
What are the types of stabilization?
- In-body stabilization (IBIS). The sensor moves inside the camera. Many systems can work with a range of lenses, but some need the focal length from a compatible lens or entered by hand for older or adapted lenses, and the available modes depend on the model.
- Optical lens stabilization (OIS). A group of elements inside the lens moves. It is common in telephoto and zoom lenses.
- Combined stabilization. Some camera and lens pairs coordinate with each other. When they do, the effect and the modes depend on the models, so check the manuals.
- Electronic or digital stabilization. Software crops and shifts the image. It is mainly used in video and can reduce the field of view.
- External support. Monopods, tripods, gimbals and shoulder rigs steady the camera from outside.
Manufacturers usually describe stabilization in stops, such as a gain of several stops. Real results vary with your technique, your lens and your subject, so treat those numbers as a best case.
What can stabilization not do?
This is the point many people miss. Stabilization reduces blur from camera movement, but it does not fix it completely. It does nothing for subject movement. A bride walking down an aisle, a speaker with animated hands and a dancer mid-spin all move on their own. If your shutter speed is too slow, they will blur even if your camera is perfectly still.
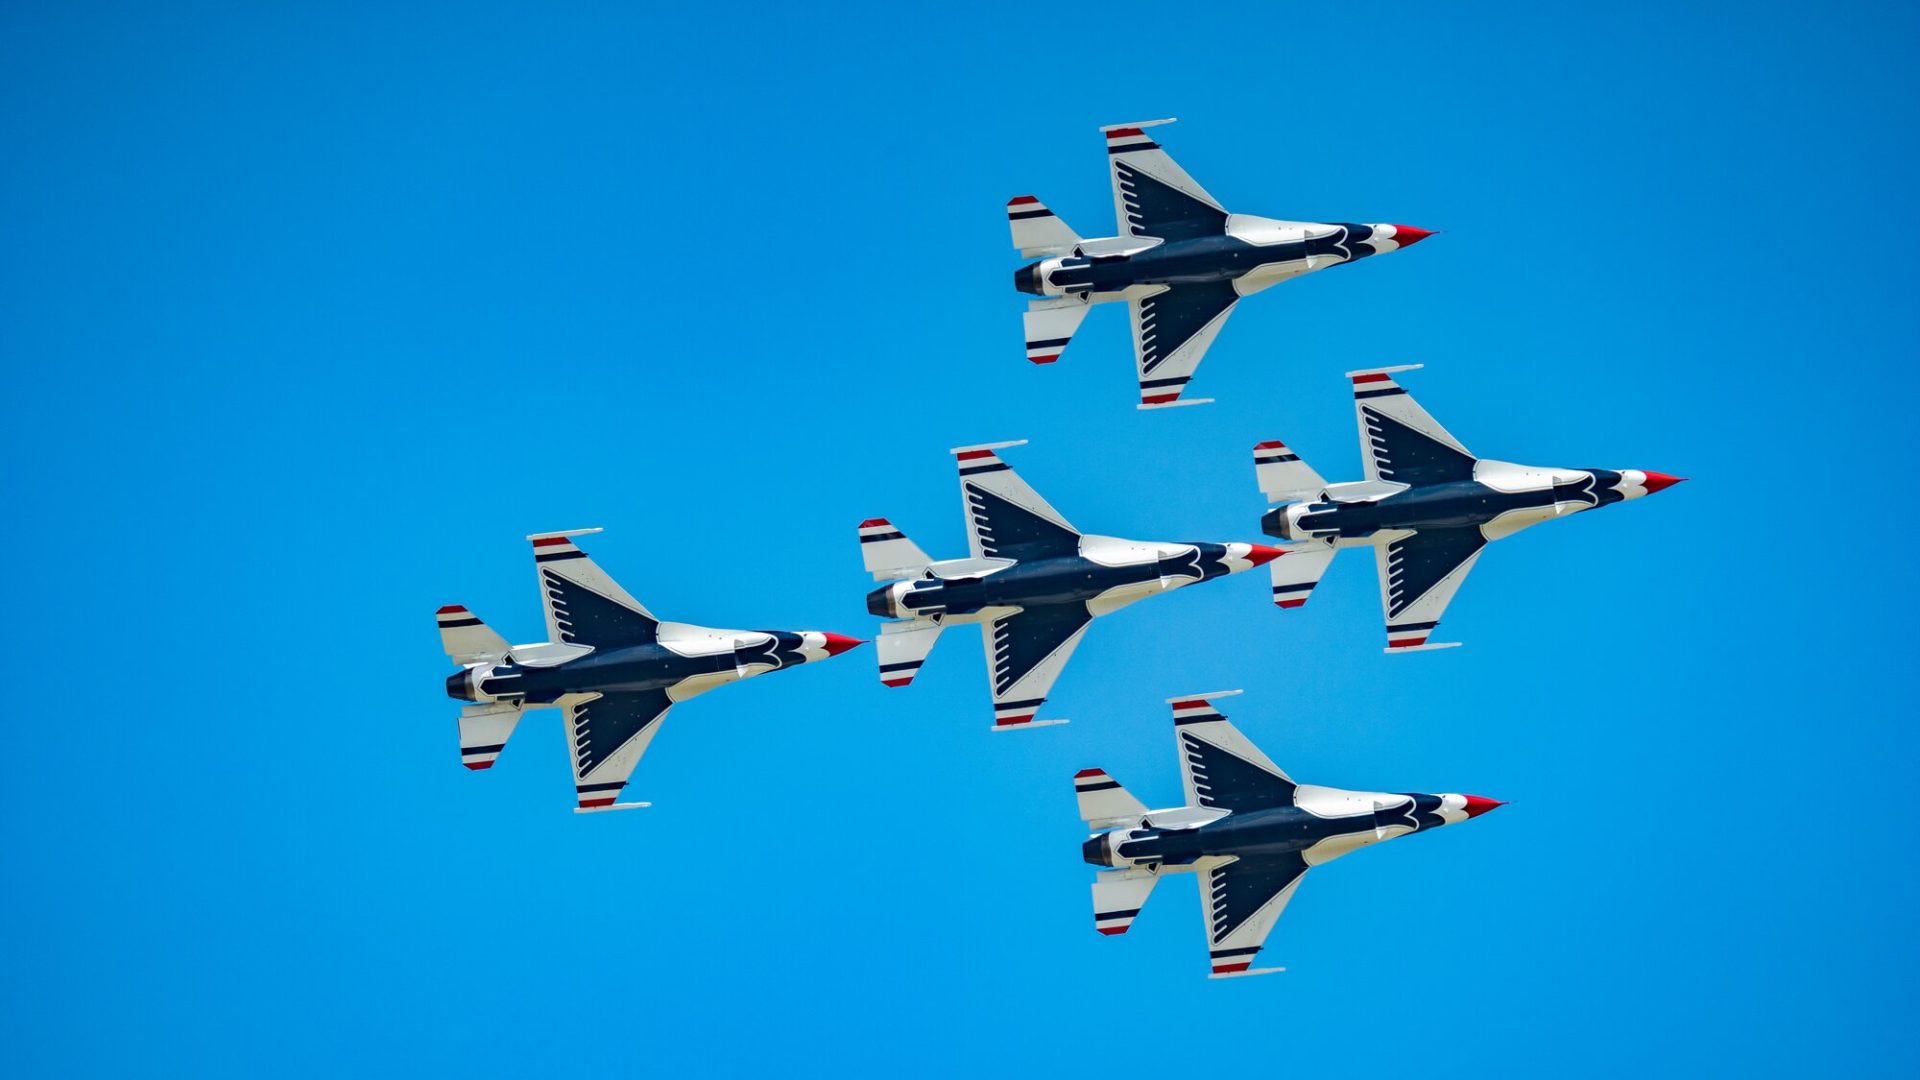
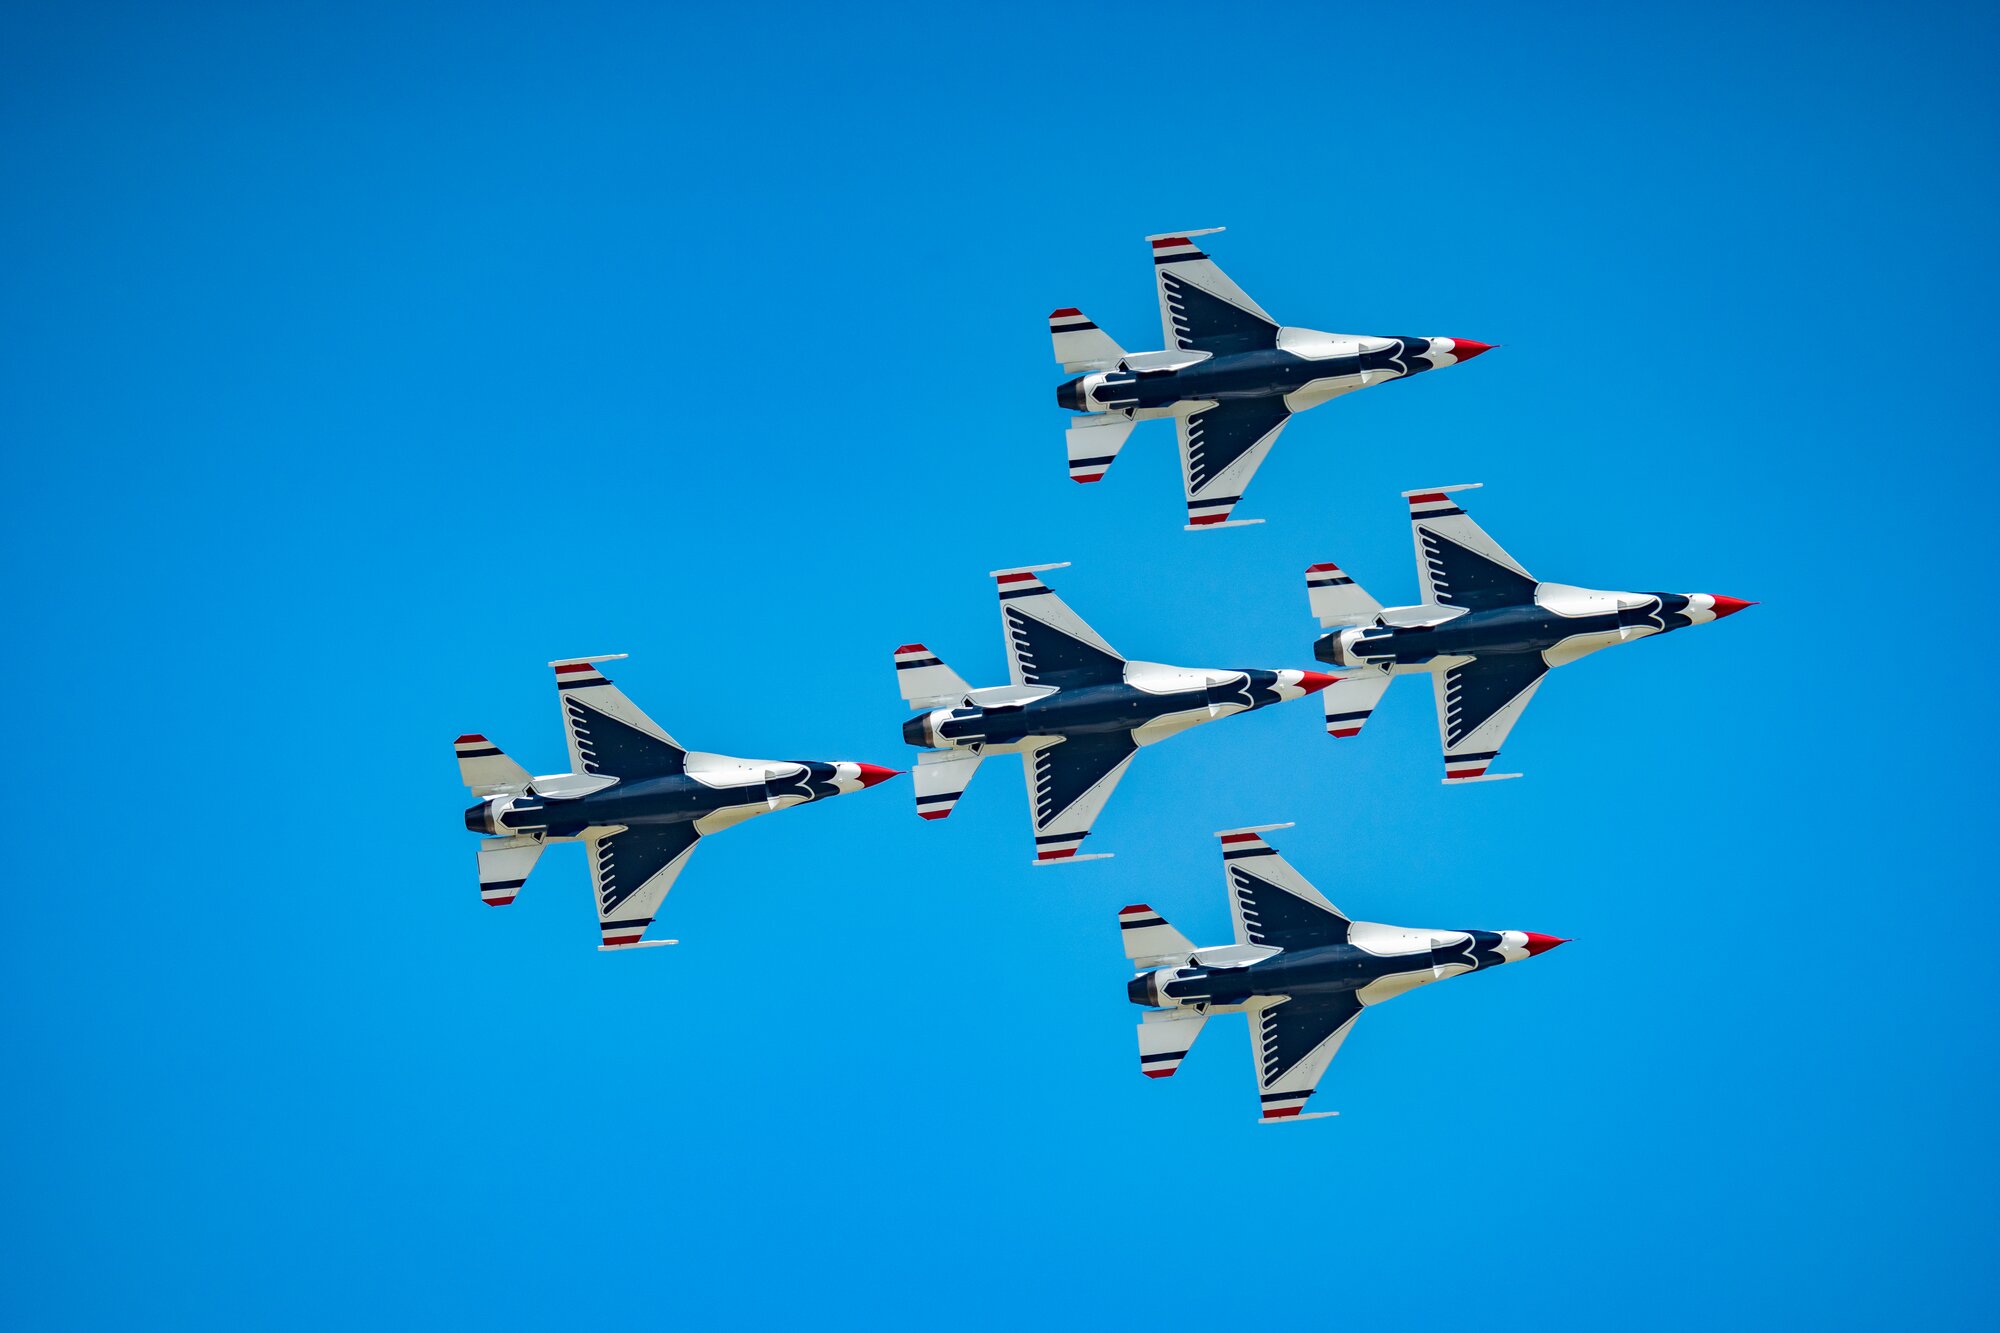
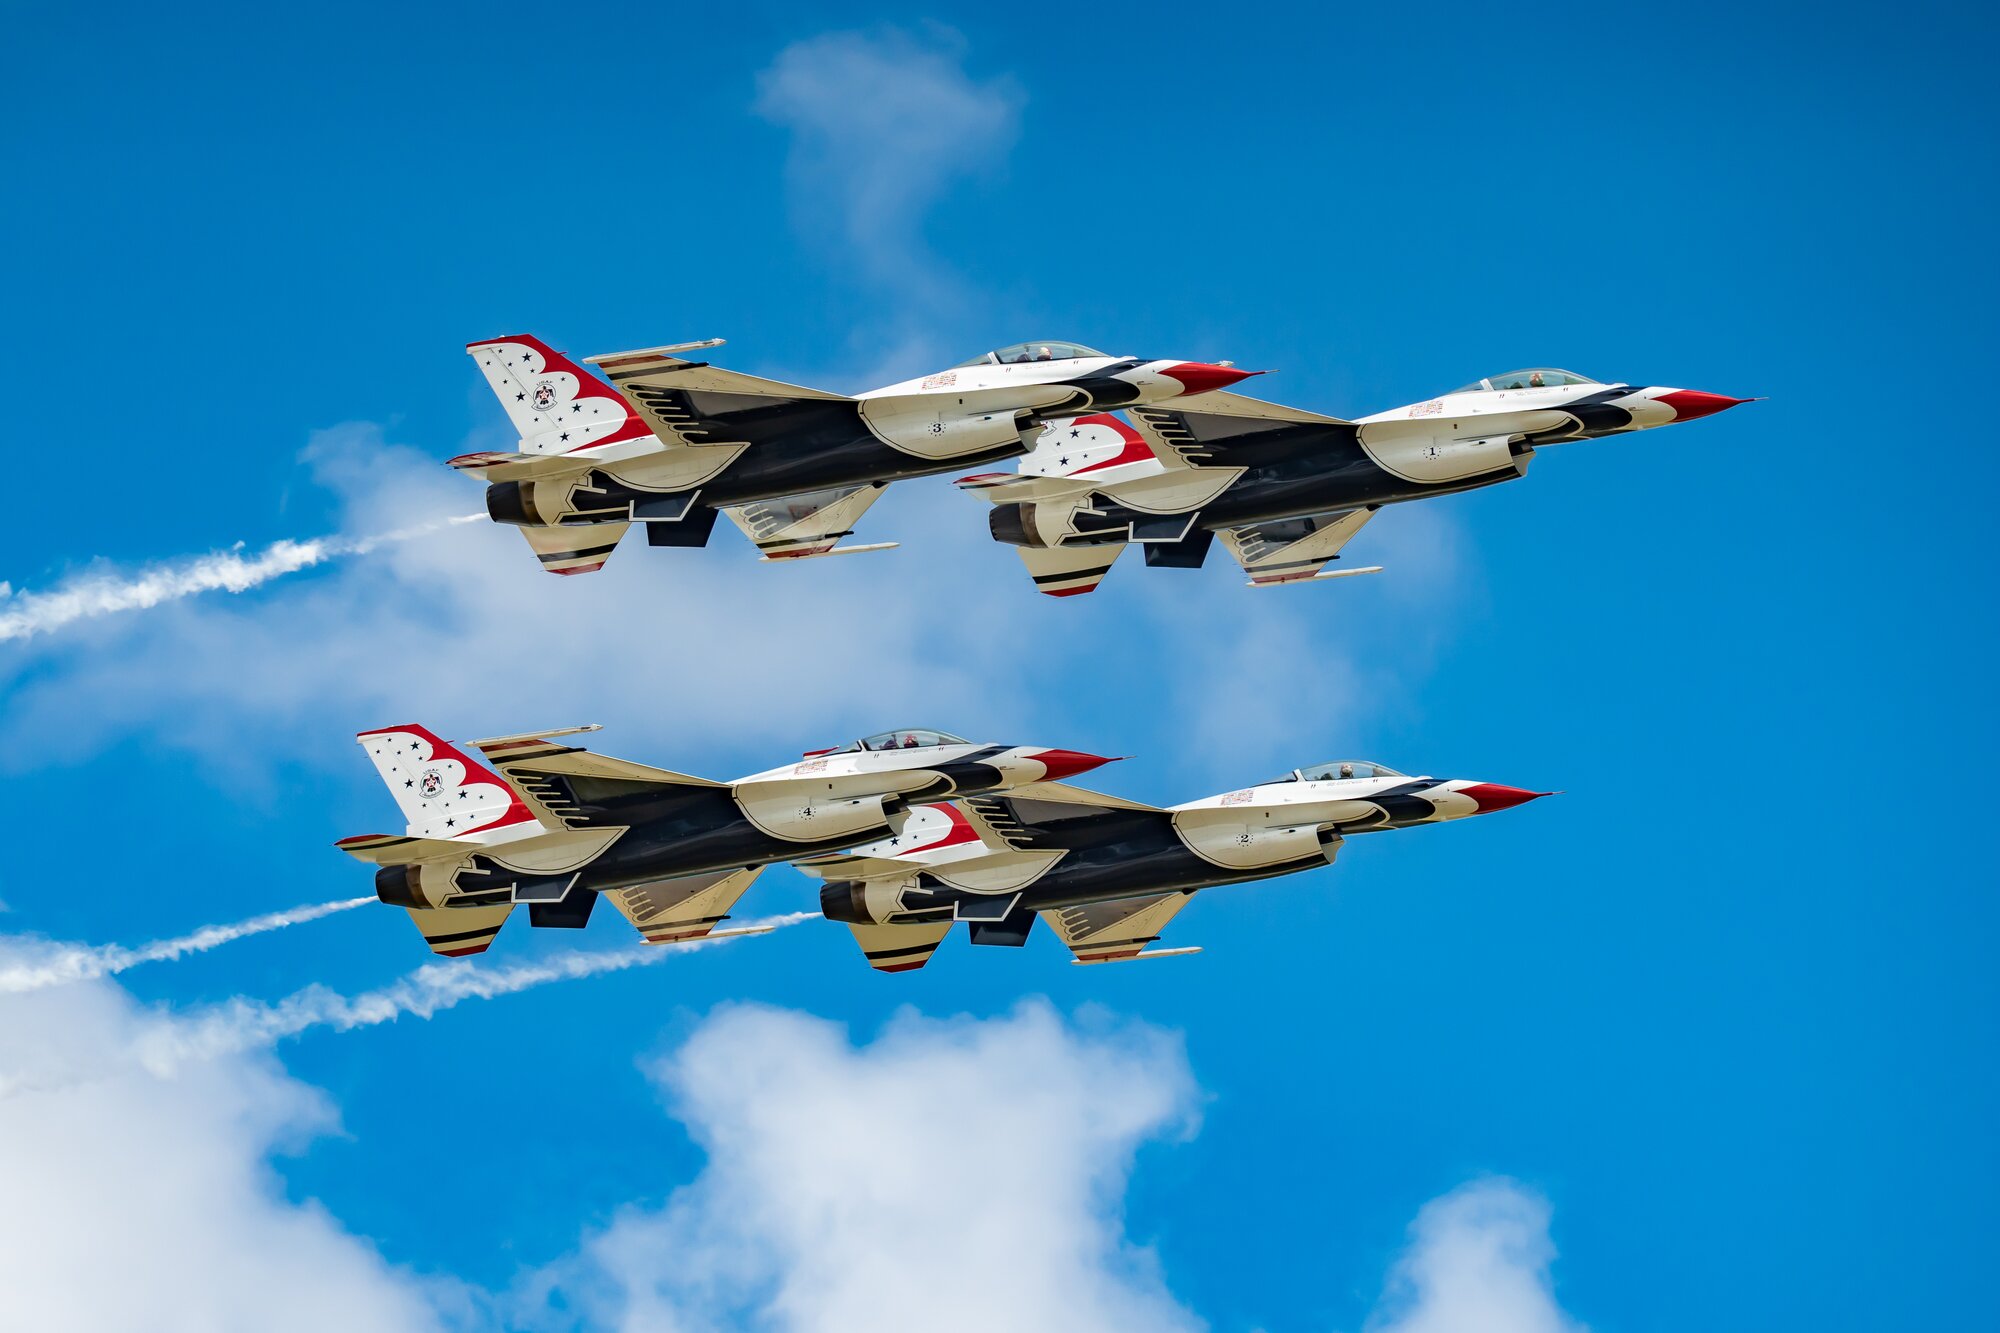
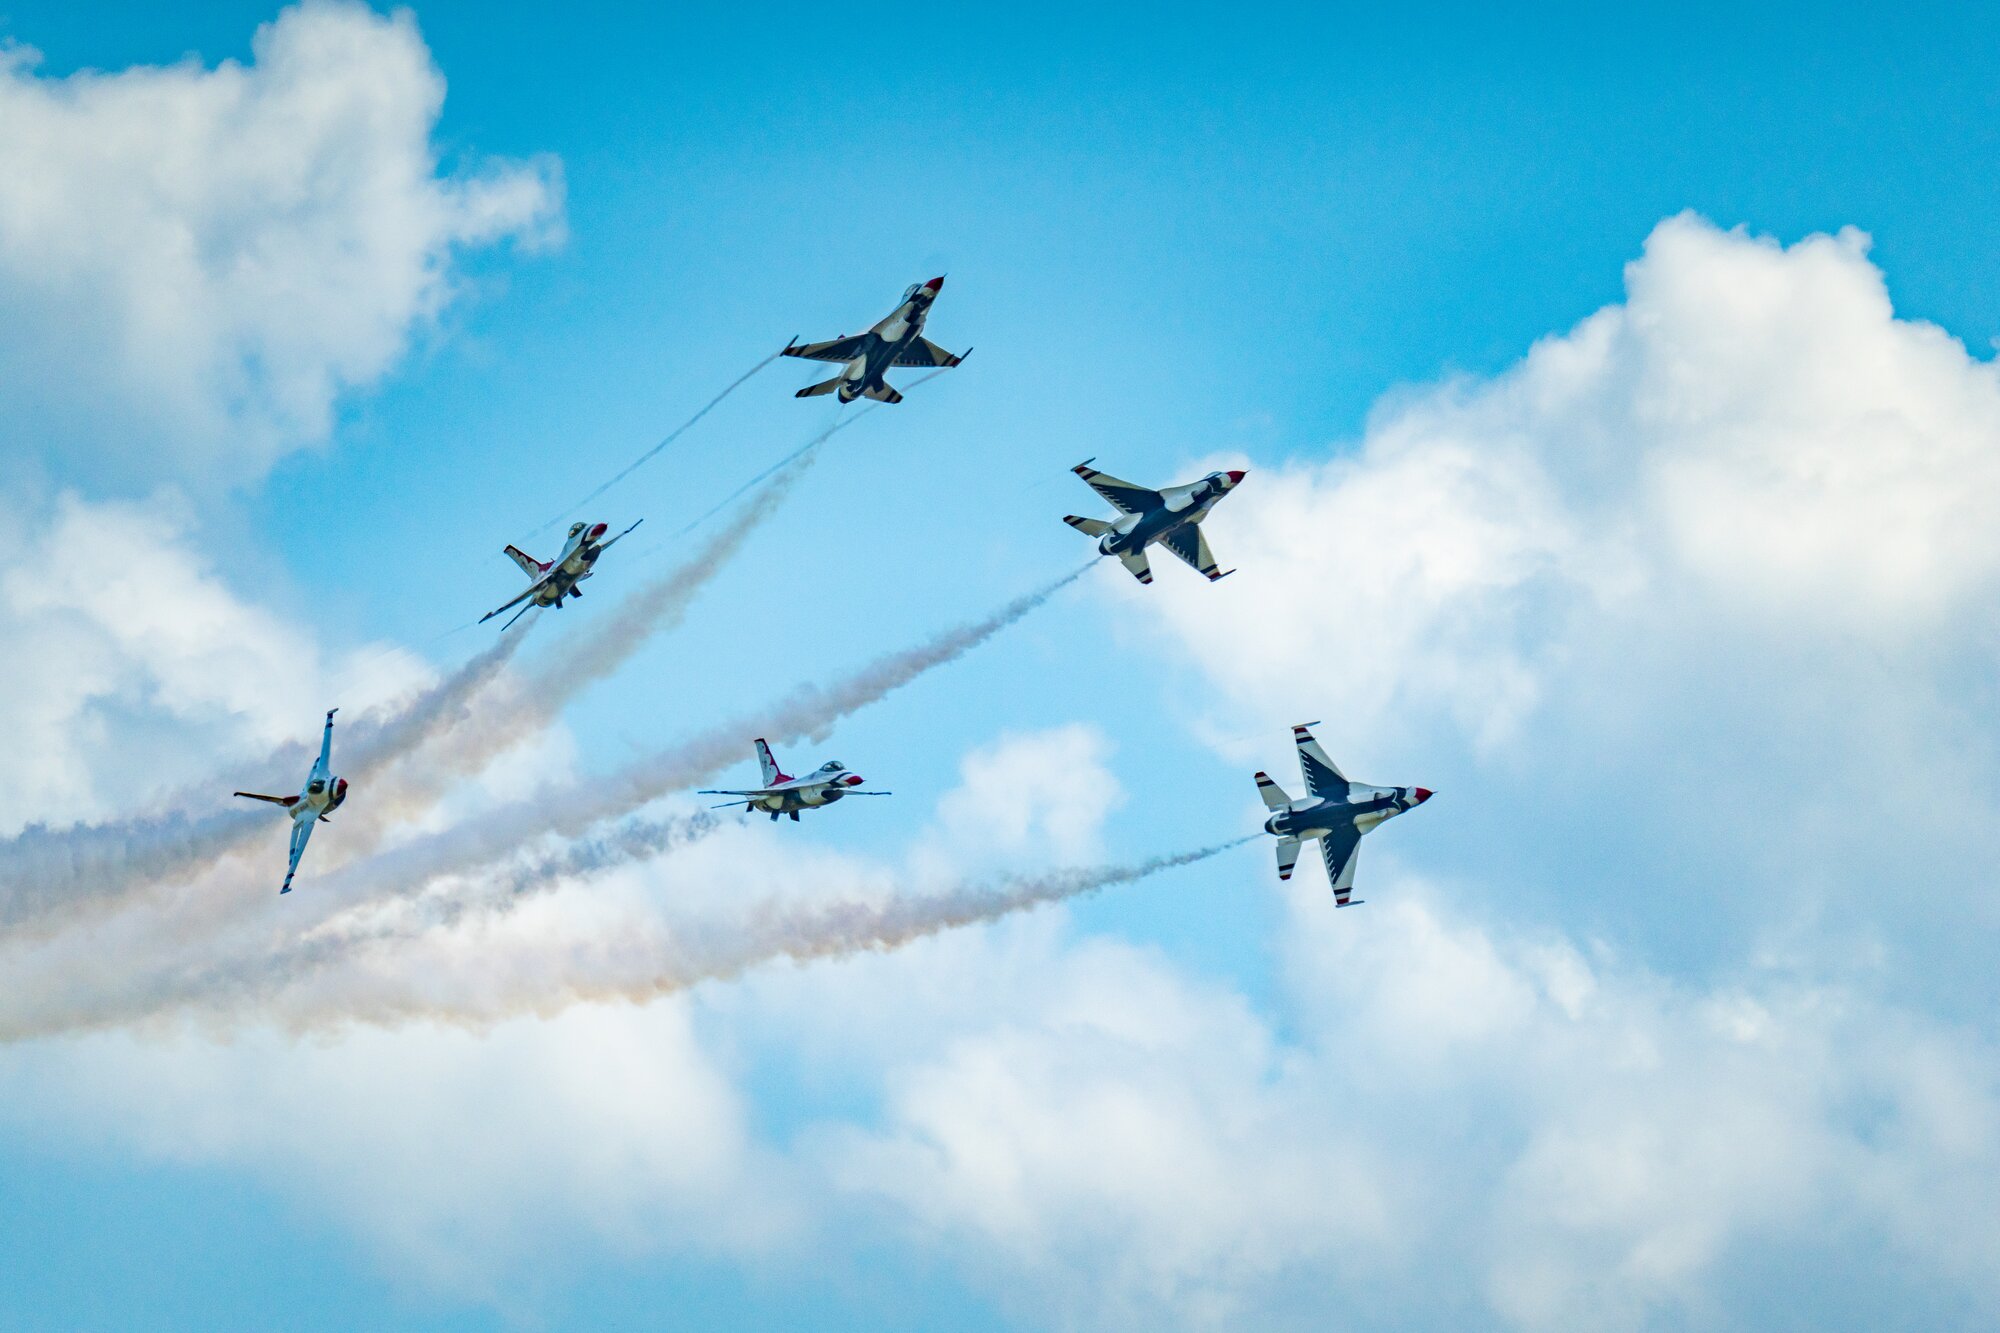
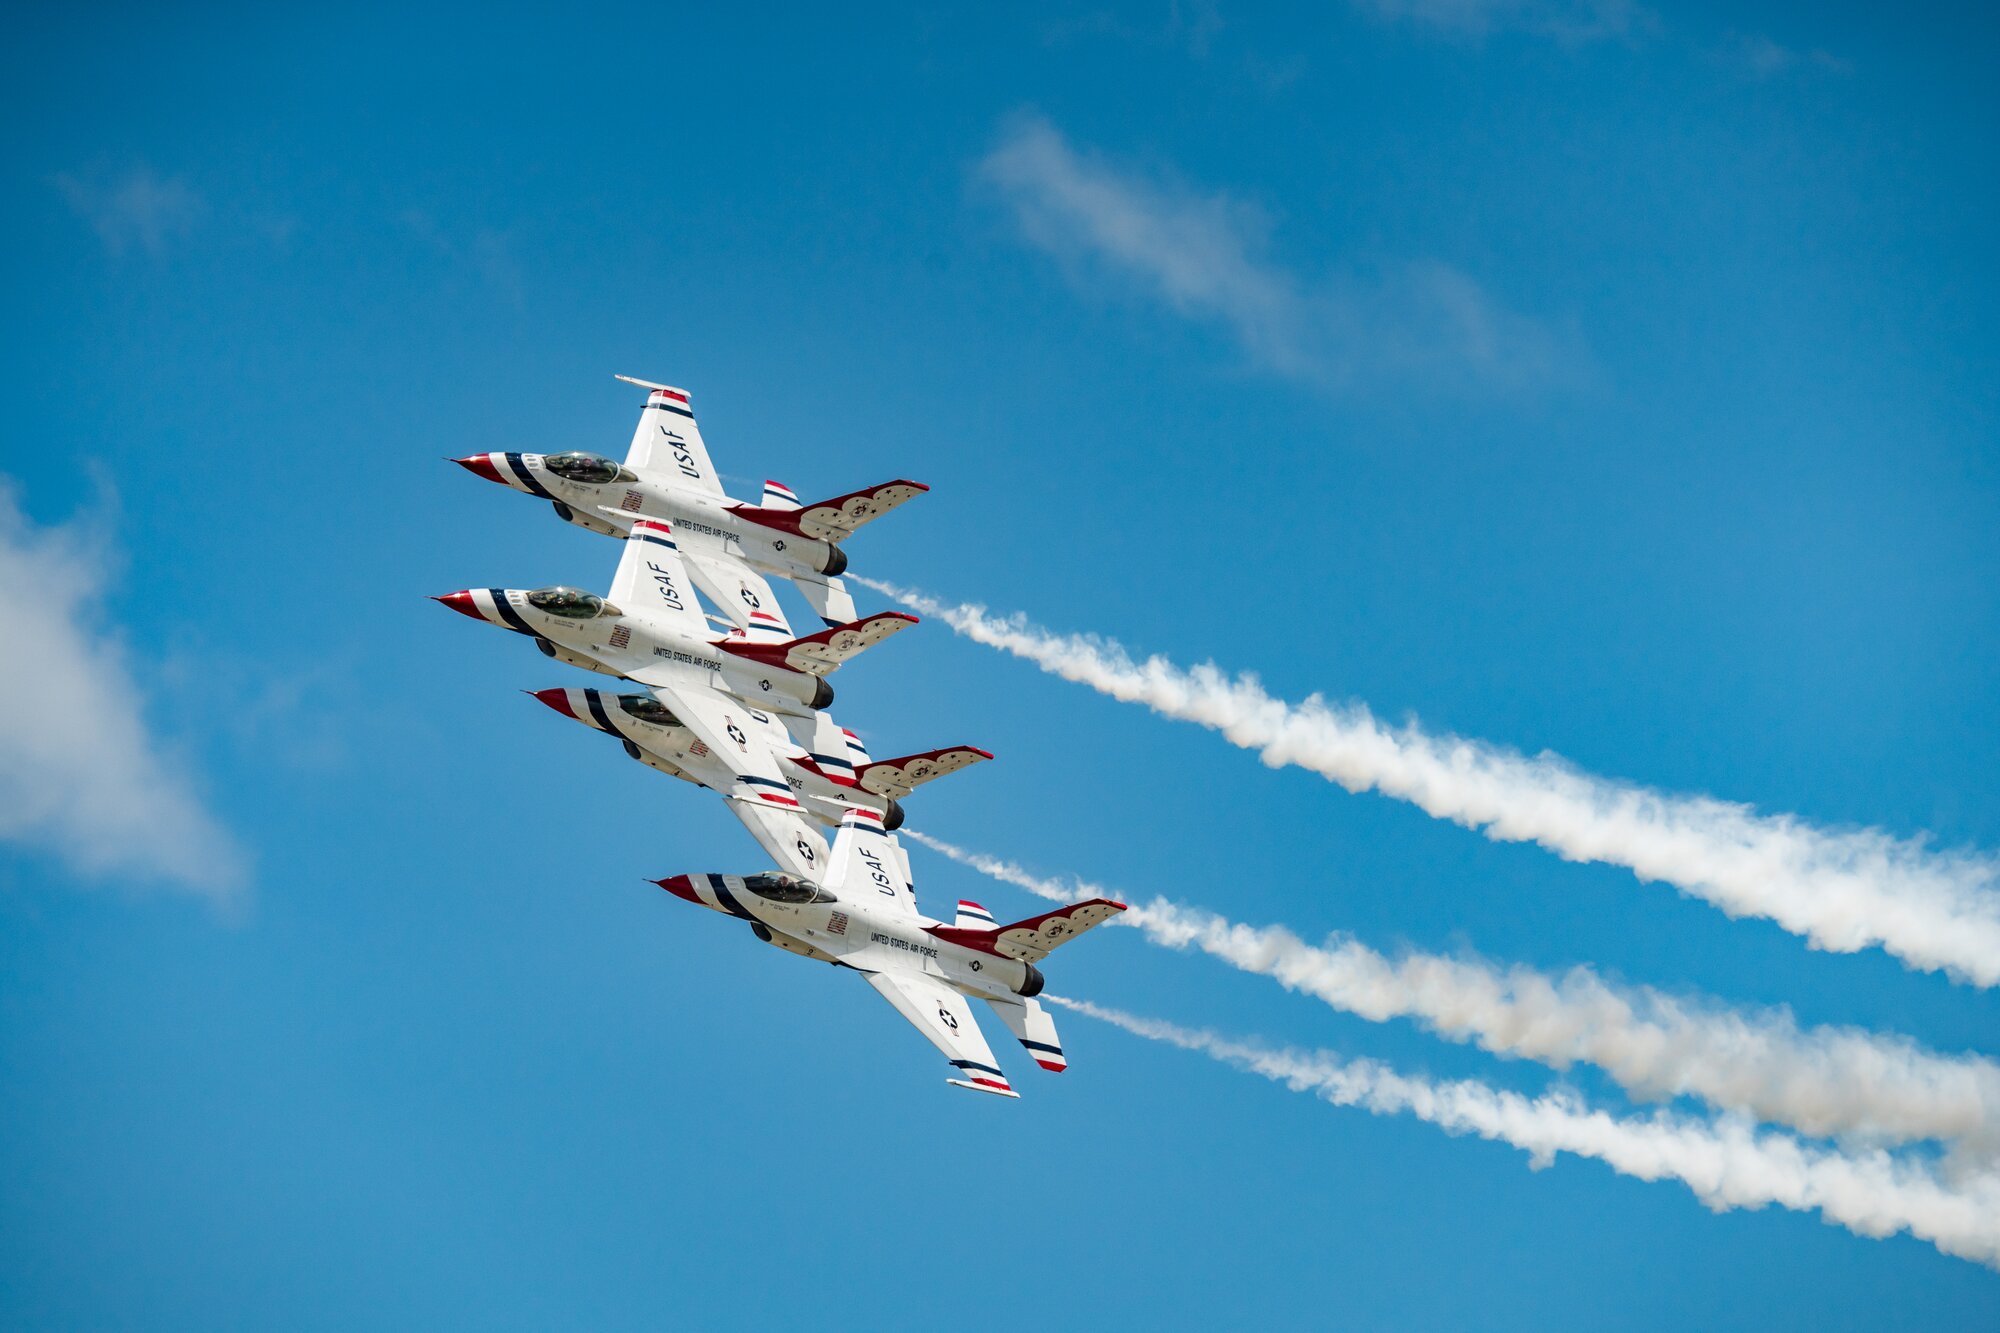
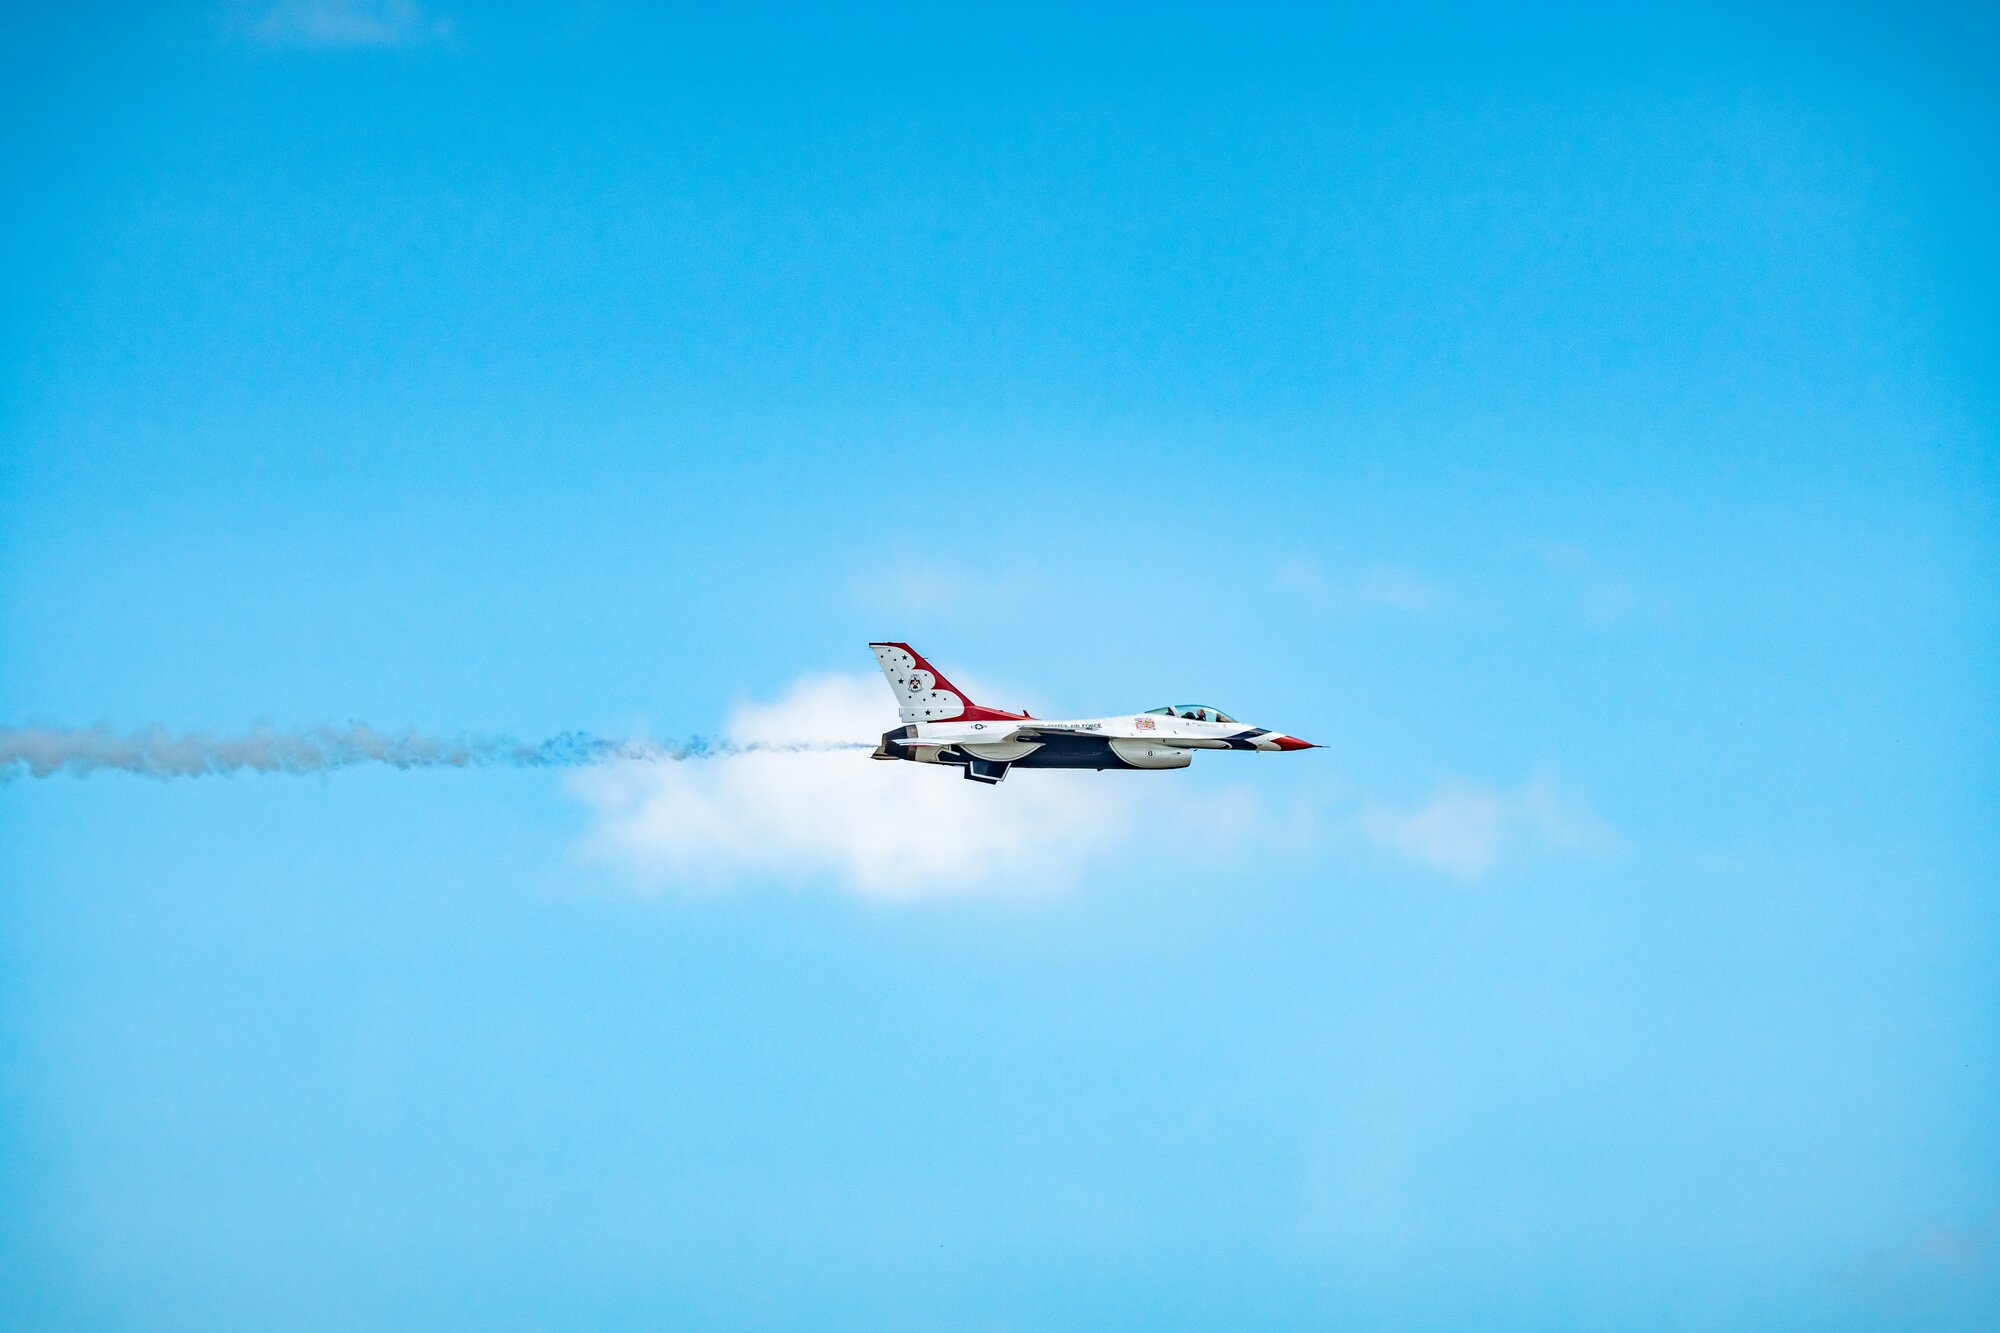
The photos in this guide are air show frames, used as illustrations of fast subjects. The image files do not show the settings used or whether stabilization helped. Fast jets need a fast shutter to freeze, and a slow shutter with a steady camera can still give a blurry subject. For action, start with shutter speed, and treat stabilization as a bonus.
 Save
What shutter speed do you need?
Use this as a starting guide. Always check your images zoomed in, because your own hands and your own subjects will differ.
- Handheld, still subject: a common starting point is 1 over your focal length, using the 35mm-equivalent focal length if your sensor is smaller than full frame. A 100mm lens needs about 1/100. Stabilization may let you go slower, so test at 100 percent zoom.
- Walking or talking people: 1/200 to 1/250.
- Dancing and quick gestures: 1/320 to 1/500.
- Sports and fast action: 1/1000 or faster.
- Deliberate motion blur: slower speeds, with a panning motion or a steady body and a moving subject.
What handheld technique steadies your camera?
- Plant your feet. Stand shoulder width apart with one foot slightly forward.
- Tuck your elbows. Keep them close to your body.
- Support the lens. Cup the lens from below with your left hand.
- Use the viewfinder. Pressing the camera to your face adds a third point of contact.
- Breathe out and squeeze. Press the shutter gently instead of stabbing it.
- Shoot a burst. Take several frames and pick the sharpest.
- Lean on something. A wall, a pillar or a chair back will help.
When should you use a monopod?
A monopod is a favorite at events. It takes the weight of a heavy lens, adds a point of support and still lets you move quickly. It is also easier to get through a crowd than a tripod. Many venues limit tripods but allow monopods, though you should check the rules for each venue.
- Extend it to a height that lets your elbows stay relaxed.
- Lean it slightly forward, and keep your feet apart.
- Do not lock yourself in. You still need to move quickly.
- Look for a quick release and a ball head if you swap between vertical and horizontal.
Do gimbals help at events?
A gimbal keeps the camera level through movement, which is great for video. If you walk through a crowd, follow a procession or record a dance, it smooths the motion a lot. For stills, it is rarely necessary. A gimbal adds weight, setup time and one more thing to carry.
If you shoot both stills and video, think about a gimbal that balances quickly and has a quick release plate. Practice before the event, because balance takes time to learn.
 Save
What camera settings help?
- Check your stabilization settings. Confirm in the menu that it is on if you want it, see which modes your camera and lens offer, including any panning mode, and read the manufacturer’s guidance, for example Canon’s image stabilisation guide and its note on camera and lens stabilization working together.
- Aperture. Open up in dim venues, and stop down a little when you need more depth. See my aperture guide.
- ISO. Raise it as high as you need to keep the shutter speed up. See my ISO guide.
- Autofocus. Use continuous autofocus for moving people, and a small focus area on faces.
- Burst mode. Shoot short bursts for key moments.
- RAW. It gives you room to fix exposure and reduce noise.
For more on low-light work, read my low light photography tips and my night photography guide. To go deeper on motion, read shutter speed and motion.
How does it change for different events?
Weddings
Ceremonies are often quiet and low light, so stabilization and a wide aperture help a lot. Keep a fast shutter for the kiss, the walk and the toast. Check with the officiant about flash and position.
Concerts
Light changes fast, and performers move. Use a fast shutter, a high ISO and continuous autofocus. Stabilization helps with a long lens, but not with a jumping singer.
Conferences
Rooms are dim, but speakers stand mostly still. This is where stabilization can help. Use a moderate shutter speed and watch for hand gestures.
Sports and shows
Prioritize shutter speed. Stabilization on a long lens helps you hold the frame, and panning modes help with side-to-side movement.
 Save
How do you pan with a moving subject?
Panning means following a subject sideways with your camera while you shoot. The subject stays fairly sharp, and the background streaks. It works for runners, cyclists, vehicles and dancers crossing a stage.
- Set a slower shutter speed, such as 1/60 to 1/125, and use continuous autofocus.
- Turn your whole body from the hips, not just your arms.
- Start following the subject before you shoot, and keep following after the shutter closes.
- Switch on a panning stabilization mode if your lens or camera has one, since regular stabilization can fight a deliberate sideways move.
- Shoot many frames. Only a few will be sharp, and that is normal.
How do you handle a dark venue?
Dark rooms are where stabilization is often useful, but the same rules apply. Work through the problem in order.
- Open the aperture. A wider aperture lets in more light and allows a faster shutter.
- Raise the ISO. Accept some grain. A sharp noisy photo is better than a clean blurry one.
- Set the shutter for the subject. Aim for 1/200 for people, and go slower only for still moments.
- Brace yourself. Lean on a wall, rest your elbows on a table or use a monopod.
- Wait for the pause. People stop moving for a moment during a toast or a smile. Shoot then.
- Use available light. Stand near windows, stage lights or candles, and see how the light falls on faces.
How do you test your stabilization?
Do this once, so you know what your gear can do. Pick a still subject, like a sign across a room. Shoot a series of frames at your normal handheld speed, then slower by one stop each time. Zoom in to 100 percent and note where the sharpness starts to drop. That is your real working limit. Repeat with and without stabilization, and with and without a monopod. Write the results in your phone, and use them as your personal rules at the next event.
What about video?
Stabilization matters even more in video, because shake is visible all the time. In-body and electronic stabilization can smooth handheld clips, and a gimbal or a shoulder rig adds more. Walk with bent knees, roll your feet heel to toe and keep your elbows soft. For slow, smooth moves, practice on an empty street before the event.
What is a pre-event stabilization test workflow?
- Read the manuals. Note the stabilization modes for your camera and lens, whether the camera needs a focal length entered for manual lenses, and any advice about tripods and panning.
- Set and record the mode. Write down the mode you will use, and keep the file info so you can check the settings later.
- Test a still subject. At each focal length you plan to use, shoot a series at your handheld speed and then one stop slower each time. Zoom to 100 percent and find where sharpness drops.
- Test a moving subject. Ask a friend to walk or gesture at event pace and find the shutter speed that freezes them.
- Test panning. If you pan, try the panning mode and compare it with the normal mode.
- Test your supports. Repeat with and without a monopod, and check tripod behavior with stabilization on and off.
- Write down your limits. Keep the results in your phone as your own rules for the event.
What is a quick checklist for event day?
- Batteries charged and spares packed.
- Files from earlier shoots backed up before you format any card.
- Stabilization on, and the right mode selected.
- Shutter speed set for the first moment, not the last one.
- Venue rules checked for monopods, tripods and flash.
- Lens clean.
- One quick test shot, zoomed in to check sharpness.
What mistakes should you avoid?
- Relying on stabilization for moving subjects. It cannot freeze them.
- Forgetting to turn it on. Check before the event.
- Using a slow shutter just because you can. Faster is safer for people.
- Ignoring venue rules. Check the rules for tripods, monopods and flash.
- Carrying too much. A heavy bag slows you down and tires your arms.
- Not testing gear. Practice before the day so you know what your equipment does.
- Not zooming in on your photos. Check sharpness at 100 percent during breaks.
How do you practice before the event?
Take your gear to a busy place, like a park or a market, and shoot for an hour. Try a shutter speed that is too slow, then fix it. Use your monopod, then drop it. Compare handheld and supported frames at 100 percent. You will quickly learn your limits, and you will walk into the real event with confidence.
 Save
If you want a consistent look when you edit event photos, you can start with presets from the shop and adjust them for each venue.
Camera stabilization FAQ
Is image stabilization worth it for event photography?
It can be, especially in dim venues and with longer lenses. It can let you use slower shutter speeds with less camera shake. It does not freeze a moving subject, so you still need a fast enough shutter for people who move.
What is the difference between IBIS and lens stabilization?
IBIS moves the sensor inside the camera body and can work with a range of lenses, though it may need focal length information from a compatible lens or entered by hand. Lens stabilization moves an element inside the lens. Some camera and lens pairs coordinate, and the details depend on the models, so check your manuals.
Should I use a monopod at events?
A monopod is a good choice when you carry a heavy lens for a long time. It takes the weight off your arms and steadies the frame, and it takes up much less space than a tripod. Check the venue’s rules first.
Do I need a gimbal for event photography?
For stills, usually not. Gimbals are mostly for video and smooth walking shots. If you shoot video at events, a gimbal can make a difference.
What shutter speed should I use?
A common starting point is 1 over your focal length (35mm-equivalent), tested at 100 percent zoom. For moving people, go faster, often 1/250 or higher. For fast action, 1/1000 or higher.
Should stabilization be on or off on a tripod?
It depends on the camera and lens. Many modern systems handle a tripod well, while some older lenses can add blur. Check your manual and test your gear.
How can I steady a shot without extra gear?
Plant your feet, tuck your elbows in, breathe out slowly and squeeze the shutter. Lean on a wall or a post if you can. Shoot a short burst and pick the sharpest frame.
What ISO is okay for indoor events?
Use the ISO the light needs. A sharp, slightly grainy photo beats a clean, blurry one. Modern cameras handle high ISO well, and you can reduce noise in editing.
How do you keep improving?
After each event, look at your sharpest and softest frames side by side. Check the shutter speed, the focal length and how you held the camera. Notice the patterns, such as blur on long lenses at slow speeds or on people who were walking. Write down one thing to change next time. Small adjustments, repeated over many events, are what make your results steady and reliable.
Steady camera, fast shutter
Use stabilization to fight your own shake and use shutter speed to fight your subject’s motion. Add a monopod when you carry a heavy lens, test your gear before the day and check your sharpness often. Do those things, and your event photos will look cleaner and more confident.

