~15 min read · Updated November 2026
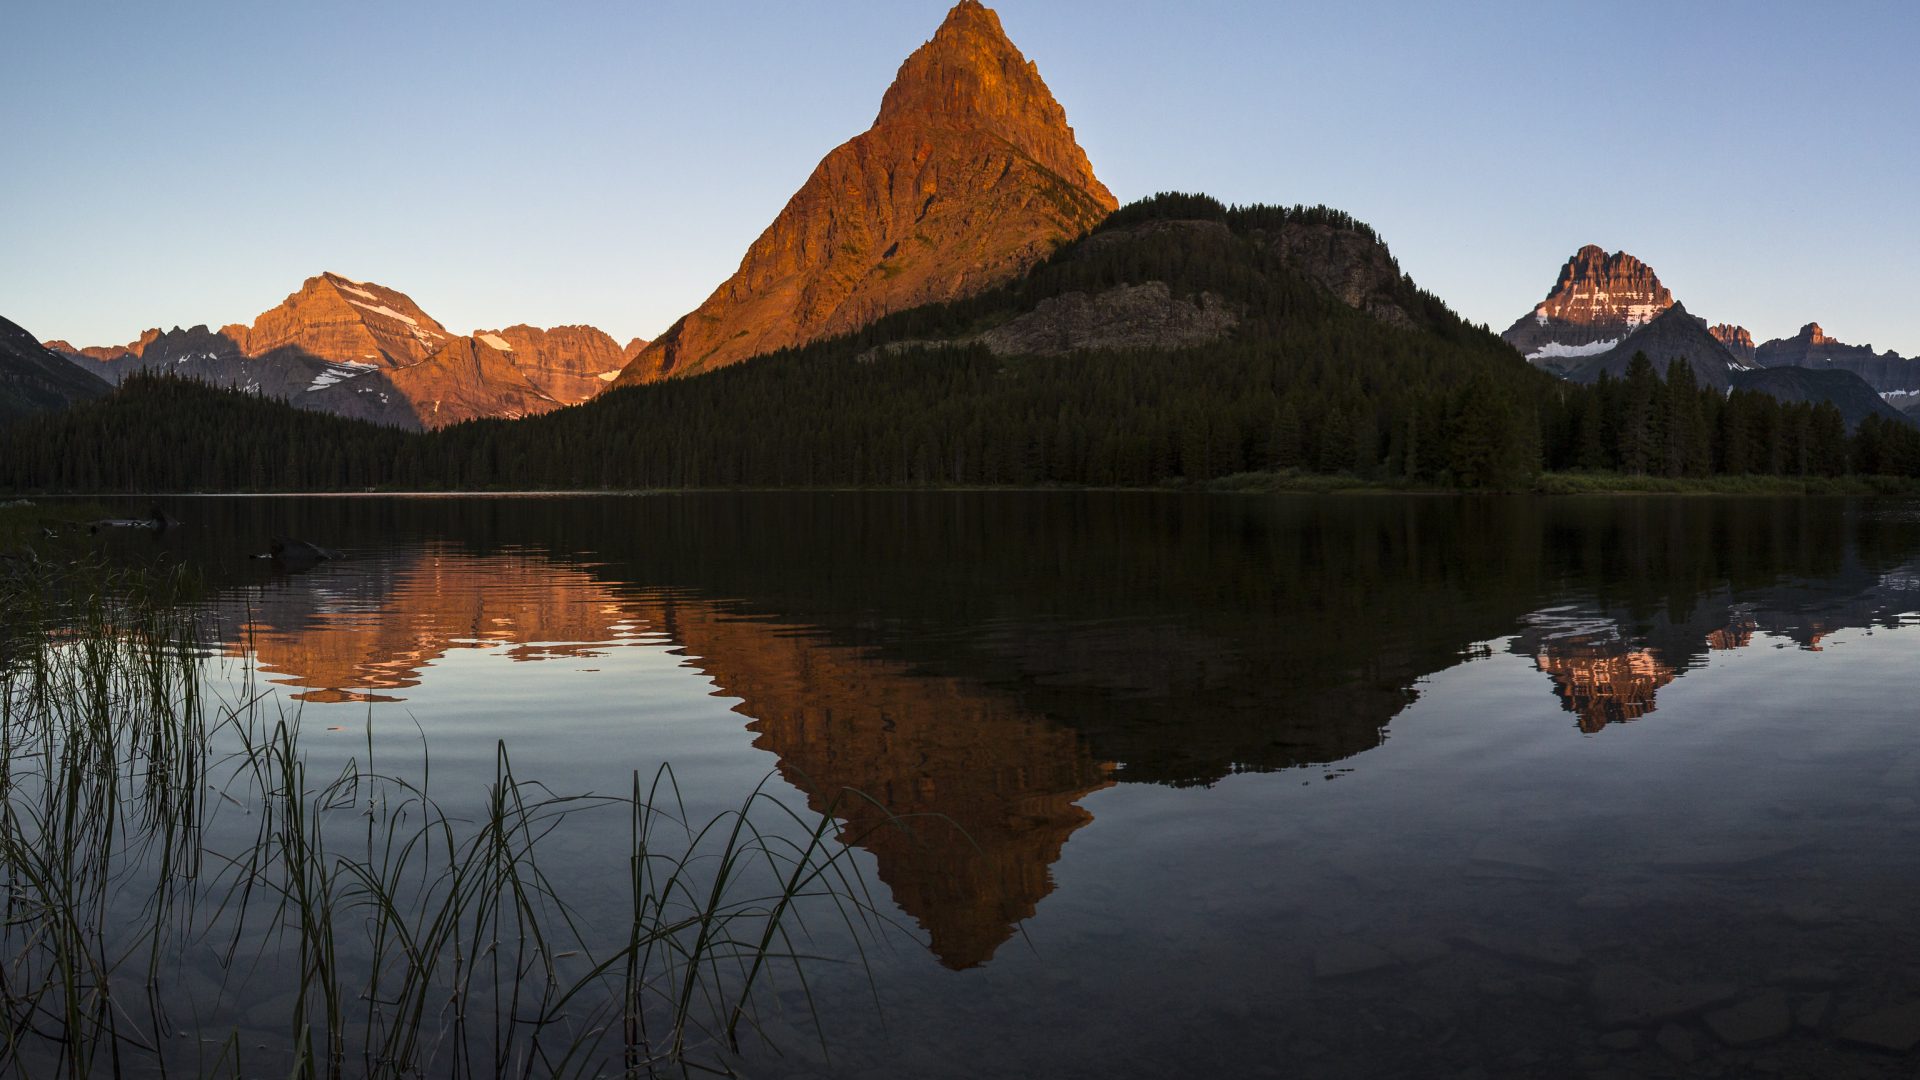
Glacier National Park is one of the most photogenic destinations for serious travel photographers. This field guide covers 5 GPS-tagged photography spots, camera settings optimized for each location, gear recommendations, and the logistics photographers actually need: roads, shuttles, timing, permits, and seasonal light conditions. Whether you have a long weekend or a one-day stop on a longer Montana trip, use this guide to come home with portfolio-quality frames.
 Save
Why Glacier National Park rewards photographers
Glacier National Park packs more classic mountain photography into one road corridor than almost anywhere in North America: turquoise lakes fed by glacial flour, hanging valleys, ribbon waterfalls, and peaks that catch alpenglow long after the valleys go dark. Going-to-the-Sun Road strings many of the best vantage points together, and the Many Glacier and Two Medicine valleys add two more concentrated shooting grounds. The 5 spots in this guide represent the highest-yield locations, places where composition, light, and accessibility converge into frames worth keeping.
The photographers who produce the best work here arrive with a specific shot list (use the table below), plan around sunrise and the last light on the peaks, and give the weather room to work. Mountain light changes by the minute in Glacier; the frame that looks flat at noon can be extraordinary at 6 am.
For Glacier National Park, the editing approach that works is one that respects the park’s natural color palette. The glacial lakes really are that turquoise; resist pushing saturation past what the water already gives you. Shoot RAW so you have the dynamic range to hold bright skies against dark forest and rock at golden hour.
5 photography spots with GPS coordinates
The table below lists all 5 spots with GPS coordinates, recommended focal length, and a brief composition note. Pin these on Google Maps or import them into Gaia GPS before you leave home; cell coverage is thin to nonexistent in much of the park.
| Vantage Point | GPS | Why Shoot Here | Focal Length |
|---|---|---|---|
| 1. Lake McDonald (Apgar) | 48.61736, |
The park’s biggest lake; colored stones and alpenglow on the Livingston Range. | 24–70mm |
| 2. Logan Pass | 48.69531, |
The crown of Going-to-the-Sun Road; wildflower meadows, goats, and Clements Mountain. | 24–70mm |
| 3. Hidden Lake Overlook | 48.68725, |
The classic hanging lake below Bearhat Mountain; boardwalk trail from Logan Pass. | 24–70mm |
| 4. Wild Goose Island Overlook | 48.69222, |
The park’s most famous view: a tiny island in St. Mary Lake under layered peaks. | 14–24mm |
| 5. Swiftcurrent Lake | 48.79559, |
Many Glacier’s front yard; sunrise alpenglow on Grinnell Point and Mount Wilbur. | 16–35mm |
Detailed vantage point guide for Glacier National Park
Each vantage point below includes the exact access, the best timing, and the specific shot to work toward. Read this section before you arrive so you can solve problems before you are standing in fading light with the wrong lens mounted. Pins marked “arrival” are the parking area or trailhead; pins marked “photo location” mark the photographed landmark itself, with the trailhead given in the access notes.
1. Lake McDonald (Apgar)
 Save
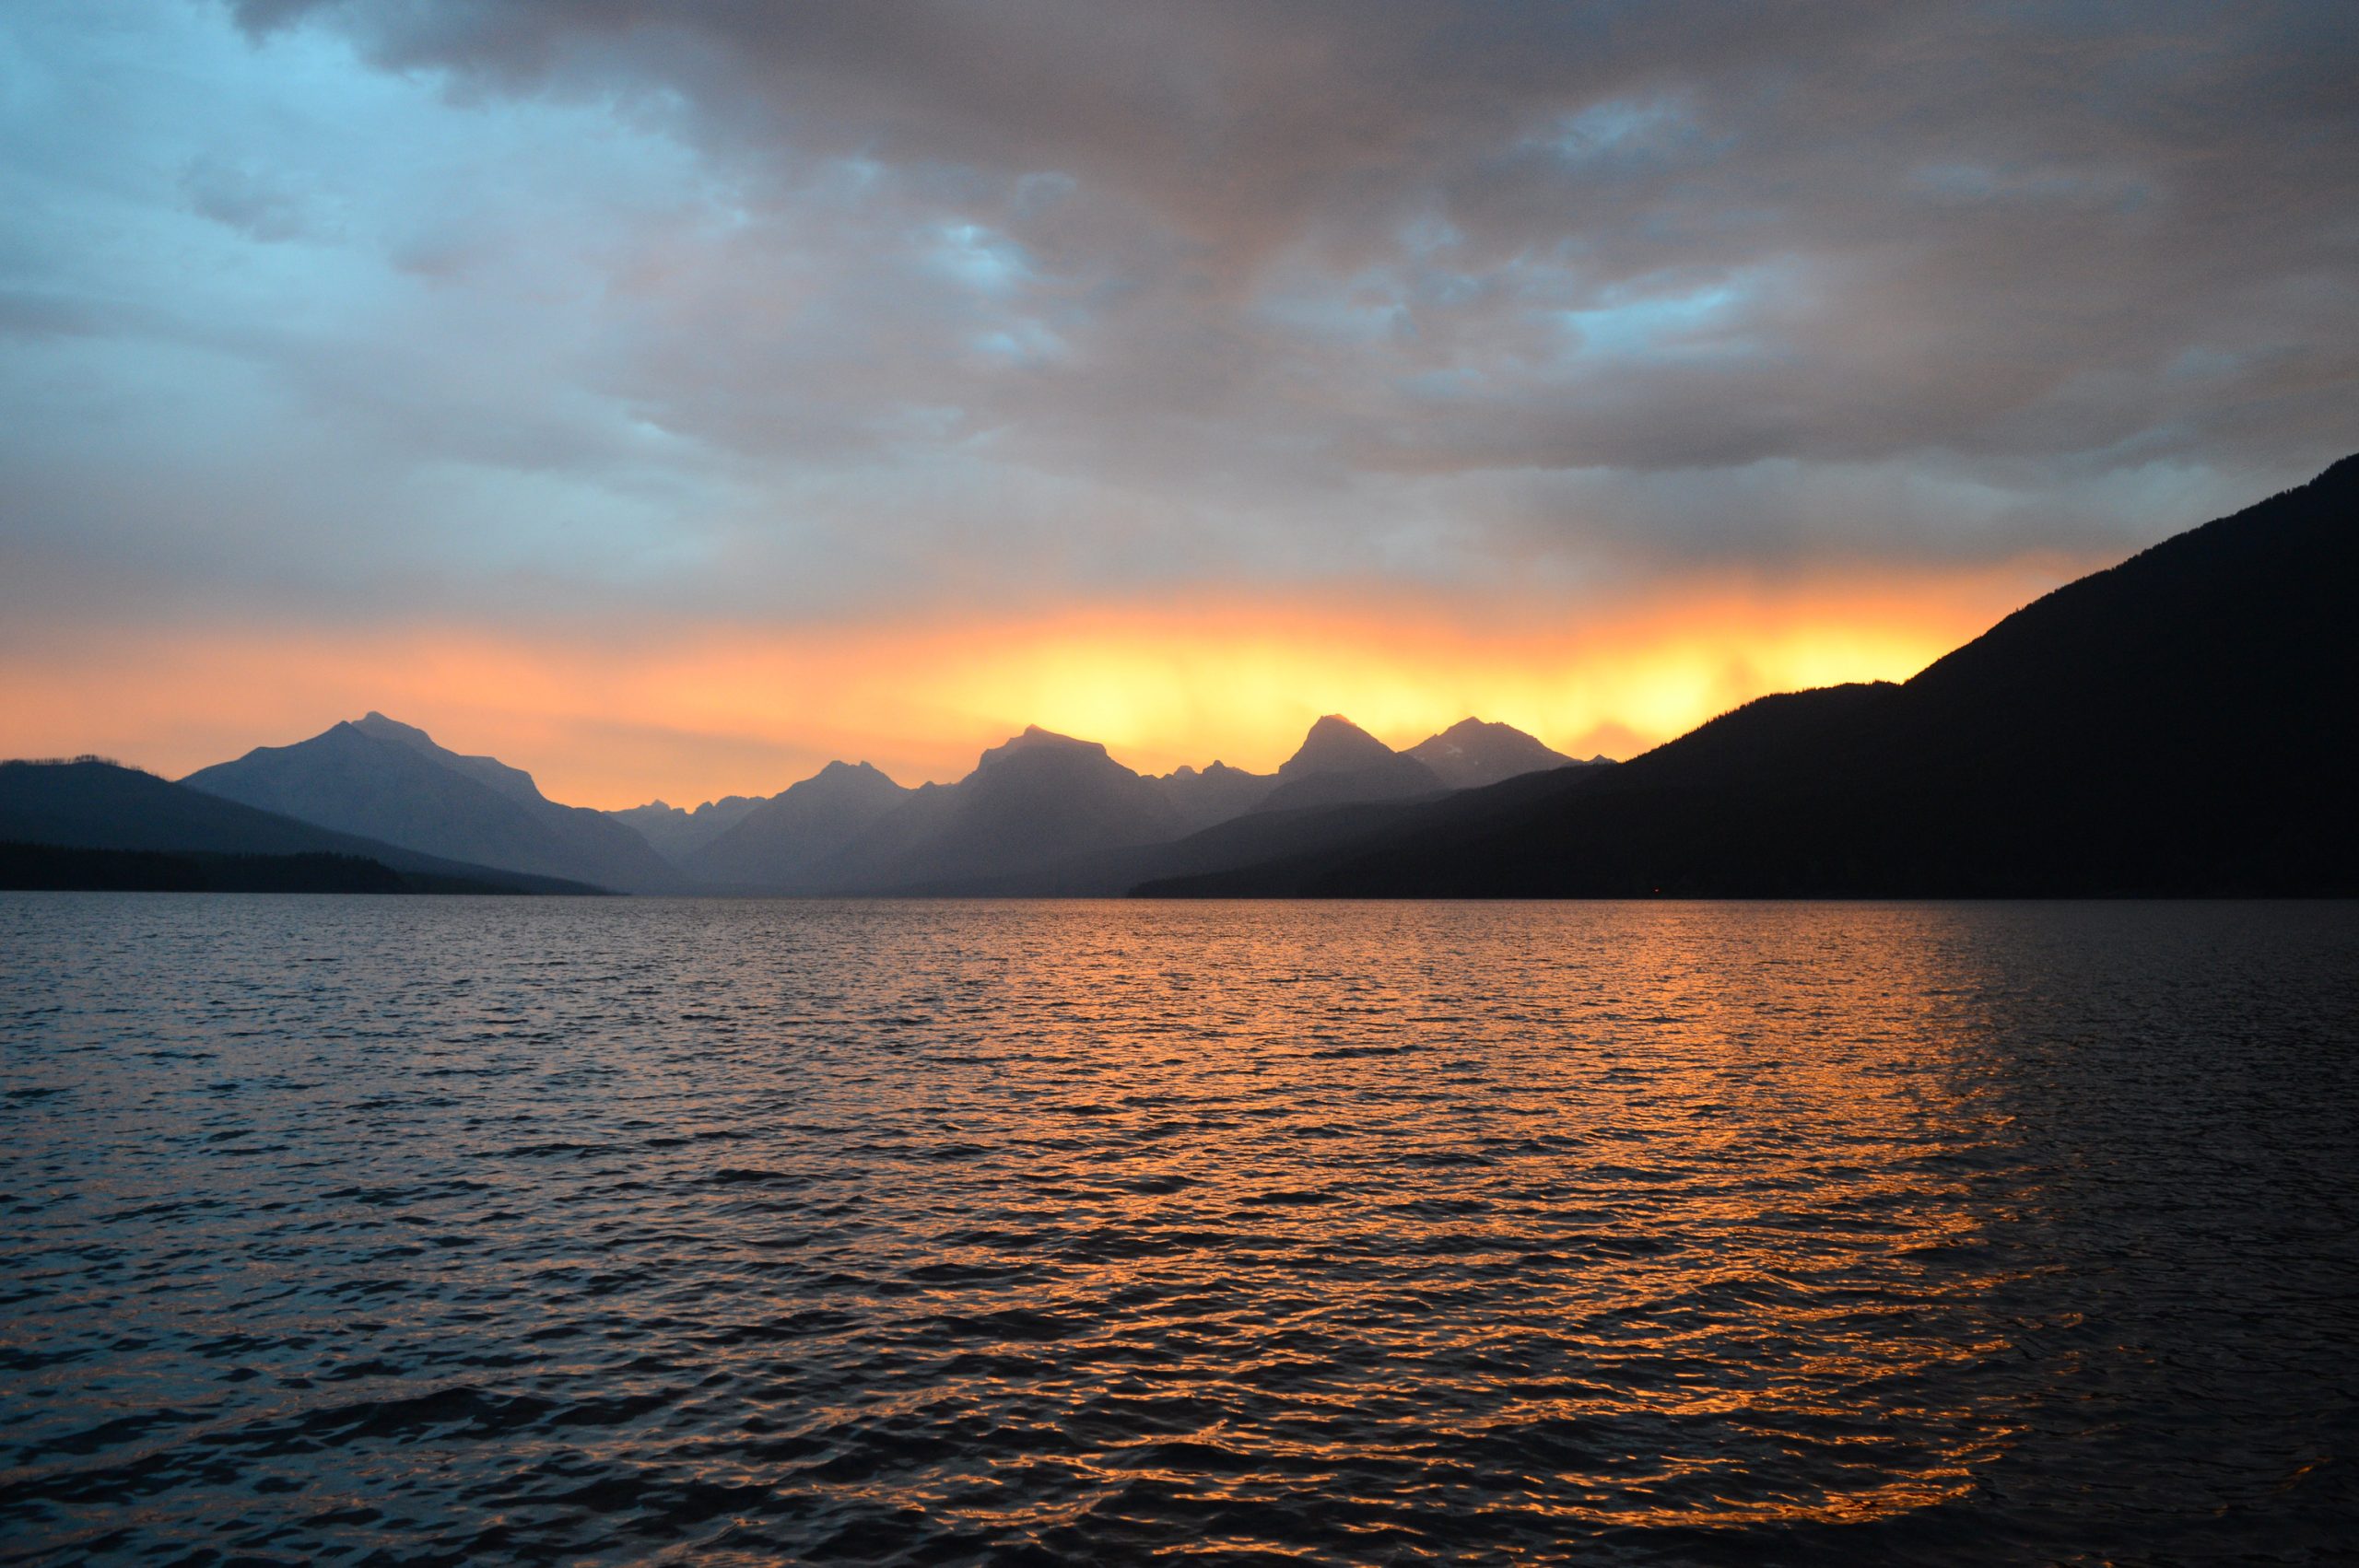
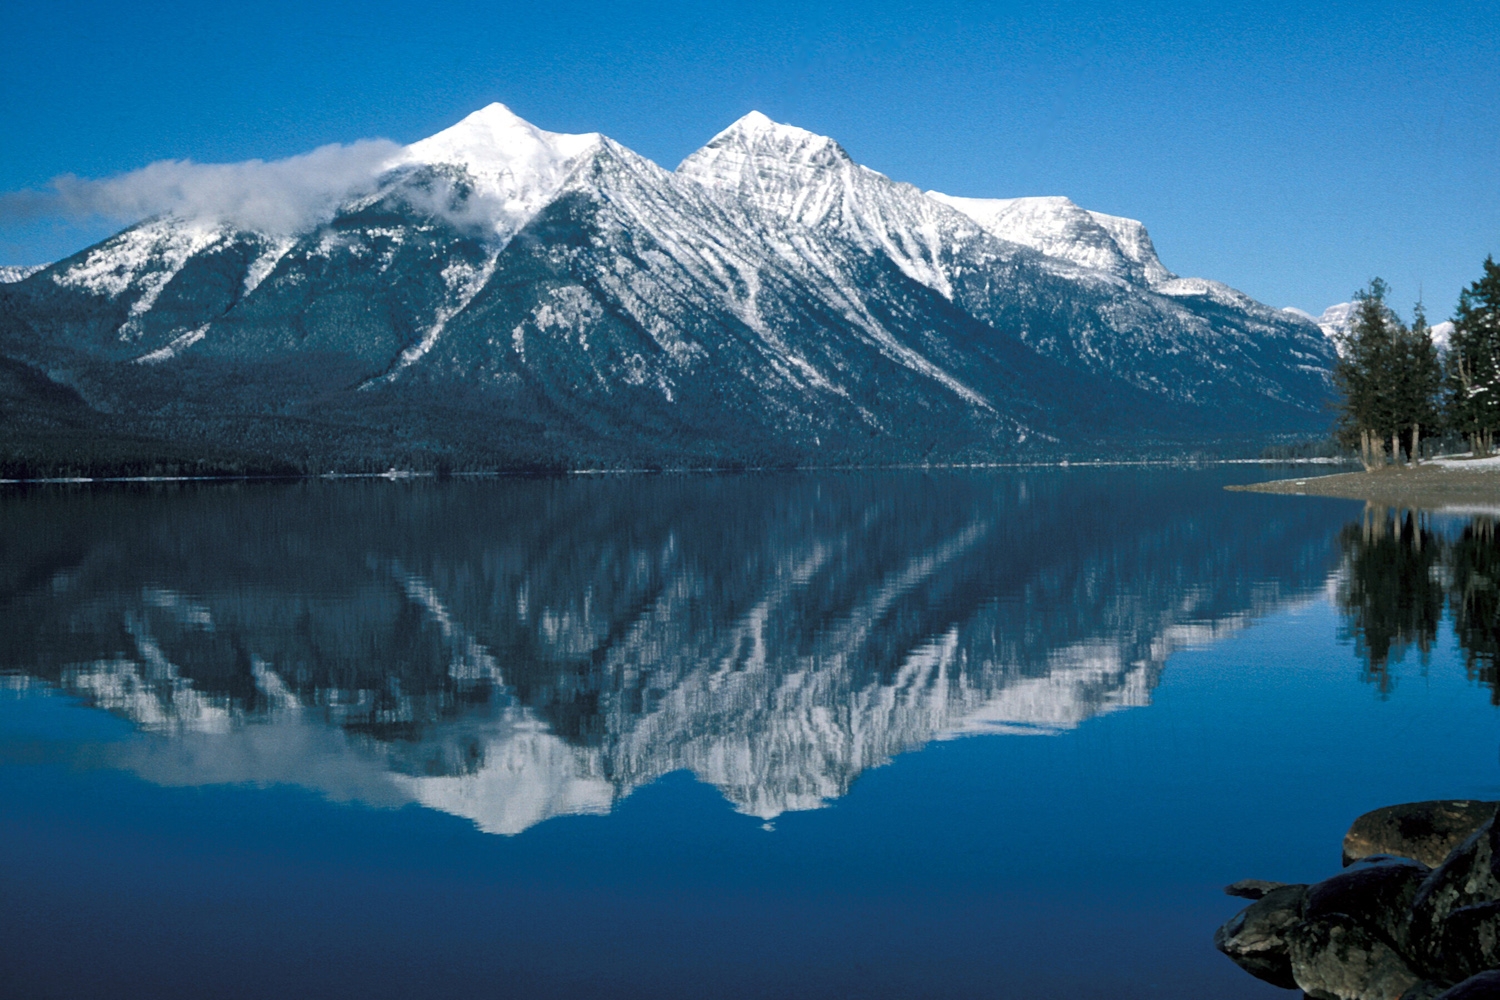
GPS: 48.61736, (arrival pin: Apgar Village shore) · Address: Apgar Village, west end of Going-to-the-Sun Road · Focal Length: 24–70mm
Access: Flat shoreline walking right from the Apgar Village parking area, no trail needed. Park entrance pass required (7-day vehicle, $35, $25 in winter November 1 to April 30; per the NPS, non-US residents 16 and over must pay an additional $100 per person fee unless admitted with an Annual or America the Beautiful Pass; the park is cashless).
Timing: Sunrise, when the lake goes still and the first light slides down the Livingston Range across the water. Evening works too, with warm light on the peaks behind you. Colored stones in the shallows make a natural foreground year-round.
The shot: The classic frame is low at the waterline on the Apgar shore: colored stones in the foreground, glassy water, and the Livingston Range stacked behind. Start at f/11, ISO 100 on a tripod; a polarizer manages glare but back it off if you want to keep the reflection.
2. Logan Pass
 Save
GPS: 48.69531, (arrival pin: Logan Pass Visitor Center) · Address: Logan Pass, Going-to-the-Sun Road, 32 miles from the West Entrance · Focal Length: 24–70mm
Access: Drive-up pass at 6,646 feet on the Continental Divide. The alpine section of Going-to-the-Sun Road is seasonal, typically fully open from late June or early July into mid-October; check current NPS road status. In 2026 no vehicle reservations are required anywhere in the park, but parking at Logan Pass is limited to three hours from July 1, and the ticketed Logan Pass shuttle (see Getting around) is the stress-free option. Park entrance pass required (7-day vehicle, $35, $25 in winter November 1 to April 30; per the NPS, non-US residents 16 and over must pay an additional $100 per person fee unless admitted with an Annual or America the Beautiful Pass; the park is cashless).
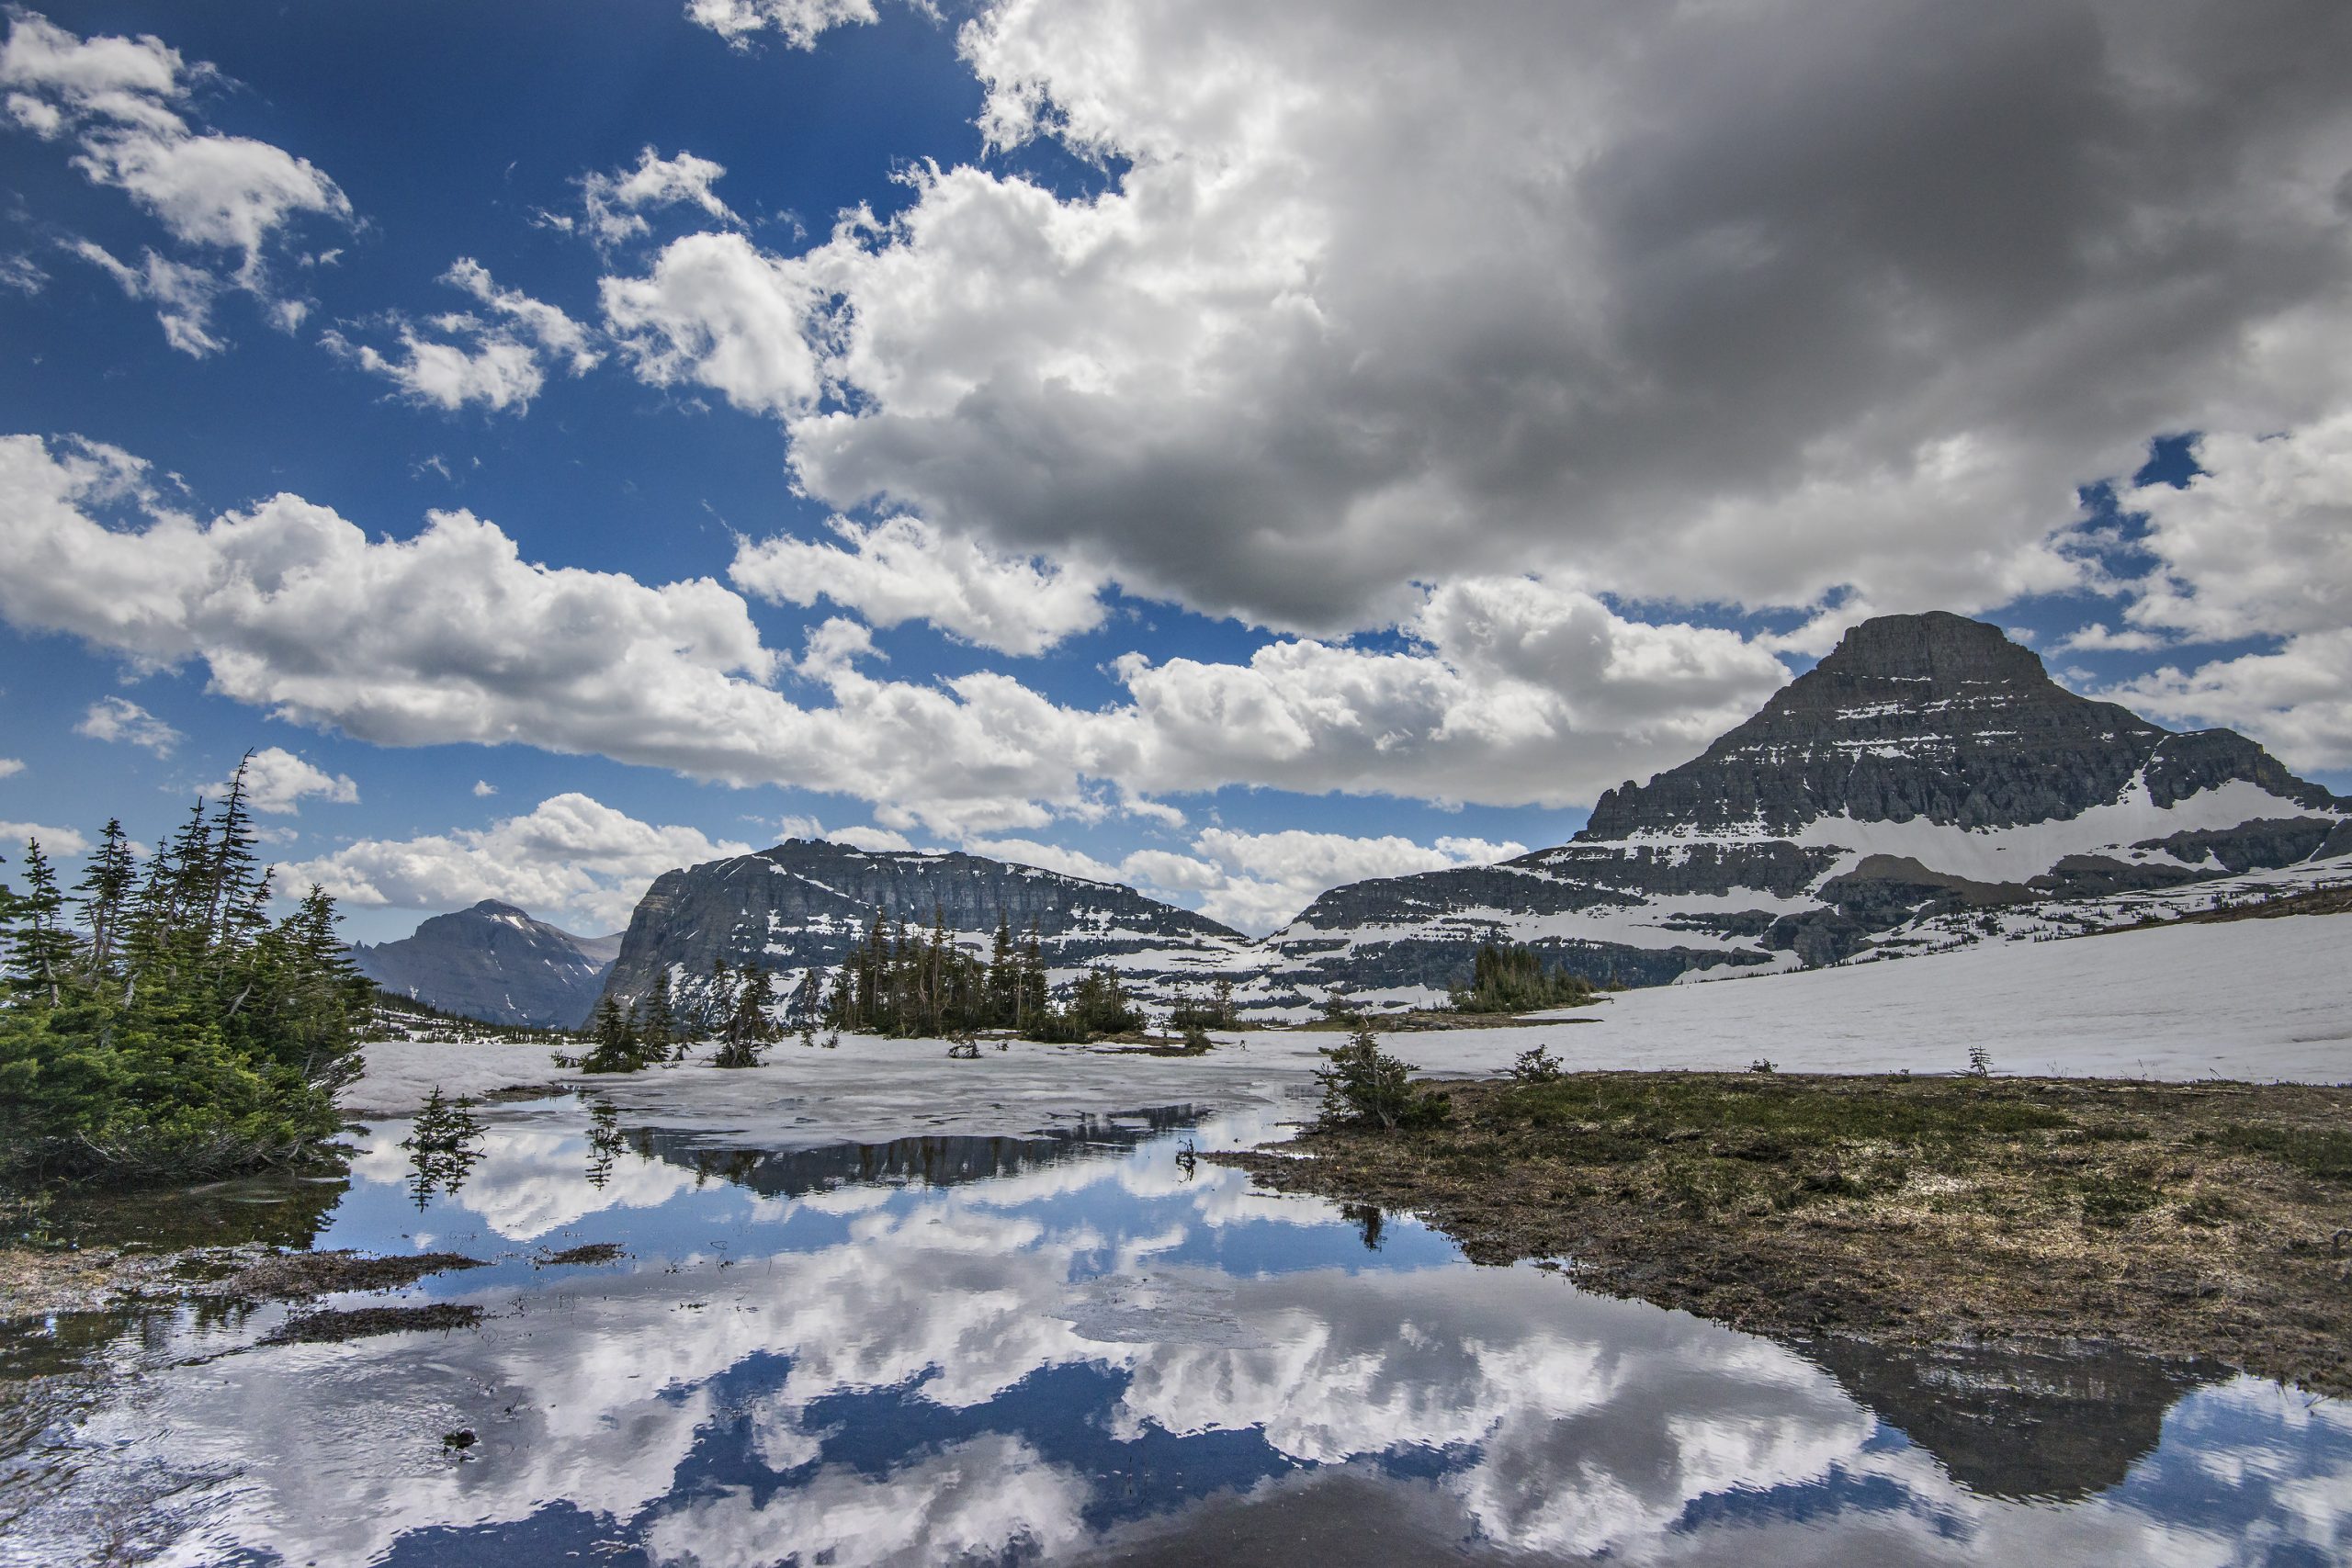
Timing: Melt ponds mirror the peaks early in the season while the meadows bloom in July; mountain goats work the edges of the meadows. Morning and evening give the warm side light; midday flattens the meadows fast. Stay on the trails and boardwalks: the Logan Pass area is closed to all off-trail travel.
The shot: The reflection frame: still melt ponds with Clements Mountain behind, wildflowers filling the foreground. Start at f/11, ISO 100 on a tripod; where the Hidden Lake boardwalk passes the melt ponds, a low camera right at the boardwalk edge doubles the peak, and a polarizer deepens the sky between the clouds. Keep feet and tripod on the boards and trail: the Logan Pass meadows and pond edges are closed to all off-trail travel.
3. Hidden Lake Overlook
 Save
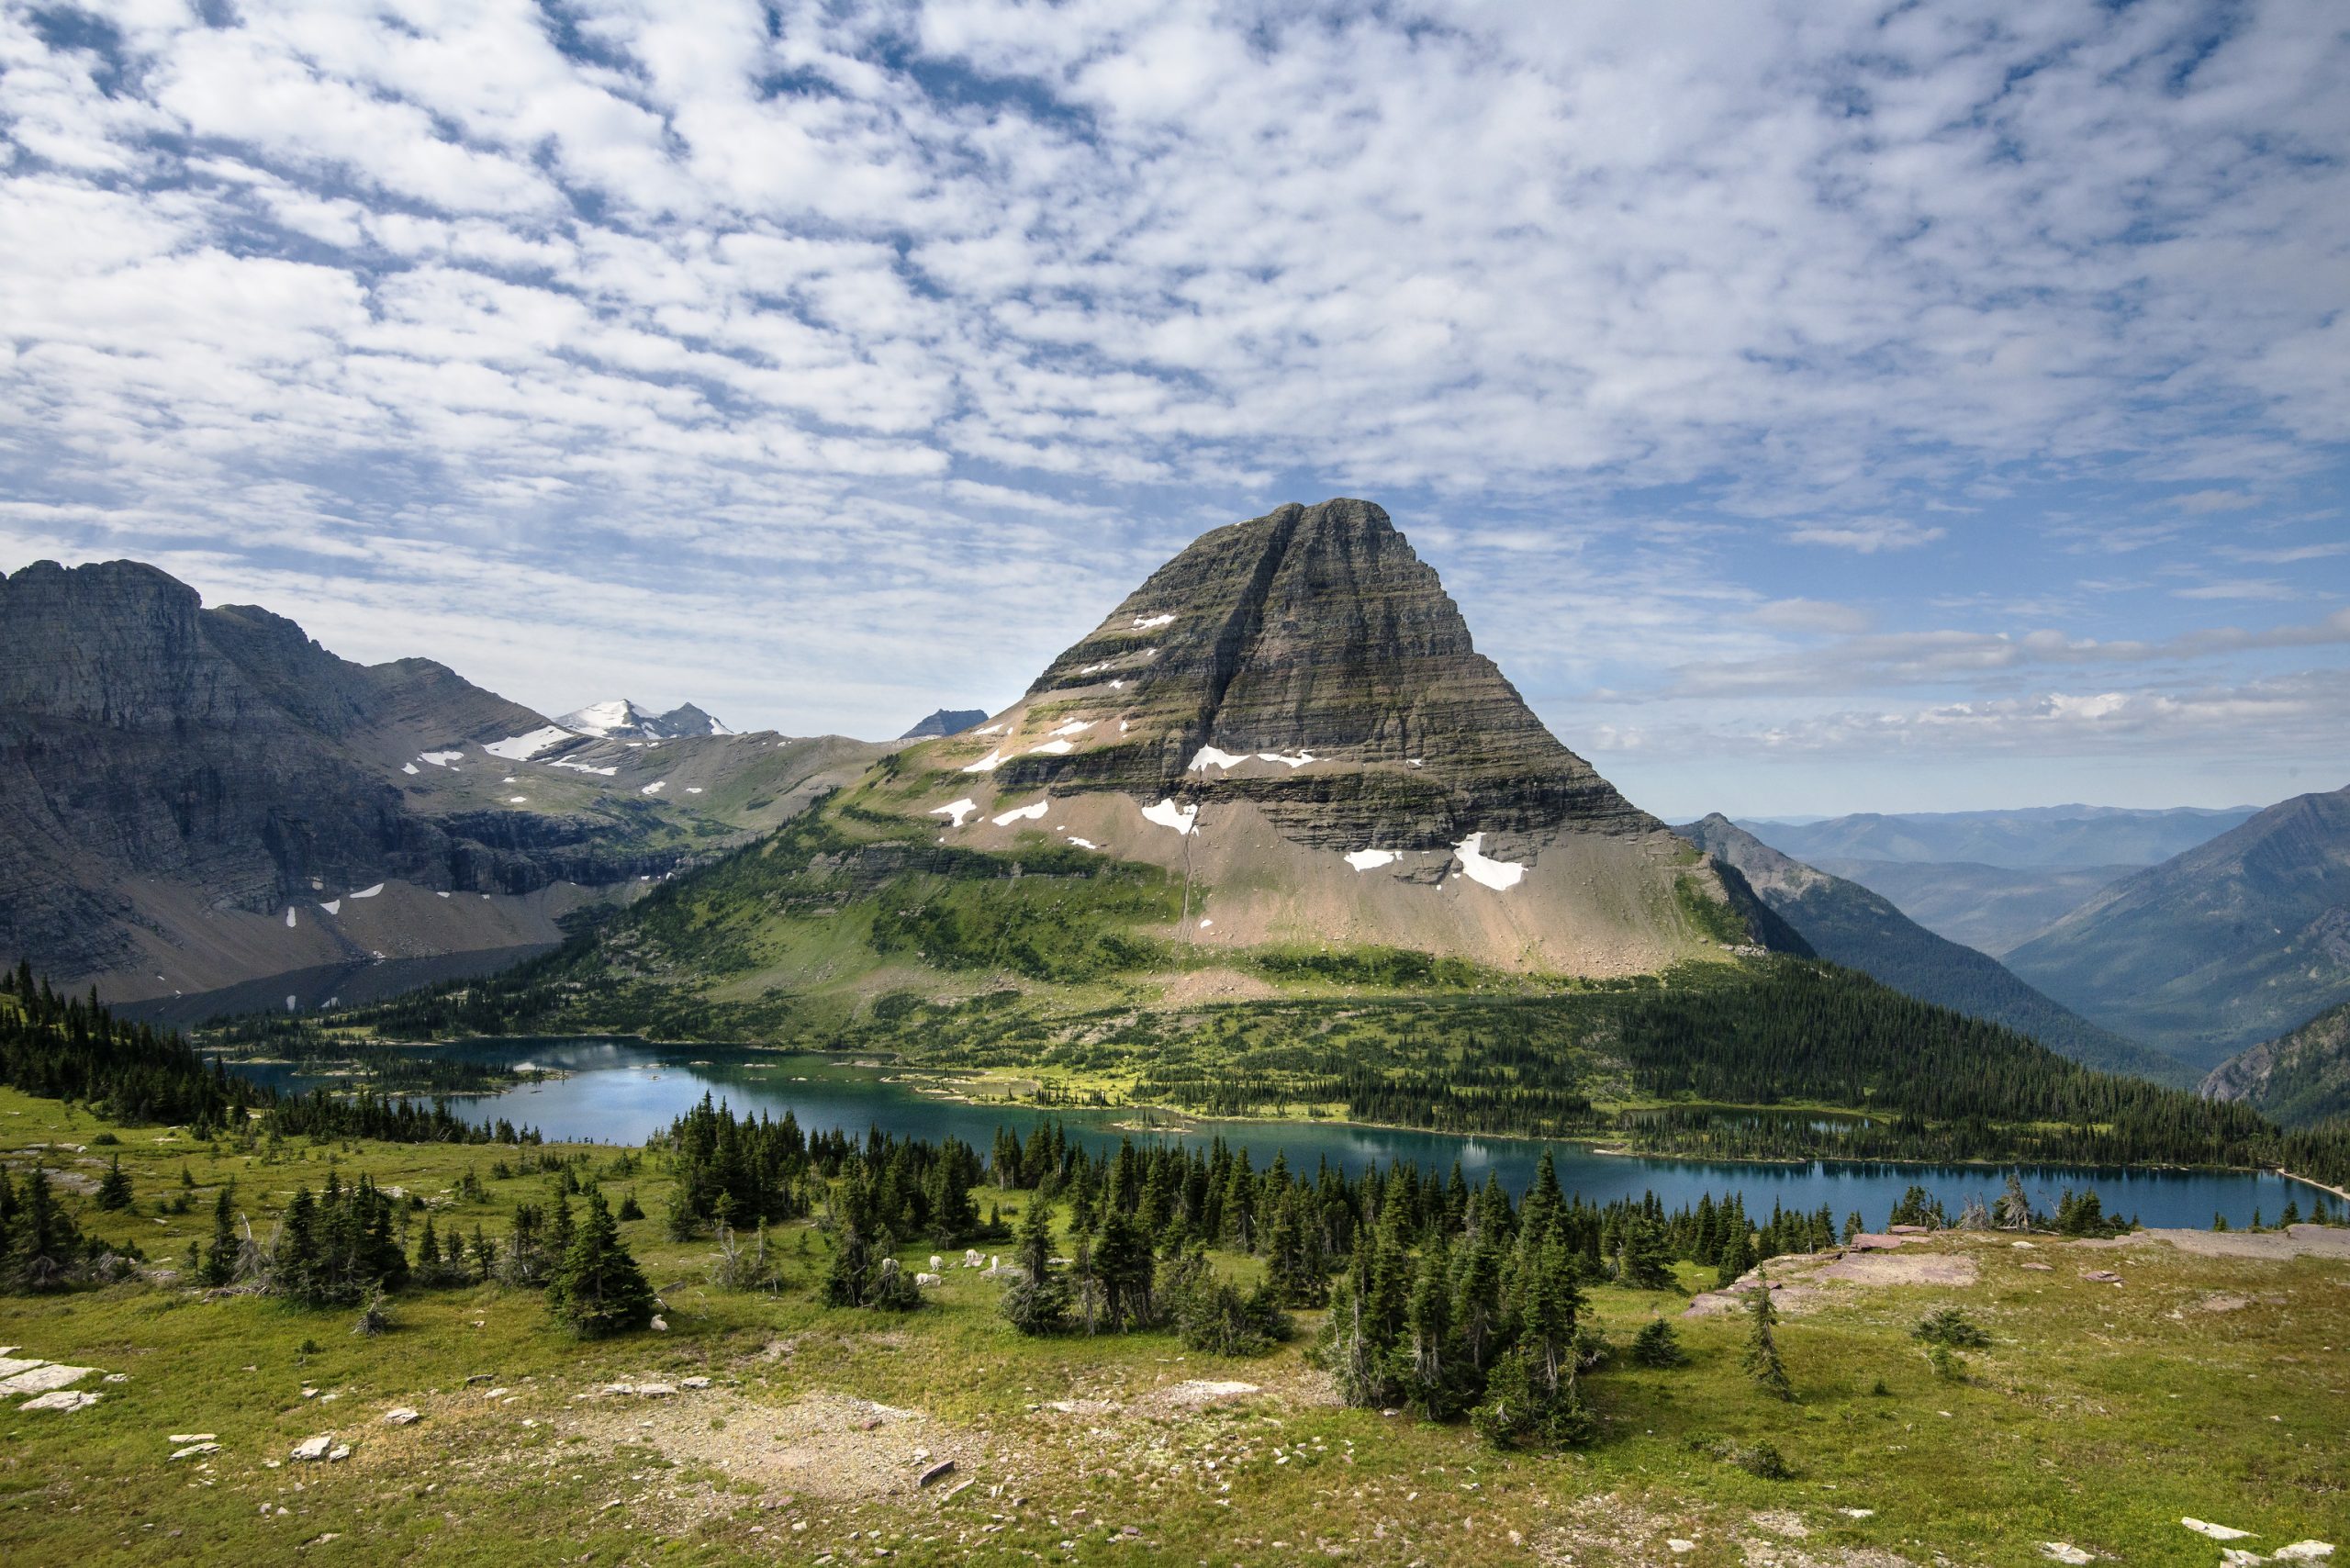
GPS: 48.68725, (photo location pin: the overlook; trailhead at Logan Pass, 48.69531,-113.71775) · Address: Hidden Lake Overlook Trail, from Logan Pass Visitor Center · Focal Length: 24–70mm
Access: About 2.7 miles round trip from Logan Pass with roughly 550 feet of gain, mostly boardwalk through the hanging gardens. Trails here can close for bear activity; check the trail status board and carry bear spray. Park entrance pass required (7-day vehicle, $35, $25 in winter November 1 to April 30; per the NPS, non-US residents 16 and over must pay an additional $100 per person fee unless admitted with an Annual or America the Beautiful Pass; the park is cashless).
Timing: Afternoon and evening, when the sun swings onto Bearhat Mountain and the lake goes blue-green. Morning light is flatter on the lake but often comes with goats on the trail. Wildflowers peak along the boardwalk in July.
The shot: The classic overlook frame: the lake cupped in its hanging basin with Bearhat Mountain rising straight behind it. Put the lake in the lower third and include meadow foreground only when flowers are out. Start at f/11, ISO 100; a mid-range zoom keeps the peak towering over the water rather than shrinking it.
4. Wild Goose Island Overlook
 Save
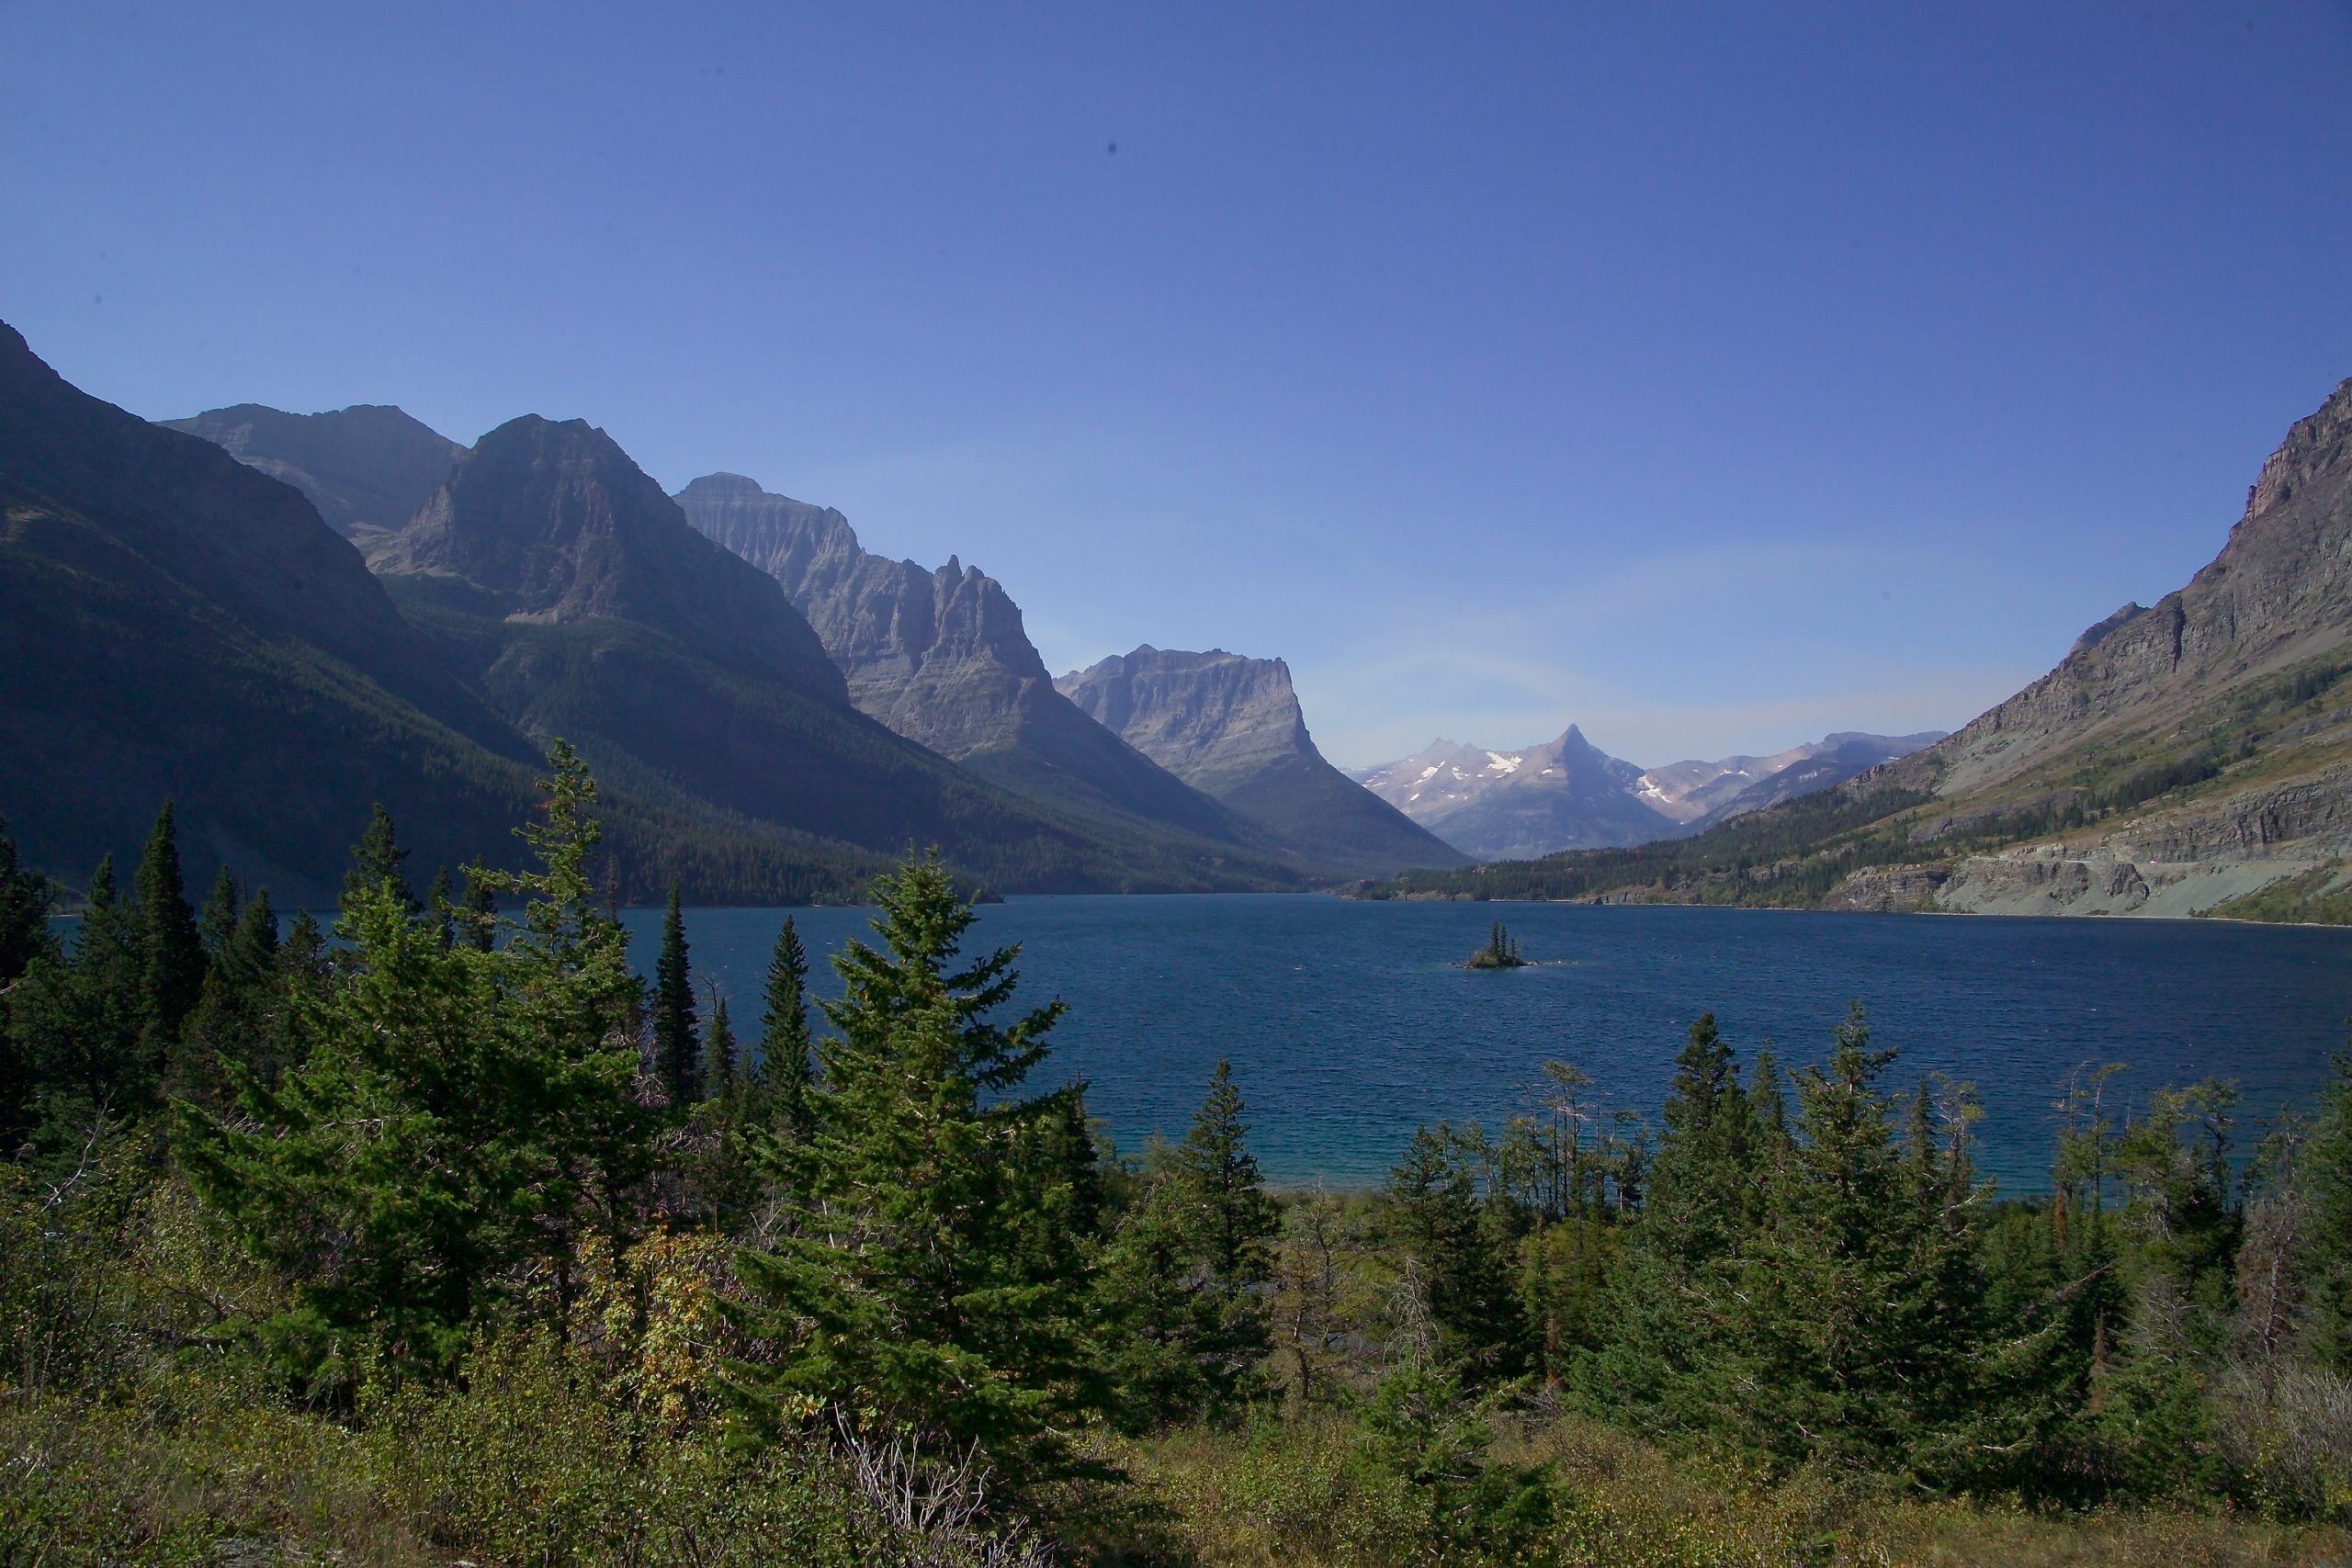
GPS: 48.69222, (arrival pin: the roadside overlook) · Address: Wild Goose Island Overlook, Going-to-the-Sun Road, St. Mary Lake · Focal Length: 14–24mm
Access: A roadside pullout on the east side of Going-to-the-Sun Road, about 4.5 miles west of St. Mary; shoot from beside your car. Park entrance pass required (7-day vehicle, $35, $25 in winter November 1 to April 30; per the NPS, non-US residents 16 and over must pay an additional $100 per person fee unless admitted with an Annual or America the Beautiful Pass; the park is cashless).
Timing: Sunrise, when the light hits the peaks behind the island and the lake is calmest. Wind is the enemy on St. Mary Lake; by midday the water is usually ripped up and the light is flat. A passing storm can give the best light of all in the hour it clears.
The shot: The postcard: the little island centered in the frame with the layered peaks of the St. Mary Valley stacked behind it. Start at f/11, ISO 100 on a tripod; a slight underexposure keeps the alpenglow saturated, and a wide lens takes the full sweep of the valley walls.
5. Swiftcurrent Lake
 Save
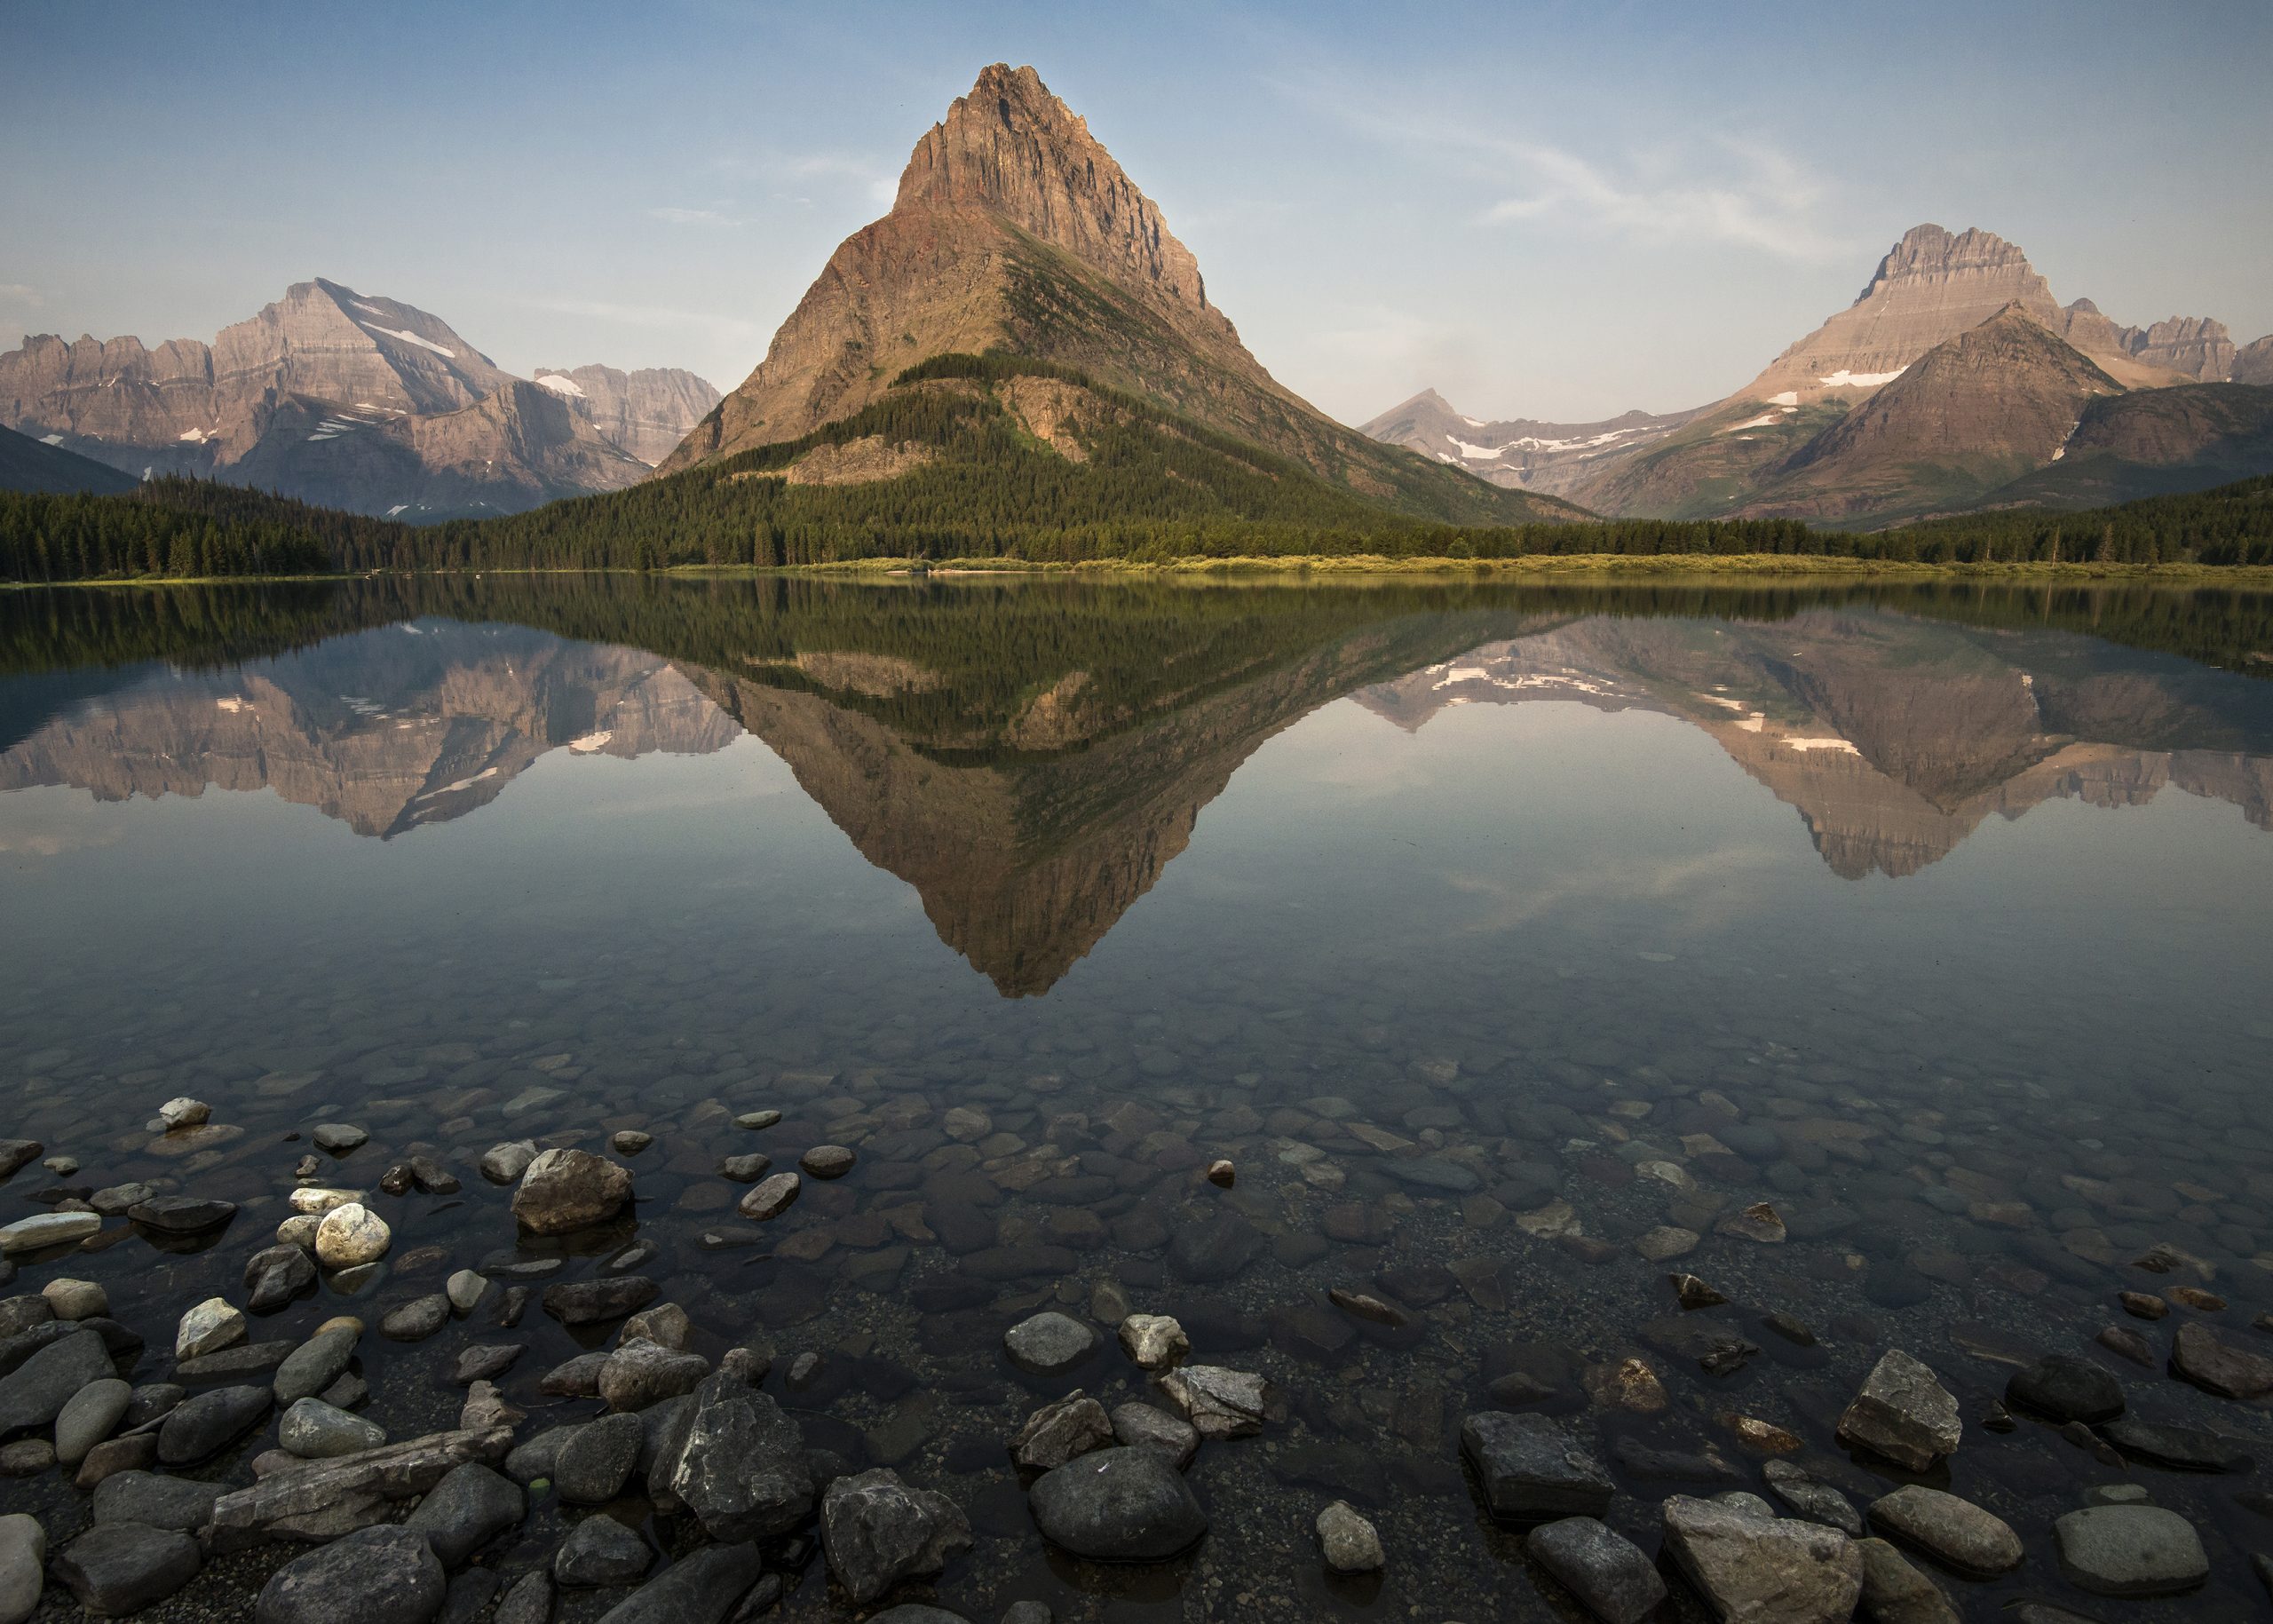
GPS: 48.79559, (arrival pin: the lake shore by Many Glacier Hotel) · Address: Swiftcurrent Lake shore, Many Glacier, Glacier NP · Focal Length: 16–35mm
Access: Shoreline walking from the parking area behind Many Glacier Hotel, at the end of the Many Glacier Road from Babb (the Many Glacier-Swiftcurrent construction project is complete per the NPS, and the valley is open to private vehicles again in 2026). Park entrance pass required (7-day vehicle, $35, $25 in winter November 1 to April 30; per the NPS, non-US residents 16 and over must pay an additional $100 per person fee unless admitted with an Annual or America the Beautiful Pass; the park is cashless).
Timing: Sunrise, when Grinnell Point and Mount Wilbur catch the first light straight across the water and the hotel is still quiet. Moose feed in the shallows at dawn and dusk; give them room (the rule is at least 25 yards, and 100 yards for bears). Cloudy evenings can turn the whole valley moody and dark.
The shot: The shore frame behind the hotel: lake stones as foreground, the reflection doubling Grinnell Point, and the alpenglow doing the color work. Start at f/11, ISO 100 on a tripod; a wide lens exaggerates the sweep of the lake, and a headlamp walk gets you in place before the light.
More Glacier spots are in the full guide
This post shows 5 of the best spots. The Glacier Photography Guide covers all 21 spots with 52 photographs: every spot with GPS, a Google Maps link, the shot list, suggested settings and timing. All future guide updates are included free.
Camera settings cheat sheet for Glacier National Park
Settings vary by scenario. Use this as a starting point and bracket exposures in challenging light:
| Scenario | ISO | Aperture | Shutter | Notes |
|---|---|---|---|---|
| Golden hour landscape | 100–400 | f/8–f/11 | 1/125–1/500s | Expose to protect highlights; lift shadows in RAW |
| Blue hour landscape | 400–1600 | f/8 | 2–15s (tripod) | Balance sky and foreground; bracket exposures for blending |
| Night sky and stars | 1600–3200 | f/2.8 (or widest) | 10–25s (tripod) | Use self-timer or cable release; use a red headlamp, and never shine artificial light at wildlife |
| Wildlife (goats, moose, bears) | 400–3200 | f/2.8–f/5.6 | 1/500s or faster | Continuous AF; keep 100 yards from bears and wolves, 25 yards from other wildlife |
| Waterfalls and cascades | 100–200 | f/8–f/11 | 1/8–1/2s (tripod) | Overcast light evens out the gorge; a polarizer cuts glare off wet rock |
| Lake reflections | 100 | f/8–f/11 | 1/15–1/60s | Calm mornings only; back the polarizer off to keep the reflection |
| Sunrise alpenglow | 100–200 | f/8–f/16 | 1/30–1/250s | Arrive 30 min before sunrise; bracket 3 frames for the bright peaks |
Lens and gear recommendations for Glacier National Park
The essential kit for Glacier National Park photography covers three focal ranges: wide (16–35mm or equivalent) for the big lake and valley sweeps, standard zoom (24–70mm f/2.8) as the everyday workhorse, and telephoto (70–200mm) for compressing peak layers, isolating goats and bears at a safe distance, and picking waterfalls out of the canyon walls.
For mirrorless shooters: a single body with a 24–70mm f/2.8 plus a 35mm or 50mm f/1.8 prime is a viable travel kit. Add a 16–35mm for the wide lake frames and a 70–200mm for wildlife and compression. A second body saves lens changes in blowing glacial dust, but one body and a deliberate lens plan is enough.
Essential accessories: a sturdy travel tripod (carbon fiber under 1.5kg), a circular polarizing filter for sky contrast and lake glare, an ND filter if you want long-exposure water, extra batteries (cold alpine mornings drain fast), and enough memory cards to shoot RAW all day without worrying about space. Add bear spray for any trail work; it is standard carry in this park.
National Parks Guide Series
This guide is part of the Shut Your Aperture national parks series: GPS-tagged vantage guides, camera settings cheat sheets, and seasonal light notes for the parks photographers ask about most.
Best months and light conditions for Glacier National Park
July and August are the reliable window: Going-to-the-Sun Road is typically fully open by early July (plowing can run late and storms can close sections any time; check current NPS road status), the wildflower meadows at Logan Pass peak, and the park’s road corridors are typically all drivable. September brings thinner crowds, golden larch and cottonwood color, and low-angle light all day, but the alpine road can close early with a storm. The road’s alpine section typically stays open into mid-October, weather permitting.
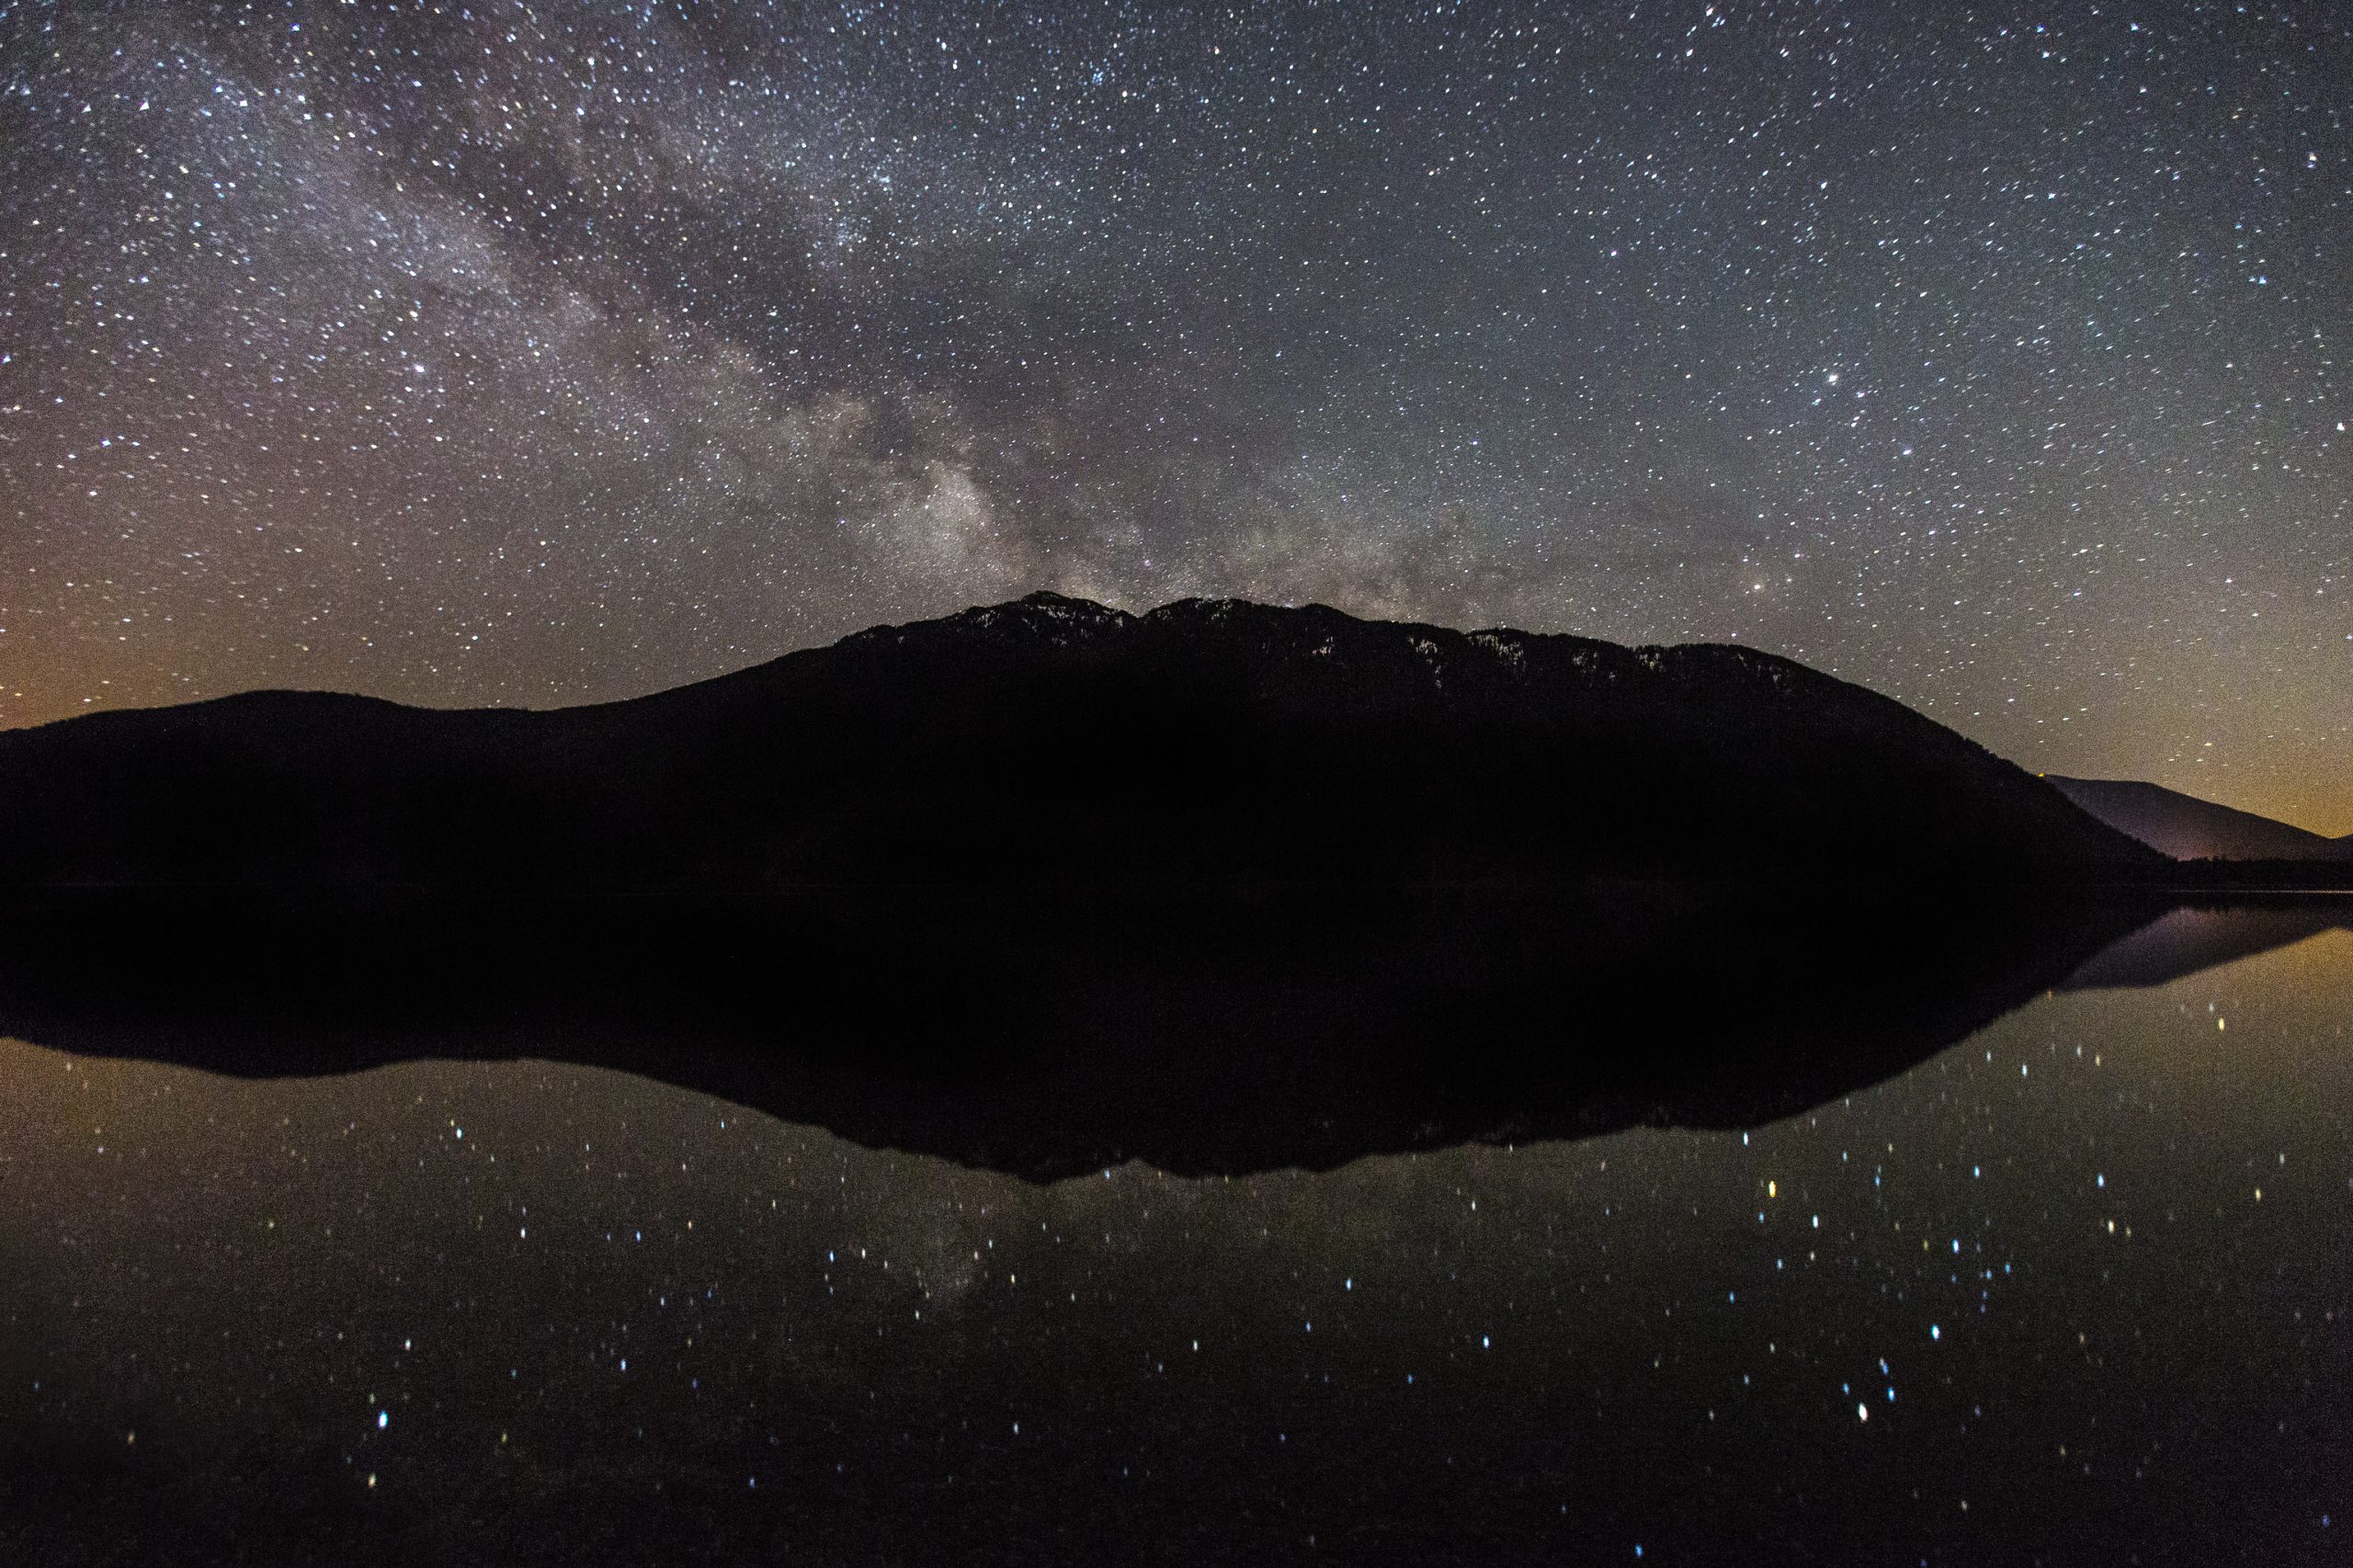
Winter is a different park: the alpine road is buried, most facilities are closed, and access centers on the plowed stretch to Lake McDonald Lodge. The reward is empty shoreline, fresh snow on the peaks, and long nights in one of the darkest skies in the lower 48. Glacier and Waterton together form the world’s first International Dark Sky Park, and a moonless night on the Lake McDonald shore is worth planning a trip around.
Day-to-day, plan your shooting schedule around golden hour (first and last hour of daylight) and the still mornings when the lakes mirror the peaks. Midday wind rips up the big lakes and flattens the light. Use the midday hours for scouting evening compositions, eating, and transit between the valleys; the drives between Many Glacier, Two Medicine, and the west side are longer than they look on the map.
Getting around Glacier National Park for photographers
Current road status (as of November 4, 2026): Going-to-the-Sun Road is closed for the season between Avalanche Creek on the west side and Jackson Glacier Overlook on the east side, per the NPS. Travel on open sections can change at any time with winter weather; check current NPS road status before any trip.
A personal vehicle covers almost everything, and in 2026 no vehicle reservations are required anywhere in the park. The exception worth knowing is Logan Pass: from July 1 through Labor Day, parking at the pass is limited to three hours, and the park runs a reservation-only Logan Pass shuttle from Apgar Visitor Center, Lake McDonald Lodge, St. Mary Visitor Center, and Rising Sun. Shuttle tickets are $1 per person, only on Recreation.gov, released 60 days ahead and again at 7 pm the night before. For a sunrise mission at Logan Pass, drive yourself and arrive early; the shuttles start too late for first light.
Entrance fees are cashless: $35 per vehicle for a 7-day pass ($25 in winter, November 1 to April 30), and per the NPS, non-US residents 16 and over must pay an additional $100 per person fee unless admitted with an Annual or America the Beautiful Pass. Cell coverage fades fast past the gateway towns, so download offline maps, pin your spots in advance, and carry a portable battery pack to keep your phone GPS running all day. If you shoot at night, bring a red headlamp and give your eyes 20 minutes to adapt before judging exposures; park rules prohibit using artificial light to view wildlife.
 Save
Frequently asked questions
What is the best time of day to photograph in Glacier National Park?
The golden hour (first hour after sunrise, last hour before sunset) and blue hour (30 minutes after sunset) deliver the best light in Glacier National Park. Sunrise has the extra edge: the lakes are calmest in the early morning, and the peaks catch alpenglow while the valleys are still dark. Plan your shooting schedule around the light, not the convenience of sleeping in.
Do I need a permit to photograph in Glacier National Park?
Personal photography in Glacier National Park generally needs no permit. Under the park’s superintendent’s compendium (applying 54 U.S.C. 100905), a permit is required when a shoot takes place in a closed area, requires exclusive use of a site or area, or involves set or staging equipment other than handheld gear such as a tripod, monopod, or handheld lighting. A shoot involving more than eight people also requires a permit, unless the NPS has specifically notified the group that one is not required. Either category is exempt when the shoot is part of an activity or event already allowed under a written authorization, such as a special use permit. If your shoot might fall into any of these cases, contact the park’s permit office in advance. Separately, two rules always apply: drones may not be launched, landed, or operated anywhere in the park without written superintendent approval, and using an artificial light to view wildlife is prohibited everywhere in the park.
What gear should I bring to Glacier National Park?
A versatile zoom lens (24–70mm f/2.8 or equivalent) covers most Glacier National Park photography. Add a wide-angle (16–35mm) for the lake and valley sweeps and a telephoto (70–200mm) for wildlife and compressing the peak layers. A sturdy travel tripod is essential for sunrise, blue-hour and night photography. Pack a polarizing filter to manage lake glare and deepen sky contrast, and an ND filter if you plan long-exposure water.
What camera settings work best for landscape photography in Glacier National Park?
During golden hour: ISO 100–400, f/8–f/11 for sharpness, 1/125–1/500s shutter speed. At blue hour: ISO 400–1600, f/8, 2–15 seconds on a tripod. For the night sky: ISO 1600–3200, f/2.8 or your widest aperture, 10–25 seconds on a tripod. Shoot RAW files in all conditions; the extra dynamic range rescues highlights and shadows that JPEG cannot recover.
When is the best season to visit Glacier National Park for photography?
July and August typically offer full road access, wildflower meadows, and the most reliable weather, though storms, construction, or fire can still close sections – check current NPS road status before each day. September brings fall color, thinner crowds, and long low light, with the risk of early alpine closures. Winter vehicle access inside the park is essentially the plowed stretch of Going-to-the-Sun Road from West Glacier to Lake McDonald Lodge, weather permitting; the unplowed road beyond the lodge and the closed valleys open to skis and snowshoes, with empty shores and deep-snow peaks. Time at least one visit around a moonless night: the park is an International Dark Sky Park, and the Milky Way core season runs through the warm months.