Street photography editing is a study in restraint. The genre lives on grit, contrast, and mood, but the line between atmospheric and overcooked is thin, and presets cross it easily. This guide covers what street presets are for, the classic looks, and how to keep an edit honest. For the shooting side, our street photography practice walk is a good starting exercise.
 Save
What Street Presets Are For
Street work is high volume and personal: you come home with a few hundred frames and no client to satisfy. Presets exist here to give a body of work a consistent voice, not to rescue individual images. A good street preset establishes a tonal signature, contrast curve, color relationship, grain, that you apply across a series so a day’s shooting reads as one piece of work.
That is why the genre’s presets skew extreme: heavy contrast, crushed blacks, desaturated palettes with one accent color, gritty grain. Used as a starting point and pulled back, they are useful. Applied at full strength to every frame, they turn a set into a filter demo.
The Classic Street Looks
Black and white. The genre’s home turf. A good street B&W preset builds a strong tonal curve, controls how reds and blues convert to grays (this decides how skin and skies separate), and adds grain that reads as film rather than noise.
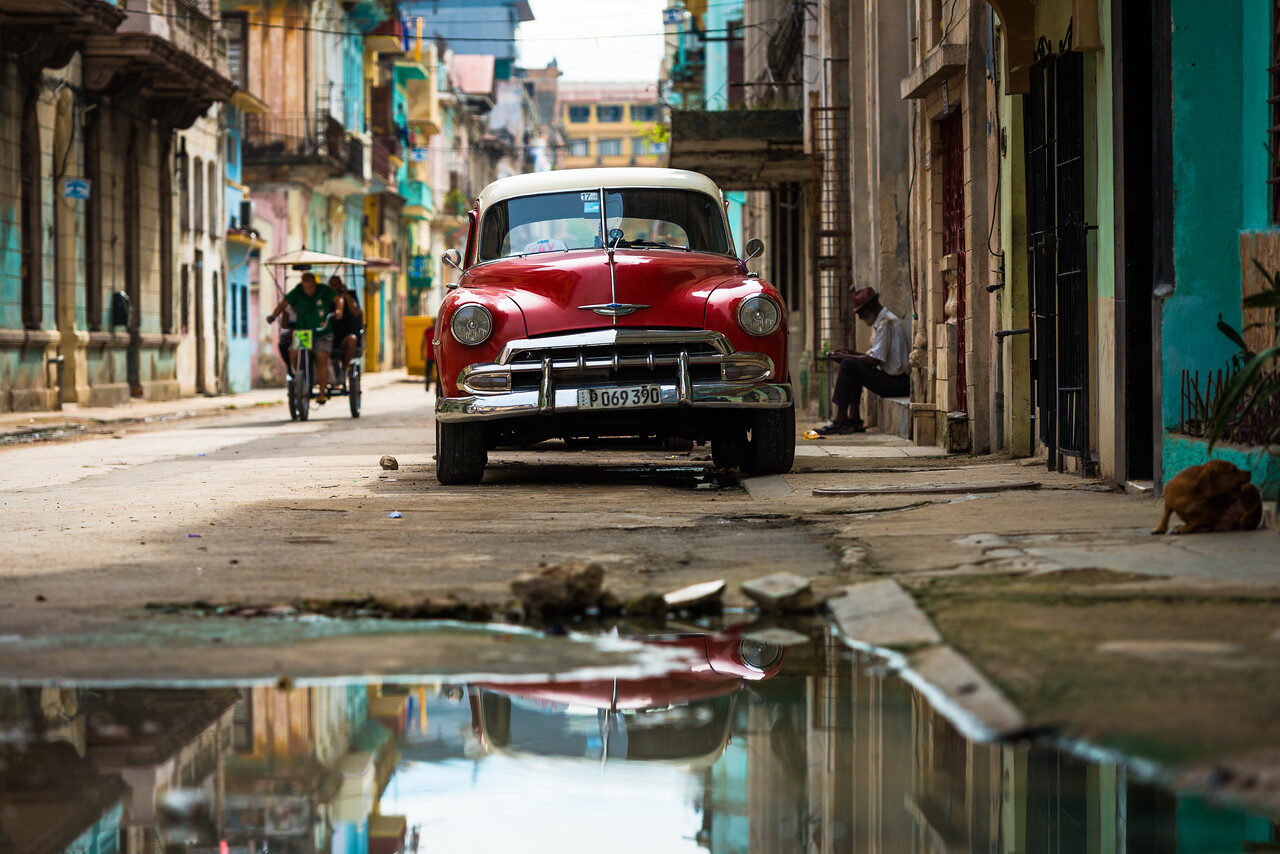
Moody color. Desaturated overall with warm shadows or cool highlights, lifted black point. Fits overcast cities and rain; the danger is every frame looking identically gray-green.
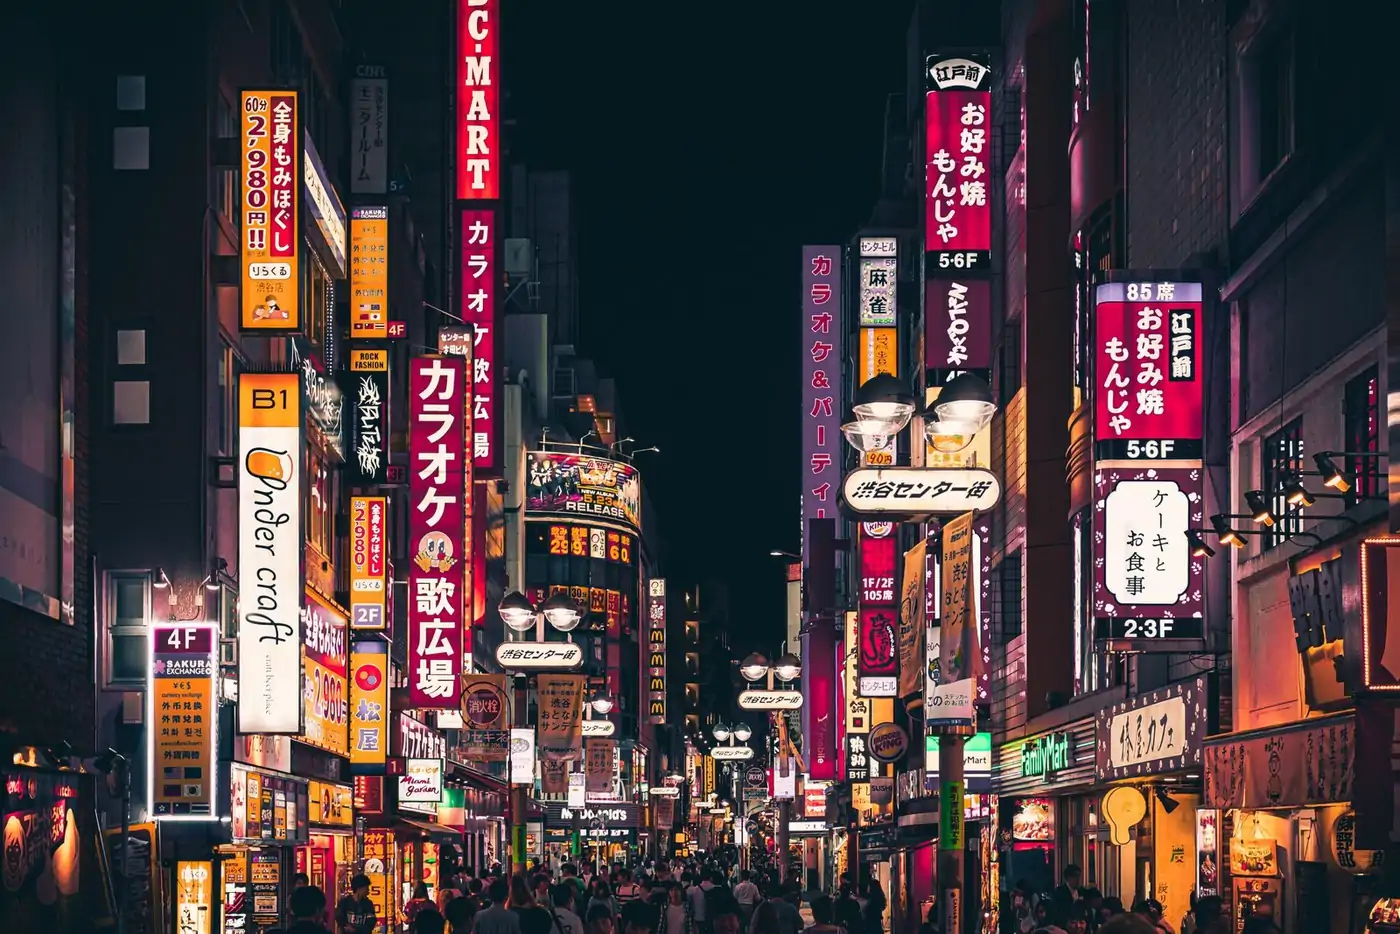
Neon night. Built for city light after dark: deep blacks, saturated magentas and cyans, controlled highlights so signs do not blow out. The most situational look; on a daylight frame it falls apart.
Documentary. Minimal intervention: gentle contrast, honest color. For series where the moment matters more than the mood, it keeps the edit from competing with the subject.
Want to go further? The ShutYourAperture Academy’s Street Photography: The Decisive Moment (7 modules, 28+ lessons) is built to help you capture life unscripted and learn to see the decisive moment.
Keeping the Edit Honest
Two habits keep street editing grounded. First, edit as a series, not frame by frame: pick the preset for the set, then adjust only exposure and white balance per frame. Second, check the image at full size before exporting: heavy clarity and grain that look great at thumbnail size turn to mush at 100%. If the texture of the scene is gone, you went too far.
Street scenes are urban, and the cityscape looks in the Landscape, Cityscape and Drone Preset Pack cover night neon, moody color, and contrasty B&W bases that adapt well to street work. The free starter pack in the Lightroom presets guide is the no-cost way to find your series voice, and night photography covers capturing the files these looks are built for.
Gear for keeping a street series together
Keep the untouched street sequence and edited set together so you can judge whether the look works across the whole series. A Samsung T7 Shield 1TB portable SSD is one option for a working copy. Check capacity, computer ports and cables, then open copied files to verify them. Keep another backup separate and control archive access. A drive does not decide the edit or change the rules for publishing photographs of other people. Compare the current retailer specifications; no hands-on test, price or stock promise is being made here.
Compare Samsung T7 Shield 1TB on Amazon | Check Samsung T7 Shield 1TB at B&H
Affiliate disclosure: We may earn a commission from qualifying purchases through these gear links at no extra cost to you. As an Amazon Associate, Shut Your Aperture earns from qualifying purchases.