Adobe Photoshop emerges as a powerful tool, opening up endless possibilities for texture creation in the realms of graphic design and digital art. The first step towards unleashing this power is a thorough understanding of its interface and tools. By mastering these essentials, one can transform their digital canvas into intricate textures that breathe life into any project. This article aims to shed light on the intricacies of Photoshop’s interface and tools, guiding you through the process of creating detailed and engaging textures.
Understanding Photoshop’s Interface and Tools
Title: Mastering Photoshop’s Interface for Enhanced Texture Creation
Introduction
Adobe Photoshop stands as the go-to software for creating engaging and intricate textures for various applications, from graphic design to digital art. A fundamental step in harnessing Photoshop’s full potential in texture creation lies in familiarizing oneself with its interface. Understanding the interface’s components simplifies the process of generating textures, making it seamless and more efficient.
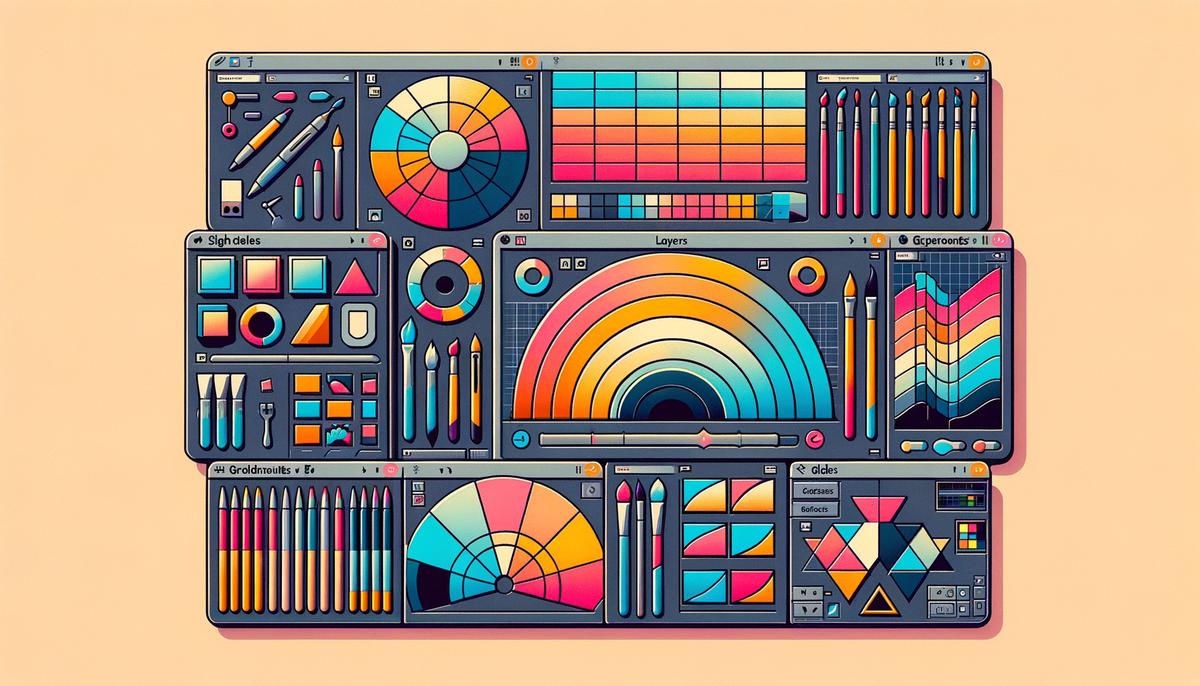
The Essence of the Photoshop Interface
Photoshop’s interface is a gateway to a myriad of tools and features essential for texture creation. It’s designed to offer quick access to tools like brushes, patterns, and gradients, critical for crafting textures. Moreover, the layers panel facilities the stacking and manipulation of different elements, enhancing the depth and complexity of the textures.
Key Interface Components for Texture Creation
- Tool Panel: Positioned typically on the left side, this panel houses tools like the Brush, Clone Stamp, and Gradient, pivotal for initiating and modifying textures. Quick familiarity with these tools allows for the exploration and application of various texture effects.
- Options Bar: Just above the canvas, the Options Bar displays settings related to the selected tool. Adjusting these settings enables more precise control over the texture’s appearance, such as brush size, shape, and opacity.
- Layers Panel: On the right, the Layers Panel is crucial for managing different elements of your texture. Understanding how to use layers empowers you to create complex textures by combining various elements, adjusting their opacity, and blending modes.
- Adjustment Layers: For enhancing textures, Adjustment Layers offer non-destructive edits. Utilizing these can dramatically alter the mood or tone of your textures without permanently altering the original layers.
- Filters: The Filters menu is a treasure trove for texture creators. Applying filters can transform a plain texture into something more dynamic. Familiarizing yourself with this menu opens up possibilities for experimentation and creativity.
- Customize the Workspace: Adobe Photoshop allows the customization of the workspace to suit your texture creation workflow. Tailoring the interface to keep essential tools readily accessible can streamline the creation process.
- Practice With Tools and Features: Experimentation is key to mastery. Spend time playing with different brushes, layer effects, and filters. Seeing firsthand how they affect your texture builds a deeper understanding and intuition for using these features effectively.
- Use Keyboard Shortcuts: Learning and utilizing Photoshop’s keyboard shortcuts can significantly speed up the texturing process. These shortcuts provide quick access to tools and features without navigating through menus.
- Explore Panels and Menus: Besides the primary tools and panels, Photoshop hosts a range of hidden features tucked away in its menus and panels. Delving into these can uncover more advanced techniques for texture creation.
Conclusion
Mastering Photoshop’s interface is indispensable for optimizing texture creation. It not only enhances the efficiency of the process but also expands the creative possibilities available to the creator. With a thorough understanding of the interface, creating textures becomes a more intuitive and enjoyable task, leading to higher quality outcomes and greater satisfaction in the creative process. Dive into Photoshop’s interface today, and unlock new horizons in your texture creation journey.
 Save
SaveLayering Techniques and Creative Blending
Crafting Realistic Sky Textures Using Layering and Blending in Photoshop
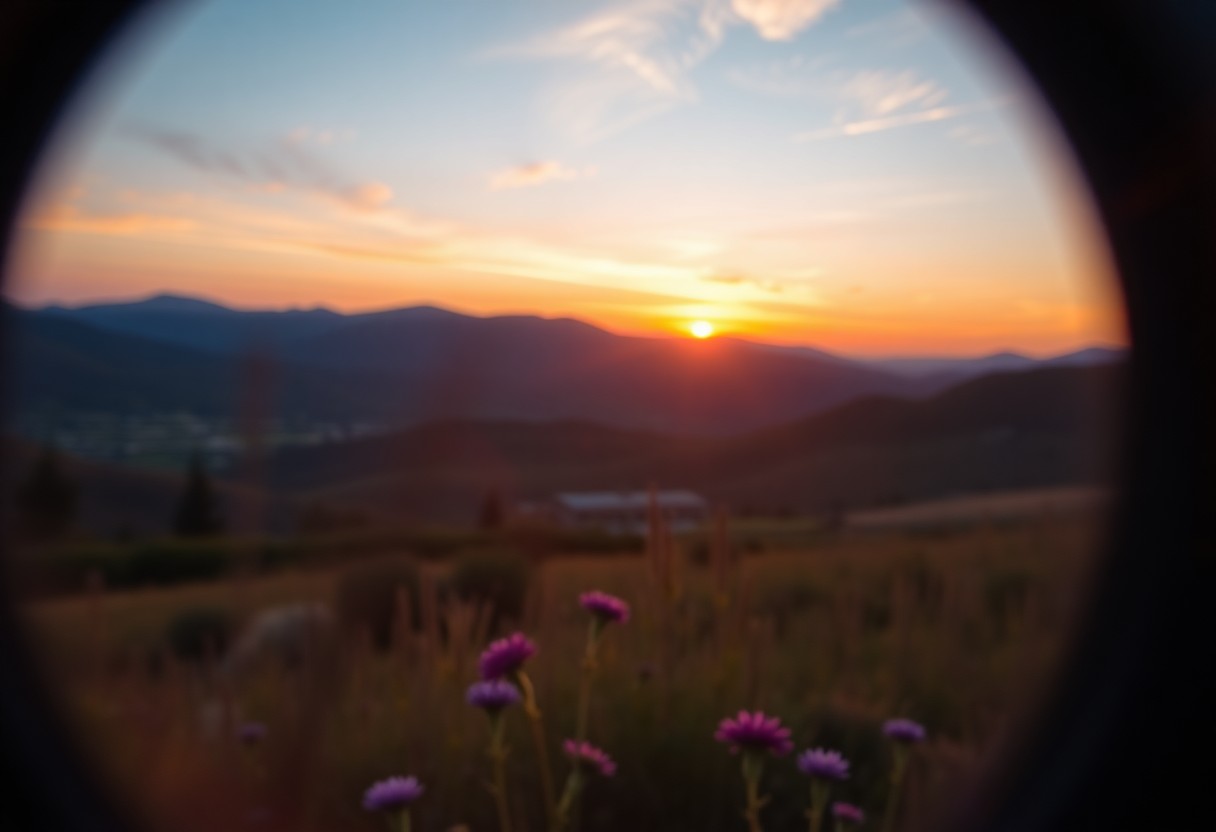
Sky textures hold a universe of possibilities, from the serene blue of a clear day to the fiery oranges and purples of sunset. Achieving realism in digital sky textures requires a nuanced understanding of layering and blending modes in Adobe Photoshop. These are powerful tools that, when used effectively, can bring digital skies to life.
Step-by-Step Guide on Layering and Blending for Sky Textures
- Setting the Foundation:
- – Open Adobe Photoshop.
- – Create a new document tailored to the size of your project.
- – Start with a solid color background (usually a light blue for a daytime sky) by selecting the Paint Bucket Tool and filling the first layer, which will serve as your base.
- Layering Basics:
- – Click the “New Layer” icon at the bottom of the Layers Panel for each new element of your sky. You might have separate layers for different cloud formations, sunsets, or stars.
- – Rename layers for easy identification, like “Clouds 1,” “Sunset Gradient,” or “Stars.”
- Applying Gradients:
- – For a sunset or sunrise, select the Gradient Tool.
- – Create a gradient from orange to purple for sunsets or from dark blue to light blue for day skies. Drag the gradient across a new layer over your base.
- – Experiment with different gradient combinations and directions.
- Introducing Clouds:
- – Use brushes (either standard or downloaded ones that mimic real cloud patterns) to paint clouds on a new layer.
- – Pay attention to real sky photos for inspiration, noticing how clouds are often lighter and more transparent at the edges.
- Blending Modes for Depth and Realism:
- – With your cloud layer selected, explore different blending modes by clicking the blending mode dropdown menu in the Layers Panel. “Screen” or “Multiply” often work well for clouds, depending on your base color.
- – Adjust the opacity of the layer to blend clouds naturally into the sky.
- Adding Texture and Highlights:
- – For additional texture on your clouds or to represent the sun’s rays, select the Dodge and Burn tools. Use Dodge to lighten areas where sunlight hits and Burn where shadows fall, adding dimension.
- Layer Masks for Subtle Transitions:
- – Add a layer mask if you wish to blend edges or certain parts of your texture layers more seamlessly. Paint with black on your layer mask where you want to hide parts of the layer, or with white where you want full opacity. This can soften hard edges between your sky and clouds, making the scene more cohesive.
- Fine-Tuning and Final Adjustments:
- – Use Adjustment Layers like “Brightness/Contrast,” “Hue/Saturation,” or “Curves” to tweak the overall mood of your sky texture. Adjustment Layers affect all layers below them unless clipped to a specific layer, allowing for flexible edits.
- – Layer Order Matters: Keep the background at the bottom, with cloud layers above, and any specific highlights or effects on the topmost layers.
- – Experiment: There’s no one-size-fits-all approach. Experiment with layer order, blending modes, and opacities until the sky feels just right.
- – Reference Real Skies: Keep a collection of sky photos for inspiration. Notice how the light plays with clouds and colors change with the time of day.
Now that you’ve guided your imagination with the technical prowess of Photoshop, you’re well on your way to crafting skies that breathe life into your digital worlds. Remember, the beauty of digital creation lies in unlimited attempts; each effort leads you closer to mastering the art of realistic sky textures.
 Save
SavePhoto by ashleywhitlatch on Unsplash
Incorporating External Assets and Final Adjustments
Enhancing Sky Textures with External Assets
Bringing Realism to Digital Skies
The journey of crafting realistic sky textures does not stop at mastering Photoshop’s myriad tools. External assets—a term referring to photographs, textures, and presets from external sources—serve as a goldmine for pushing the realism of your digital skies farther than Photoshop’s native capabilities alone. By incorporating these assets into your workflow, the sky literally becomes the starting point of endless creative possibilities. We’re diving into how you can seamlessly blend these external treasures into your compositions, granting your skies an unparalleled depth and authenticity. Follow these steps to transform the ordinary into the extraordinary.
1. Selecting the Right External Asset
Begin your venture by choosing the right external asset. High-quality, high-resolution images are your allies here. Websites like Unsplash, Shutterstock, or Adobe Stock are treasure troves of cloud patterns, sunsets, and atmospheric phenomena. Choose assets that complement the mood and setting of your project. Remember, the asset should enhance, not detract from, your creation.
2. Importing into Photoshop
Once you’ve laid eyes on the perfect asset, it’s time to bring it into Photoshop. Go to File > Place Embedded to incorporate the selected image onto a new layer within your project. This non-destructive method ensures your original work remains unaltered, allowing for adjustments and experiments without hesitation.
3. Blending with Existing Sky
With your external asset poised on its layer, the art of blending begins. Use the Move Tool (V) to position the asset as desired within your composition. Next, explore the opulence of blending modes found within the Layers Panel. Modes like Overlay, Soft Light, or Screen can meld your external asset into the existing sky, effecting everything from subtle textural nuances to dramatic atmospheric shifts.
4. Adjustment Layers for Cohesion
In the quest for a cohesive look, Adjustment Layers are your noble companions. Consider adding a Color Balance or Hue/Saturation Adjustment Layer to tweak the colors of your external asset, ensuring it harmonizes with the overall palette of your composition. Clipping the Adjustment Layer to your asset (right-click on the Adjustment Layer and select “Create Clipping Mask”) zeroes in the effects solely on the selected layer, granting precise control over the outcome.
5. Refine with Masks
For a flawless integration, the Gradient Tool (G) within a Layer Mask irons out any abrupt transitions between the external asset and your original sky. With the Layer Mask selected, draw a gradient where the two skies meet, gently fading the external asset into your scene. This method champions subtlety, refining the realism of your expanded sky vista.
6. Final Touches
As you edge closer to the zenith of your creation, scrutinize the finer details. Sharpen edges where necessary, decrease noise, or increase saturation. These final touch-ups are the polish on the gemstone, ensuring your sky not only looks authentic but feels alive.
7. Continuous Experimentation
The path to mastering the incorporation of external assets into your skies is paved with trial, error, and discovery. Each asset behaves uniquely within the fabric of your sky, necessitating an open mind and the willingness to experiment. Engage with different assets, blending modes, and adjustment settings. With each attempt, your skills in crafting realistic skies will soar to new heights.
In synthesizing these steps, your digital skies will transcend the ordinary, mirroring the complexity and beauty of the natural world. External assets are not merely tools but gateways to realizing visions that stretch beyond the horizon of imagination. Embrace them, and watch as your skies unfold into realms of unmatched realism and wonder.
 Save
SaveThe art of texture creation in Adobe Photoshop is a skill honed through practice and exploration. By tailoring the interface to your workflow, experimenting with various tools, and incorporating external assets, the scope for creativity becomes boundless. As we explore the vast capabilities of Photoshop, remember that each feature and tool is a stepping stone towards mastering texture creation. Let these insights inspire you to push the boundaries of your digital art, leading to creations that are not only visually stunning but also richly detailed. Embrace the power of Photoshop, and let your creative visions come to life on the canvas.


