Original date April 26, 2026. Updated October 2026.
Say “AI retouching” to a room of portrait photographers and you get two reactions. Some are glad to get their evenings back. Others picture every face turning into smooth, glossy plastic. Both reactions are fair. The tools are fast and often impressive, and they are also very easy to overdo. This guide is about using them without losing what makes a portrait feel like a person.
A note on sources. Tool features below come from the makers’ own pages, linked where they appear, and menus and names change between versions, so check your current release. The editing advice is common practice among portrait retouchers. It is not the result of our own comparison testing of these apps, and none of it is a promise about how a given tool will treat your files.
Why portraits go wrong with AI
Over-retouching is not new. Photographers over-processed images long before AI, with heavy HDR, selective color and skin that had been blurred to nothing. AI tools make the same mistake faster, because they apply a strong default look and finish in seconds. A face is not a landscape. Viewers read faces closely and know when something is off, even if they cannot say what.
A human look comes from small irregularities: a slightly uneven smile, skin texture, a stray hair, the way the eyes catch light. When a tool corrects all of them at once, the result is clean and anonymous. The fix is not to avoid the tools. It is to decide what you want to keep before you touch a slider, and to treat the software as an assistant that proposes changes, not as the lead artist.
Get the photograph right first
No amount of software rescues a weak frame. Three things decide whether a portrait works before editing starts: light, pose and connection.
Light. Flat light gives any retouching tool less to work with, because the shape of the face is not described by shadow. Directional light, a window with a reflector or a simple loop or Rembrandt pattern builds the structure that makes a face look three-dimensional. Our guide to portrait lighting setups covers the main patterns.
Pose and expression. A tight neck or a forced smile is a human problem and needs a human fix: talk to the person, slow down, take more frames. Editing can tidy a collar. It cannot supply ease.
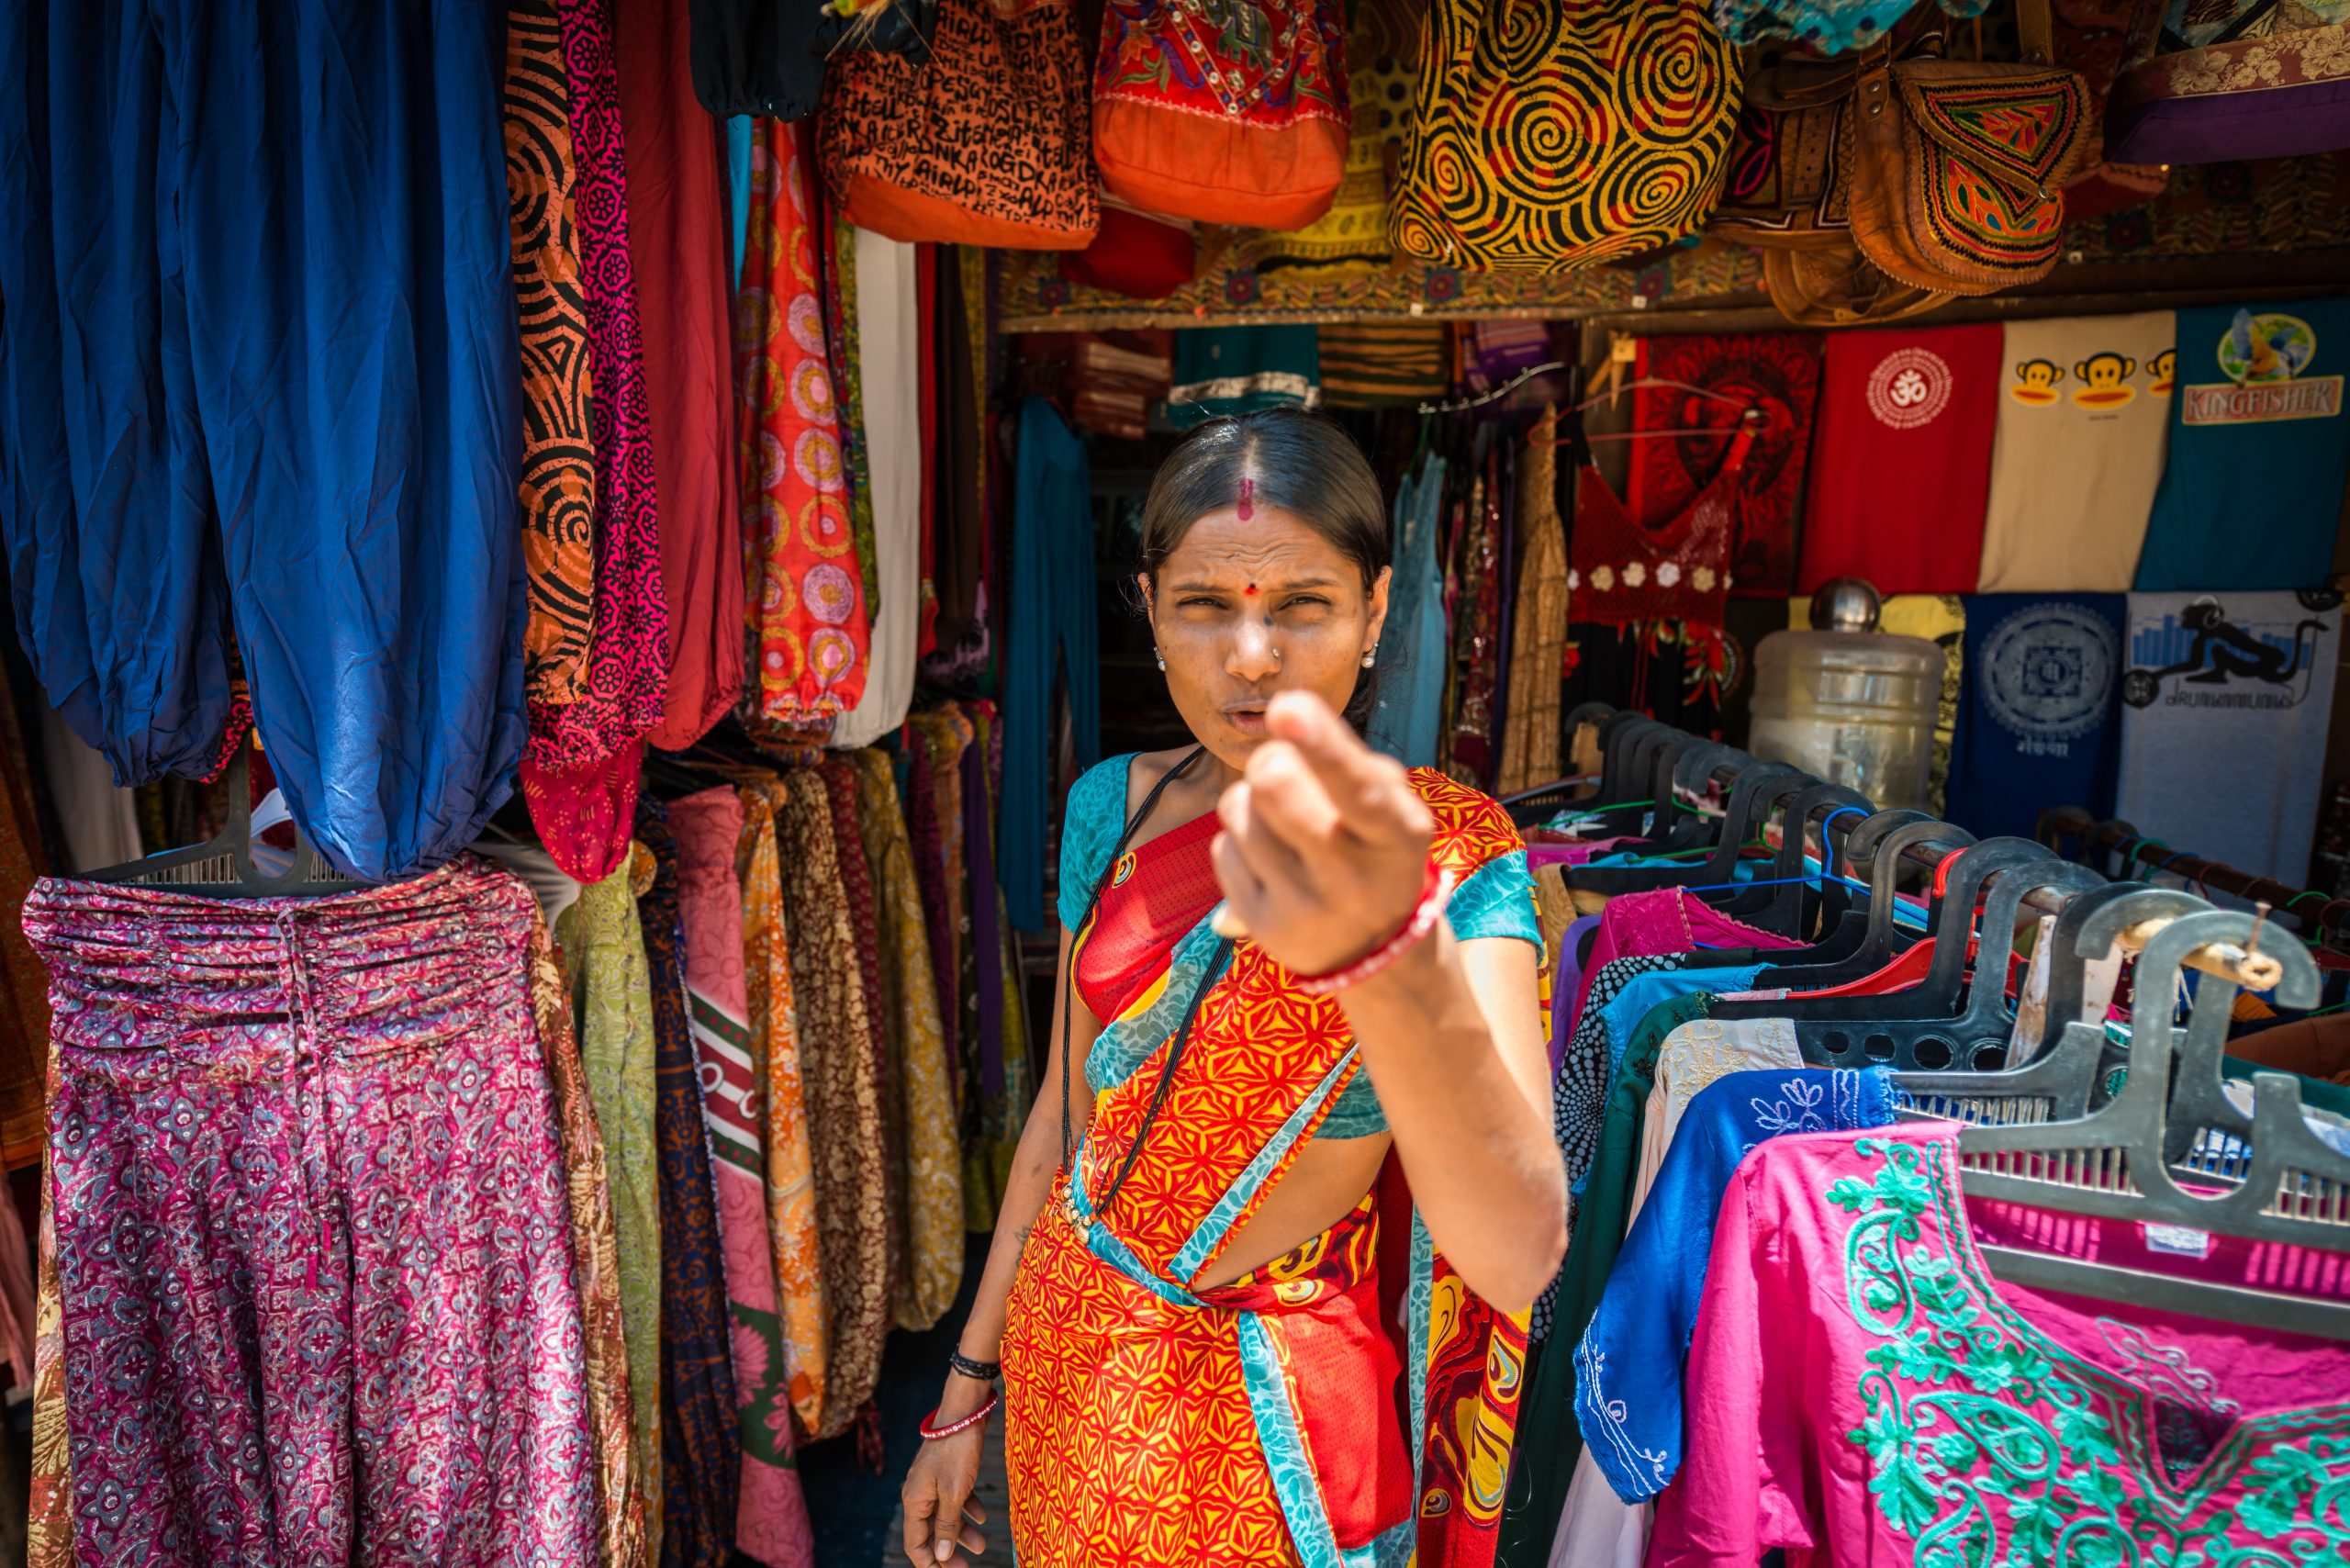
Depth of field. Software can now simulate background blur. Skylum, for example, documents a Bokeh AI tool that works on most portrait photos regardless of the lens used, according to Skylum’s Bokeh AI documentation. A simulated blur can look convincing, but real optical fall-off from a fast lens is hard to match around hair and fine edges, so get as much as you can in the camera.
 Save
Protect skin texture
The “porcelain skin” look is the most common giveaway of an over-edited portrait. Pores, fine lines and small variations in tone tell the eye that skin is skin. Remove them and the face looks waxy.
Many AI skin tools claim to separate blemishes from texture. Skylum describes its Skin AI as correcting imperfections while keeping natural texture, for example. Treat that as a design goal, not a guarantee, and judge the result on your own files at 100 percent. The simplest habit is to dial effects back. If a tool suggests a strong setting, try roughly a third of it, then compare before and after. You want to even out distracting blotches and remove a temporary spot, not erase the surface.
Also be careful with what you remove. A temporary blemish is fair game. A scar, a mole or laugh lines are part of the person. When a client has not asked for a change, leave them alone, and when a client does ask, a lighter touch usually looks better in print than a full removal.
Eyes: bright, not glowing
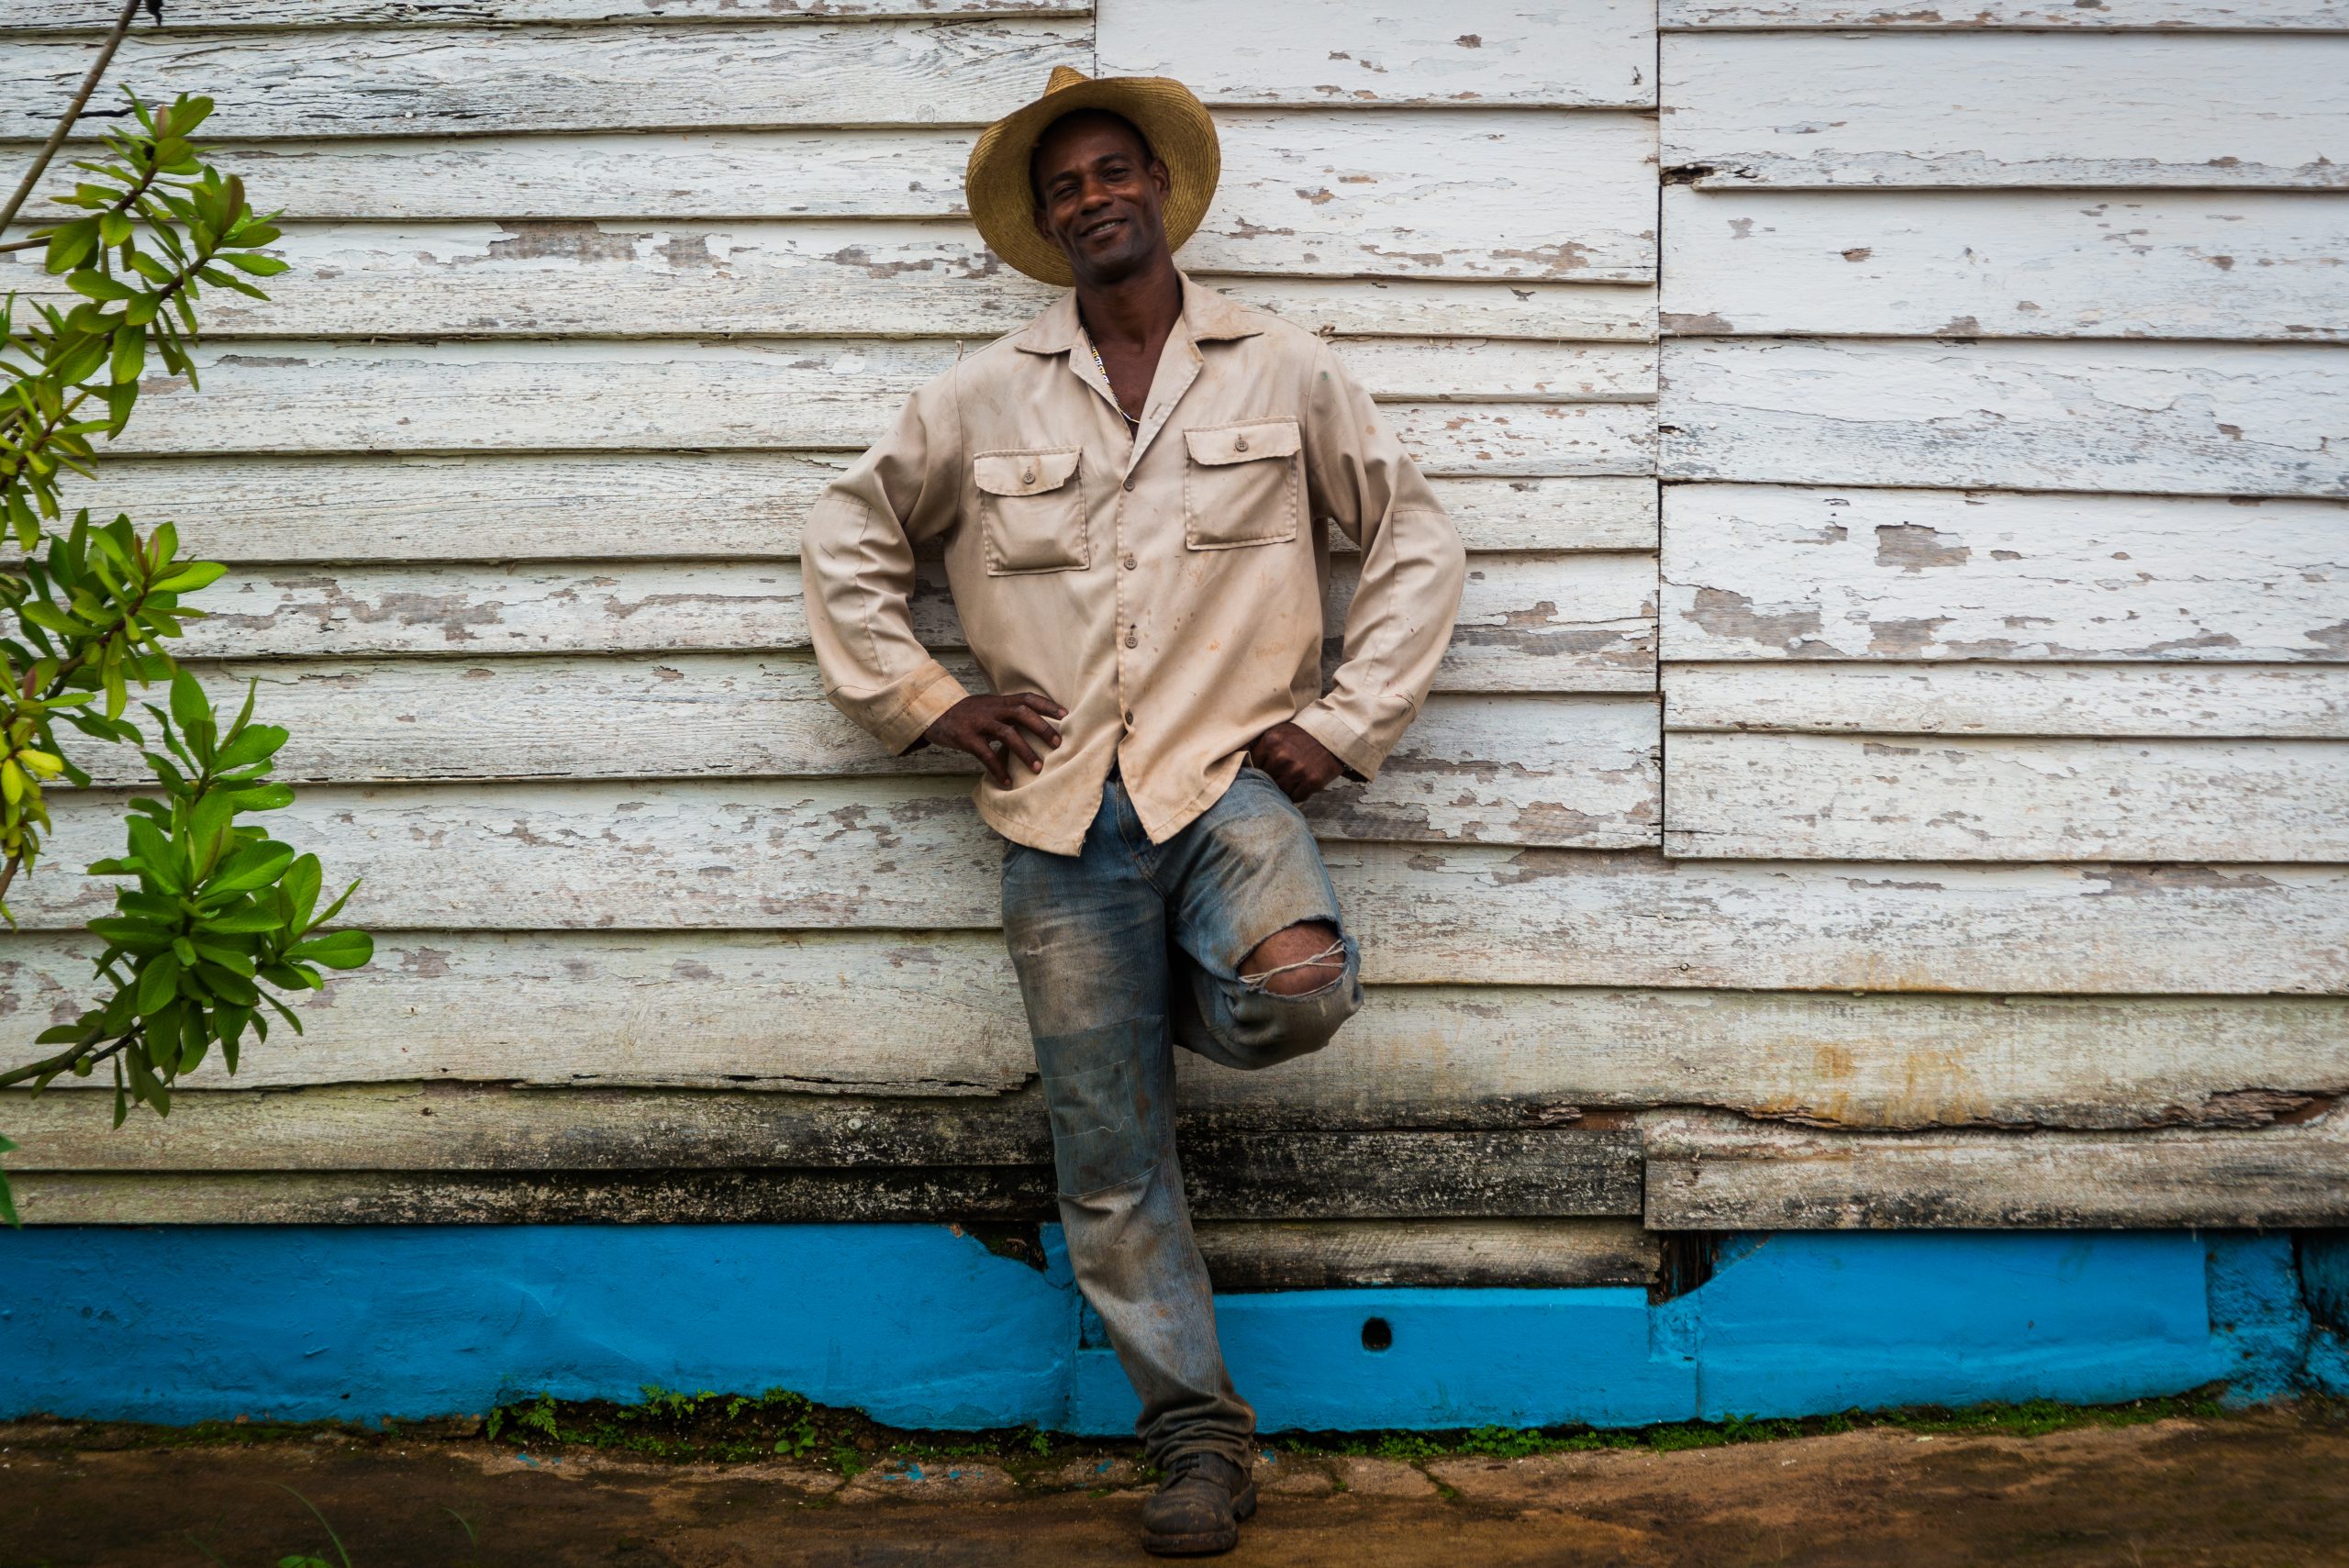
Eye enhancement tools are tempting because eyes are the first place a viewer looks. A small lift in brightness and clarity helps. A large one makes the whites too white and the irises too sharp, and the subject starts to look odd.
- Check the catchlights. They should match the light that was actually in the scene. If a tool adds or changes catchlights in a way that does not match your light source, undo it.
- Leave some veins and shadow. Perfectly white sclera looks artificial.
- Sharpen locally. Eyes, lips and a few strands of hair can take selective sharpening. The whole face usually should not.
- Zoom out to judge. Check the result at a normal viewing size, not only at 200 percent, since an edit that looks right zoomed in can look strong at normal size.
 Save
A hybrid workflow, step by step
This is a general workflow that many portrait photographers use. Adjust it to your software and your style.
1. Start with a clean raw file
Set white balance and exposure first in your raw editor, before any AI tool touches the image. Judge skin tone against a neutral reference if you have one, such as a gray card frame from the same session. You want an honest base so later edits do not have to fix color as well.
2. Let the AI do repetitive work, in small amounts
Use automated tools for the jobs that are slow by hand: spot removal, a first pass at skin evening and selecting the subject. Keep each effect modest. If a tool offers face reshaping, small changes are easier to defend than large ones, and many clients will notice an altered jaw before they notice anything else. If you reshape at all, use it only to undo lens distortion or an awkward angle, not to change who someone is.
3. Refine by hand
Manual work is where the portrait gets its feel. Dodge and burn with a low-opacity brush to add or restore the gentle highlights on the cheekbones and the bridge of the nose, and darken small distracting patches. This is slow, and that is the point: you are shaping light with intention. Sharpen selectively, and add a touch of contrast to the eyes only if they need it.
4. Do a final “real person” check
Compare the finished image with the original side by side. Ask whether the person would recognize themselves, and whether a friend would. Leave small, honest details in place, because they tell viewers this is a photograph of a real person.
Use AI masking for selection, not for taste
One of the most useful AI features is masking. Selecting a subject’s hair used to take a long time. Adobe’s Lightroom Classic help lists automatic masks for the subject, sky, background, objects and people, which you can then adjust with the normal sliders. Other editors offer similar selection tools.
This keeps your decisions in your hands. The tool handles the selection, and you decide the exposure, color and tone. You can brighten the face by a small amount, cool down a distracting background or darken a bright patch without applying one global filter across the whole picture. Edits made through masks also tend to look more natural because each part of the portrait gets its own treatment.
Common mistakes to avoid
- Letting presets decide. A one-click preset applies the same look to every face. Use it as a starting point at reduced strength.
- Stacking effects. Smoothing, eye enhancement and face reshaping at the same time compounds into an artificial look.
- Ignoring skin tone across a series. If you retouch one frame and leave the next, skin tones can drift. Sync or copy settings carefully, then check each image.
- Skipping the original. Always keep your raw file and work non-destructively so you can go back.
- Editing on a poor display. A badly set up screen hides color shifts. A calibrated display and a neutral room give you a fairer view of skin.
- Forgetting the client. Some clients want a stronger polish, others want almost none. Ask early, and show a before and after.
 Save
Retouching different kinds of portraits
The right amount of retouching depends on who you are photographing and why. These are general guidelines, not rules.
Older subjects. Lines and texture carry character, and removing them tends to look dishonest. Reduce deep shadows under the eyes if they are distracting, even out harsh color, and leave the structure of the face alone. Some of the strongest portraits keep almost every line.
Children. Children rarely need skin work. Clean up temporary marks, balance exposure and let expression do the work. Heavy smoothing on a child looks strange very quickly.
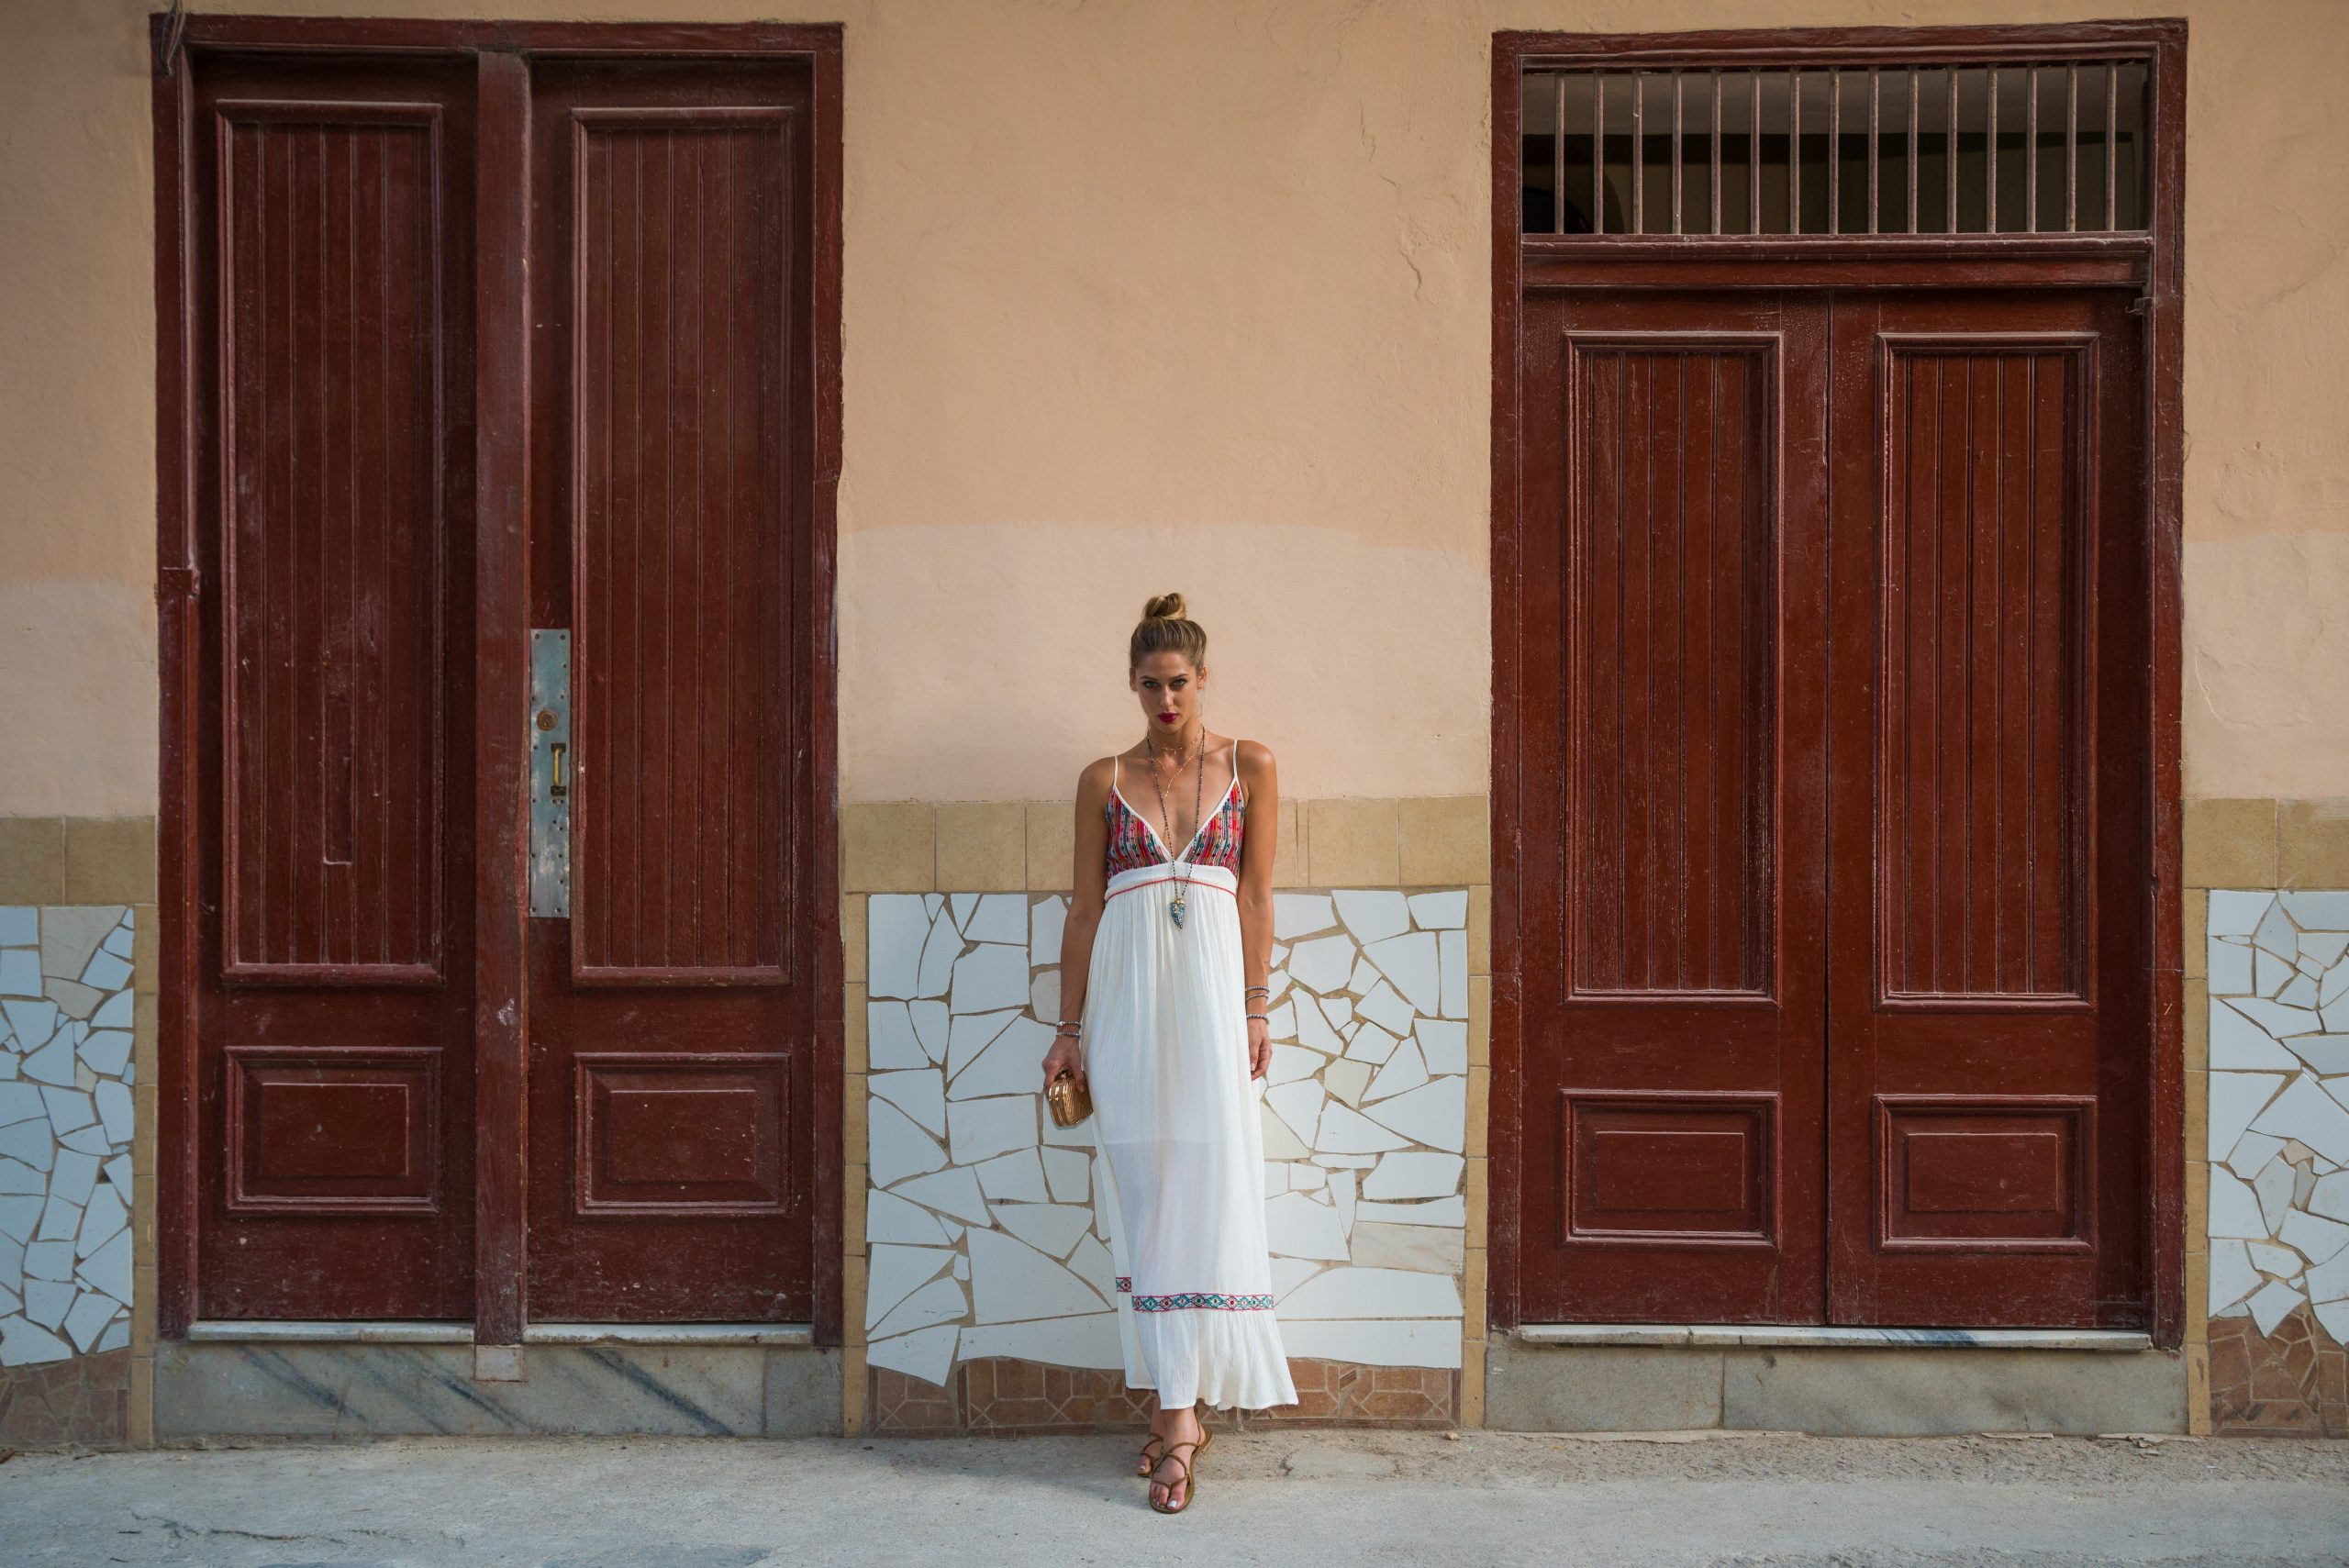
Fashion and styled shoots. Styled work often calls for a more polished look, and clients may expect it. Even then, keep fabric, metal and skin looking like real materials. Agree the level of polish with the client beforehand, so you are not guessing.
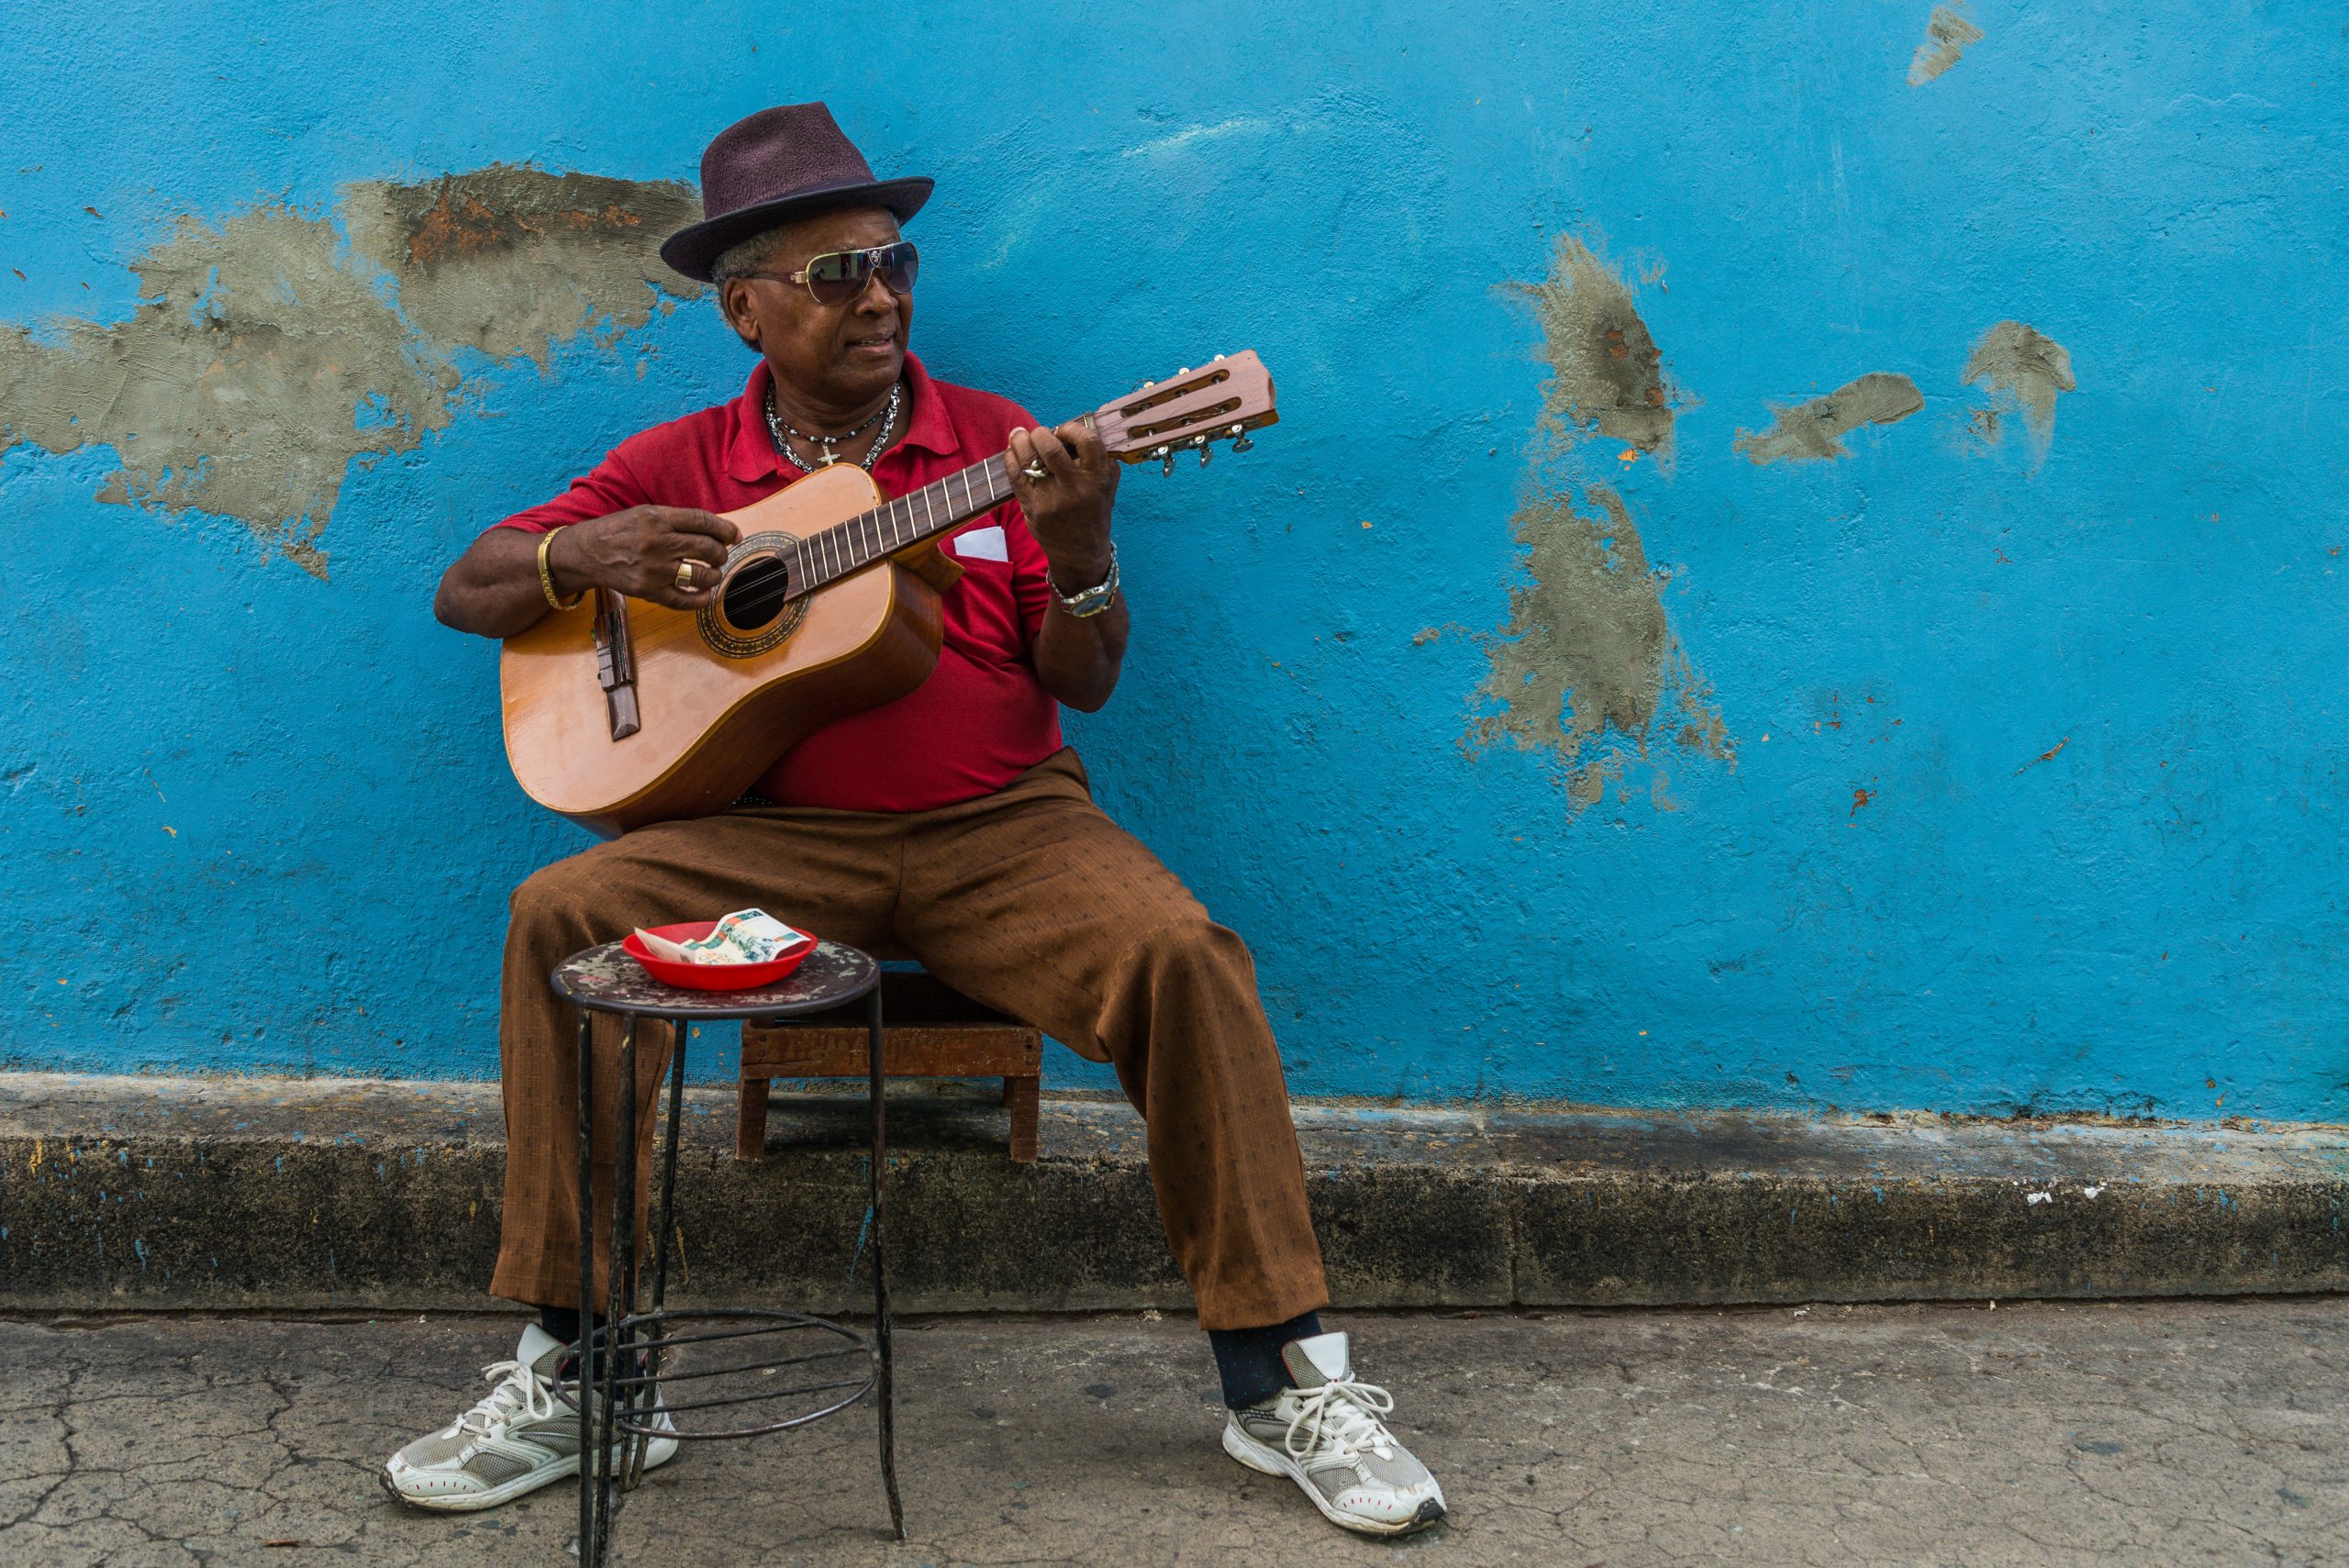
Street and documentary portraits. Treat these almost like reportage. Basic exposure, color and light cleanup are fine. Changing the person or the scene is not, and it can change what the picture claims to show.
 Save
Keep a consistent look across a session
A session produces dozens of frames that should look like they belong together. Choose a hero frame, finish it fully and use it as a reference. Then copy or sync only the settings that should carry over, such as white balance, exposure and tone, and check every image individually, since small differences in light and pose can make the same setting look different. Review the whole set side by side at a small size, and look for frames where skin tone or sharpness drifts. A quick pass at thumbnail size catches inconsistencies that are easy to miss one image at a time.
Save your adjustments as a preset only after you have tested them on several faces. A setting that flatters one skin tone or age can look wrong on another. When in doubt, build a milder version for general use and add strength by hand where it is needed.
Work non-destructively
Keep your raw files untouched and use editing methods that can be reversed, such as adjustment layers, masks and virtual copies. Name versions clearly, and keep one clean master you can return to when a client asks for less retouching a month later, which happens more often than you might expect. Export a full-size reference and compare it to the original on a calibrated display before delivering.
Honesty and disclosure
Retouching raises real questions about honesty, especially when images show real people. A few simple habits help. Do not change a person’s body or face in ways they did not ask for, and do not present an edited image as an unedited one if the context implies it is unedited, such as news or documentary work. For commercial and editorial jobs, check the client’s and the publication’s rules on retouching and on AI-generated or AI-altered content, because they differ and they change. For anything beyond routine cleanup, a short conversation with the subject builds trust.
Build the skill before you buy the tool
AI retouching tools reward photographers who already know what a good portrait looks like. Study your own work. Compare a frame with and without each adjustment. Look at portraits you admire and notice how much visible texture and imperfection they keep. If you want to build the fundamentals alongside your editing, our portrait photography hub is a good place to continue, and the same discipline that applies to light applies to retouching: simple, deliberate, repeatable choices beat clever shortcuts. If you shoot at golden hour, the guide to golden hour photography shows how warm, low light can reduce the need for retouching in the first place.
Wrapping up
AI can save hours of tedious work, and used with restraint it can make good portraits better. Keep the structure of your light, keep the texture of the skin, keep the eyes believable and keep a person at the end of the process. If the person in the final image would not recognize themselves, you have gone too far.
 Save
For the volume side of the same workflow, see AI Portrait Retouching Software for Volume Photographers.
Frequently Asked Questions
Does AI retouching make portraits look fake?
It can, when effects are strong or stacked. Reducing the strength of skin smoothing and eye enhancement, keeping texture and checking the result at normal viewing size helps keep a portrait natural.
How much skin smoothing is too much?
There is no fixed number, because it depends on the tool and the image. A practical approach is to start with a fraction of the suggested setting, compare before and after at 100 percent and stop when pores and fine texture are still visible.
Should I retouch skin before or after color grading?
Many photographers set white balance and exposure first, then retouch, then apply creative color. This keeps skin tones honest while you work. Your own workflow may differ.
Can I use AI masking and still keep a natural look?
Yes. Masks handle the selection and you decide the adjustments. Because edits are targeted instead of global, they often look more natural than a single filter across the whole image.
Do I need to tell clients I used AI retouching?
Check the contract and the client’s or publication’s rules. Rules on retouching and AI-altered images vary, so ask early and show before and after versions if the client wants to see them.
Want to go further? The ShutYourAperture Academy has a Portrait Photography course that covers light, posing and working with subjects.
Gear box: get the photograph right first
Retouching works best on a clean file. A fast prime, a small continuous light and steady support help you get the photograph right first.
Manfrotto Befree Advanced Travel Tripod with 494 Ball Head
Stable support for long exposures
Affiliate disclosure: We may earn a commission from qualifying purchases through the Amazon and B&H links, at no extra cost to you. Software and editing advice in this guide is based on the makers’ published pages and common retouching practice, not on sponsored testing or our own comparison of these apps. All photos in this guide are from our own photography archive and are shown as examples of portraits, not as before and after retouching comparisons.