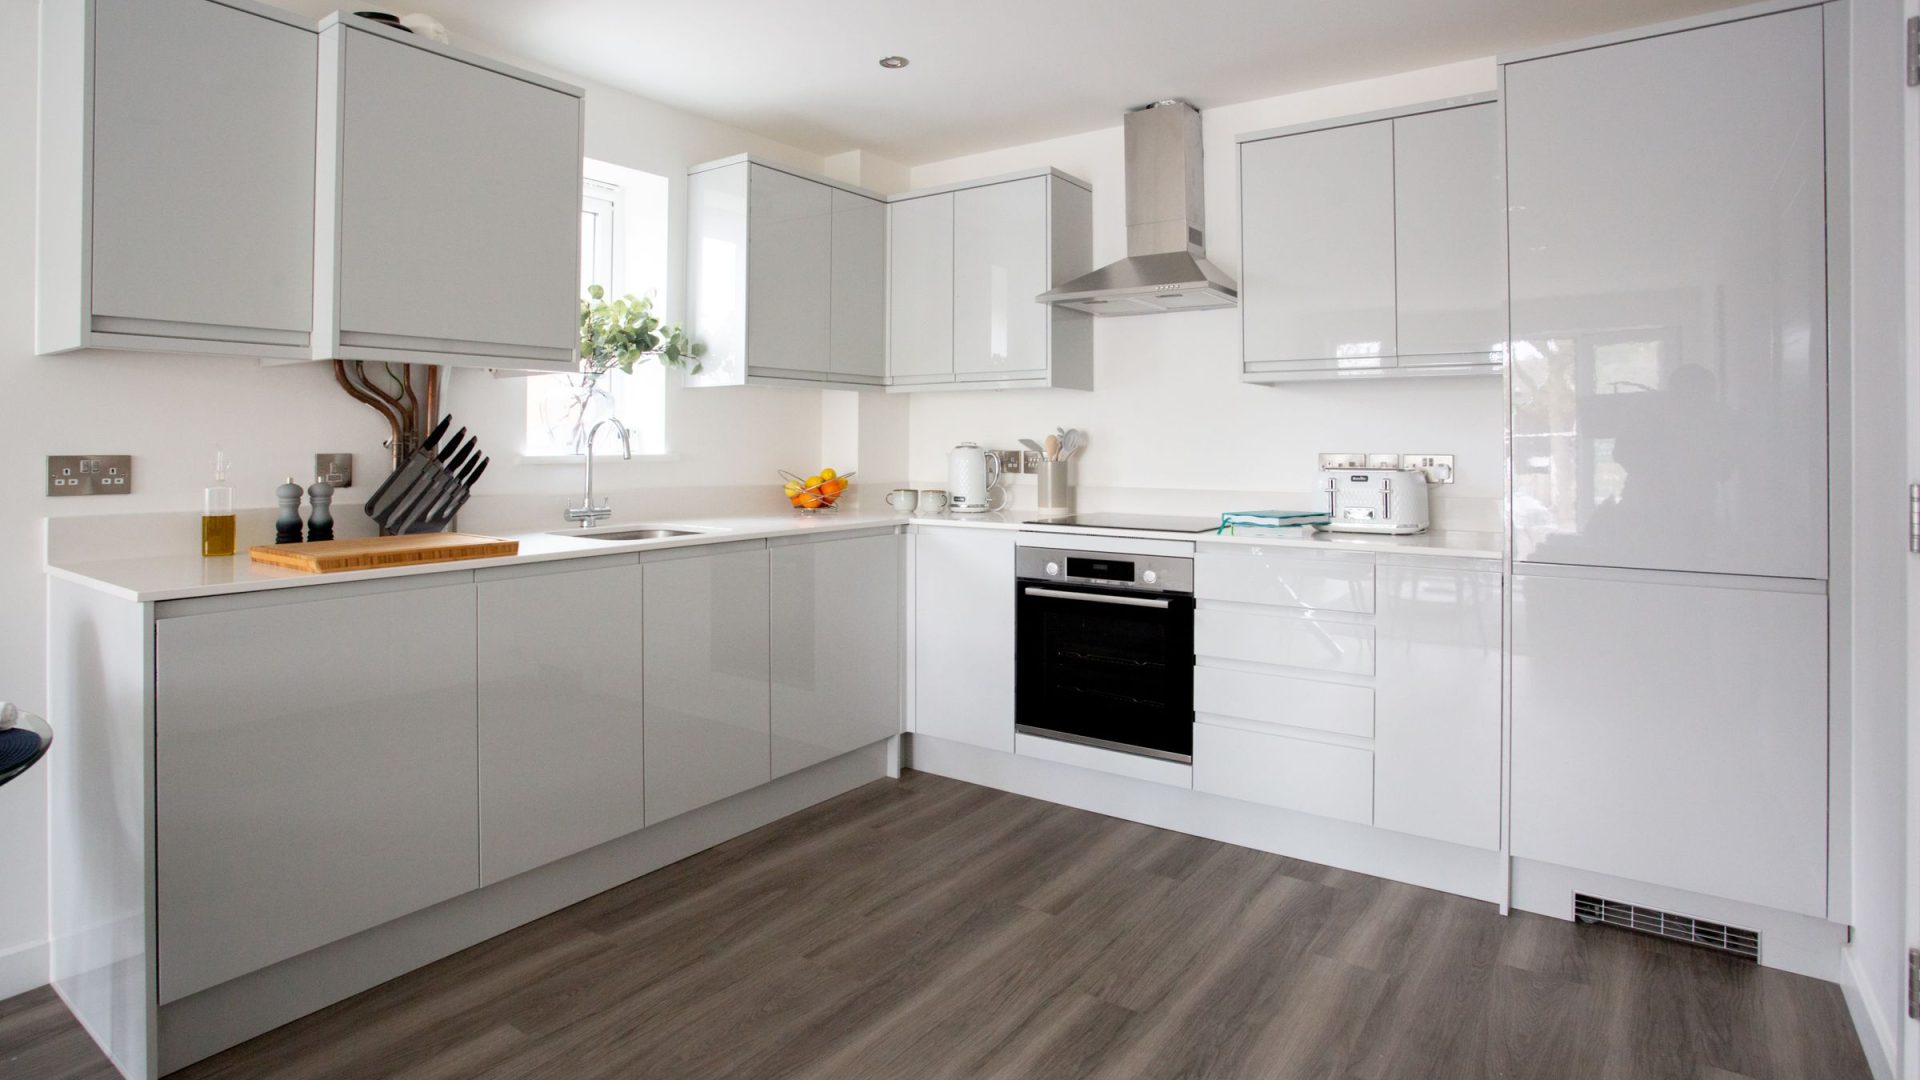
Kitchens sell houses, and they are the hardest room in the property to photograph well: reflective surfaces everywhere, mixed lighting, tight working space, and clutter that reads ten times worse on camera than in person. This guide covers the settings, lighting approach, composition, and editing that produce kitchen photos agents put at the top of the listing.
Camera Settings for Kitchen Photography
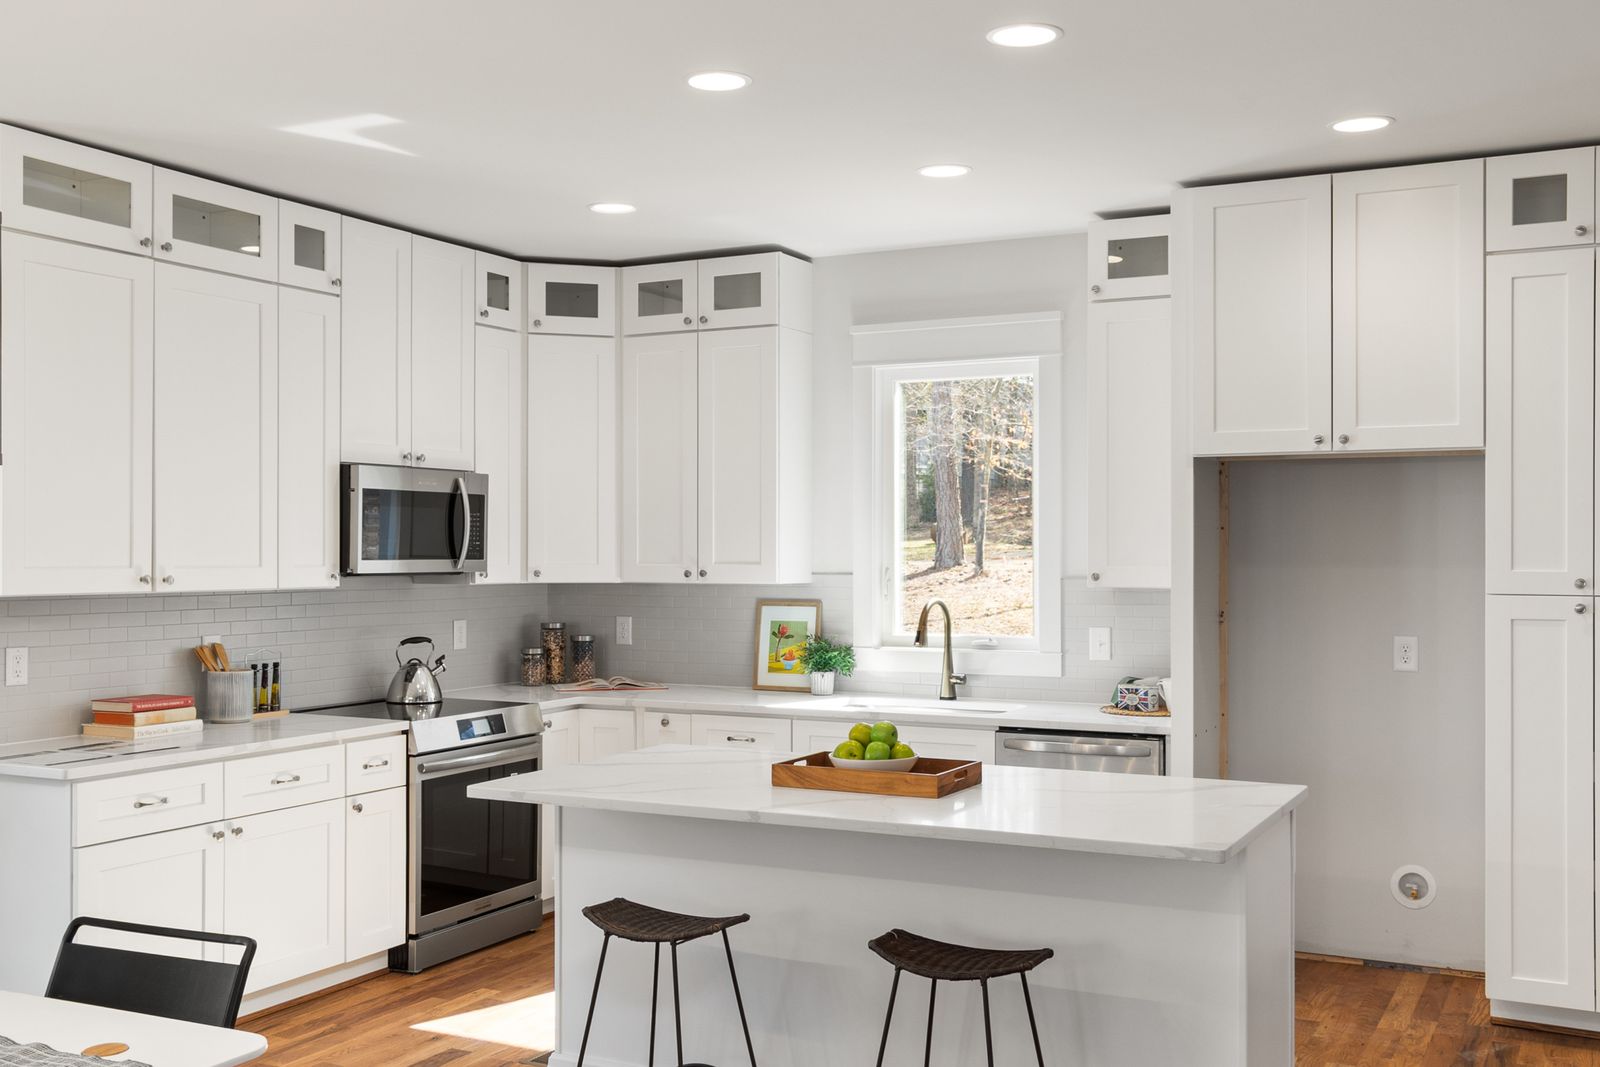
Work from a tripod. Kitchens reward small apertures and low ISO, which means shutter speeds too slow for handheld shooting. The baseline: aperture at f/8 to f/11 for front-to-back sharpness, ISO at 100 to 400 to keep the files clean, and shutter speed wherever the meter lands. A 16-35mm class wide-angle lens covers most kitchens; go wider than 16mm only when the room demands it, because ultra-wide distortion bends cabinet lines in ways buyers notice.
 Save
Bracket exposures in kitchens with bright windows: one frame for the room, one for the window view. Blending beats a single compromised exposure every time.
Lighting a Kitchen
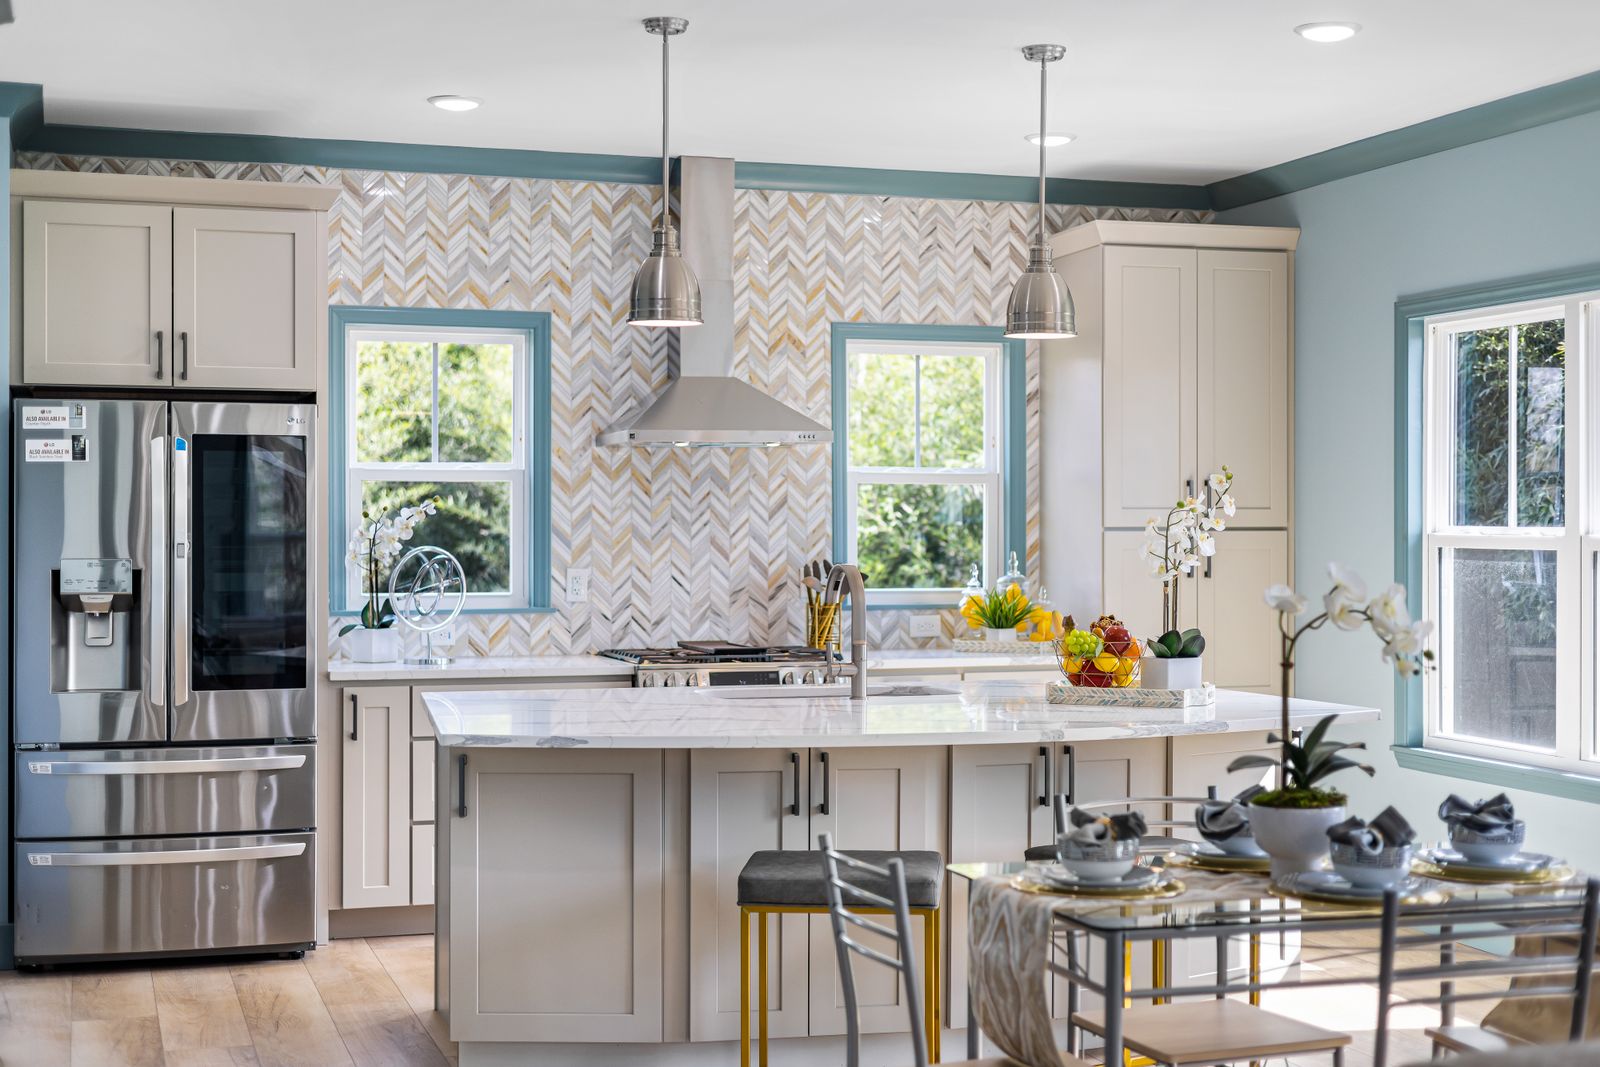
Start by turning on every light in the kitchen: pendants, under-cabinet strips, range hood, recessed cans. Under-cabinet lighting especially transforms the shot, adding warmth and depth to the counter work zones. Then check the bulbs: mixed color temperatures (a warm pendant next to a cool LED recessed light) create patches of orange and blue that no white balance can fix globally. If the bulbs clash, pick the dominant source and turn the offenders off.
 Save
Window light is your friend when it is soft. Direct sun through a kitchen window creates hot spots on counters and floors that pull the eye; schedule around it or wait for cloud. A single off-camera flash bounced off the ceiling fills shadows on the far side of the room without looking flashed.
Composition and Staging
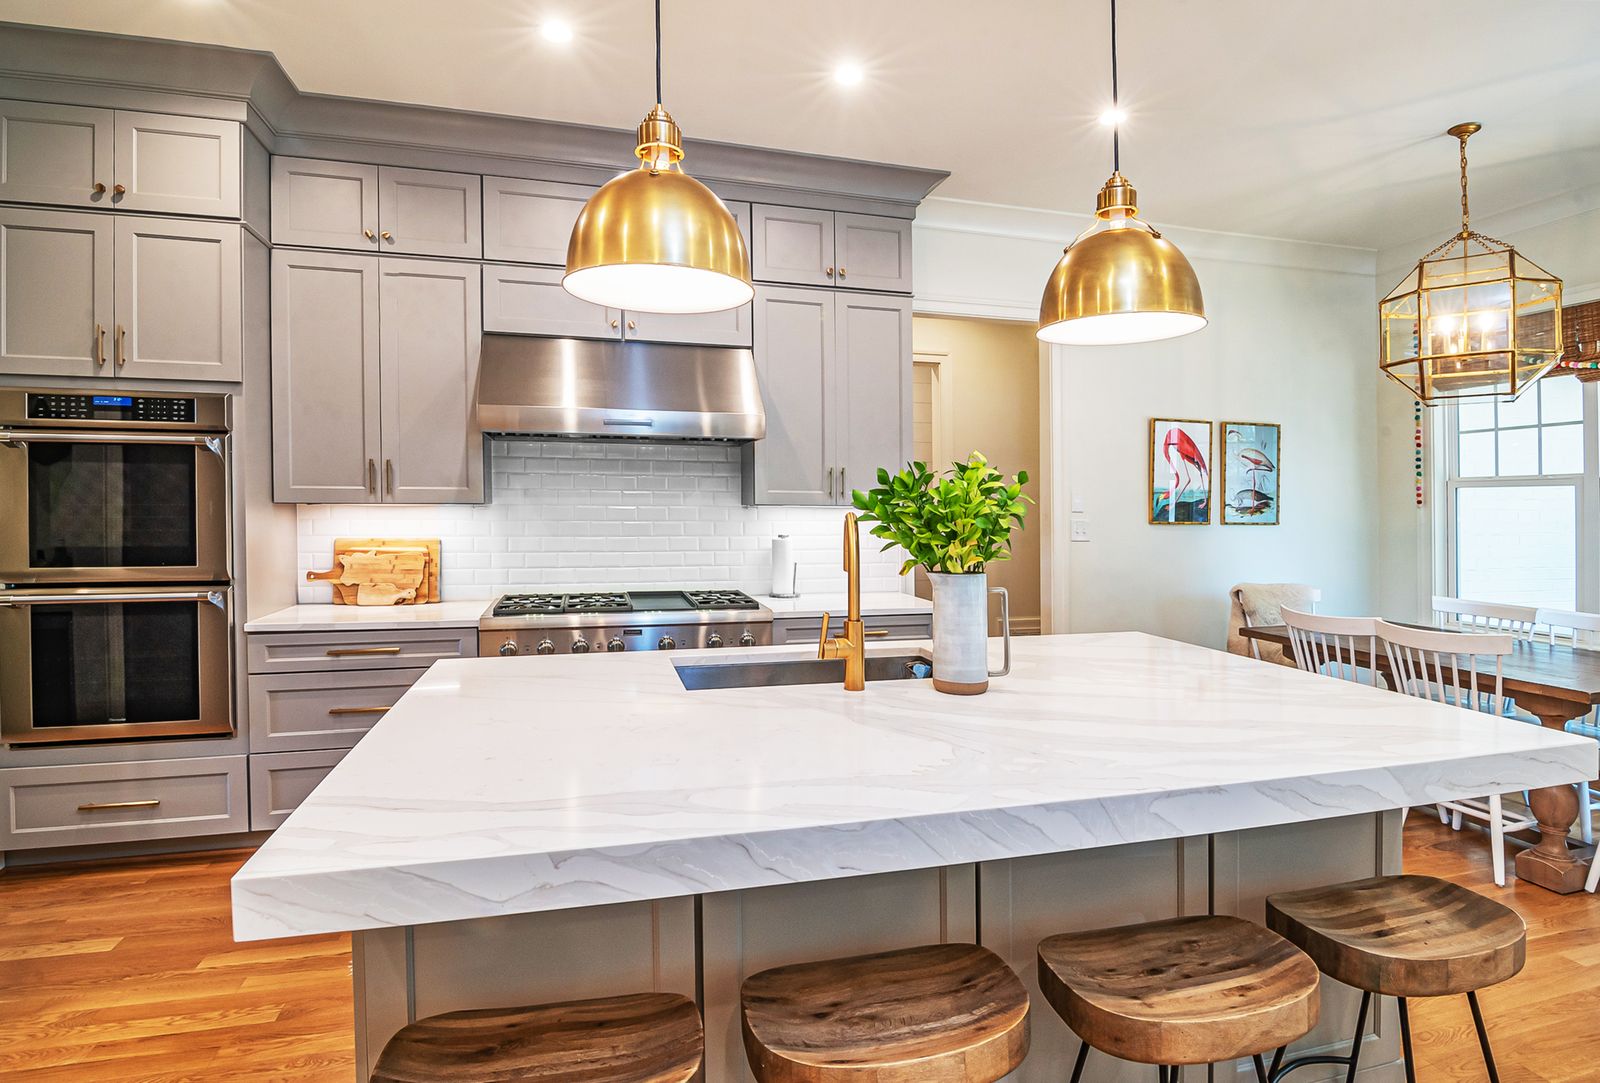
Shoot from the doorway or a corner to show the most cabinetry, appliances, and workspace in one frame. Keep the camera at chest height, around four to five feet: countertop height reads as a snapshot, ceiling height distorts the room. Vertical lines must be perfectly vertical. If the cabinets lean in the frame, fix it in camera first and in the edit second.
 Save
Staging is half the job. Clear counters down to two or three deliberate items: a cutting board, a plant, a bowl of fruit. Hide the dish soap, sponge, paper towels, and every magnet on the refrigerator. Stainless steel and glass-front cabinets reflect the camera and the photographer; check your angles for your own reflection before you leave the shoot.
Want to go further? The ShutYourAperture Academy’s Edit Like You Mean It: The Complete Lightroom Editing Course (10 modules, 42+ lessons) is built to help you learn to edit with a clear workflow, from catalog organization to color.
Editing Kitchen Photos
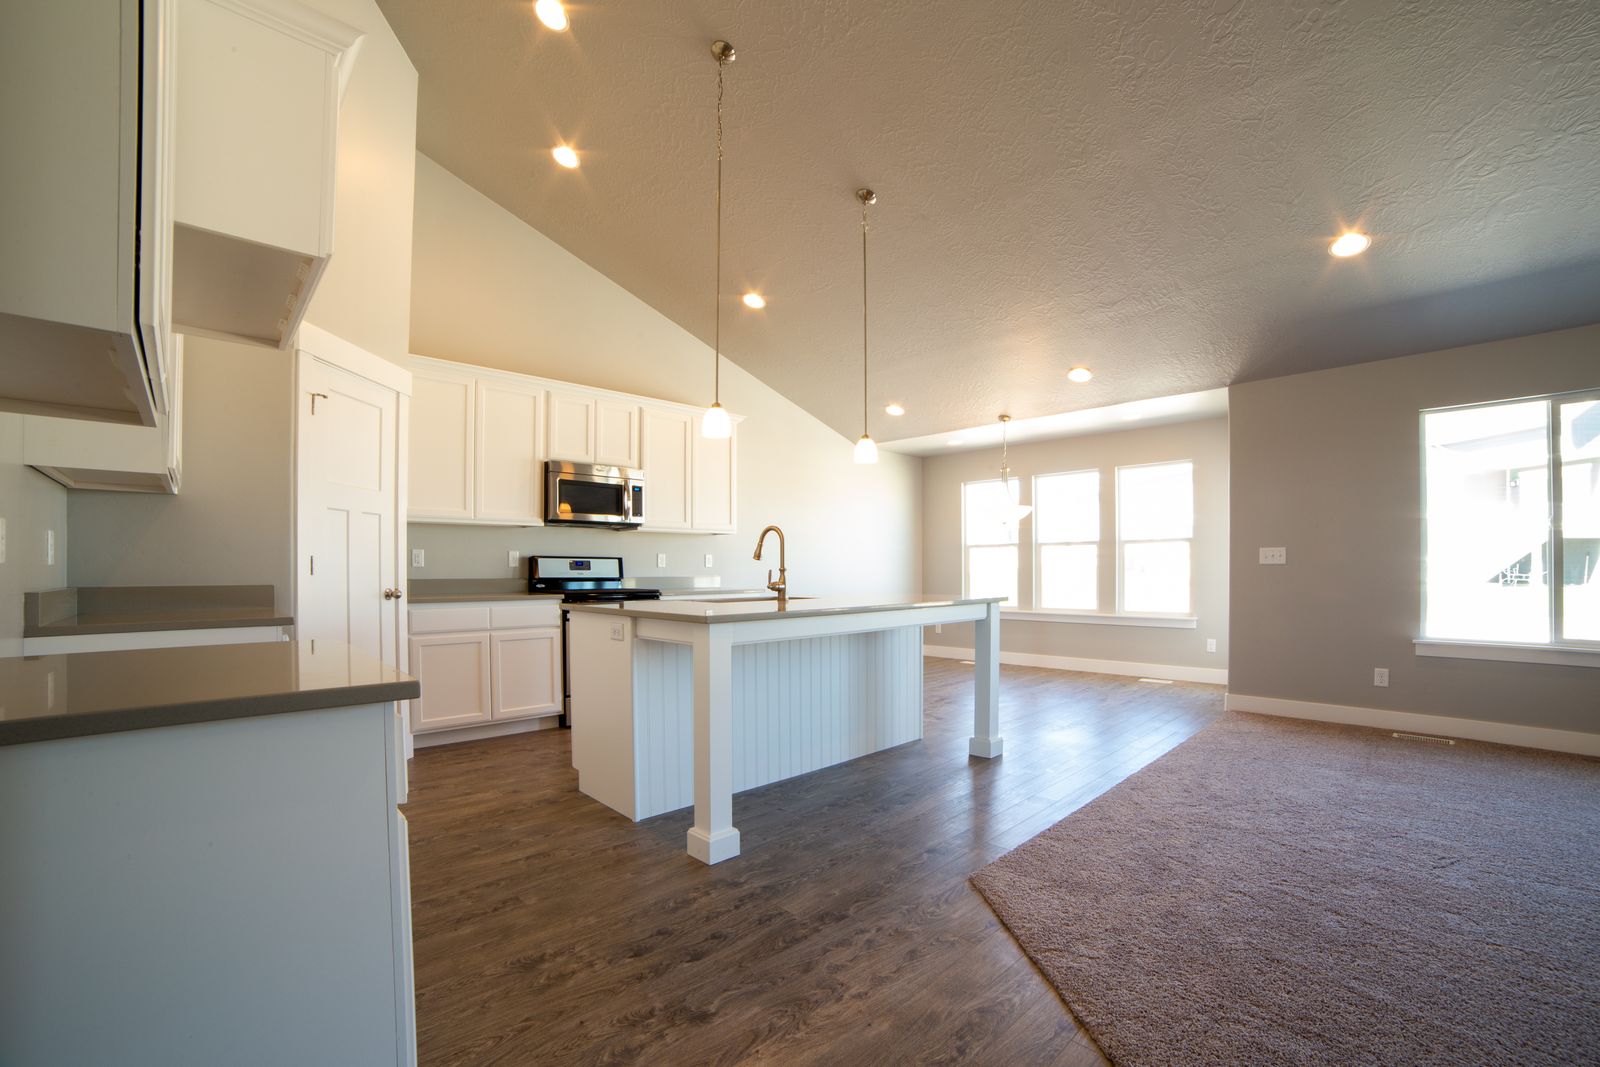
The kitchen edit has three predictable problems. First, white balance: warm tungsten pendants against cool window light. Set a compromise temperature, then use local adjustments on the worst areas. Second, orange casts on walls and cabinets: pull orange saturation down in HSL and the room stops looking pumpkin. Third, windows: pull highlights hard or blend the bracketed window frame so the view survives.
 Save
A preset built for interiors handles the global correction in one click; the per-image work is white balance sampling and window recovery. The Real Estate Preset System includes interior looks tuned for exactly these mixed-light kitchens among its 88 presets, and the free starter pack in our Lightroom presets guide is the no-cost way to test the workflow on your next shoot.
Support for a stationary kitchen setup
A Peak Design Aluminum Travel Tripod is one support option for a stationary kitchen setup. Check the full camera-and-lens weight, plate fit and working height before buying. Inspect the locks, keep exits clear and keep the setup away from active cooking surfaces. This is a support link, not a promise about sharpness, exposure blending or a property sale. Compare the current retailer specifications; no hands-on test, price or stock promise is being made here.
Compare Peak Design Aluminum Travel Tripod on Amazon | Check Peak Design Aluminum Travel Tripod at B&H
Affiliate disclosure: We may earn a commission from qualifying purchases through these gear links at no extra cost to you. As an Amazon Associate, Shut Your Aperture earns from qualifying purchases.