
Updated October 2026
A good sunset photo is rarely about luck. It comes from planning where the sun will set, picking a foreground, setting your exposure before the colors peak, and staying put after the sun is gone. This guide walks through every step: timing, gear, camera settings, composition, and the small habits that turn a flat orange sky into a frame worth printing.
The photos in this post come from Edin’s own library, shot along the Florida coast, and each one is used below to show a composition idea.
 Save
Start with the light, not the sky
Sunset color depends on light passing through the atmosphere at a low angle. The sun sits near the horizon, its light travels through more air, and the shorter blue wavelengths scatter away. What is left is orange and red. Clouds catch that light and bounce it back, which is why a sky with some clouds usually beats a perfectly clear one. A cloudless sky gives you a glow near the horizon and not much else. A sky with scattered mid-level and high clouds gives you something to light up.
Check the forecast for cloud cover before you go, and look at the sky around you in the hour beforehand. Heavy overcast that covers everything often blocks the light. A gap in the clouds on the horizon, where the sun can slip underneath, is a good sign.
Plan the location and timing
- Know where the sun sets. The point on the horizon changes through the year. Apps like PhotoPills or The Photographer’s Ephemeris show the exact direction and time for any date, so you can pick a spot in advance.
- Arrive early. Plan to be set up 45 to 60 minutes before sunset. This gives you time to find a composition, set up the tripod and take test shots in the golden hour light.
- Stay late. The best color often shows up 10 to 30 minutes after the sun drops below the horizon. Many people pack up at sunset and miss the part that has the deepest color. This post-sunset glow is often called the afterglow.
- Scout in daylight. Visiting a spot earlier in the day shows you where the shoreline, trees or rocks are, and where you can safely stand once the light fades.
- Pick the right season. Humidity, dust and weather patterns change sunset color through the year. Do not give up after one flat evening.
The gear you actually need
You can shoot a sunset with any camera, including a phone. A few extras make things easier and more reliable.
- A tripod. As the light drops, your shutter speeds get longer. A tripod keeps everything sharp and lets you take multiple exposures of the same scene.
- A wide-angle lens. A lens around 16 to 35mm gives you the sky and the foreground. A short telephoto, around 70 to 200mm, lets you isolate the sun and make it look big.
- A remote or a 2-second timer. This avoids camera shake when you press the shutter.
- Graduated or neutral density filters. Optional. They darken the sky so the foreground can be exposed properly in one frame.
- Extra batteries and a headlamp. You will walk back in the dark.
 Save
Camera settings for sunsets
- Shoot RAW. Sunsets have a huge range between the bright sky and the dark ground. RAW keeps more detail in both, and gives you more freedom when you edit. Our post on why you should shoot RAW explains it.
- Use Aperture Priority or Manual. Start at f/8 to f/11 for a landscape, so everything from the foreground to the horizon is sharp.
- Keep ISO low. ISO 100 to 200 gives the cleanest image. Raise it only if you cannot hold the shot any other way.
- Meter for the sky. Expose for the brightest important part of the scene, so the colors do not blow out. Then check the histogram, not just the screen. If the right edge is clipped, reduce the exposure.
- Use exposure compensation. Many sunsets look better one-half to one full stop underexposed. This deepens the colors and keeps detail in the clouds.
- Set white balance to Daylight or Cloudy. Auto white balance tends to cool down warm light and weaken the colors. In RAW you can change it later, but starting with Daylight keeps what you see on the screen closer to what you saw.
- Focus carefully. Use live view to focus on a point about one third of the way into the scene, or use manual focus. Do not rely on the camera to focus on a dim horizon.
If you want to understand how these settings work together, the aperture course in the Academy explains depth of field in a clear, step-by-step way.
Handling the contrast
The sky is far brighter than the ground at sunset, and a camera cannot capture both in one frame as well as your eyes do. You have a few options.
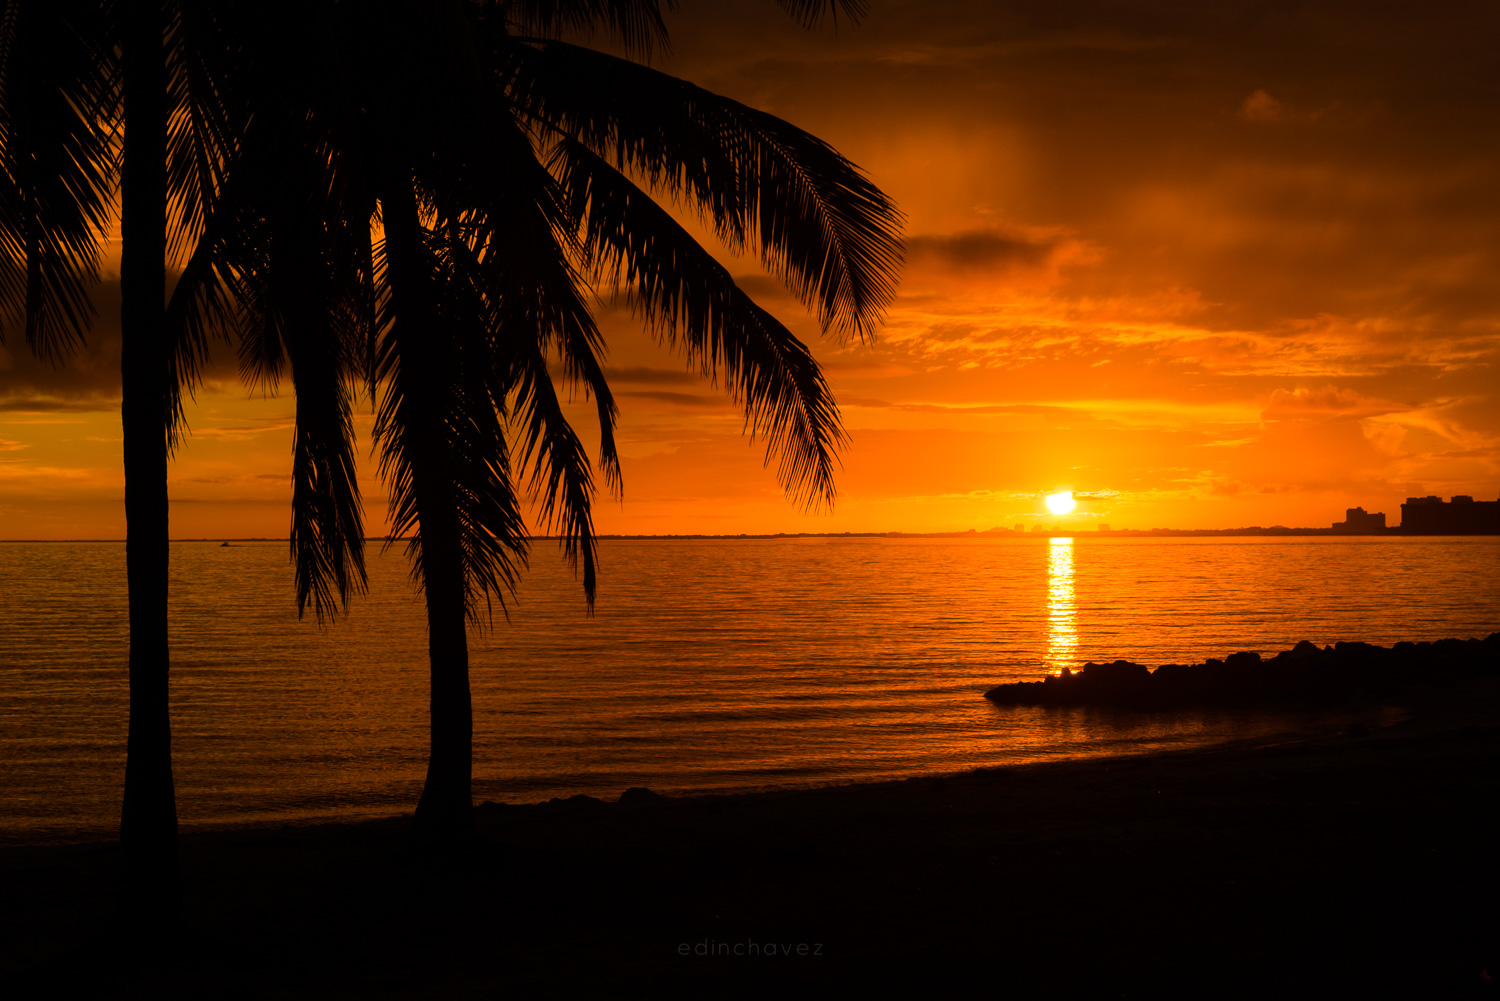
- Embrace the silhouette. Expose for the sky and let the foreground go black. This is a classic look, and it is easy to get right. The palm trees above are a good example.
- Use a graduated ND filter. It darkens the sky and leaves the foreground untouched.
- Bracket your exposures. Take three to five frames, from darker to brighter, and blend them later. A tripod keeps everything lined up.
- Shoot RAW and lift the shadows. Modern sensors hold a lot of detail in the dark areas, and you can raise them in editing.
 Save
Composition that works
Composition is where most sunset photos succeed or fail. The sky is beautiful on its own, but a photo needs a reason to exist beyond a pretty color.
Give the eye a subject
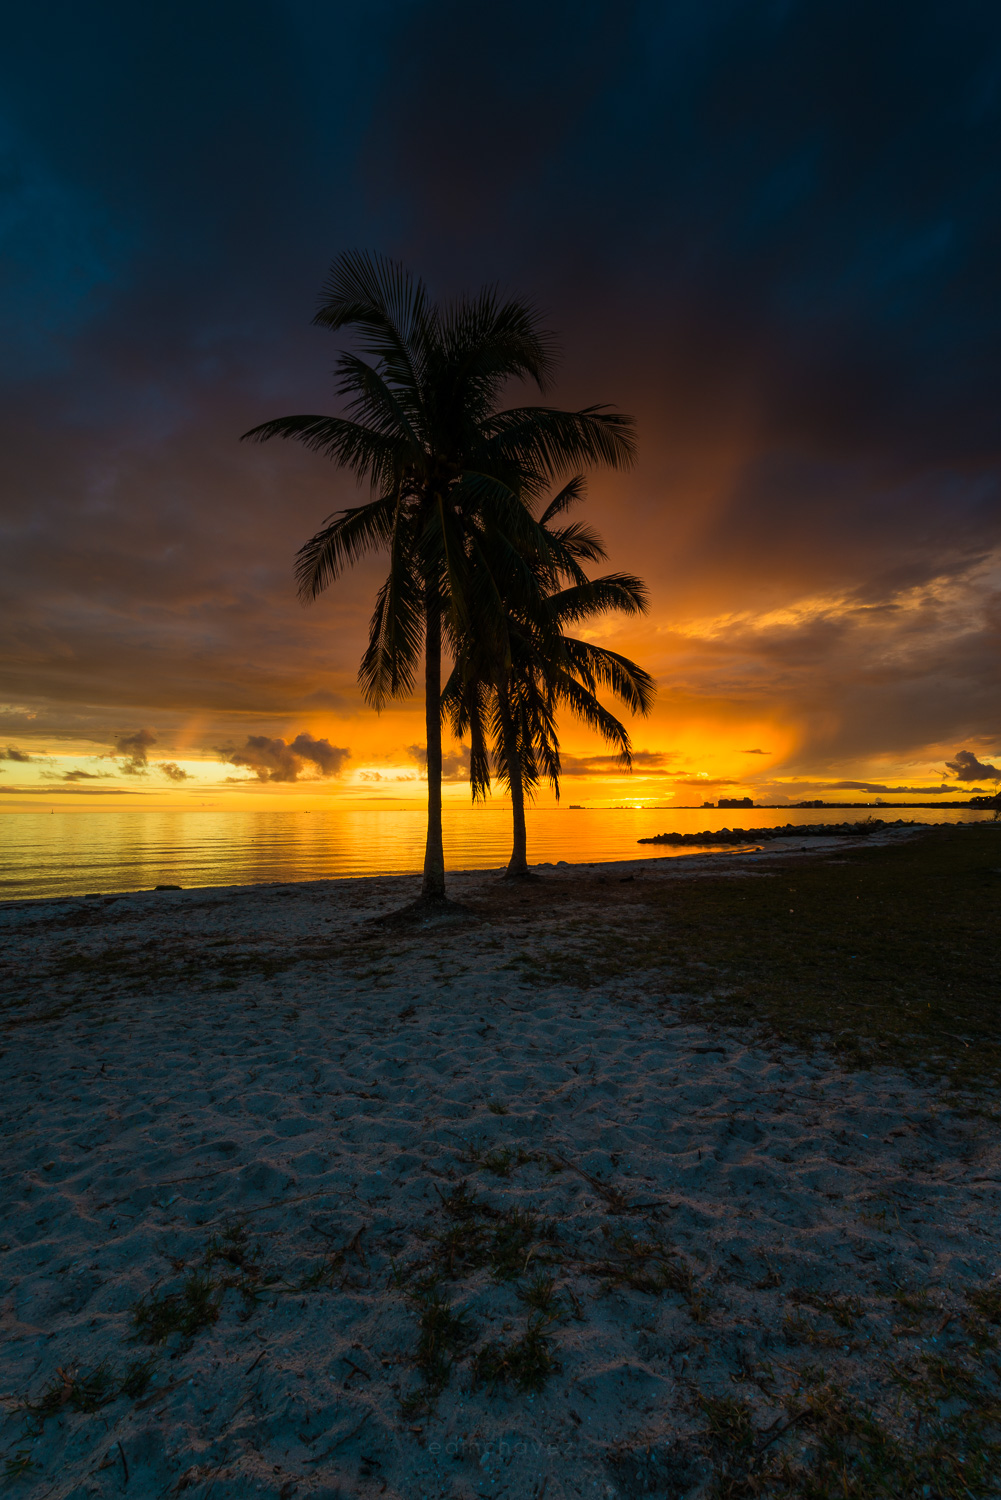
A tree, a pier, a rock, a boat, a person or a building turns a sky into a scene. Place your subject on one of the third lines of the frame instead of in the center, and see how the balance changes.
Use the rule of thirds for the horizon
If the sky is the star, put the horizon on the lower third line and give it two thirds of the frame. If the foreground has interesting texture, flip it, and put the horizon on the upper third line. Avoid cutting the frame exactly in half.
Add leading lines
Shorelines, fences, roads, wave patterns and rows of rocks pull the eye toward the sun. Look at the ground, not just the sky.
Look for reflections
Wet sand, tide pools, puddles and calm water repeat the color of the sky. They double the impact. Get low and place the camera close to the surface.
Use foreground layers
Include something close to the lens, something in the middle and the sky in the back. This gives the image depth. Aperture of f/11 and a focus point about a third of the way into the scene keeps it all sharp.
Try a vertical frame
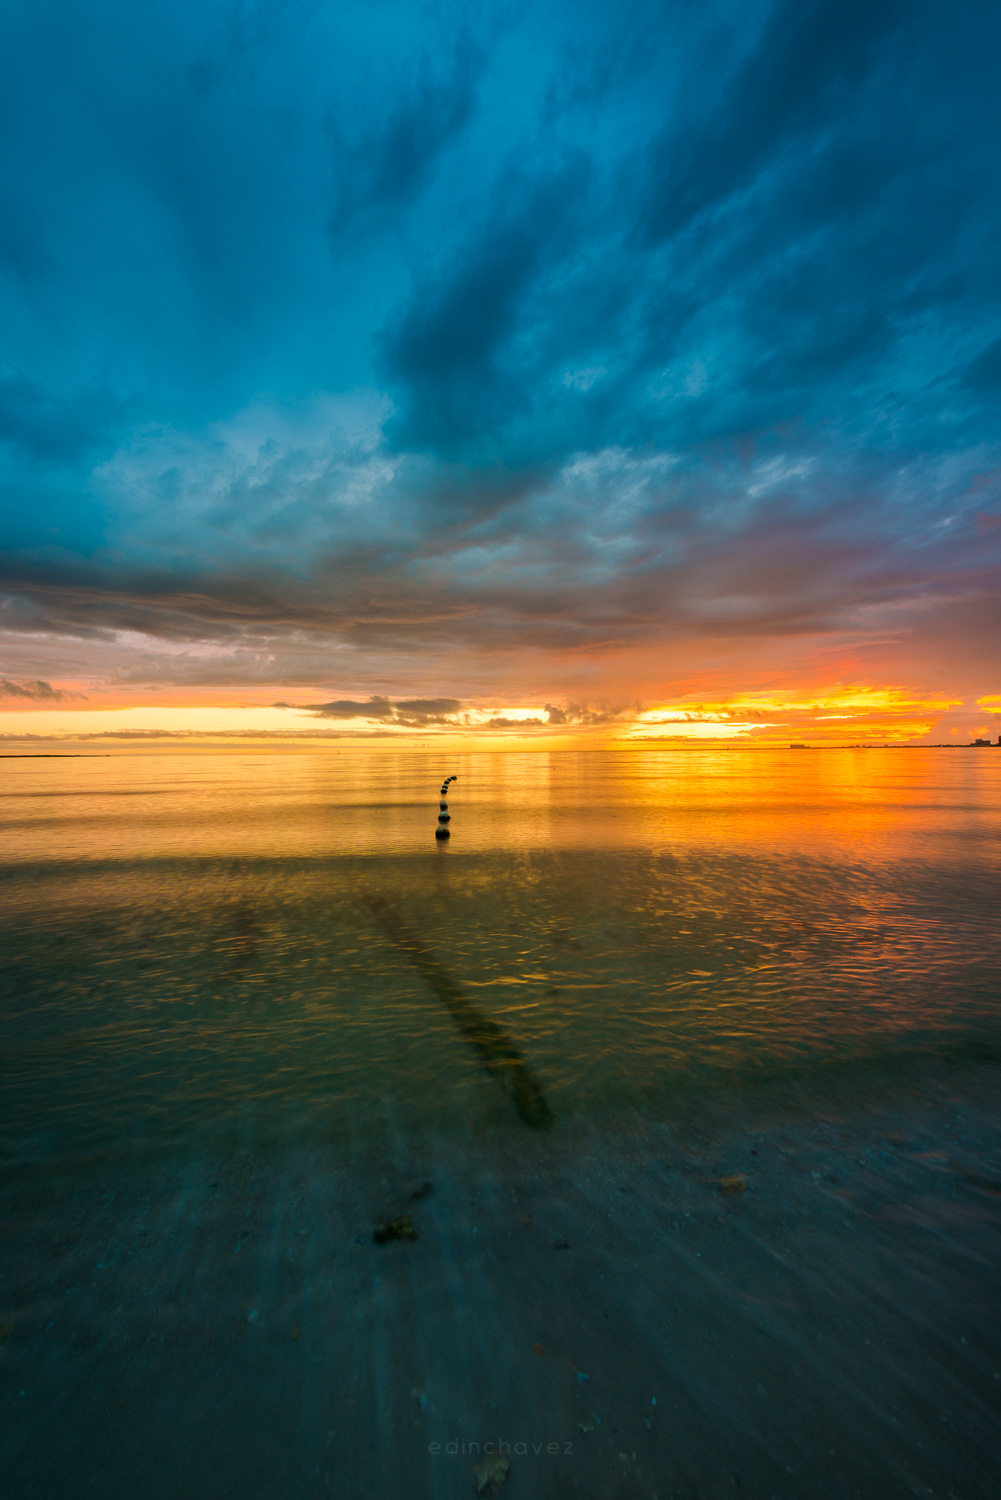
The blue and teal image above is vertical because the clouds stack upward. Rotate the camera and see if the scene works better in that direction.
Use the sun as a point of light
For a sunburst, stop down to f/16 or smaller and let the sun peek through a gap, such as behind a tree or a building edge. The small aperture creates star-shaped rays. Take care not to look into the sun through the viewfinder at midday, and use live view when the sun is high.
 Save
Long exposures at sunset
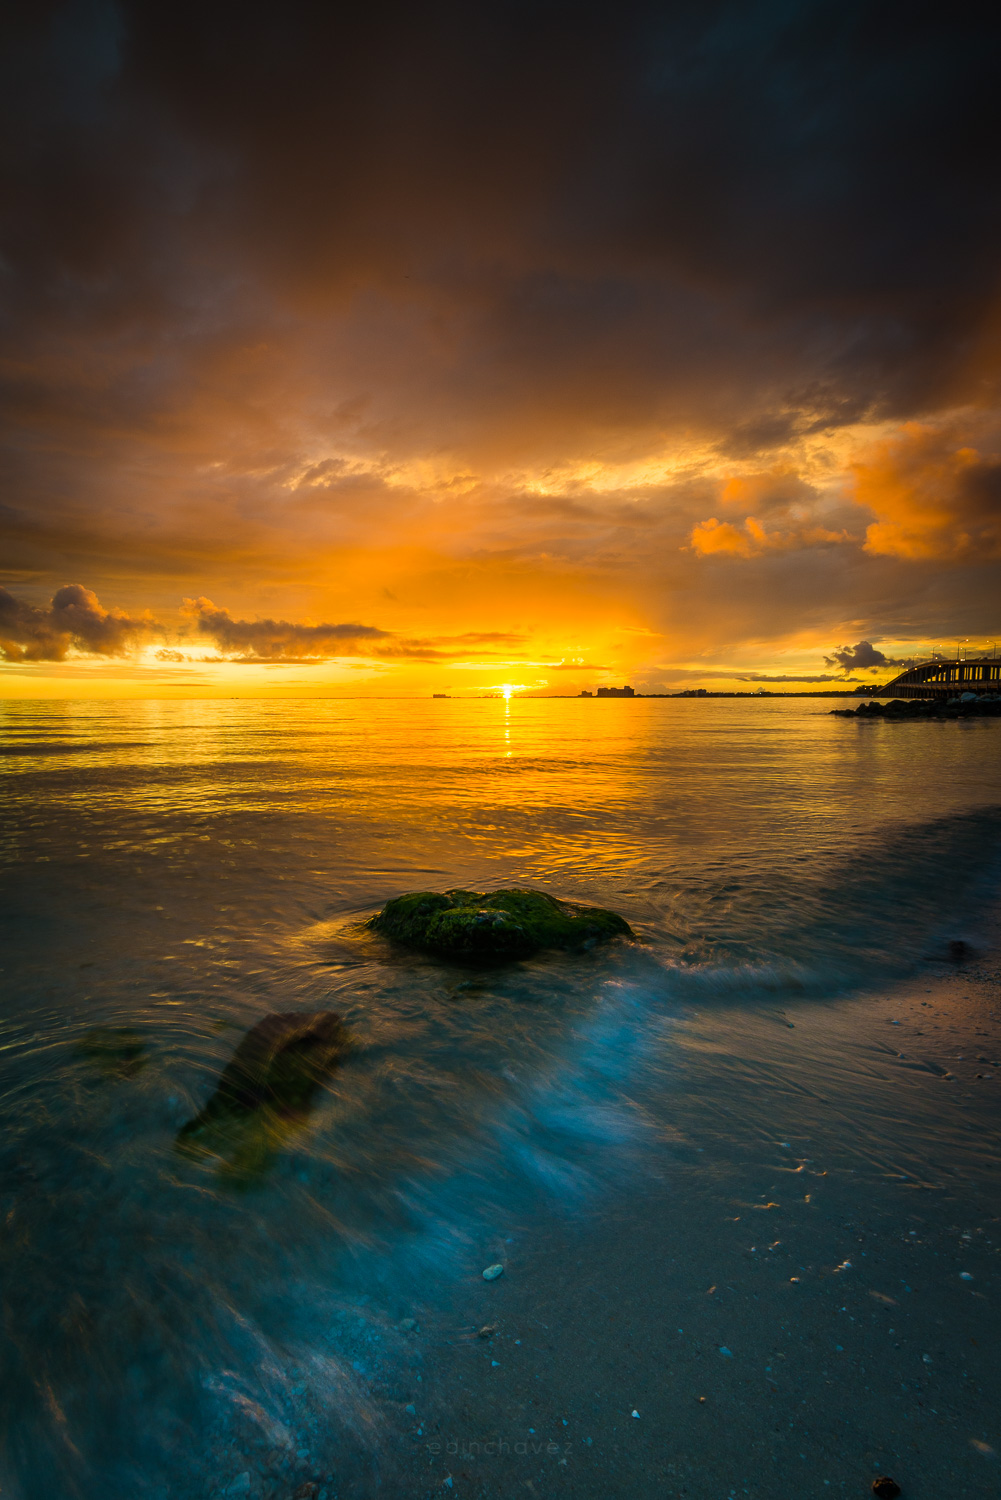
When the light fades, you can slow the shutter down for a smooth, soft look in water and clouds. Set up the tripod, use a low ISO, and choose a small aperture. At f/11 and ISO 100 you may reach a shutter speed of a few seconds near dusk, and even longer with a neutral density filter. Moving water becomes a smooth surface, and clouds stretch into soft lines. Keep an eye on the highlights, as long exposures can brighten the sky more than you expect.
The photo below shows what a longer exposure does to waves washing past a rock: the water turns into a soft blur while the rock stays sharp.
 Save
Shooting a sunset with your phone
Phones do surprisingly well at sunsets. A few habits make a big difference.
- Tap the sky to set exposure, and slide the brightness down a little to protect the colors.
- Lock focus and exposure so they do not shift while you frame.
- Use a small tripod or lean the phone on something solid for low light.
- Clean the lens. A smudge turns the sun into a blurry flare.
- Try night mode after the sun has set, but keep the phone still.
For more on getting the most from a phone camera, read our 8 DIY smartphone photography tips.
Editing your sunset photos
Editing is where a sunset photo comes together. A few simple steps are enough.
- Straighten the horizon. A tilted horizon is easy to see and easy to fix.
- Set white balance. Warm it up if the color looks cold, but leave the blue in twilight skies alone.
- Recover the highlights. Pull them down to bring detail back in the clouds.
- Lift the shadows. Open up the foreground without making it look flat.
- Adjust the colors. Raise vibrance first, then saturation if needed. Use the HSL controls to push orange and yellow, and keep skin tones and greens believable.
- Add a graduated filter. A soft darkening in the sky and a small lift in the foreground adds depth.
- Sharpen and reduce noise. Do this last, and keep it modest.
To see this process from start to finish, our guide on how to edit a sunrise photo using Lightroom uses the same steps, and the Lightroom editing course in the Academy goes through the whole workflow in 10 modules and 42+ parts.
Common mistakes
- Leaving right after the sun sets. The color often builds afterward.
- Overexposing the sky. Once highlights are clipped, the detail is gone.
- Crooked horizons. Use the grid and a bubble level.
- Too much saturation. It makes sunsets look fake. A little goes a long way.
- No foreground. A pretty sky with nothing under it often looks empty.
- Skipping the tripod. Handheld shots at dusk are soft.
- Shooting only one frame. The light changes fast. Take many shots and different compositions.
Grow your skills with the Academy
If sunsets are your favorite subject, the Landscape Photography course in the Shut Your Aperture Academy, taught by Edin Chavez, covers composition, light and planning for outdoor shoots, with lifetime access. To go further with color, try Color Theory. Browse everything at the Academy home.
For more ideas, see our post on 7 funky photography tips, or read about the time-lapse method that turns a sunset into a short clip.
Frequently asked questions
What are the best camera settings for a sunset?
Shoot RAW in Aperture Priority or Manual, with f/8 to f/11, ISO 100 to 200, and daylight white balance. Meter for the sky and use exposure compensation of minus one-half to minus one stop to deepen the colors.
When is the best time to photograph a sunset?
Arrive 45 to 60 minutes before sunset to set up, and stay 10 to 30 minutes after the sun drops. The afterglow often has the best color.
Do I need a tripod for sunset photos?
It is strongly recommended. Shutter speeds get slow as the light fades, and a tripod keeps images sharp and lets you bracket exposures.
How do I get a sun star in my photo?
Use a small aperture such as f/16 and let the sun peek around an edge, like a tree or a building. Do not look directly at the sun through an optical viewfinder.
Why do my sunset photos look dull?
Common causes are overexposure, auto white balance cooling the colors and a sky with no clouds. Underexpose slightly, set daylight white balance, and look for a day with some clouds.
Can I shoot a good sunset with my phone?
Yes. Tap the sky to set exposure, lower the brightness a bit, keep the phone steady and clean the lens.
Gear box: sunset photography starting points
These are research starting points, not rankings. Check current specs, reviews and prices before you buy.
- A sturdy tripod: See tripods at B&H or on Amazon.
- Graduated ND filters: Browse filters at B&H.
- A wide-angle lens: Browse wide-angle lenses at B&H.
- A remote shutter release: See remotes on Amazon.
Affiliate disclosure: some links above are affiliate links. If you buy through them, Shut Your Aperture may earn a small commission at no extra cost to you.

