Updated October 13, 2026. This guide has been revised with new text and photos; the original publication date is retained.
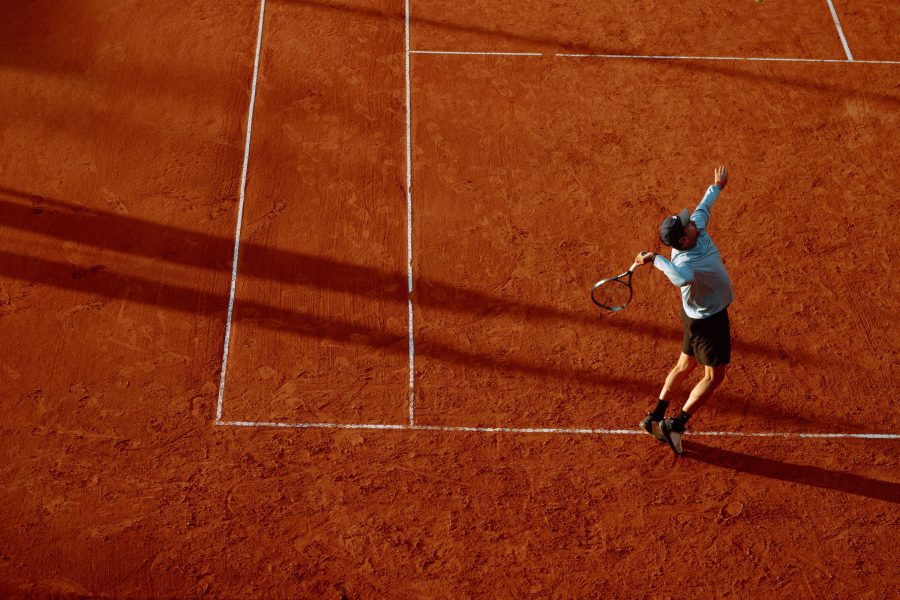
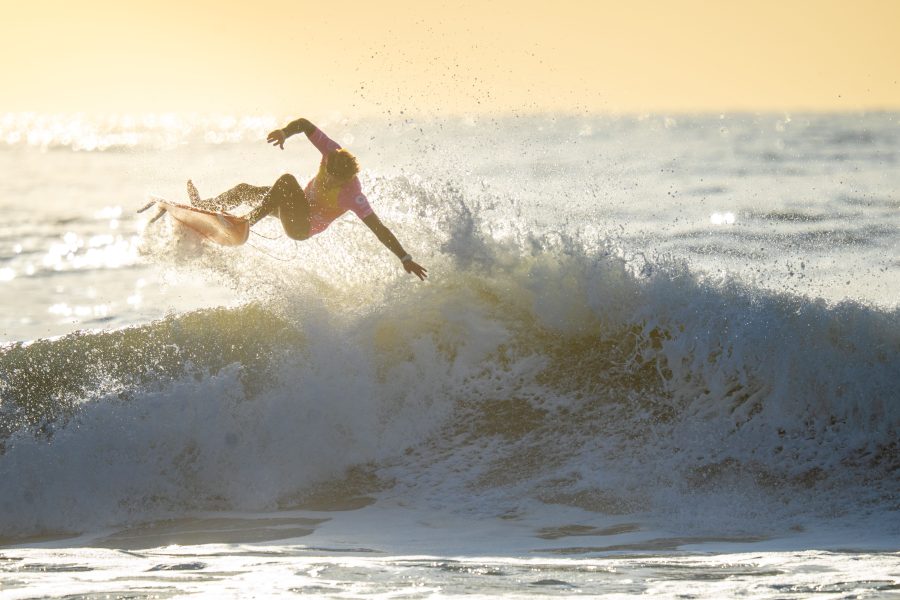
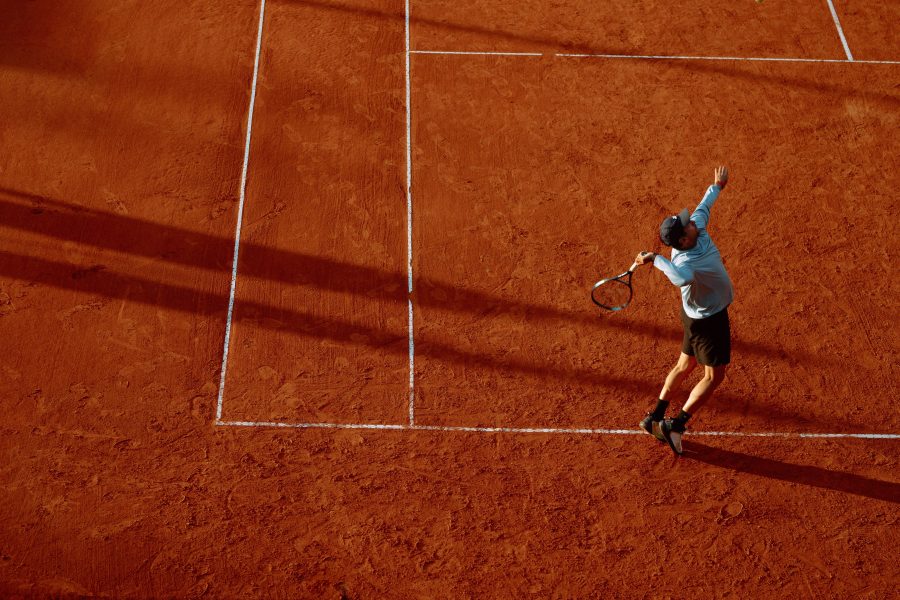
Kinesis is a fancy word for movement. In photography it means the sense of motion you feel when you look at a still image. A frozen frame cannot move, yet the best sports photos make your eye race across the picture. That feeling is built by composition, and you can learn it.
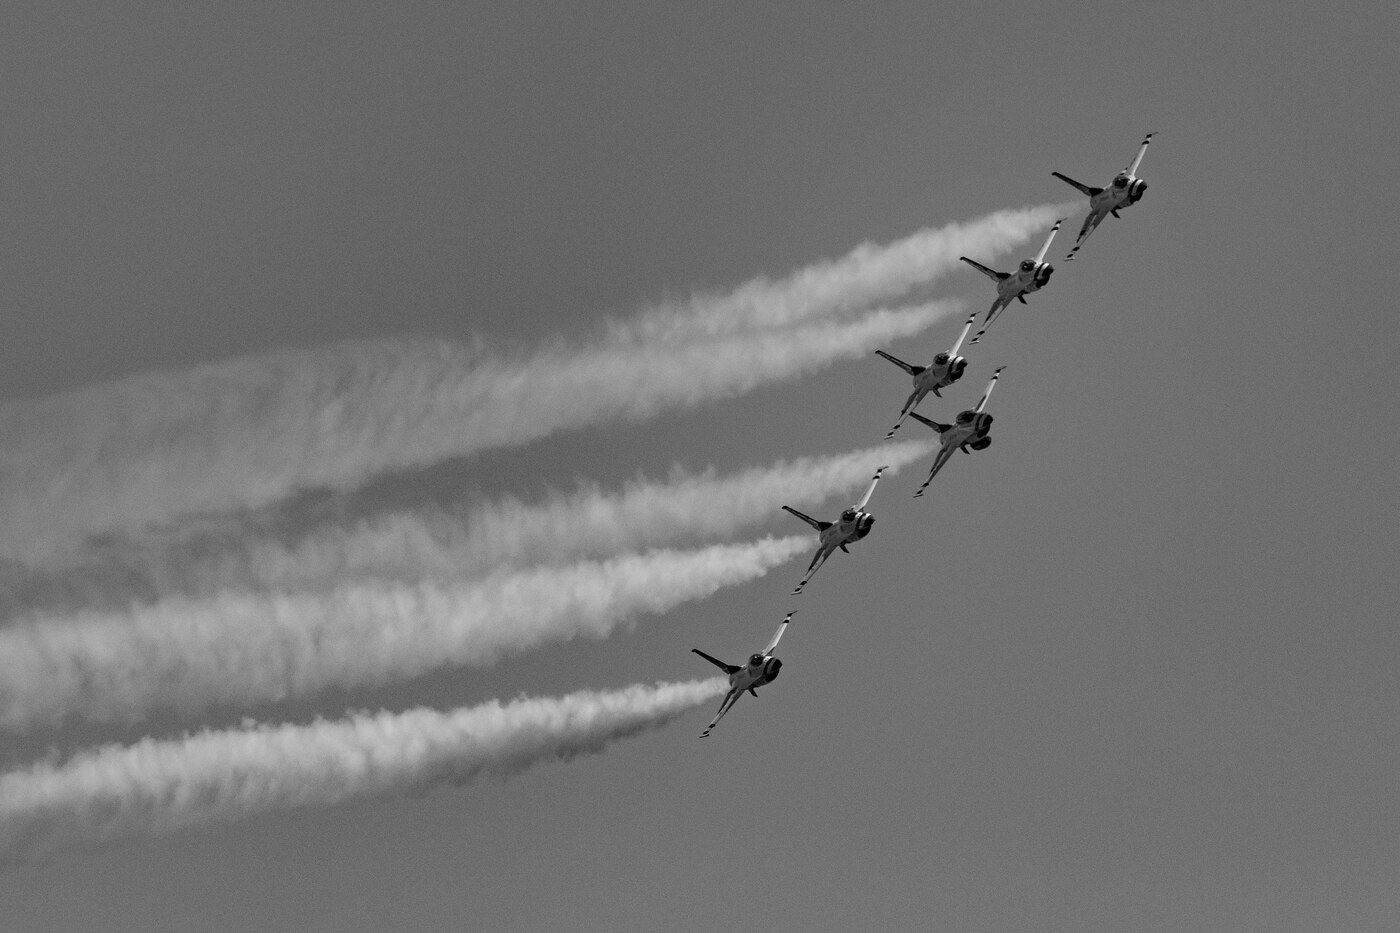
This guide shows how to use lines, shapes, space and timing to put movement into a photo. The examples are black and white jet formation frames from the portfolio at edinfineart.com. Jets are an easy way to study kinesis because the motion is clear, but every idea works for runners, riders, swimmers and ball players too.
 Save
What kinesis means for a photographer
A still photo has no time in it. So we suggest time with clues. A trail behind a subject says it came from somewhere. A tilted horizon says it is turning. An empty area in front of a subject says it is going there. When these clues line up, the viewer feels motion that is not physically in the frame.
There are two sides to it. One is actual motion, like blur, trails and spray. The other is implied motion, which comes from shape, direction and balance. Strong sports photos use both.
Use diagonals to create energy
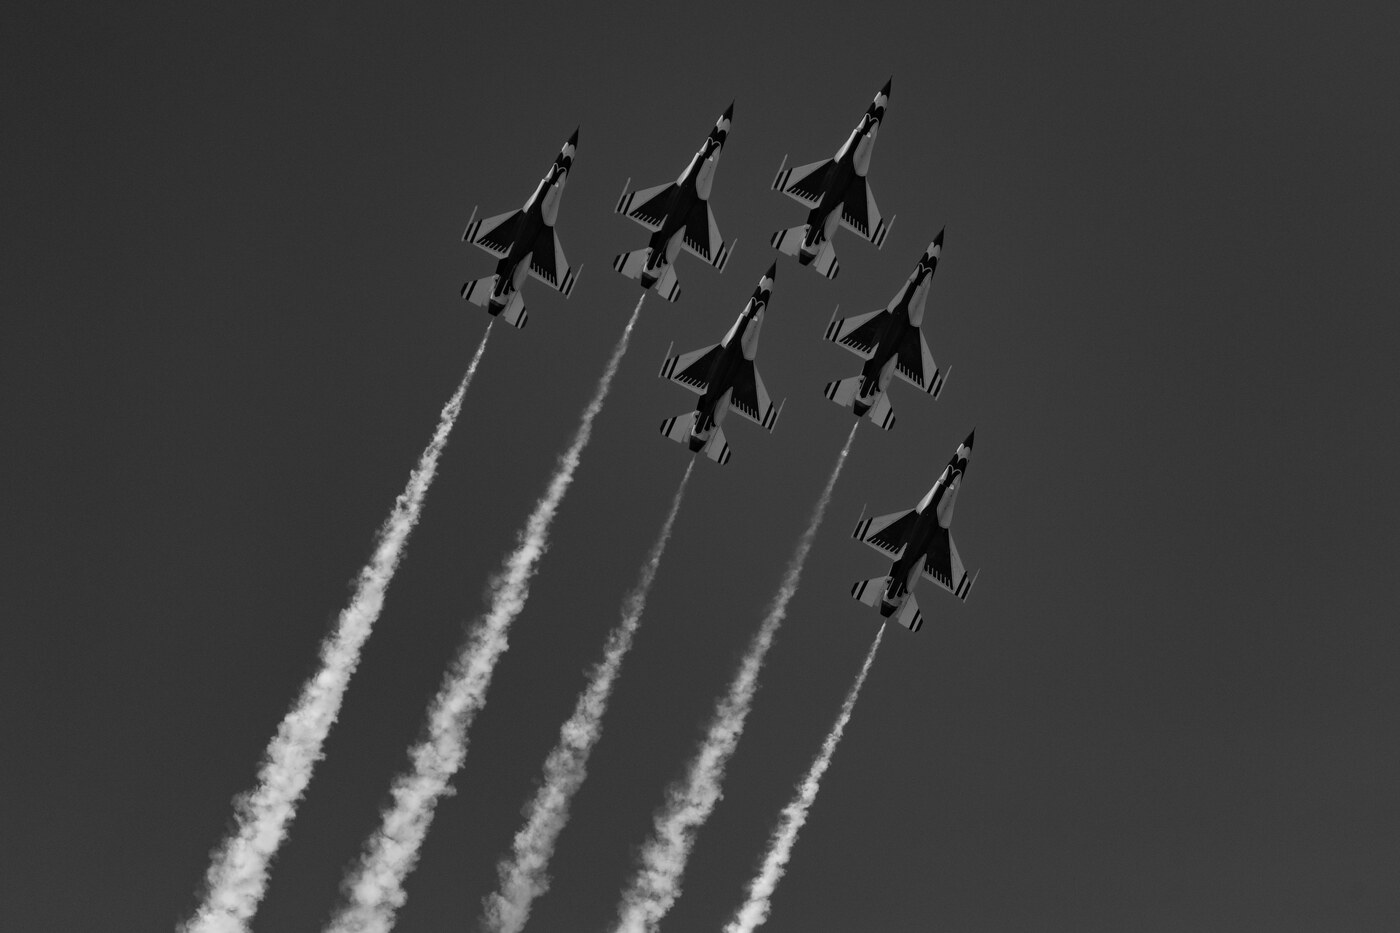
Horizontal and vertical lines feel stable. Diagonals feel unstable, and unstable feels like movement. Placing your subject and its path along a diagonal, from one corner toward the opposite one, is one reliable way to add energy.
- Tilt your camera slightly when the scene allows, so the action runs on a diagonal.
- Move your feet and look for angles where lines like tracks, fences or trails cut across the frame.
- Crop with the diagonal in mind. Trim empty corners that do not help the line.
- A centered subject can feel static, but it is a choice, not a mistake. If you want travel, try letting a diagonal subject run toward a corner and compare both versions.
A word of caution. A tilt works best when it is deliberate and when the scene supports it. A slightly crooked horizon on a calm scene can look like a mistake, while a strong diagonal on an action scene often reads as energy. Try a level version too, and keep whichever serves the picture.
Give the subject room to move into
Lead room is the space in front of a moving subject. Give it more space ahead than behind and the subject appears to move into the frame. Cut that space and the subject looks stuck, even when it is traveling fast.
The reverse can be useful too. Put a subject close to the edge it is moving toward and you create tension, as if something is about to leave the frame or collide with the edge. Use this when the story is about speed or urgency.
 Save
Let trails, blur and spray do the work
A trail is a visual arrow. It shows where the subject has been and how fast it is going. In sports you do not always get smoke, but you do get other trails: dust behind a runner, spray behind a boat, a streak of background when you pan.
Panning for motion
Try a slower shutter speed. Somewhere between 1/30 and 1/250 second is a practice range, and the right speed depends on how fast the subject moves and how far away it is. Follow the subject smoothly with your body, press the shutter and keep following. With good technique the subject can stay fairly sharp while the background smears into lines, but nothing guarantees it. Expect a low keeper rate at first. Shoot lots of frames and keep the best few. Nikon’s panning guide (10 Tips for Better Camera Panning) says plainly that no one can guarantee perfect pans.
Freezing the peak instead
A shutter speed of 1/1000 second or faster is a common starting point for freezing motion, but it does not stop everything. A fast pitch, a swinging bat, a propeller or a helicopter rotor can still blur, so check your frames at full size and adjust. Frozen frames can still feel kinetic if the pose is dynamic. Look for the extension of a stride, the arch of a jump or the twist of a swing. Peak positions imply that the next instant is already happening.
Repeat shapes to create rhythm
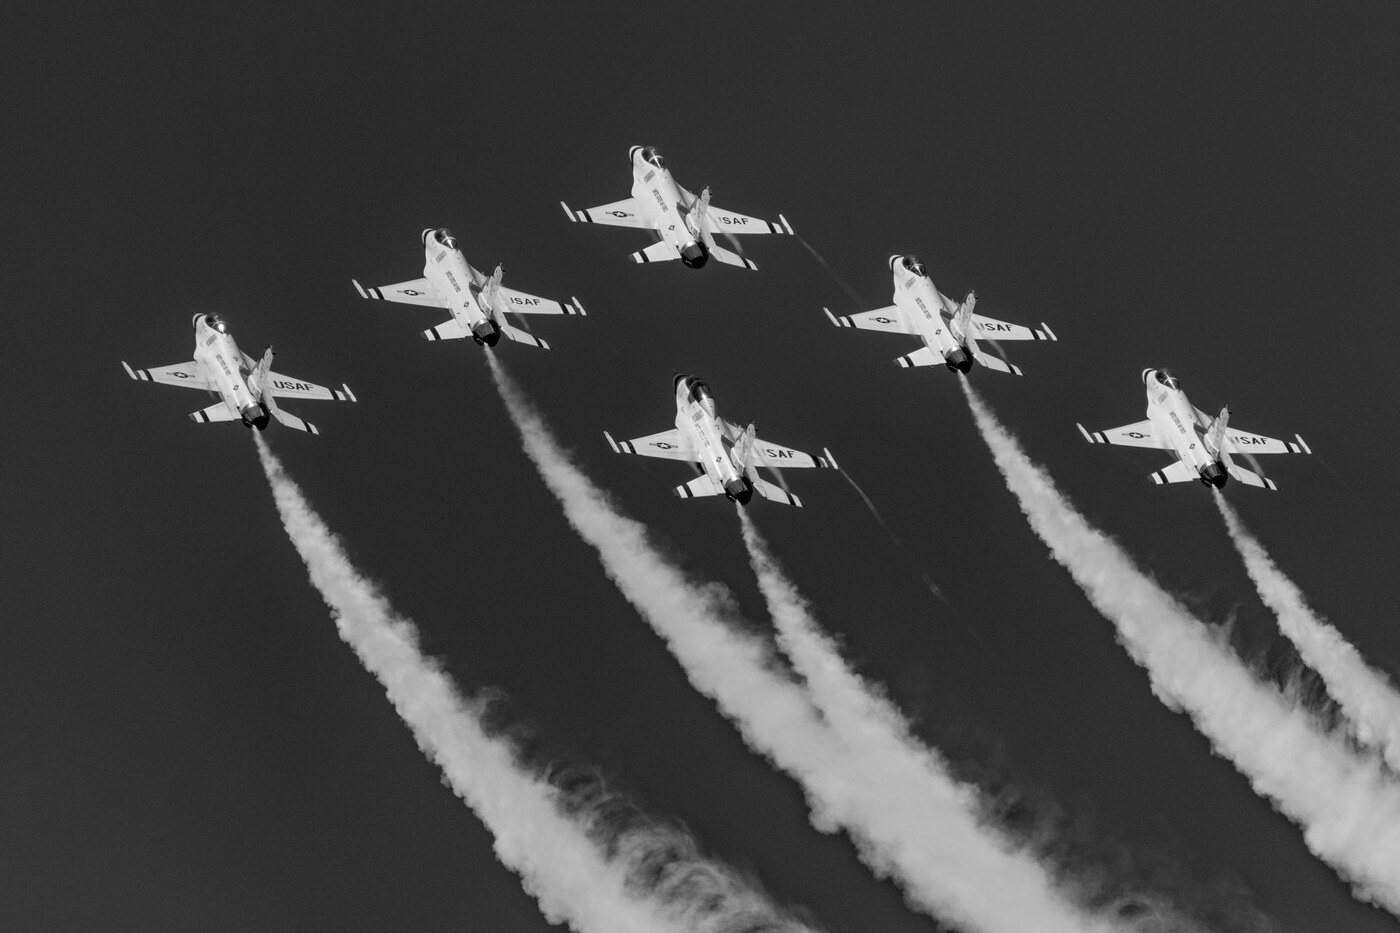
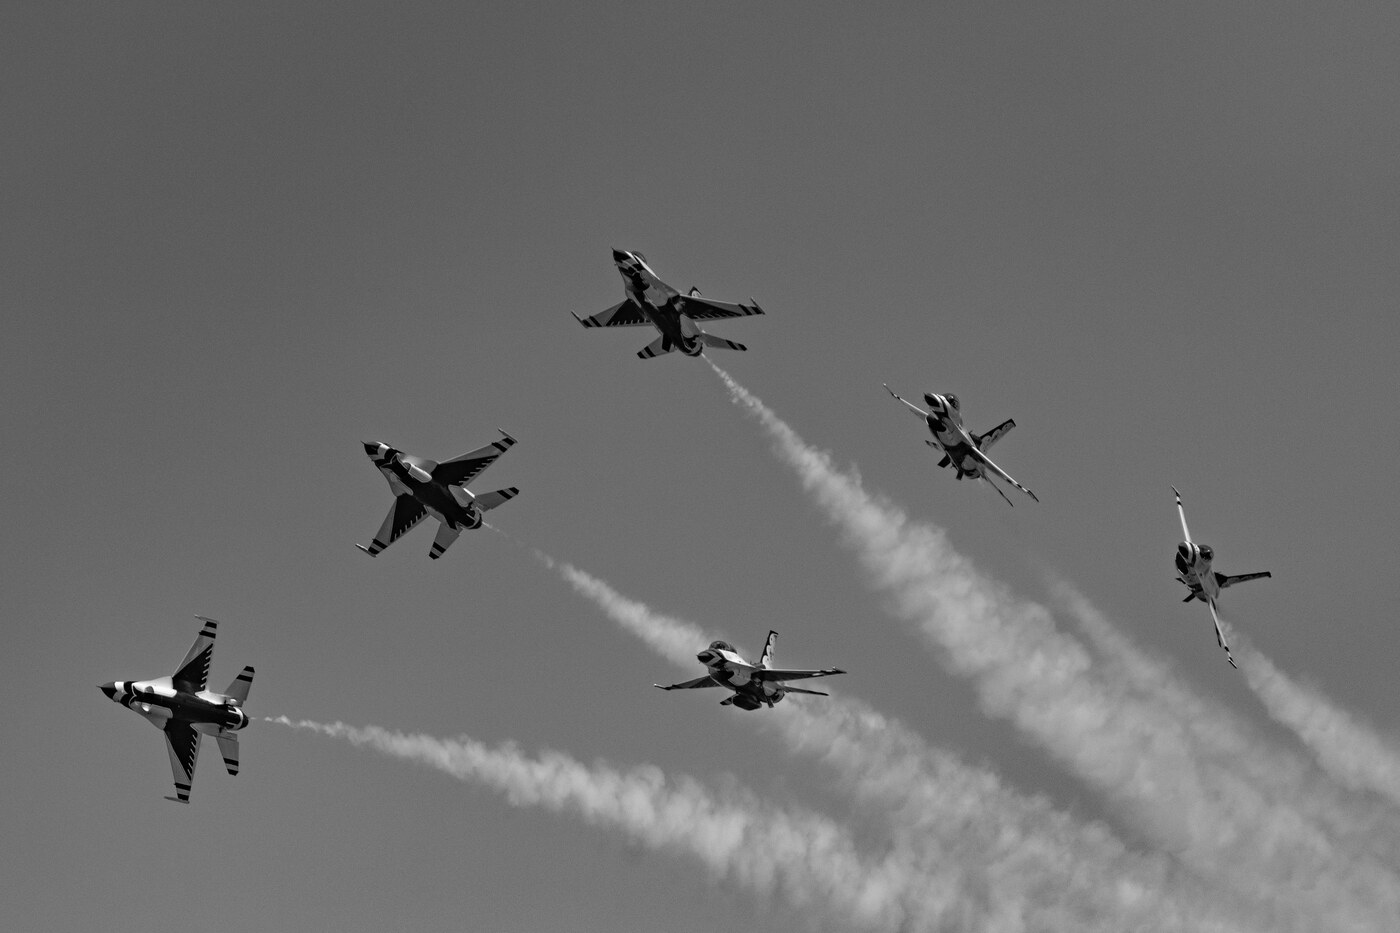
When several subjects move together, rhythm appears. A line of riders, a pack of runners or a jet formation repeats the same shape again and again, and the eye bounces from one to the next. Repetition with a small change, like one subject out of step, gives you both rhythm and a focal point.
 Save
- Look for groups in a pattern: a line, a triangle, a staggered row.
- Shoot from a position where the pattern is clear and not tangled.
- Include a break in the pattern when you can. It becomes the star of the frame.
Balance the frame with empty space
Space can carry as much motion as the subject itself. A small subject in a large empty area feels fast and free. A subject jammed into a crowded frame feels hemmed in. When you are building a composition for movement, decide how much quiet space you need so the action has somewhere to go.
Dark or plain backgrounds help. Sky, a blurred wall, an empty field and a dark crowd all give a clean stage for the subject. If you can, wait until the busy parts of the background clear out before you press the shutter.
Use scale to add drama
A tiny figure against a huge scene makes motion feel big. A large subject that fills the frame makes it feel close and powerful. Switching between the two across a set gives the viewer both the thrill and the context.
 Save
Time the shot
Composition is a plan. Timing makes it real. Learn the rhythm of the thing you are shooting and be ready a beat before the peak.
- Watch a few runs, plays or passes before you shoot so you know where the action goes.
- Choose between two methods. Pre-focus means focusing on a spot the subject will pass and waiting for it to arrive. Continuous tracking means keeping the subject under your focus point while the camera refocuses as it moves. Tracking is usually the better fit for subjects that change distance unpredictably, and pre-focus suits a predictable path. Back-button focus can separate focusing from the shutter, but it does not hold focus on a subject that is moving while you recompose.
- Use a burst for the peak moment, but do not hold the shutter down through the whole action. Short bursts keep you ready and keep your card from filling with near duplicates.
- Keep both eyes open when you can, so you see the action approach outside the viewfinder.
Settings that support motion
Settings should serve the picture you have in mind. A quick starting point:
- Freeze: start around 1/1000 s or faster, continuous autofocus, tracking mode on, then check for blur and adjust.
- Pan: try 1/30 to 1/250 s as a practice range, with a smooth body turn and a steady follow-through.
- Aperture: as wide as your lens allows when you need background separation, a bit smaller for distant subjects.
- ISO: auto ISO with a sensible ceiling so exposure stays consistent.
- File type: RAW, so you have room to adjust contrast and crop in the edit.
If you are thinking about new gear for this kind of work, start with the camera buyer guide. Autofocus tracking and burst speed matter more here than megapixels.
Shoot safely and follow the venue rules
- Use approved positions. Shoot from spectator areas or the sideline, press or photo positions you have permission to use.
- Stay behind barriers. Do not step onto a field, track, runway, flight line or motorsport course for an angle.
- Follow event rules on flash, monopods, lenses and bags, and obey staff instructions.
- At air shows, stay behind the show line and out of restricted areas.
Indoor lighting: flicker and banding
LED lighting and LED screens in some arenas flicker too fast to see, and at high shutter speeds that can cause banding or uneven exposure between frames. Take test shots and check them at full size. If your camera has an anti-flicker or flicker reduction setting, try it, as Nikon describes for the Z 8 (Nikon Z 8 manual), and try a mechanical shutter instead of an electronic one if banding appears.
Aircraft also need different treatment. A jet is usually frozen with a fast shutter speed, while a propeller plane or helicopter can look unnaturally static if the propeller or rotor is frozen too. Nikon’s air show guide suggests about 1/25 to 1/125 second for propeller planes so the props blur (Taking Great Photographs at Airshows).
Edit to keep the motion
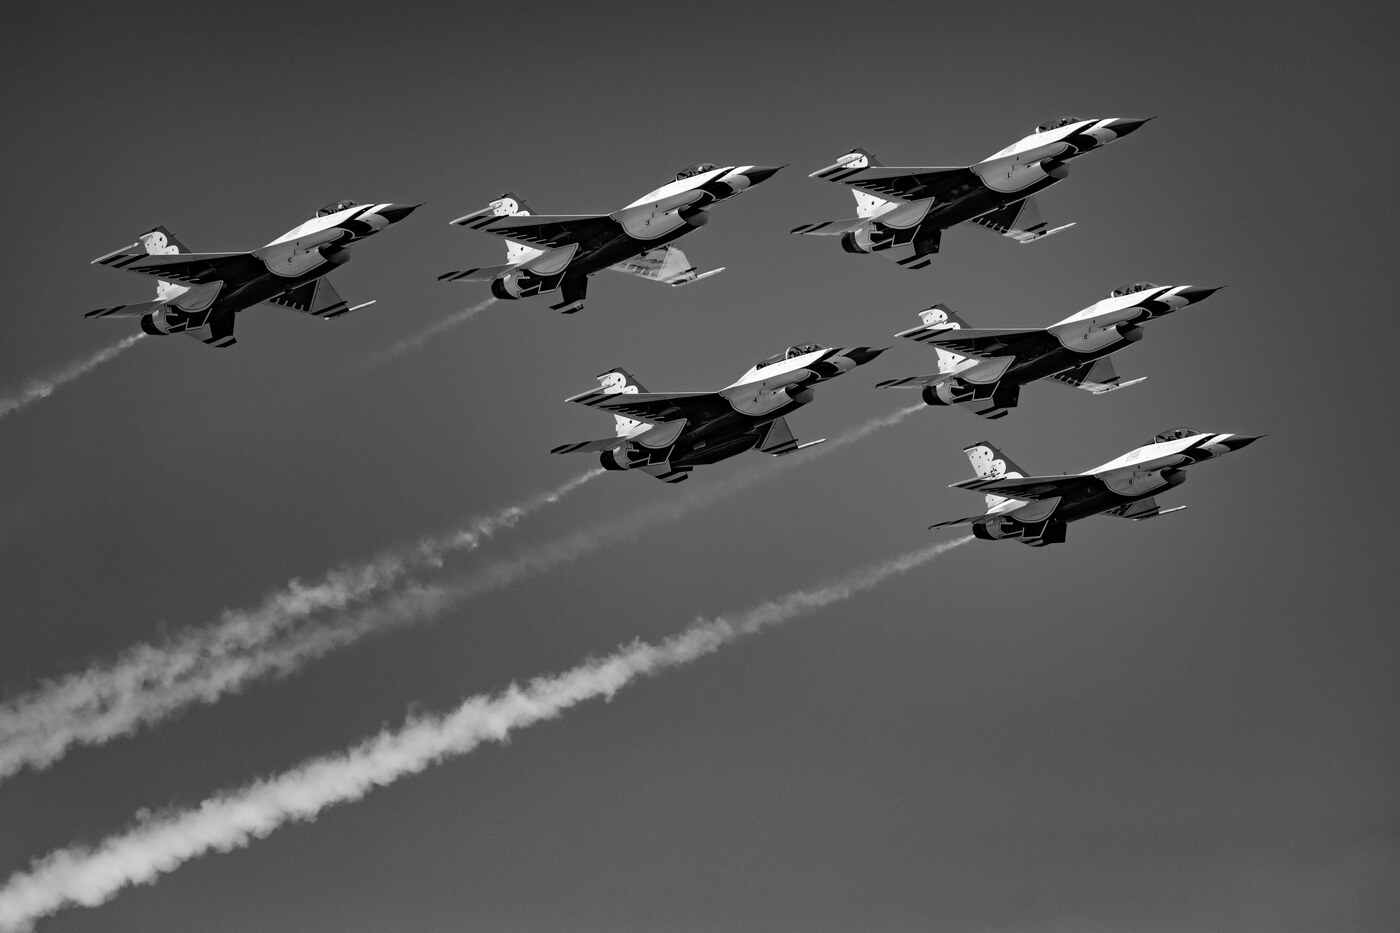
The edit should support the movement, not fight it. Black and white works well because it strips away color and leaves lines, tone and shape. Raise contrast gently so trails separate from the background. Darken the edges slightly to pull the eye to the subject and along its path. Crop to keep the diagonal and the lead room you planned. Finish with light sharpening, and avoid heavy noise reduction that smears fine detail on fast subjects.
If you want a structured way to learn the editing side, the courses at the Shut Your Aperture Academy walk through it step by step.
 Save
Putting it together: a simple workflow
Here is a way to approach a shoot when movement is the goal. Think of it as a short routine you can repeat.
- Scout. Watch where the action travels and pick a spot where the path crosses your frame on a diagonal.
- Clear the stage. Check the background for poles, signs and bright distractions. Move a few steps until it is clean.
- Decide freeze or blur. Set the shutter speed for the look you want before the action starts, not during it.
- Leave room. Frame loose. You can crop later, but you cannot add space that was never there.
- Shoot short bursts around the peak, then check the back of the camera once and adjust.
- Mix it up. After you get the safe frame, try a wider one, a tighter one and one at a different angle.
That last step matters. Get the safe frame first. Then try something different, because an experiment is often where a personal look starts.
Reading motion in other photographers’ work
A good habit is to study photos you admire and ask what makes them move. Pull up a sports image that grabs you and answer a few questions. Where does your eye enter the frame? Which line does it follow? Where does it stop? What is behind the subject, and what is in front of it? Is there a trail, a blur or a repeated shape? Many strong action photos answer these questions with a clear path through the frame, often diagonal, though not always. Once you can see that path, you can build it in your own pictures.
Try the same exercise on your own contact sheet. Compare your best frame to the one you almost picked. The difference is often a few steps of position, a little more lead room, or a cleaner background.
Practice drills you can do this week
- Take 50 photos of any moving subject on a diagonal and compare them with 50 shot flat. Notice which set feels faster.
- Photograph the same subject twice, once with lead room and once without. Look at the two side by side.
- Shoot a pan at three different shutter speeds and keep notes on what worked.
- Find a repeating pattern, like a row of cyclists or a line of boats, and make a frame where one element breaks the pattern.
- Edit one frame as black and white and one in color. Decide which supports the motion better.
Common mistakes
- Centering everything by habit. A centered subject can feel static. Use it on purpose, and try an off-center version for travel.
- Cropping the lead room. Leave space where the subject is heading.
- Busy backgrounds. Clutter fights the motion lines.
- Always freezing. Not every moment needs a very fast shutter. Try letting a little blur in.
- Overediting. Heavy effects flatten the natural motion cues.
Related reading on Shut Your Aperture: low light photography tips, natural light versus artificial light.
Frequently asked questions
What is kinesis in photography?
Kinesis means movement. In a still photo it refers to the sense of motion created through lines, shapes, blur, trails and the space around the subject.
How do I show motion in a still sports photo?
Use diagonals, give the subject room to move into, include trails or blur, and choose a peak moment where the pose suggests the next action.
What shutter speed should I use for motion?
To freeze action, start at about 1/1000 second or faster and check the result, since fast subjects can still blur. To show motion with panning, try 1/30 to 1/250 second as a practice range and follow the subject smoothly. Results vary.
What is lead room?
Lead room is the empty space in front of a moving subject. Leaving more space ahead than behind makes the subject appear to move into the frame.
Is black and white better for showing movement?
It often helps, because it removes color distractions and emphasizes lines, tone and shape. Both color and black and white can work, so choose what fits your subject.
Do I need an expensive camera for sports composition?
No. Composition and timing matter most. A camera with dependable continuous autofocus and a decent burst rate is enough to practice everything in this guide.
Composing for motion comes down to a few repeatable choices: use diagonals, leave lead room, add trails or blur, repeat shapes, keep the background clean and time the peak. Practice them on any moving subject and your still photos will start to feel like they are going somewhere.