Water, ever fluid and dynamic, is a captivating subject in landscape photography, offering photographers a canvas for showcasing the interplay of light, texture, and motion. Harnessing the elusive character of water requires both a nuanced understanding of natural elements and the judicious use of technology. As we embark on this photographic journey, we will delve into the subtle art of capturing water, dissecting the roles played by light and reflection, and equipping you with the knowledge to choose the right tools for your vision. Whether it’s the glassy surface of a tranquil lake at dawn or the tumultuous cascade of a mountain waterfall, this exploration will empower photographers to not only witness but artfully record the aquatic ballet that nature so effortlessly orchestrates.
Understanding Light and Reflection
Title: Mastering the Play of Light in Water Landscape Photography
While capturing the sheer essence of water in landscape photography can be profoundly rewarding, it’s crucial to acknowledge the chameleon-like relationship between light and water. Understanding and utilizing light is the key to elevating your aquatic landscapes from simple snapshots to breathtaking art. Here’s a clear-cut guide on how this dance between light and water shapes the world of photography.
The Golden Hours: Dawn and Dusk Brilliance
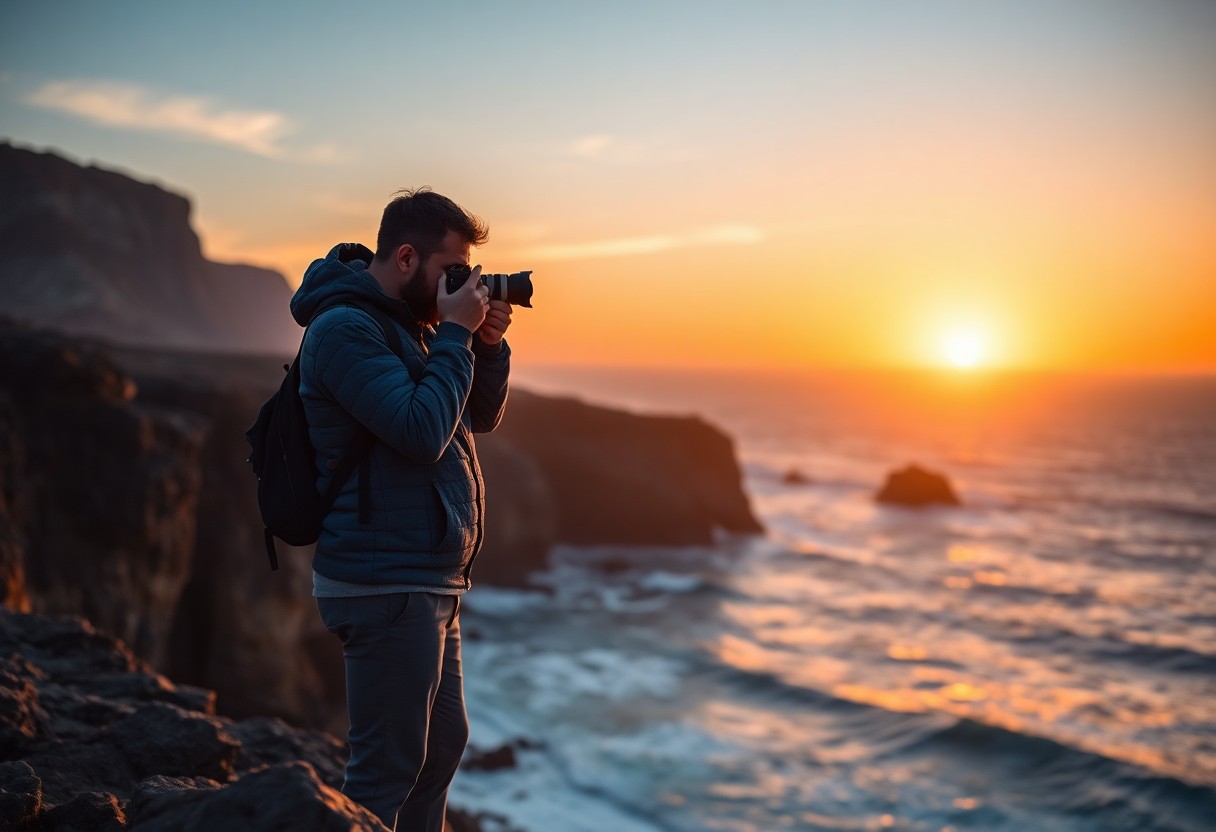
The soft, diffused light of sunrise and sunset, fondly referred to as the ‘golden hours’, is perfect for water landscape photography. During these times, the lower angle of the sun provides a warm, golden hue that seems to merge with water, infusing the scene with a feeling of tranquility. The golden light often skips across ripples and waves, creating a tapestry of highlights and shadows that adds depth and dimension to the shot.
Harsh Midday Light: Handle with Care
Contrastingly, the midday sun can be too harsh, casting strong shadows and creating glare on the water’s surface. However, that isn’t to say that high noon should be off-limits. Polarizing filters come in handy during these hours, helping to reduce glare and deepen the blues of the sky and water, thus bringing out the vividness hidden within a seemingly overly bright landscape.
Overcast Conditions: The Softbox Effect
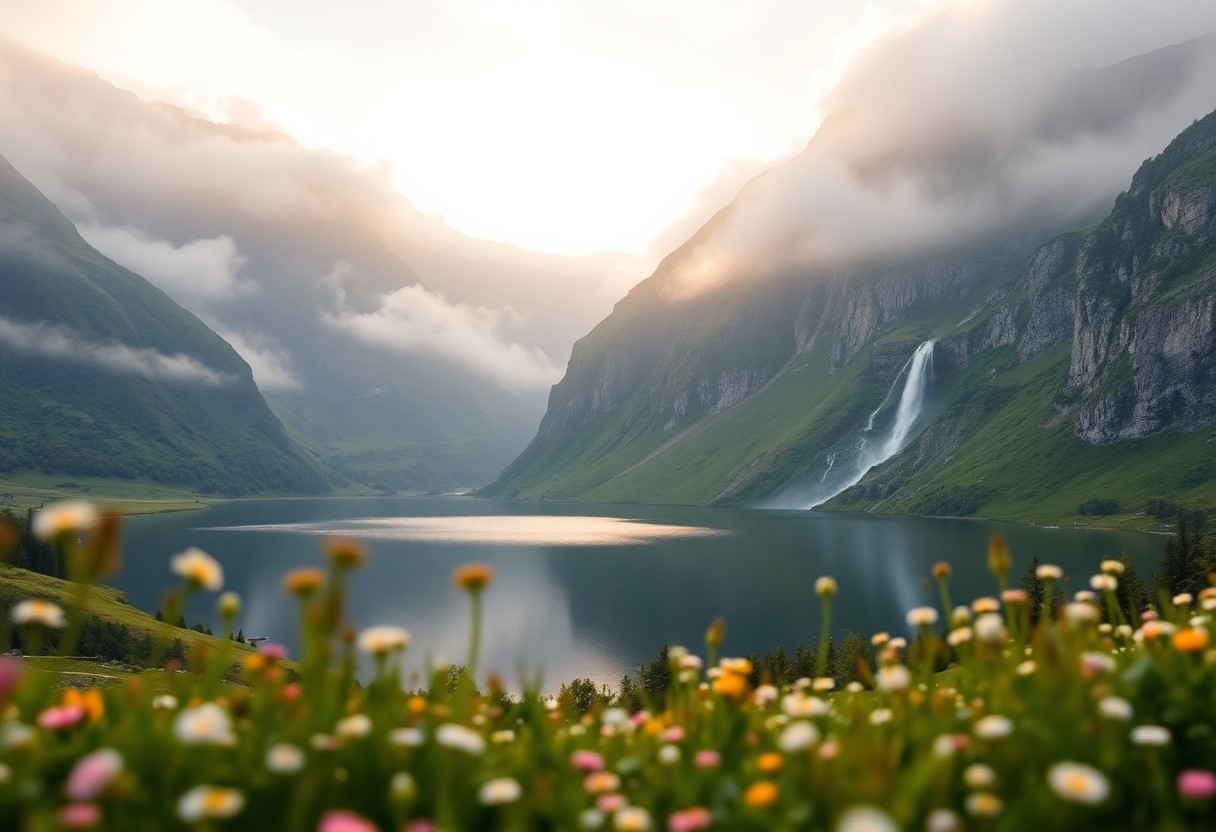
Cloudy skies act as a natural diffuser, scattering light evenly and cutting down on harsh shadows and contrast. The illumination of overcast days can bring out the subtleties of water’s color and texture, perfect for capturing smooth, reflective surfaces or showcasing the calmness of a still lake.
Backlighting: Silhouettes and Shimmers
Having the light source behind the water can create striking silhouettes, especially when photographing waves or water against the horizon. Backlighting can also contribute to the glistening effect where the sunlight seems to dance over the water’s surface. A fast shutter speed here captures each sparkle distinctly, offering a brilliant sense of movement.
Side Lighting: The Reveal
Side lighting casts elongated shadows and can accentuate the textures of the water’s surface or the contours of the adjacent land. This type of lighting is superb for emphasizing patterns and bringing a three-dimensional feel to the water in landscapes. In flowing rivers or creeks, side lighting can also highlight the rushing movement, offering a dynamic contrast to the stillness of the surrounding elements.
Reflections: Double the Impact
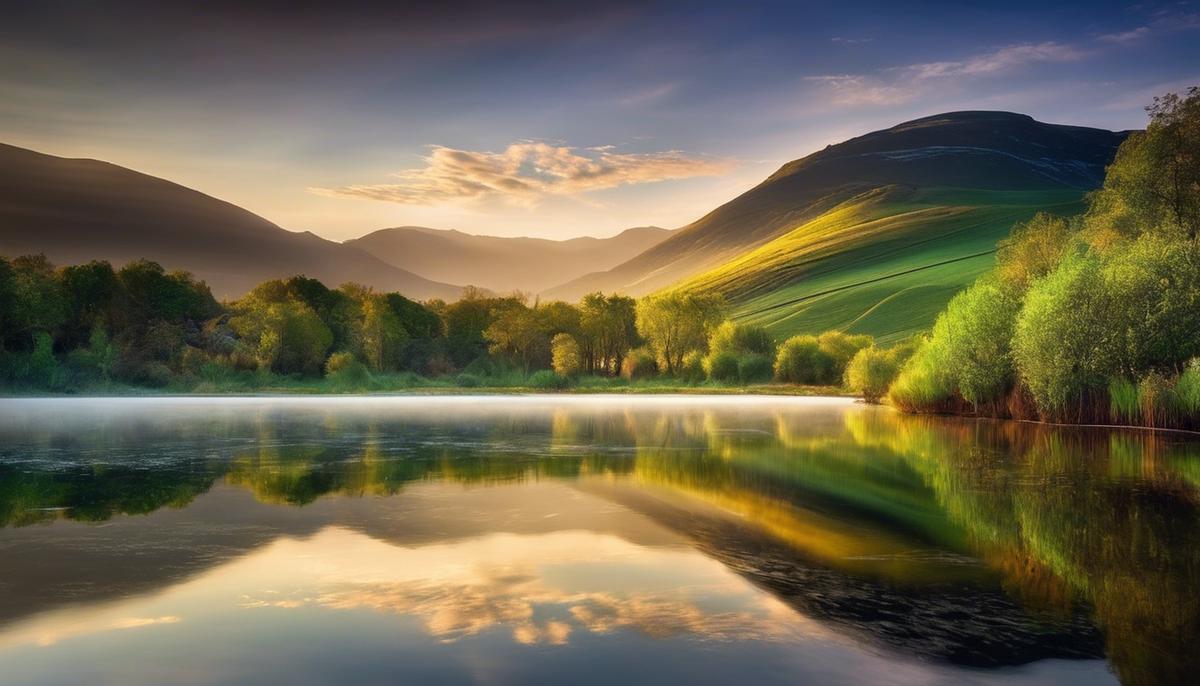
Water reflections can be magical, but they depend largely on the light. For a mirror-like reflection, aim for times when the water is calm, and the lighting is even. Early morning or late afternoon often provides such conditions. The symmetry of reflections can double the visual interest of your photograph, creating a serene or sometimes an uncanny composition.
Underwater Overtones: A Whole New World
When delving into the depths, as in capturing scenes partially or fully underwater, light is both your canvas and your paintbrush. Water filters the sunlight, often leaving a bewitching blue or green tone. Here, properly white balancing your camera is essential for capturing the true, vibrant colors beneath the surface. Additionally, underwater lighting equipment can provide the extra luminosity needed in the shadowy depths.
Regardless of the conditions, embracing the way light interacts with water can transform a photograph. It enhances moods, highlights details, and can even become the primary subject of your photography. While the topic is vast and ever-changing, these tips can illuminate the pathway to mastering the sublime interplay of light in your water landscape photography. Happy shooting!
 Save
SaveChoosing the Right Equipment
Essential Equipment for Capturing Water in Landscape Photography
Embarking on the journey of landscape photography, especially when water is the central theme, requires far less mechanical than an eye for the picturesque; it necessitates the right gear to truly do justice to those rolling waves, tranquil lakes, and bustling waterfalls. With the correct equipment, you can transform a simple snapshot into a captivating work of art.
Tripods – Stability is Key
When it comes to photographing water, a sturdy tripod is non-negotiable. Securing the camera for long exposures is crucial to render that silky smooth effect on moving water. It all comes down to stability; the slightest movement can turn a potential masterpiece into a blurred disappointment. Tripods also offer the freedom to experiment with compositions, allowing photographers to play with different perspectives of the aquatic canvas before them.
Neutral Density (ND) Filters – The Flow Master
Neutral density filters are like sunglasses for your lens. They reduce the amount of light entering the camera without affecting the colors, enabling longer exposure times even during the day. This is the secret sauce for capturing that velvety texture of waterfalls and streams, or creating a smooth, reflective surface on a river or lake. ND filters come in various strengths, so having a selection allows photographers to adapt to different lighting situations and desired effects.
Polarizing Filters – Cut the Glare
Water can be reflective, and this is double-edged; reflections can be an asset or a nuisance. When it’s the latter, a polarizing filter becomes indispensable. By rotating the filter, you can reduce or eliminate the glare and reflections from the water’s surface, allowing the viewer to peer into the depths below, or to simply appreciate the water’s true colors and textures. Moreover, they can enrich the blue of the sky, making clouds pop, which further enhances the water landscape image.
Waterproof Gear – Dive into Protection
Water and electronics have a notorious relationship. To keep your gear safe yet functional near or in water bodies, waterproof cases, or weather-sealed cameras and lenses, are essential. For those adventurous souls delving into underwater photography or situations where the camera might get splashed, this protection can mean the difference between breathtaking images and a broken camera.
Remote Shutter Release – The Invisible Hand
For the utmost sharpness in photos, even the act of pressing the shutter can be too much motion. A remote shutter release, be it wireless or wired, eliminates camera shake by allowing the shutter to be triggered without touching the camera. This tool is particularly helpful when paired with a tripod for those definitive long exposure shots where every detail of the water’s flow must be perfectly captured.
High-Quality Lenses – Your Window to Clarity
Lastly, the value of a good lens cannot be stressed enough. A sharp lens with a wide aperture is perfect for capturing vast water landscape scenes with a wide depth of field, ensuring every drop of detail is crisp. Opting for lenses that offer sharpness across the entire frame and controlled distortion will make your water landscapes stand out. A set of lenses, including a wide-angle, a standard zoom, and perhaps a telephoto, will give the versatility needed to capture the myriad faces of water in nature.
When equipped with these tools, photographers are well-prepared to convey the majesty and nuance of water in their landscape compositions. With the right equipment in hand, the dance of light and water is waiting to be immortalized through the lens.
 Save
SaveMastering Shutter Speeds
Let’s dive into the flowing world of shutter speed and its impact on capturing the essence of water motion in photography. Understanding how shutter speed affects water imagery is a game-changer for anyone aiming to elevate their water landscape shots from good to breathtaking.
Shutter Speed Crux: Freeze or Blur
Shutter speed is the time for which the camera shutter is open to expose light onto the camera sensor. It’s typically measured in fractions of a second. Fast shutter speeds (like 1/500th of a second) will freeze motion, while slow shutter speeds (like 1 second or more) will blur motion.
Freezing the Water Instant
For those times when the goal is to crystallize each droplet in the air or to capture the dramatic splash against rocks, a fast shutter speed is the ace card. Think about the tension and vitality in seeing every water detail halted in mid-action – that’s the magic of a high shutter speed. Typically, a speed of at least 1/500th of a second will freeze most water movement, but if it’s raging rapids or energetic waves in play, consider pushing that speed up.
When attempting to freeze water, ample lighting is your best friend. Given the already covered lighting conditions, ensure there’s enough light to permit a fast shutter speed without having to widen the aperture too much or increase the ISO to levels that may introduce noise into the image.
Slowing Down for the Silky Effect
The polar opposite but equally enthralling is the velvety smooth appearance that slow shutter speeds bestow upon moving water. This is the technique that transforms waterfalls into ethereal veils and rivers into ribbons of silk. This effect generally begins to manifest with shutter speeds of a half-second and becomes more pronounced with longer exposures.
Capturing the smooth motion of water is a delicate dance with light; it’s easy to overexpose the shot when the shutter is open longer. This is where neutral density filters come into play by reducing the light reaching the lens, allowing for a longer shutter without overexposing the image.
A tripod here is non-negotiable; even the slightest camera movement can turn a potential masterpiece into a blurred mess. Use a sturdy tripod to lock the camera down, ensuring that only the water is in motion. A remote shutter release is another vital tool to prevent camera shake when pressing the shutter button.
Tracking the Middle Path
There’s also a balance to be had between the two extremes of shutter speed. Sometimes the goal might be to capture the power and dynamism of water, with just enough motion blur to convey movement while keeping some textural detail. Medium shutter speeds like 1/60th to 1/15th of a second might be the sweet spot, depending on the water’s velocity and desired effect. This balancing act offers a visual storytelling element that neither freezes the scene entirely nor obscures it with motion.
Whether opting for the clarity of each splash or the dreamy flow of a cascading waterfall, understanding and manipulating shutter speed is integral to crafting a water landscape image that can convey the right feeling and detail.
As an earnest enticement, let these tips be the starting block to plunge into the depths of water motion photography. Experiment with different shutter speeds to find the perfect expression for the water’s tale in every scenic environment provided by mother nature’s aquatic canvas.
 Save
SaveThe quest to capture water in landscape photography is an ever-evolving pursuit, blending the photographer’s skill with their artistic sensibilities. As we move through varying landscapes and changing tides, it becomes clear that our cameras are more than mere tools; they are extensions of our creative vision, helping us to freeze moments in time or to render flowing water into ethereal veils. With practice and patience, the techniques discussed can transform the way we perceive and immortalize the world’s waterways, reflecting the beauty and power of nature through the lens of a camera. Remember, each photograph you take is a rendezvous with light, time, and the dance of water—an encounter that is uniquely yours to capture and share with the world.
Luminar Neo’s Sky AI, atmosphere AI and SuperSharp are designed for landscape work — replace flat skies, add depth, and recover detail in seconds. Tagged as affiliate per FTC.