Updated October 2026
A good sunrise photo is half captured and half edited. The camera gets you the light. Lightroom gets you the feeling you had standing there at 6:12 in the morning with cold hands and a hot coffee. This tutorial walks through how to edit a sunrise photo in Lightroom, panel by panel, with the adjustment brush, radial filter and graduated filter doing the heavy lifting.
The first thing to know: sunrise files look flat straight out of the camera. That is not a mistake. A RAW file keeps as much information as possible so you can shape it later. Your job in editing is to shape it.
Step 1: Expose for the sky, not the ground
The most important idea in sunrise photography is to expose for the sky. The sky holds the color. The ground can fall dark and you can lift it later. A blown-out sky cannot be saved, because the detail is gone for good.
In the camera, that means underexposing a little, often one to two stops depending on how strong the sun is. In Lightroom, it means starting your edit by checking the highlights. Open the Basic panel, pull Highlights down and watch the sky. Pull White down a little too. You are looking for texture in the clouds and a rich gradient from orange to blue.
Step 2: Set the basics
Work through the Basic panel from top to bottom, with light touches.
- White balance: Warm it slightly if the file looks cold, but do not overdo it. Real sunrise light is already warm.
- Exposure: Set overall brightness so the sky looks right. Ignore the ground for now.
- Contrast: A small bump adds punch. A big bump crushes the shadows.
- Highlights and Whites: Pull them down to protect the sky.
- Shadows and Blacks: Lift Shadows to open up the foreground. Pull Blacks down a bit so the picture still has a true dark point.
Look at the histogram while you work. For a sunrise, you want information spread across the whole graph without a spike jammed against the right edge.
Step 3: Add clarity, texture and vibrance carefully
Clarity and Texture add crunch to clouds and rocks, but too much makes sunrise skies look crunchy and fake. Start around +10 to +20 and look at the sky at 100 percent zoom.
Use Vibrance instead of Saturation for the main color boost. Vibrance protects skin tones and already-strong colors. Saturation pushes everything equally. If your oranges start to glow neon, back it off.
Step 4: Use a graduated filter on the sky
The graduated filter is a sunrise editor’s best friend. Drag it down from the top of the frame so it covers the sky and fades out near the horizon. Then adjust it:
- Lower Exposure a little to deepen the sky.
- Pull Highlights down to bring back cloud detail.
- Warm the temperature or add a slight color tint to push the sunrise glow.
- Add a small amount of Dehaze for contrast.
Keep the line of the filter off any tall subjects, such as a lighthouse, a tree or a mountain edge, or you will see a halo. If you need to protect something, use the Range Mask or erase the filter in that area with the brush.
Step 5: Use a radial filter to make the picture pop
Here is the trick that changes a good sunrise edit into a great one. Place a radial filter around the brightest part of the sky, where the sun is rising or where the light is strongest. Feather it wide so the effect looks natural.
Then raise Exposure slightly inside the circle, warm the color and add a touch of Saturation. You are painting a glow where the light is coming from. The viewer’s eye moves to that spot. Next, make a second radial filter on the edges, invert it, and drop the exposure a little. This is a quiet vignette that points the eye to the center.
If the edit starts to look fake, you went too far. Cut every slider in half and look again.
Step 6: Use the adjustment brush for the details
The adjustment brush is for the small problems that filters can not fix. Paint over a dark foreground rock and lift the exposure. Paint over a bright cloud edge and pull the highlights down. Paint over water to warm the reflection and match the sky.
Use a soft brush with low flow, and build up the effect in a few passes. Hard edges and heavy-handed brushing are the biggest giveaways of a rushed edit.
Step 7: Check color with HSL
The HSL panel lets you control each color on its own. For sunrise, the main sliders are orange, yellow, red, and blue.
- Orange and yellow: Raise Saturation a little for glow. Lower Luminance if the sky looks too bright.
- Red and magenta: Nudge Hue toward warm for richer cloud edges.
- Blue: Lower Luminance for a deeper upper sky, which adds contrast to the warm colors near the sun.
- Green: If the landscape looks too green for the mood, pull it toward yellow and lower Saturation.
Step 8: Sharpen and reduce noise
Sunrise files shot at low light often carry noise in the shadows. Open the Detail panel and add Luminance noise reduction slowly. Stop when the grain looks smooth but the texture is still there. For sharpening, hold the Alt or Option key while you drag the Masking slider so only the edges get sharpened and the sky stays clean.
A quick sunrise recipe
When you want a fast starting point, run this order every time:
- Straighten and crop.
- Expose for the sky, pull Highlights and Whites down.
- Lift Shadows, set Blacks.
- Add a graduated filter to the sky.
- Add a radial filter at the light source.
- Fine-tune color in HSL.
- Brush the small problems.
- Sharpen, reduce noise, export.
Save it as a preset once you have a version you like, then adjust each photo from there. Presets are a starting point, not a finish.
Before you edit: shoot a file worth editing
Editing can only work with what the camera captured, so a few habits at the shoot make the edit easier. Arrive early. The best color often shows up twenty to thirty minutes before the sun clears the horizon, and it can be gone five minutes after. Set up on a tripod, shoot in RAW, and use a low ISO to keep the file clean.
Bracket your exposures. Take one frame that is correct for the sky, one a stop brighter and one a stop darker. You may never need the extras, but on a day when the light is wild, they save the shot. Check the histogram on the back of the camera, not just the picture. If the right side is slammed against the edge, dial the exposure down.
Pay attention to the foreground. A great sky over a boring bottom half is still a boring photo. Look for water, rocks, a pier, a tree or a line of sand to anchor the frame. A strong foreground gives the edit more to work with, and your adjustment brush will have something real to polish.
How to read a before and after
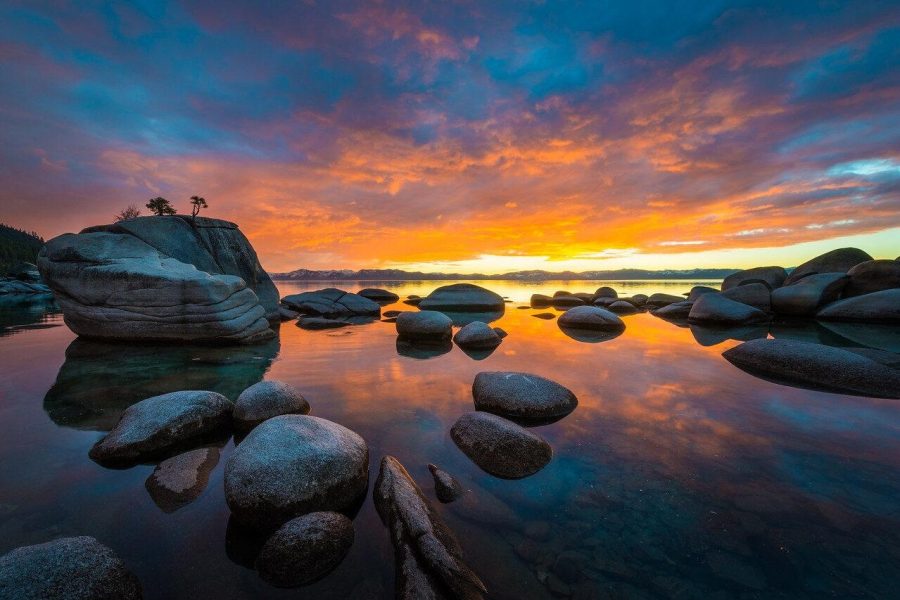
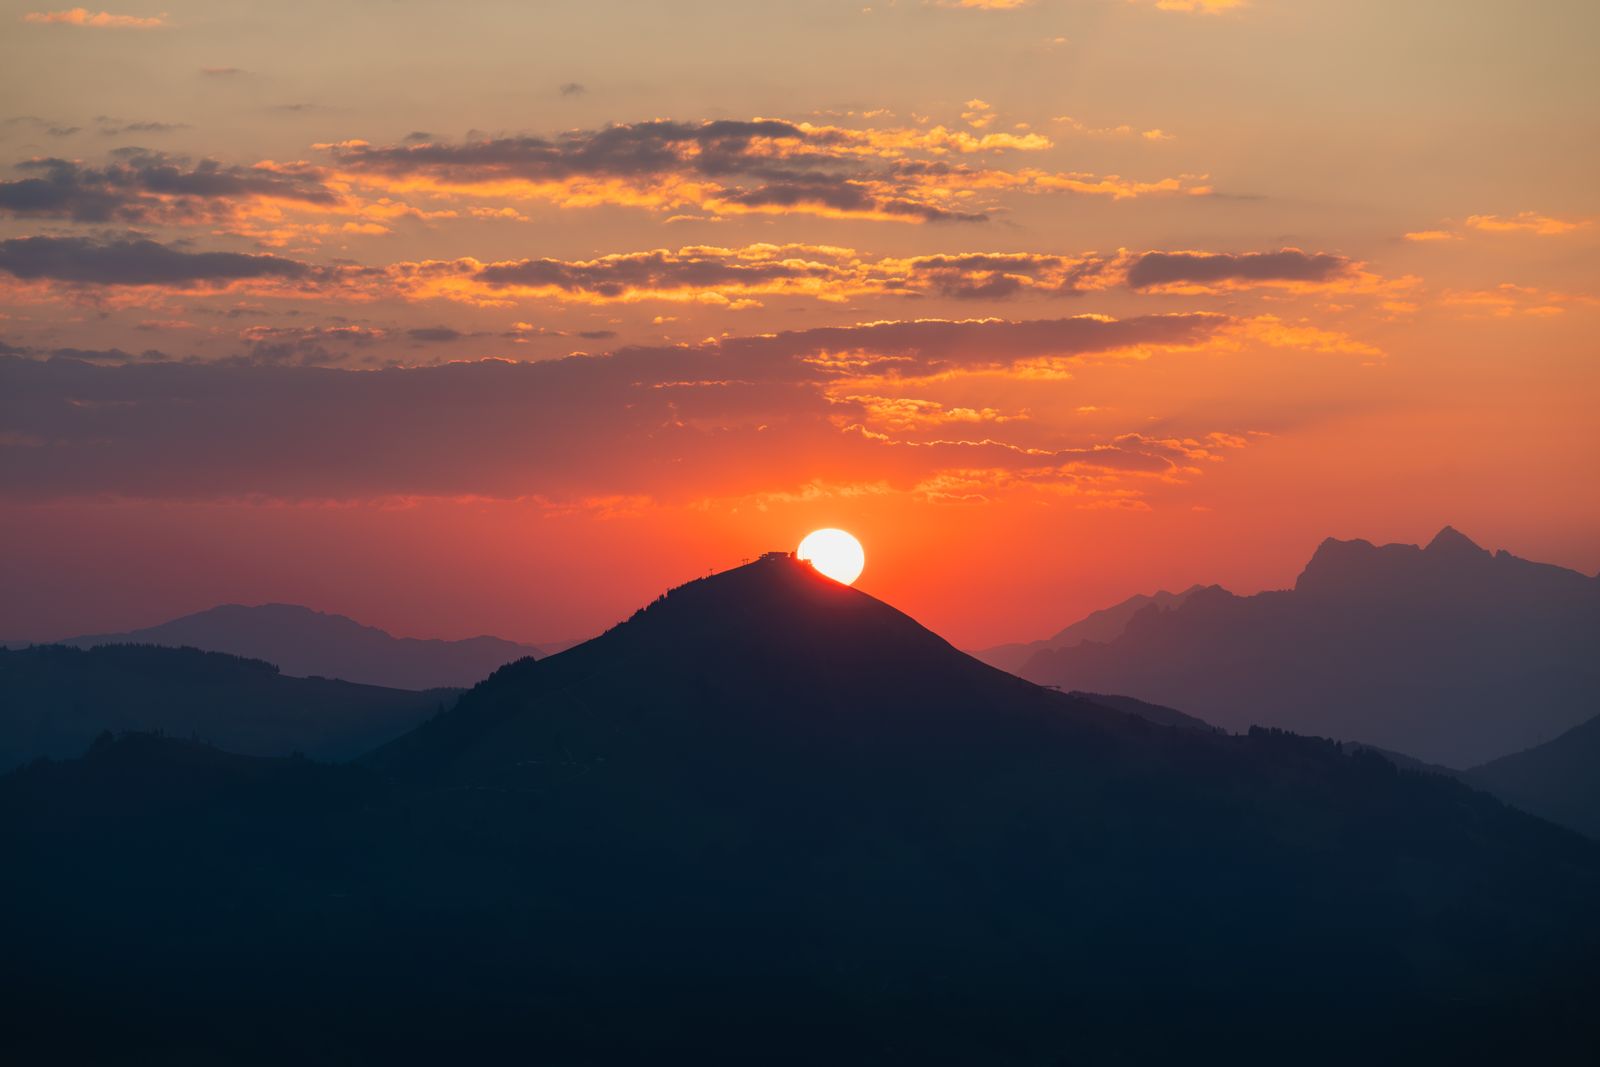
Look at the two pictures above. The unedited frame is flat, with a washed sky and muddy shadows. The finished one has depth, warmth and a clear place for your eye to land. None of the changes are exotic. They are the same moves in this tutorial, done with restraint.
A useful habit is to toggle between before and after often as you edit. In Lightroom, press the backslash key to flip the view. If the after only looks louder, not better, you are pushing sliders. If it looks like what you remember seeing, you are on the right track.
Dealing with tricky sunrise light
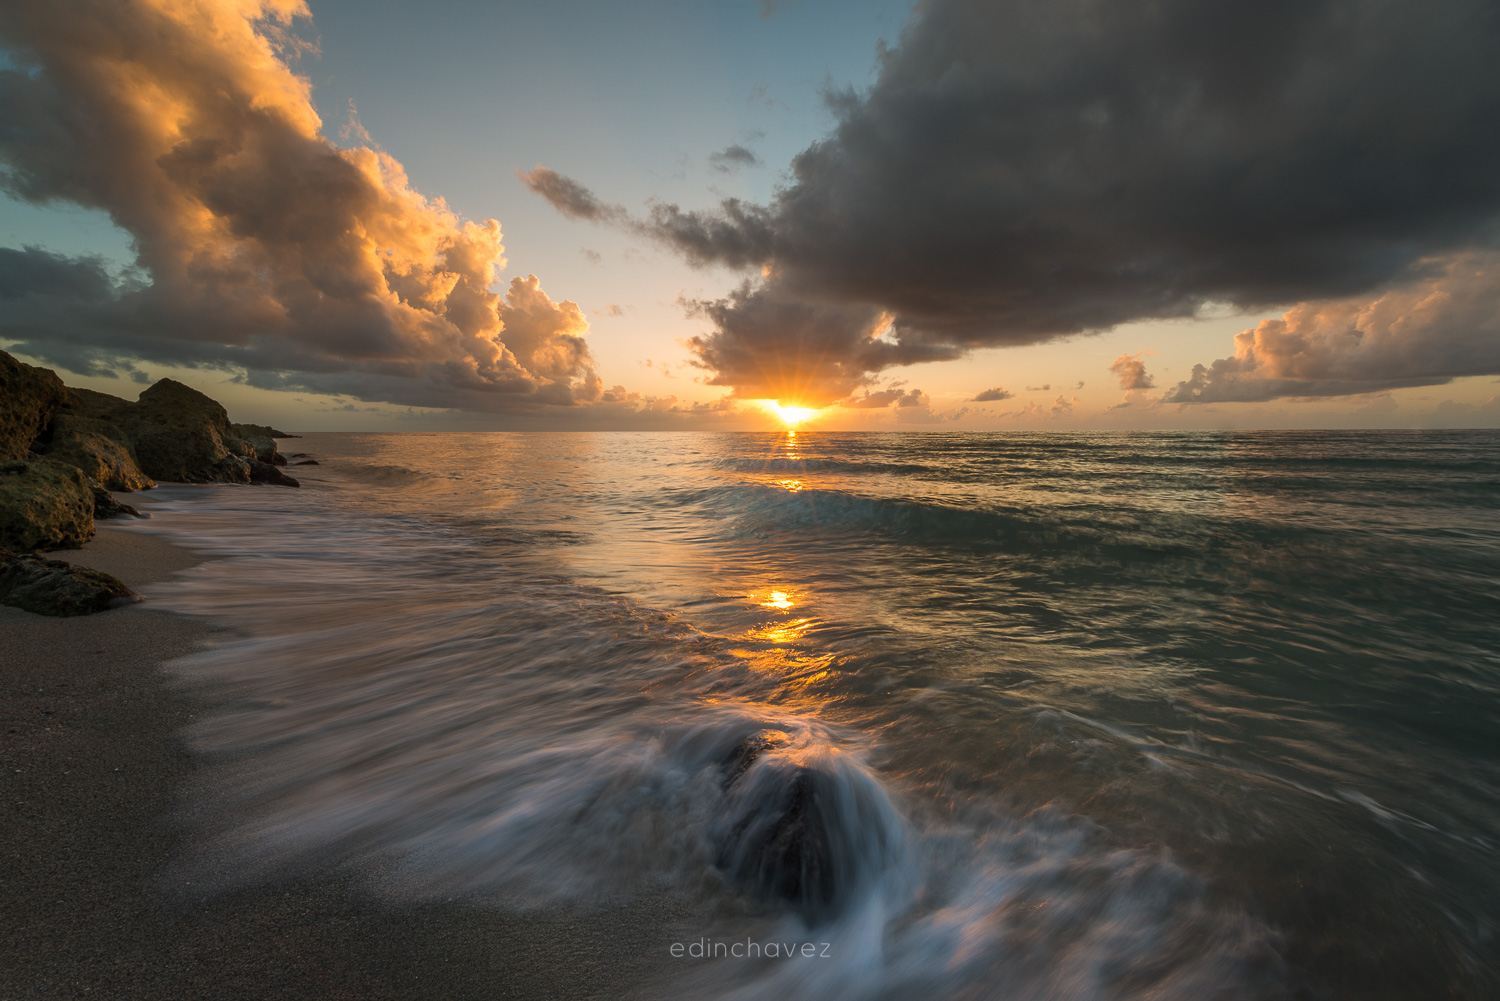
Sun in the frame: A bright sun disc will clip no matter what. Pull Highlights and Whites all the way down, then use a small radial filter on the sun and drop its exposure. Accept that a tiny pure-white spot is normal.
Flat, gray mornings: Not every sunrise explodes with color. On overcast mornings, go for mood. Lower Saturation, add a cool tint to the shadows, and let the soft light carry the picture.
Fog and haze: Fog is a gift. Keep Dehaze low, since too much kills the soft look you want. Add a little warmth near the light and protect the pale tones.
Color casts: Sunrise often pushes magenta into the sky. If it looks off, nudge the Tint slider toward green by a few points and check the clouds.
Export settings that keep your work looking right
When you finish, export a full-size JPEG for the web at 80 to 90 percent quality in sRGB. For a print, export at the full resolution in a wider color space if your printer supports it, and ask the lab what they prefer. Sharpen for the output, screen or matte paper, in the export dialog. Keep the RAW file and the Lightroom catalog backed up so you can return to the edit later.
Common sunrise editing mistakes
Oversaturating is the number one mistake. Sunrise already has strong color, and a hard push turns it garish. Number two is too much HDR-style contrast and clarity. Number three is ignoring the horizon: a crooked horizon ruins the best sky. Number four is editing on a screen that is too bright. Turn your display down a little and compare your picture to others you admire.
Last, do not edit every photo the same way. A foggy sunrise needs different tools than a clear one. Look at what the light gave you and edit for that.
Keep learning
Editing is a skill you build by repeating it. Pick one sunrise file a week, run the same eight steps, and write down which slider moves changed the picture most. After a month you will know your own habits, and your edits will get faster and cleaner. Practice these steps on three or four of your own sunrise files, then compare your edits side by side. If you want every slider explained from the start, take the Lightroom editing course in the Shut Your Aperture Academy. It is a beginner-friendly post-processing course taught by Edin Chavez, with 10 modules and 42+ parts you can finish at your own pace. You get lifetime access, so you can come back to it after every shoot. Browse the rest of the Academy courses too. For a bigger buying decision, see our camera buyer guide.
Frequently asked questions
How do I edit a sunrise photo in Lightroom?
Expose for the sky, pull Highlights and Whites down, lift Shadows, add a graduated filter over the sky, add a radial filter at the light source, fine-tune colors in HSL, then sharpen and reduce noise.
What is the best Lightroom setting for sunrise photos?
There is no single setting, but lowering Highlights, raising Shadows, adding a little Vibrance and warming the white balance slightly are common starting moves.
Should I shoot sunrise photos in RAW?
Yes. RAW files hold far more detail in the bright sky and dark foreground, which gives you room to recover both in Lightroom.
How do I stop my sunrise edit from looking fake?
Keep Saturation and Clarity low, feather filters wide, and brush with low flow. If it looks edited at first glance, pull every slider back by half.
What does a radial filter do in a sunrise photo?
It lets you brighten and warm a circular area around the light source, which adds a natural glow and pulls the viewer’s eye to the sun.
Can I use these steps with a phone photo?
Yes. Lightroom Mobile has nearly the same sliders, filters and brushes, and works well with RAW or ProRAW phone files.
Gear box: sunrise editing starting points
These are research starting points, not rankings. Check current specs, reviews and prices before you buy.
- A sturdy travel tripod: sunrise light is low and shutter speeds get slow. See travel tripods at B&H or on Amazon.
- Graduated ND filters: they balance a bright sky against a darker foreground in camera. Browse graduated ND filters at B&H.
- A screen calibrator: helps your colors look right on other screens. See monitor calibrators at B&H.
Affiliate disclosure: some links above are affiliate links. If you buy through them, Shut Your Aperture may earn a small commission at no extra cost to you.