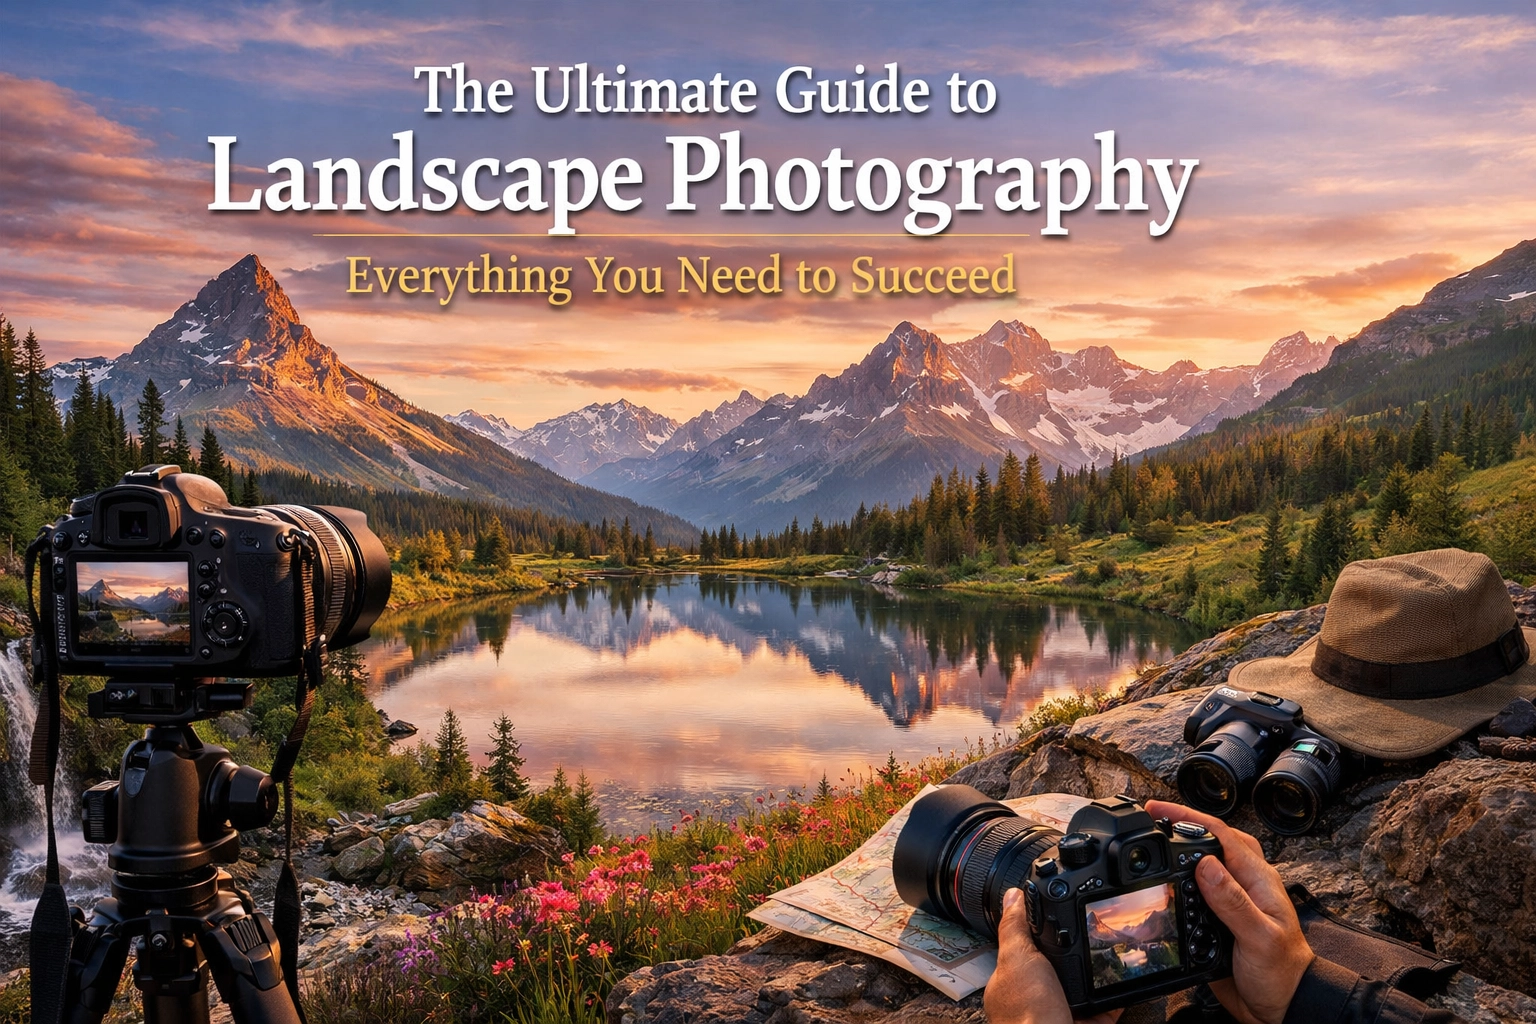
There is something almost spiritual about standing in front of a massive mountain range or a crashing coastline just as the sun begins to peek over the horizon. It’s just you, your camera, and a world that’s way bigger than any of our daily problems. That is the heart of landscape photography.
But let’s be real: we’ve all been there. You see a view that takes your breath away, you click the shutter, and when you look at the screen, it looks like a flat, boring postcard from 1994. Why? Because capturing the great outdoors is about more than just showing up. It’s about light, technique, and a little bit of gear-nerd magic.
In this guide, we’re going to break down everything you need to know to stop taking "okay" photos and start creating images that make people stop scrolling. Whether you're a seasoned pro or someone who just mastered their camera's manual mode in 5 minutes, there is something here for you.
The Gear: What’s Actually in the Bag?
First things first, let's talk about the stuff you carry. You don’t need to take out a second mortgage to get good shots, but you do need the right tools for the job.
The Camera
Mirrorless and DSLR cameras are the gold standard here. Why? Because they let you swap lenses and, more importantly, they give you full manual control. When the light is changing faster than a mood ring, you need to be the boss of your settings. If you’re just starting out or want something portable for those long hikes, a compact but capable setup can do wonders.
 Save
Save
The Glass (Lenses)
Most people think "landscape" and immediately think "wide-angle." And they aren't wrong. A 14mm or 24mm lens is perfect for those sweeping vistas where you want to cram the whole canyon into one frame. But don't sleep on telephoto lenses. Sometimes the best landscape shot is a tight crop of a mountain peak miles away. For a solid foundation, check out some tips on Shut Your Aperture regarding lens selection.
The Tripod: Your New Best Friend
If you want sharp photos, you need a tripod. Period. Especially during the "Golden Hour" when light is low, your shutter speed will slow down. If you’re holding the camera by hand, you’re going to get blur. A sturdy tripod allows you to keep your ISO low and your images crisp. Plus, it forces you to slow down and actually think about your composition.
Mastering the Technical Trinity
Landscape photography happens outdoors, where nature doesn't care about your "perfect" lighting plan. Rain, wind, and sudden clouds are all part of the game. To win, you have to master the three pillars: Aperture, Shutter Speed, and ISO.
- Aperture (The f-stop): In landscapes, we usually want everything sharp from the flower in the front to the mountain in the back. This means using a higher f-stop, like f/8 to f/11. Don't go too high (like f/22) or you’ll hit "diffraction," which actually makes things look a bit soft.
- ISO: Keep this as low as possible (usually ISO 100). Higher ISO means more "noise" or grain, and in a clean landscape shot, noise is the enemy.
- Shutter Speed: This is where the magic happens. A fast shutter speed freezes a crashing wave. A slow shutter speed (long exposure) turns that same wave into a dreamy mist.
If you're feeling overwhelmed, don't worry. We’ve all been there. Experimenting with best camera settings for stunning water landscapes is a great way to see how these three elements interact in the real world.
Composition: How to Tell a Story
Composition is the difference between a "snapshot" and "art." It’s how you lead the viewer’s eye through the frame.
The Rule of Thirds
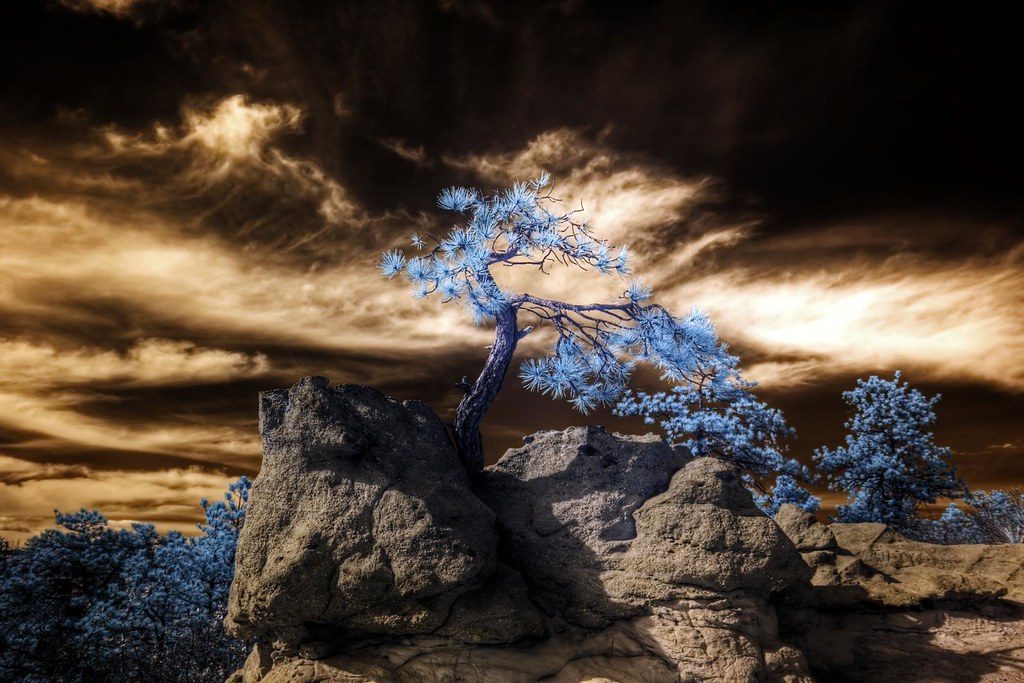
Imagine your screen is divided into a 3×3 grid. Instead of putting the horizon right in the middle, try putting it on the top or bottom third line. Place your main subject (like a lone tree) on one of the intersections. It’s a simple trick that instantly makes a photo feel more balanced and professional.
Leading Lines
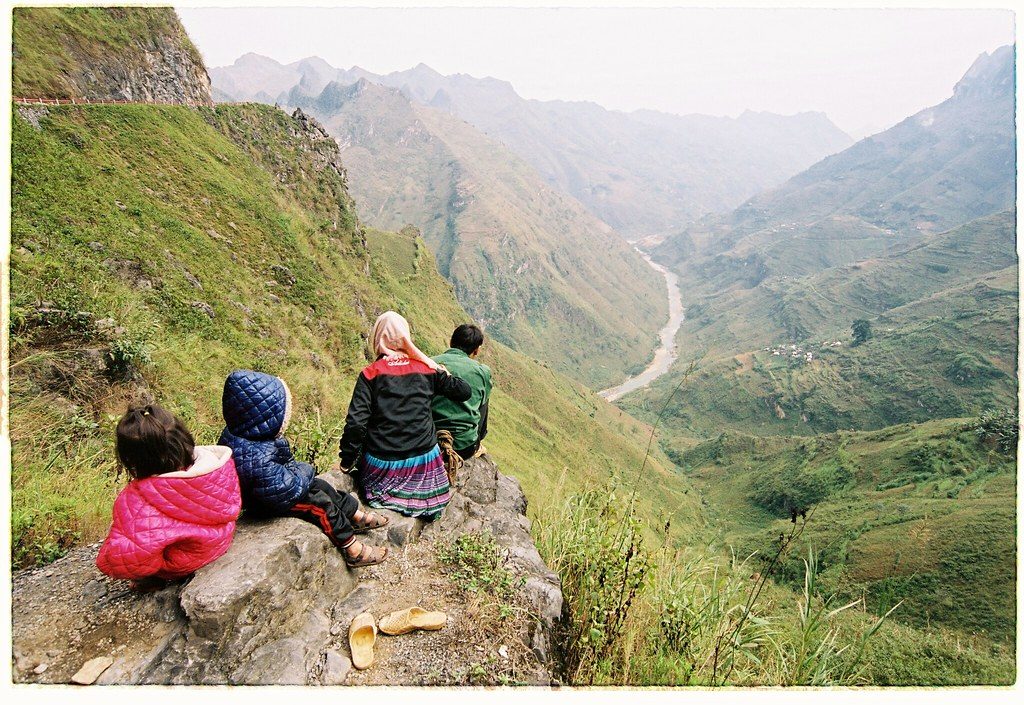
Use roads, rivers, or even fallen logs to point toward your main subject. Leading lines act like a visual "You Are Here" sign for the viewer's eyes. They add depth and keep people looking at your photo longer.
 Save
Save
Caption: An example of leading lines using a winding path toward a mountain range.
Foreground Interest
Don't just look at the horizon. Look at what's right in front of your feet. A cool rock, a patch of wildflowers, or some rare textures can provide "foreground interest." This gives the image a 3D feel, pulling the viewer into the scene.
Focusing for Infinite Sharpness
One of the biggest struggles for beginners is getting everything in focus. If you focus on the mountains, the grass in front of you is blurry. If you focus on the grass, the mountains look like a smudge.
This is where Hyperfocal Distance comes in. It sounds like sci-fi, but it's just the point in your frame where, if you focus there, everything from half that distance to infinity will be sharp. A good rule of thumb? Focus about one-third of the way into the scene. If you're still struggling, you can try "Focus Stacking": taking multiple shots with different focus points and blending them later. For more technical deep dives, proshoot.io has some great resources on advanced focusing techniques.
Chasing the Light
You can have the best gear and perfect composition, but if the light is bad, the photo will be bad.
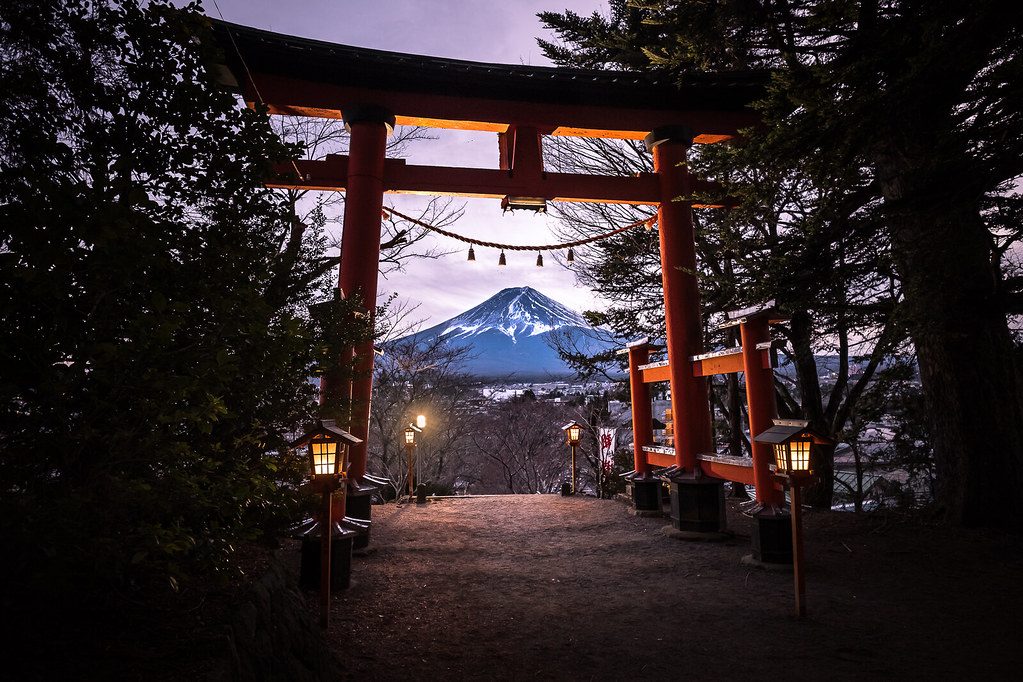
- Golden Hour: The hour after sunrise and before sunset. The light is warm, soft, and creates long, beautiful shadows. This is prime time. Check out these top spots for majestic sunset photography to practice.
- Blue Hour: The period just before sunrise or after sunset. The sky turns a deep, moody blue. It’s perfect for ethereal landscapes.
- Overcast Days: Don't stay home just because it's cloudy! Overcast skies act like a giant softbox, making colors pop and removing harsh shadows. This is actually the best time for forest and waterfall photography.
Water: The Secret Ingredient
There’s something hypnotic about water. Whether it’s a calm lake reflecting a peak or a raging waterfall, water adds life to a landscape.
If you want that silky, smooth water look, you'll need an ND (Neutral Density) filter. It’s basically sunglasses for your lens, allowing you to use a very slow shutter speed even in daylight. Mastering water photography in any environment takes practice, but the results are always worth it.
 Save
Save
Caption: A long-exposure shot of a waterfall, showing the silky effect created by a slow shutter speed.
Post-Processing: Bringing the Vision to Life
Let’s bust a myth: "Real" photographers don't edit.
Wrong. Even in the film days, photographers were "editing" in the darkroom. Post-processing isn't about faking it; it’s about bringing back the dynamic range that the camera sensor couldn't quite catch.
I personally love using Luminar for my workflow. It has some incredible AI tools that can help with sky replacement or enhancing details without making the photo look "cooked." The goal is to make the photo look the way it felt when you were standing there.
When you're editing, focus on:
- Contrast and Shadows: Make sure your blacks are deep but your shadows still have detail.
- White Balance: Did the sunset actually look that yellow? Adjust the temperature to match the mood.
- Sharpening: Just a touch to make those details pop.
 Save
Save
Finding Your Locations
You don't have to fly to Iceland to get great shots (though it helps). Some of the best images come from lesser-known vistas right in your backyard.
Use apps like Google Earth or Instagram to scout locations, but don't be afraid to get lost. The "beaten path" is called that for a reason: everyone has the same photo of it. If you want something unique, you have to hike a little further or wake up a little earlier. Check out these hidden gem locations for some inspiration.
The Ethical Photographer
This is the serious part of the talk. As landscape photographers, we are ambassadors for the outdoors.
- Leave No Trace: If you pack it in, pack it out. Don't trample sensitive wildflowers just for a "banger" shot.
- Respect Closures: If a trail is closed for restoration, stay off it.
- Be Kind to Others: You aren't the only one trying to enjoy the view. Share the space.
We want these locations to stay beautiful so the next generation of photographers can enjoy them too. For more on the philosophy of photography and art, you can always visit edinfineart.com or blog.edinchavez.com.
Putting it All Together
Landscape photography is a marathon, not a sprint. You will have days where you wake up at 4:00 AM, hike for three hours, and the sky stays a flat, ugly gray. That’s okay. That’s part of the story.
The more you go out, the more you’ll start to "see" the light before it even happens. You’ll start to notice patterns in the clouds and how the tide affects the shore. You’ll stop worrying about your gear and start focusing on the emotion of the scene.
 Save
Save
Caption: A stunning wide-angle shot of a mountain range reflected in a perfectly still lake during the blue hour.
If you're looking for more specific guides, whether it's capturing urban photography or finding secluded paradises, we’ve got you covered.
Now, stop reading this, grab your camera, and go outside. The world is waiting for its close-up. And don't forget to send your best shots over to Sonny, our social media manager: we love seeing what our community is creating and often feature your work on our channels!
For more professional tips and studio-quality insights, you can also head over to edinstudios.com. Happy shooting!
Luminar Neo’s Sky AI, atmosphere AI and SuperSharp are designed for landscape work — replace flat skies, add depth, and recover detail in seconds. Tagged as affiliate per FTC.


