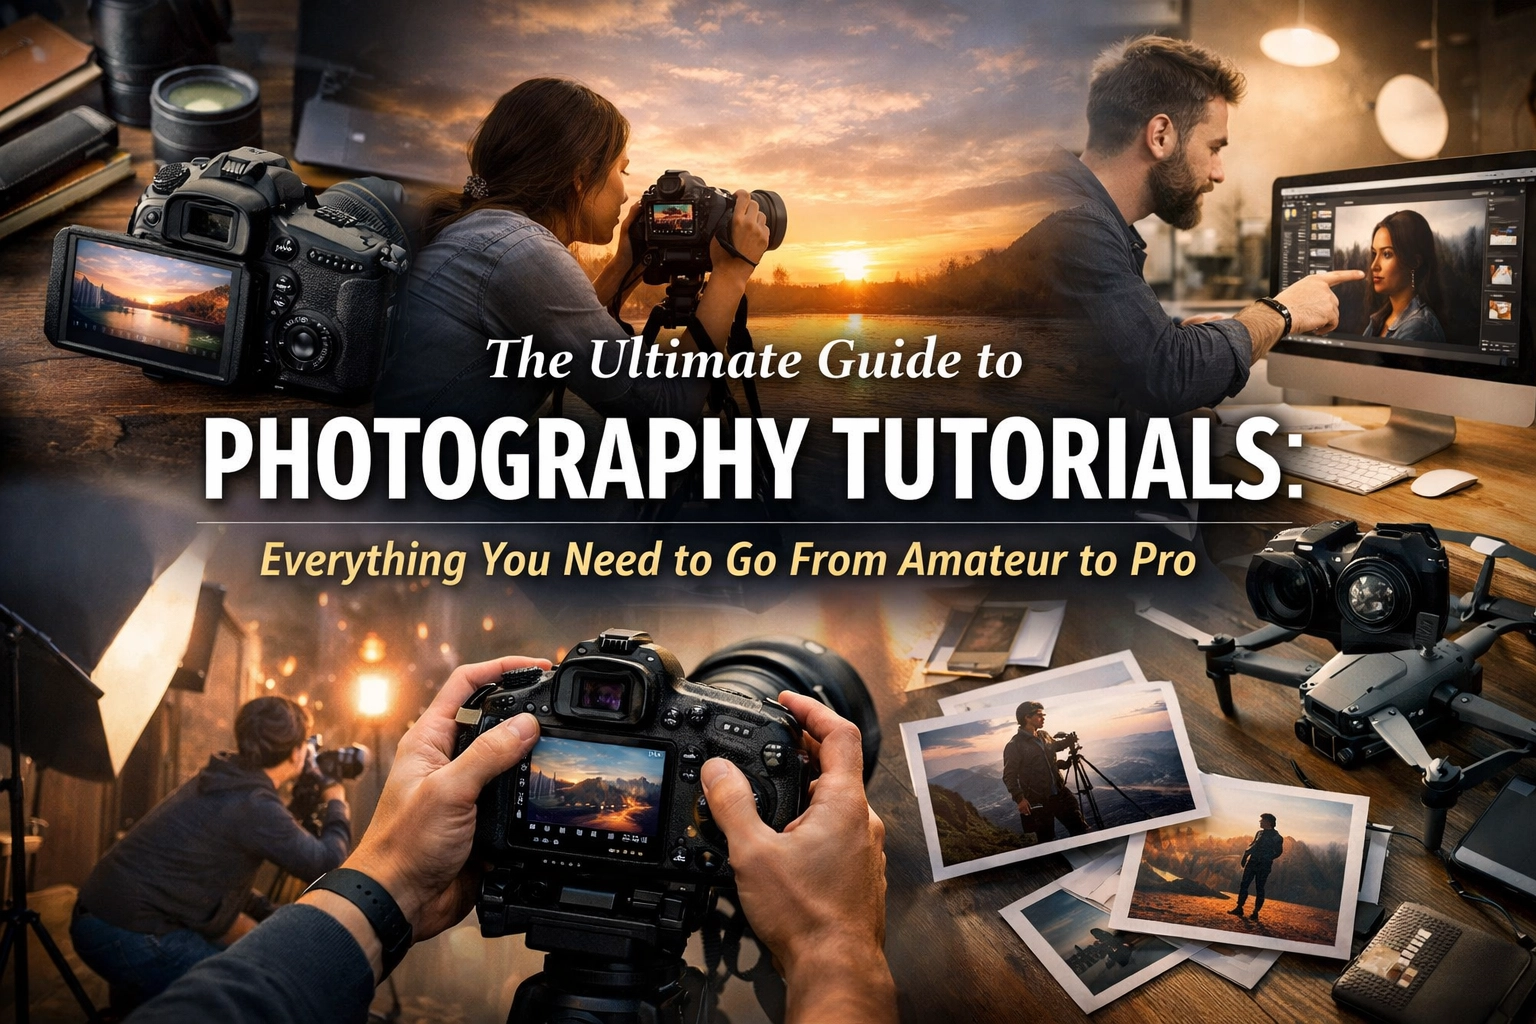
Let’s be honest: your smartphone is great for taking photos of your lunch, but if you want to create images that stop people in their tracks, you need to step up your game. We’ve all been there: holding a fancy DSLR or mirrorless camera, looking at all those buttons, and feeling like we’re trying to pilot a spaceship.
At Shut Your Aperture, we believe that photography shouldn't be gate-kept by confusing jargon and snobby attitudes. We want to be the number one photography school online, making high-level skills accessible to everyone. Whether you’re just starting or you’re looking to turn your hobby into a paycheck, this guide is your roadmap. We’re going to walk through the four essential stages of growth, from learning how to use manual mode camera settings to mastering the psychology of light.
Stage One: The Camera and Technical Basics
If you want to move from "guy with a camera" to "photographer," you have to stop letting the camera make the decisions for you. Auto mode is like using a microwave to cook a five-course meal: it works, but it’s never going to be gourmet.
To truly master photography tutorials, you have to start with the technical foundation. This means understanding the Exposure Triangle: ISO, Aperture, and Shutter Speed.
How to Use Manual Mode Camera Settings
The most common question we get is, "How do I make my background blurry?" or "Why are my night shots so grainy?" The answer lies in manual mode.
- Aperture (The F-Stop): Think of this as the pupil of your eye. The wider it is (a lower number like f/1.8), the more light comes in and the shallower your depth of field becomes. This is how you get that sweet, creamy "bokeh" background.
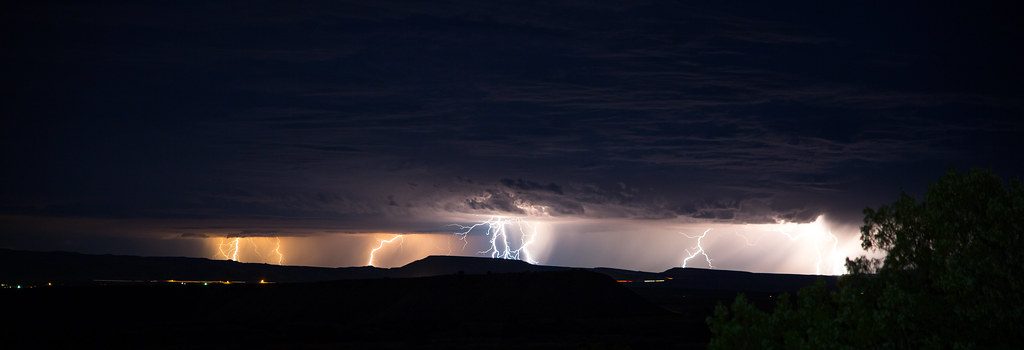
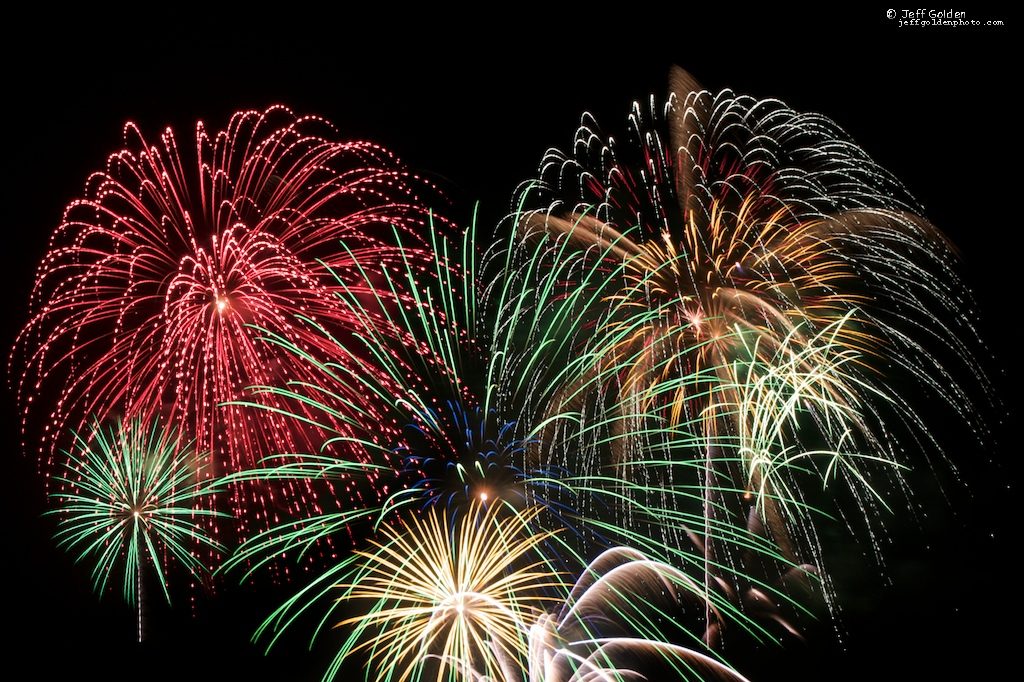
- Shutter Speed: This is how long your sensor is exposed to light. Fast speeds (1/1000s) freeze motion; slow speeds (1/10s) create motion blur. If you're shooting sports, you need speed. If you're shooting a silky waterfall, you need a slow shutter and a tripod.
- ISO: This is your camera's sensitivity to light. A low ISO (100) is great for bright days. A high ISO (3200+) helps in the dark but adds "noise" or grain to your photo.
Mastering these three is the secret to everything. For a deeper dive into this, check out our guide on how to master your camera's manual mode in 5 minutes.
 Save
Save
Beyond the Triangle
Once you get the exposure down, you need to understand White Balance and RAW files. If you’re still shooting in JPEG, you’re throwing away half your data. RAW files allow you to recover highlights and shadows that would otherwise be lost forever. If you want to see what the pros are shooting with these days, head over to ProShoot.io to see high-end gear in action.
Stage Two: The Digital Darkroom (Post-Processing)
Taking the photo is only half the battle. The second half happens at your computer. If you think editing is "cheating," I hate to break it to you, but Ansel Adams spent more time in the darkroom than he did behind the lens.
Post-processing is where you define your style. It's where you take a "flat" RAW file and turn it into a masterpiece.
Essential Editing Workflow
A good workflow starts with culling. Don't show the world your 500 near-identical shots; show them the one "hero" shot. Once you've picked your winner, it's time for "clean" editing:
- Exposure and Contrast: Leveling out the light.
- Color Toning: Giving the image a mood (warm and nostalgic vs. cold and cinematic).
- Dodging and Burning: Manually brightening or darkening specific parts of the image to lead the viewer's eye.
For those who want to speed up their workflow without sacrificing quality, we highly recommend using Luminar. It uses AI to handle the tedious stuff so you can focus on the creative side of things. If you need more technical walkthroughs, our How-To section is packed with step-by-step guides.
 Save
Save
SEO Alt Text: A professional photographer editing a landscape photo on a large monitor, using advanced software to adjust color grading and contrast.
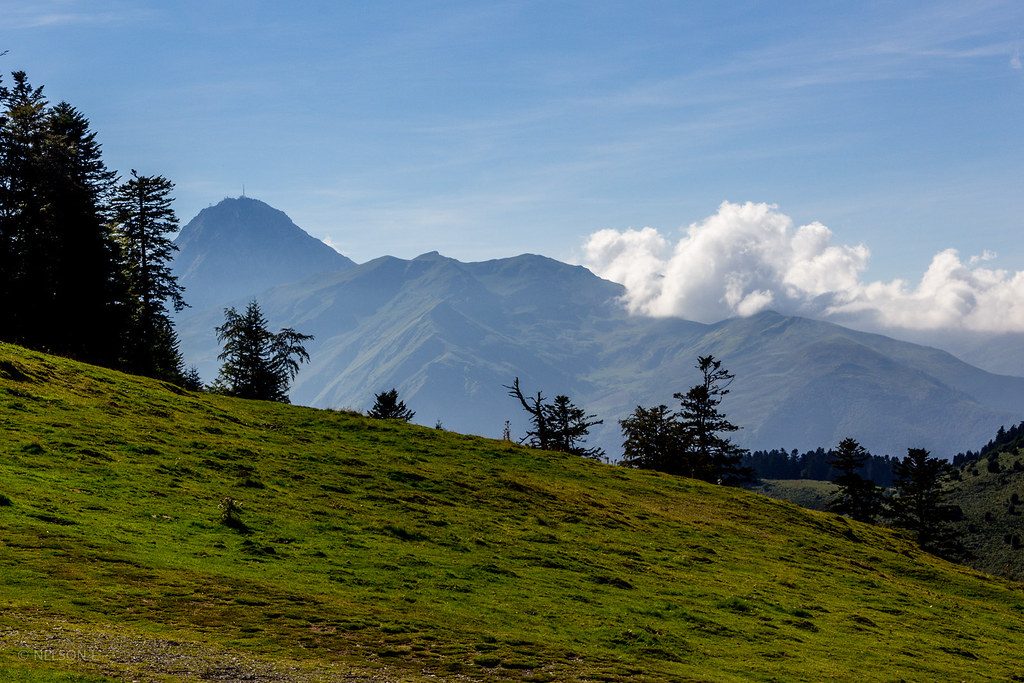
Stage Three: Mastering Light
You can have a $10,000 camera, but if your light is bad, your photo will be bad. Photography literally means "writing with light." To go from amateur to pro, you have to stop looking at objects and start looking at how light hits them.
The Quality of Light
- Hard Light: Think high noon in the desert. It creates sharp shadows and high contrast. It’s dramatic and gritty.
- Soft Light: Think of a cloudy day or a large softbox in a studio. It’s flattering, even, and hides imperfections.
Understanding the inverse square law: which basically says that light drops off quickly as you move away from the source: is a game-changer for portrait photographers. If you want to see how the world's best photographers utilize light, check out the Photographer of the Week features on our site for some serious inspiration.
Direction and Mood
Where is the light coming from? Side lighting adds texture and depth. Backlighting (placing the light behind your subject) creates a glow or "rim light" that separates them from the background. This is the difference between a flat snapshot and a professional portrait. You can find excellent lighting breakdowns over at Shut Your Aperture.
Stage Four: Advanced Composition
Once you know the rules (like the Rule of Thirds), it’s time to break them: or at least use more complex ones. Advanced composition is what makes an image feel "expensive."
Geometric Guides
Pro photographers use the Fibonacci Spiral or the Golden Ratio to place elements in a way that feels naturally pleasing to the human eye. We also look for:
- Leading Lines: Using roads, fences, or even shadows to point toward the subject.
- Frame within a Frame: Using a window or tree branches to border your subject.
- Layering: Having a clear foreground, midground, and background to create 3D depth in a 2D medium.
For visual examples of these principles in action, Edin Chavez’s personal work at blog.edinchavez.com offers a masterclass in composition and street photography.
 Save
Save
SEO Alt Text: An architectural photograph using the Golden Ratio to lead the eye through a spiral staircase, demonstrating advanced photography composition.
Gear: Choosing the Right Tools
While gear isn't everything, having the right gear for your specific niche matters. You wouldn't use a hammer to turn a screw.
Finding Your Niche
The gear you need for food photography (macro lenses and bounce cards) is vastly different from what you need for drone photography.
If you're just starting and want something fun and tactile, we've been seeing a huge trend in "film-style" digital cameras that keep things simple.
 Save
Save
When you're ready to upgrade your kit, check our Gear Category for the latest reviews and recommendations. Whether you're into product photography or you're looking for the best GoPro vids gear, we've got you covered.
Why Shut Your Aperture is the Top Choice
There are a million photography tutorials out there, so why stick with us? Because we don't just teach you which buttons to press; we teach you how to see. Photography is a language, and we’re here to help you become fluent.
From documentary style to the latest tech trends in AI photography, our goal is to keep you ahead of the curve. If you’re feeling uninspired, sometimes just reading a few photography quotes can spark that creative fire again.
Keeping Up with the Industry
The world of photography moves fast. New sensors, new software like Luminar, and new techniques drop every week. Stay in the loop by checking out why everyone is talking about today’s photography news.
If you’re serious about making a living from your lens, check out Edin Studios and Edin Fine Art to see how professional-grade work is marketed and sold in the real world.
Final Thoughts on Your Photography Journey
Becoming a pro doesn't happen overnight. It happens through thousands of bad photos. Each bad photo is a tutorial in itself: it tells you exactly what not to do next time.
Start by mastering how to use manual mode camera settings. Once you have control over the light, start experimenting with your editing. Find a niche you love: be it timelapse or behind-the-scenes work: and dive deep.
Remember, the best camera in the world is the one you have with you, but the best tool you have is your own eye. Keep shooting, keep learning, and keep shutting your aperture.
 Save
Save
SEO Alt Text: A diverse group of photographers in a workshop setting, sharing ideas and looking at camera screens, symbolizing the community at Shut Your Aperture.


