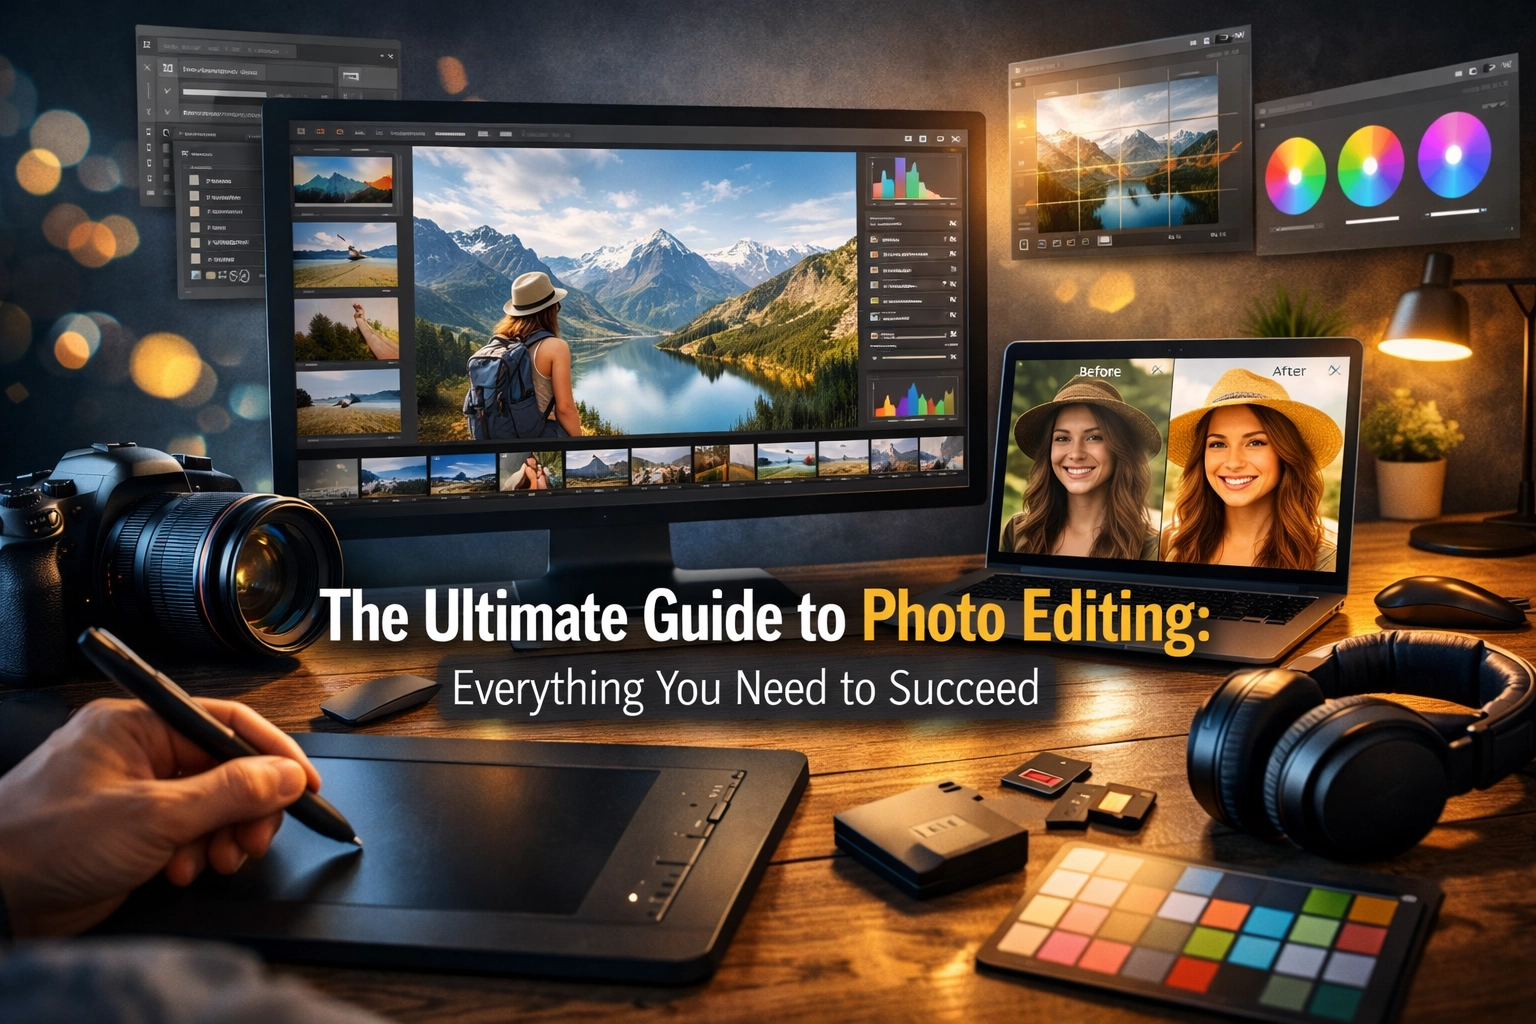
Let’s get one thing straight: photo editing isn’t "cheating." I hear this all the time from beginners who think a "real" photographer gets it perfect in-camera and never touches a slider. That’s just not how it works. Back in the film days, legends like Ansel Adams spent hours in the darkroom dodging and burning to get the perfect print. Today, our darkroom is a laptop, and our chemicals are sliders.
Editing is where you finish the story you started telling when you pressed the shutter button. It’s where you take a flat, RAW file and turn it into the masterpiece you saw in your head. Whether you’re shooting picturesque coastal escapes or gritty street scenes, editing is the bridge between a "nice shot" and a "wow shot."
In this guide, we’re going to break down the entire process. No fluff, no gatekeeping: just everything you need to succeed in the digital darkroom.
The Foundation: Why You Must Shoot RAW
Before we even talk about software, we have to talk about your camera settings. If you’re shooting in JPEG, you’re already losing the battle.
Think of a JPEG like a microwave dinner. It’s already cooked, seasoned, and packaged. You can add a little salt (brightness), but you can’t turn that Salisbury steak back into a raw filet mignon. A RAW file, however, is a bag of high-quality ingredients. It contains all the data your camera's sensor captured. It looks flat and ugly at first, but it gives you the power to recover blown-out highlights, lift deep shadows, and change the white balance entirely without destroying the image quality.
If you’re serious about your craft, switch your camera to RAW right now. You’ll thank me later when you’re trying to save a shot of a majestic sunset that turned out a little too dark.
Choosing Your Weapon: The Best Editing Software
You don’t need every piece of software on the market. You just need one that works for your style. Here are the heavy hitters:
- Adobe Lightroom: The gold standard. It’s great for organizing thousands of photos and making clean, professional edits. It’s what most of us use daily.
- Luminar: If you want to leverage AI to speed up your workflow, Luminar is a game-changer. It’s incredibly intuitive for things like sky replacement and skin retouching.
- Adobe Photoshop: Use this for the heavy lifting: removing complex objects, compositing, or high-end retouching.
- Capture One: Many studio and fashion photographers swear by this for its superior color science and tethering capabilities.
- Mobile Apps: For on-the-go editing, Snapseed and Lightroom Mobile are surprisingly powerful.
 Save
Save
The Step-by-Step Editing Workflow
Don't just start moving sliders at random. You need a process. A consistent workflow saves time and prevents you from over-editing your photos into oblivion.
1. Culling: The Art of Deleting
The first step isn't editing; it's choosing. Don't edit 50 versions of the same flower. Pick the best one. Be ruthless. If the focus is soft or the composition is messy, toss it. Your portfolio should only show your best work.
2. Clean Up and Composition
Start by straightening your horizon. Nothing screams "amateur" like a tilted ocean. Crop out distracting elements at the edges of the frame to keep the focus on your subject. Use the spot removal tool to get rid of sensor dust or that random trash can in the background of your enchanting urban photography.
3. White Balance and Temperature
This sets the mood. Do you want the scene to feel warm and inviting or cool and moody? Use the eyedropper tool on a neutral gray or white area to get a baseline, then adjust the temperature slider to taste.
4. Exposure and the Histogram
The histogram is your best friend. It’s a graph that shows the distribution of light in your image. If the graph is slammed against the right side, your highlights are "blown" (pure white with no detail). If it’s slammed to the left, your shadows are "crushed" (pure black). Aim for a balanced curve. Use the Exposure, Highlights, and Shadows sliders to bring back the detail in those tricky areas.
 Save
Save
Mastering Color and Contrast
This is where the magic happens. Contrast adds "pop," but don't overdo it. If you want a more refined look, try using the Tone Curve instead of the Contrast slider. It gives you much more control over the blacks, whites, and midtones.
Saturation vs. Vibrance
There is a big difference here. Saturation increases the intensity of all colors equally. Vibrance is "smart" saturation: it boosts the less-saturated colors while leaving skin tones and already-bright colors alone. Always start with Vibrance to avoid making people look like they have a bad spray tan.
The HSL Panel
The HSL (Hue, Saturation, Luminance) panel is where you can truly customize your look. Want the greens in your nature imagery to look more like autumn? Shift the Hue of the greens toward yellow. Want the blue of the water in your water photography to stand out? Increase the Luminance of the blues to make them glow.
 Save
Save
Specific Techniques for Different Genres
Every type of photography requires a slightly different approach in the edit.
Water Photography
When mastering water photography in any environment, you're often dealing with reflections and high contrast. Use a "Dehaze" tool to cut through spray or mist. If you used long exposure techniques, you might want to increase the clarity just a bit to give the smooth water some texture.
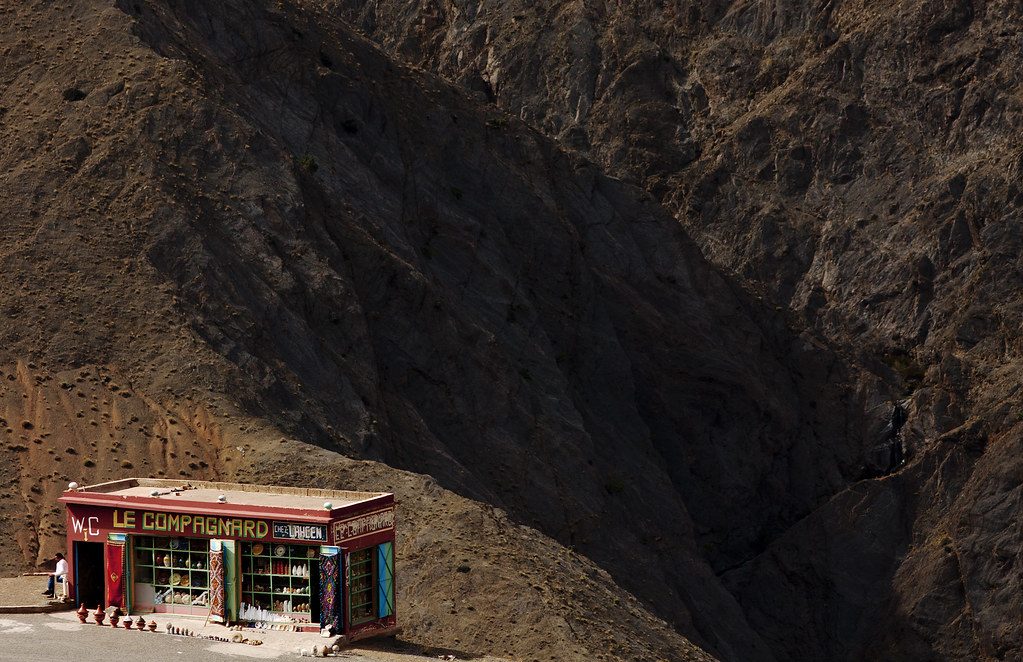
Travel and Landscapes
For hidden gem locations, you want the viewer to feel like they are there. Use graduated filters to darken the sky and bring out the clouds without affecting the foreground. If you're shooting ethereal landscapes, lowering the clarity can actually help create a soft, dreamlike glow.
Urban and Architecture
Architecture is all about lines. Use "Geometry" or "Lens Correction" tools to fix perspective distortion. In urban environments, you can often push the contrast and "Texture" sliders a bit further to emphasize the grit of the city.
 Save
Save
The Final Touches: Sharpening and Noise Reduction
Every RAW file needs a little sharpening. Zoom in to 100% so you can actually see what you're doing. Use the "Masking" slider (hold Alt/Option while dragging) to ensure you're only sharpening the edges of your subject and not the flat areas like the sky.
If you shot at a high ISO, you’ll see "noise" (graininess). Modern software is incredible at removing this, but be careful: too much noise reduction will make your photo look like a plastic painting.
Efficiency: The Power of Presets
If you find yourself making the same adjustments over and over, save them as a preset. This is how professional photographers maintain a consistent "look" across their entire portfolio. You can find great starting points on sites like Shut Your Aperture or proshoot.io.
Just remember: a preset is a starting point, not a "one-click" solution. Every photo has different lighting, so you’ll always need to tweak the exposure and white balance after applying a preset.
 Save
Save
Common Mistakes to Avoid
- Over-HDR-ing: We've all seen those photos that look like a radioactive fever dream. If your "shadows" slider is at +100 and your "highlights" are at -100, take a step back.
- Too Much Clarity: Adding too much clarity makes people look old and landscapes look crunchy. Use it sparingly.
- Ignoring the Crop: Don't be afraid to crop. Sometimes there's a much better photo hidden inside the one you took.
- Editing on a Bad Screen: If your monitor isn't calibrated, your colors will be off. What looks "perfect" on your uncalibrated laptop might look green or pink on everyone else's phone. Check out resources on blog.edinchavez.com for tips on gear and calibration.
Keeping it Real
At the end of the day, photo editing is an extension of your creative voice. There are no "wrong" edits, only choices that either help or hurt the story you're trying to tell. If you want to see how these techniques look in a professional setting, take a look at the galleries on edinfineart.com or the commercial work at edinstudios.com.
The best way to get better at editing is simply to do it. Take photos of secluded paradises, bring them home, and play with the sliders. See what happens when you push things to the limit, then pull them back until they feel right.
Editing is a journey, not a destination. It takes time to develop your eye, so don't get discouraged if your first few tries don't look like they belong in a magazine. Keep at it, stay curious, and most importantly, have fun with it.
Photography is about capturing a moment, but editing is about holding onto a specific mood. Go make people feel something.
Skylum’s Luminar Neo runs as a Lightroom plugin and adds AI-powered sky replacement, portrait retouching and noise reduction to your existing workflow. Tagged as affiliate per FTC.


