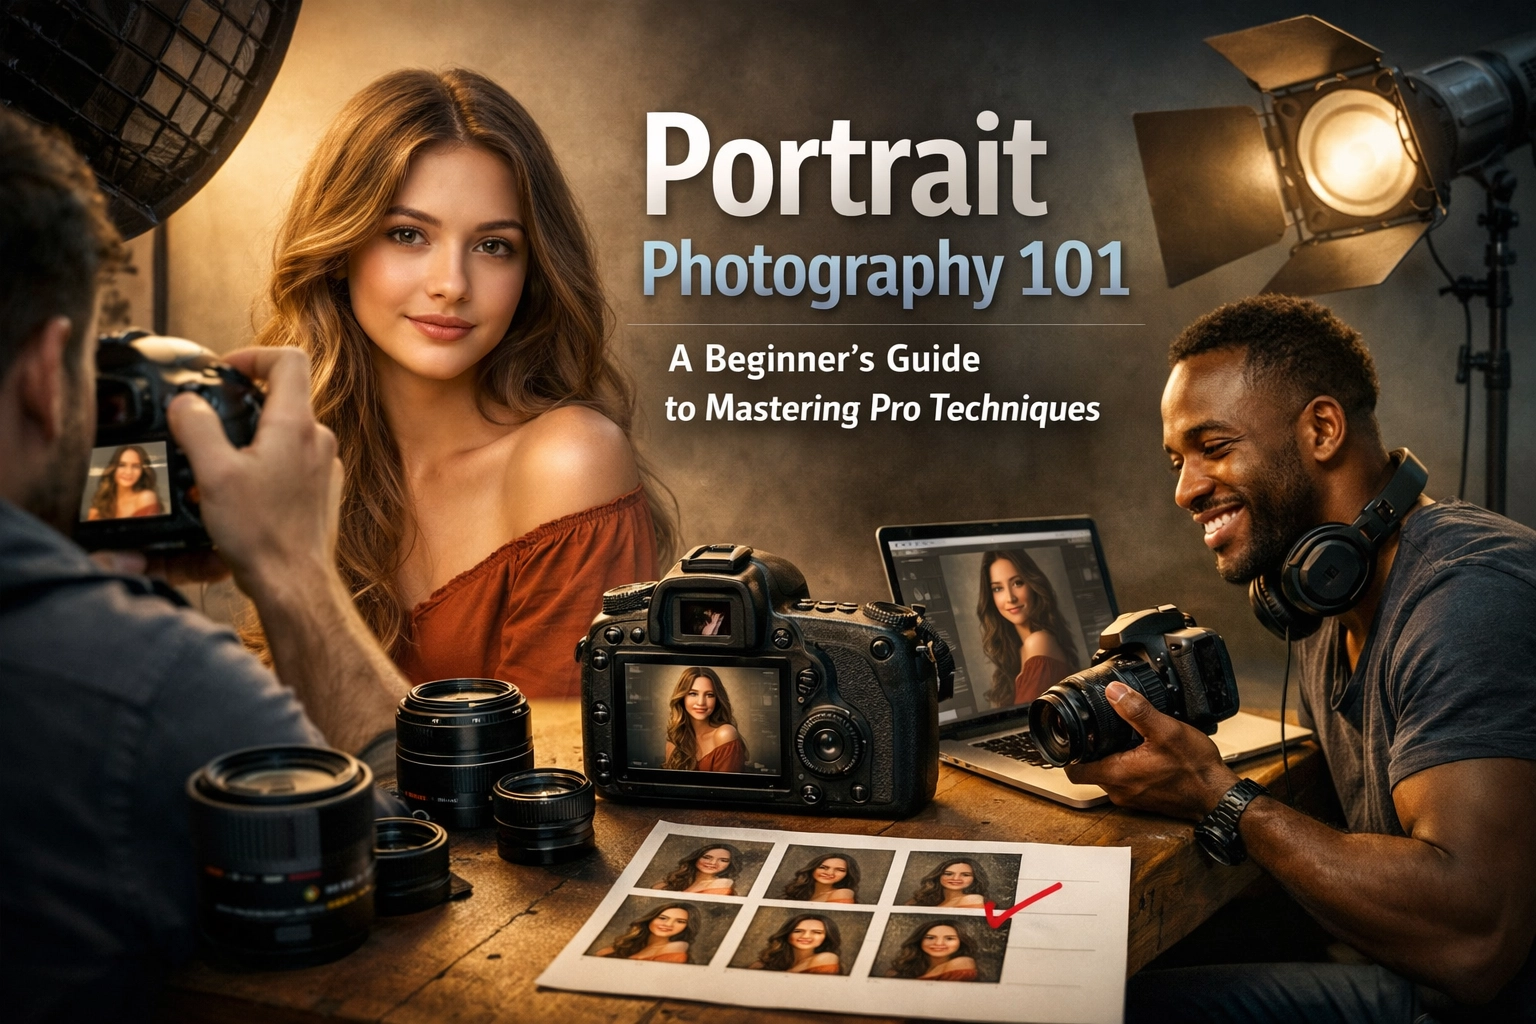
So, you’ve got a camera, a willing subject, and a desire to take photos that don't look like they belong on a 2005 DMV ID card. Welcome to the world of portrait photography. It’s one of the most rewarding genres in the craft because it’s all about connection. Whether you're shooting your kids in the backyard or trying to build a professional portfolio, the jump from "snapshot" to "portrait" isn't about how expensive your gear is: it's about how you use it.
At Shut Your Aperture, we believe in keeping things simple. You don’t need a degree in physics to understand light, and you don’t need a million dollars to get a blurry background. You just need to master a few fundamental techniques. Let’s break down the essentials of portrait photography and get you shooting like a pro.
The Gear: It’s Not Just About the Body
Everyone asks the same question: "What camera should I buy?" Honestly? Almost any modern mirrorless or DSLR camera can take a world-class portrait. The real magic happens in the glass.
If you’re still using the kit lens that came with your camera (usually an 18-55mm), you’re going to find it hard to get those creamy, out-of-focus backgrounds. For portraits, you want a "fast" lens: one with a wide maximum aperture.
The "Nifty Fifty" (a 50mm f/1.8 lens) is the holy grail for beginners. It’s cheap, sharp, and lets in a ton of light. If you want to step it up, an 85mm lens is often considered the gold standard for headshots because it compresses facial features in a very flattering way. You can find deep dives into lens specs and comparisons over at Shut Your Aperture to see which focal length fits your style.
Dialing in Your Settings
Stop shooting on "Auto." Right now. If you want to master portraits, you need to take control of your camera.
1. Aperture (The Bokeh Maker)
For portraits, you generally want a wide aperture (a low f-number like f/1.8 or f/2.8). This creates a shallow depth of field, which means your subject is sharp while the background turns into a beautiful blur (bokeh). This keeps the viewer's eyes exactly where they belong: on your subject.
2. Shutter Speed
People move. Even when they're trying to be still, they breathe and blink. Keep your shutter speed at least 1/200th of a second to avoid motion blur. If you’re shooting kids or pets, you might need to crank that up to 1/500th.
3. ISO
Keep this as low as possible (ISO 100 or 200) to ensure your images are clean and free of "noise" or grain. Only raise it if you’re losing light and can’t drop your shutter speed any further.
4. Shoot in RAW
This is non-negotiable. RAW files capture all the data from your sensor without compressing it. This gives you massive flexibility when you sit down to edit in Luminar. If you mess up the white balance or slightly underexpose the shot, a RAW file can be saved. A JPEG usually can't.
 Save
Save
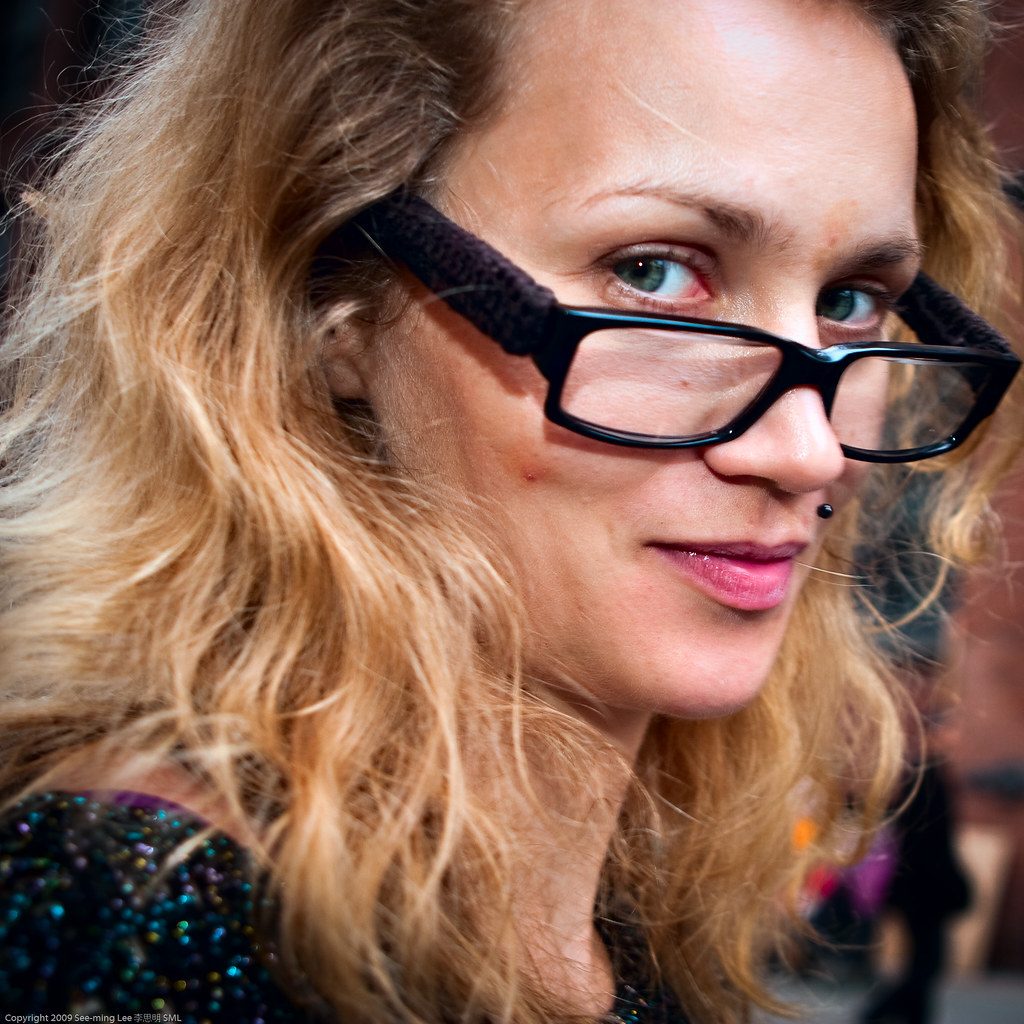
It’s All About the Eyes
There’s an old saying that the eyes are the window to the soul. In photography, the eyes are the "anchor" of the photo. If the tip of the nose is sharp but the eyes are blurry, the photo is a bin-fire. It’s unusable.
Most modern cameras have "Eye-Auto Focus" (Eye-AF). Use it. It’s like a cheat code for portrait photographers. If your camera doesn’t have it, use a single focus point and manually place it right on the eye closest to the camera.
Don't Forget the Catchlights
Have you ever seen a portrait where the subject looks a bit… dead? It’s usually because there’s no light reflecting in their eyes. Those little white glints are called catchlights. They add life and spark to a portrait. You can get them by having your subject face a window, using a reflector, or even a small flash. If you want to see how light can change the "vibe" of a shot, our post on the role of luminosity in real estate photography actually covers some great basics on how light hits surfaces: the principles are more similar than you'd think!
Mastering Light Without a Studio
You don't need a $5,000 lighting kit to get pro results. In fact, some of the best portraits ever taken were done with nothing but a window or a cloudy sky.
The Power of Overcast Skies
Beginners often think a bright, sunny day is perfect for photos. It’s actually the worst. Harsh sun creates "raccoon eyes" (deep shadows in the eye sockets) and makes your subject squint. A cloudy day acts like a giant softbox, spreading light evenly across the face. It’s the most forgiving light you can work with.
Golden Hour
If you must shoot in the sun, do it during "Golden Hour": the hour after sunrise or the hour before sunset. The light is soft, warm, and directional. It makes everyone look like a movie star. If you're interested in how lighting can transform a scene into something cinematic, check out how cinematic techniques can transform property showcases; the same rules of drama and depth apply to faces.
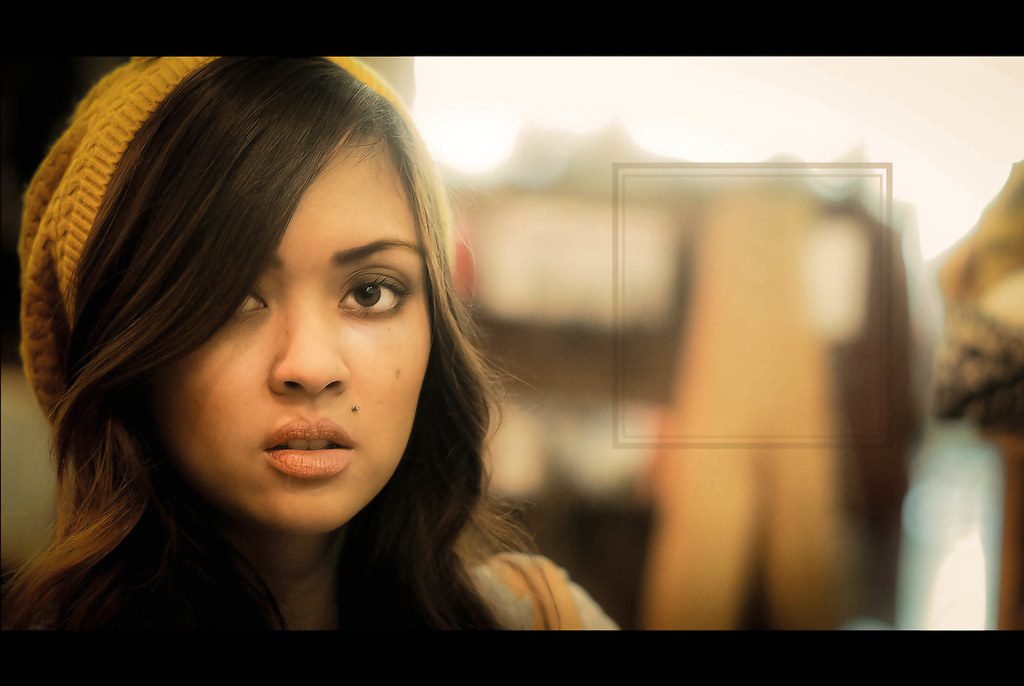
Window Light
If you're indoors, find a large window. Have your subject stand at a 45-degree angle to it. This creates "directional light," which adds shadow to one side of the face, giving the portrait depth and dimension rather than looking flat.
 Save
Save
Composition: Think Outside the Center
One of the biggest mistakes beginners make is putting the subject’s face right in the center of the frame every single time. It’s boring.
Try using the Rule of Thirds. Imagine your frame is divided into a 3×3 grid. Place your subject’s eyes on one of the top intersections. This creates a more balanced and visually interesting composition.
Also, watch your backgrounds. A tree branch growing out of someone’s head can ruin a perfect shot. Before you click the shutter, do a quick "border patrol": look around the edges of your frame for any distracting elements. If you want to learn more about how to compose scenes that feel grand and intentional, take a few lessons in landscape photography from Peter Lik. Landscape guys are the masters of lead-in lines and framing, which you can easily steal for your portraits.
Connecting with Your Subject
This is the "secret sauce" that separates the pros from the amateurs. You can have the best settings and the best light, but if your subject feels awkward, the photo will look awkward.
Your job isn't just to push a button; it's to be a director. Talk to them. Tell a joke. Give them something to do with their hands (holding a coffee cup, fixing a collar, or leaning against a wall). If you're shooting someone who isn't a professional model, they’re probably nervous. Your energy will reflect in their face. If you’re looking for more advanced tips on professional workflows, ProShoot.io has some great resources on the business and technical side of professional shoots.
 Save
Save
Post-Processing: The Finishing Touch
Editing is where you define your style. It’s not about "fixing" a bad photo; it's about enhancing a good one.
When you’re starting out, keep it natural. Skin should still look like skin: don't blur it until your subject looks like a plastic doll. Focus on:
- Adjusting the exposure so the face is bright.
- Fixing the white balance so skin tones look healthy.
- Adding a bit of contrast to make the image "pop."
Software like Luminar is fantastic for this because it uses AI to identify faces and eyes automatically, making the tedious parts of editing (like whitening teeth or brightening eyes) happen in seconds.
If you want to see what high-end, professional editing looks like across different genres, browse through Edin Chavez’s personal blog or his fine art collection at EdinFineArt.com. Seeing how a pro handles color and mood can give you a lot of inspiration for your own edits.
Posing Tips for Beginners
Posing is hard. Even for pros. If you’re stuck, remember these three simple rules:
- Angles over Flatness: Never have your subject stand perfectly square to the camera. It makes them look wider. Have them turn their shoulders slightly.
- The Chin Rule: To avoid the dreaded double chin, tell your subject to bring their forehead slightly toward the camera and then down. It feels weird for them, but it looks great on lens.
- If it Bends, Bend it: Straight limbs look stiff. Ask them to put a hand in a pocket, cross their ankles, or lean. Bending elbows and knees creates natural lines that lead the eye through the photo.
 Save
Save
Practice Makes… Better
You aren't going to become Annie Leibovitz overnight. Portrait photography is a marathon, not a sprint. Every person you photograph has a different face shape, different skin tone, and different personality.
Start by photographing your friends and family. Move them around the house to see how the light changes. Experiment with different apertures. Try editing the same photo three different ways in Luminar to see which style you prefer.
If you ever find yourself in a creative rut, look at other forms of art for inspiration. Sometimes a beautifully designed space, like those seen in the world's most exclusive restaurants, can give you ideas for color palettes and high-end aesthetics that you can bring into your portrait work.
The most important thing? Just keep shooting. Your first 1,000 photos might be garbage, but photo 1,001 might just be a masterpiece. Grab your camera, shut your aperture (or open it wide, actually), and go capture something real. For more inspiration and professional services, you can always check out Edin Studios. Now get out there and start shooting!
Skylum’s Aperty is purpose-built for portrait retouching with AI skin, eye and detail enhancement. Luminar Neo’s Portrait AI complements it for full-body and editorial work. Tagged as affiliate per FTC.


