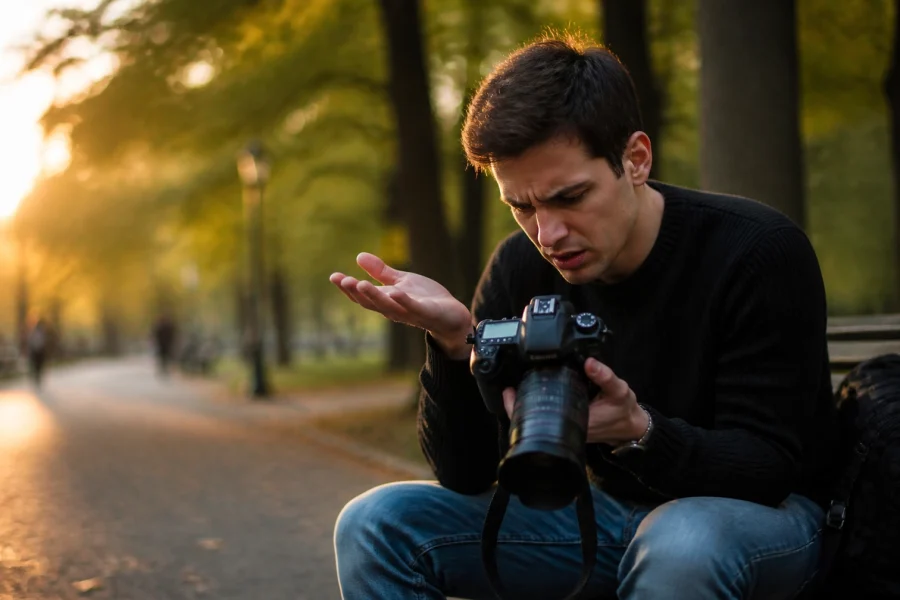
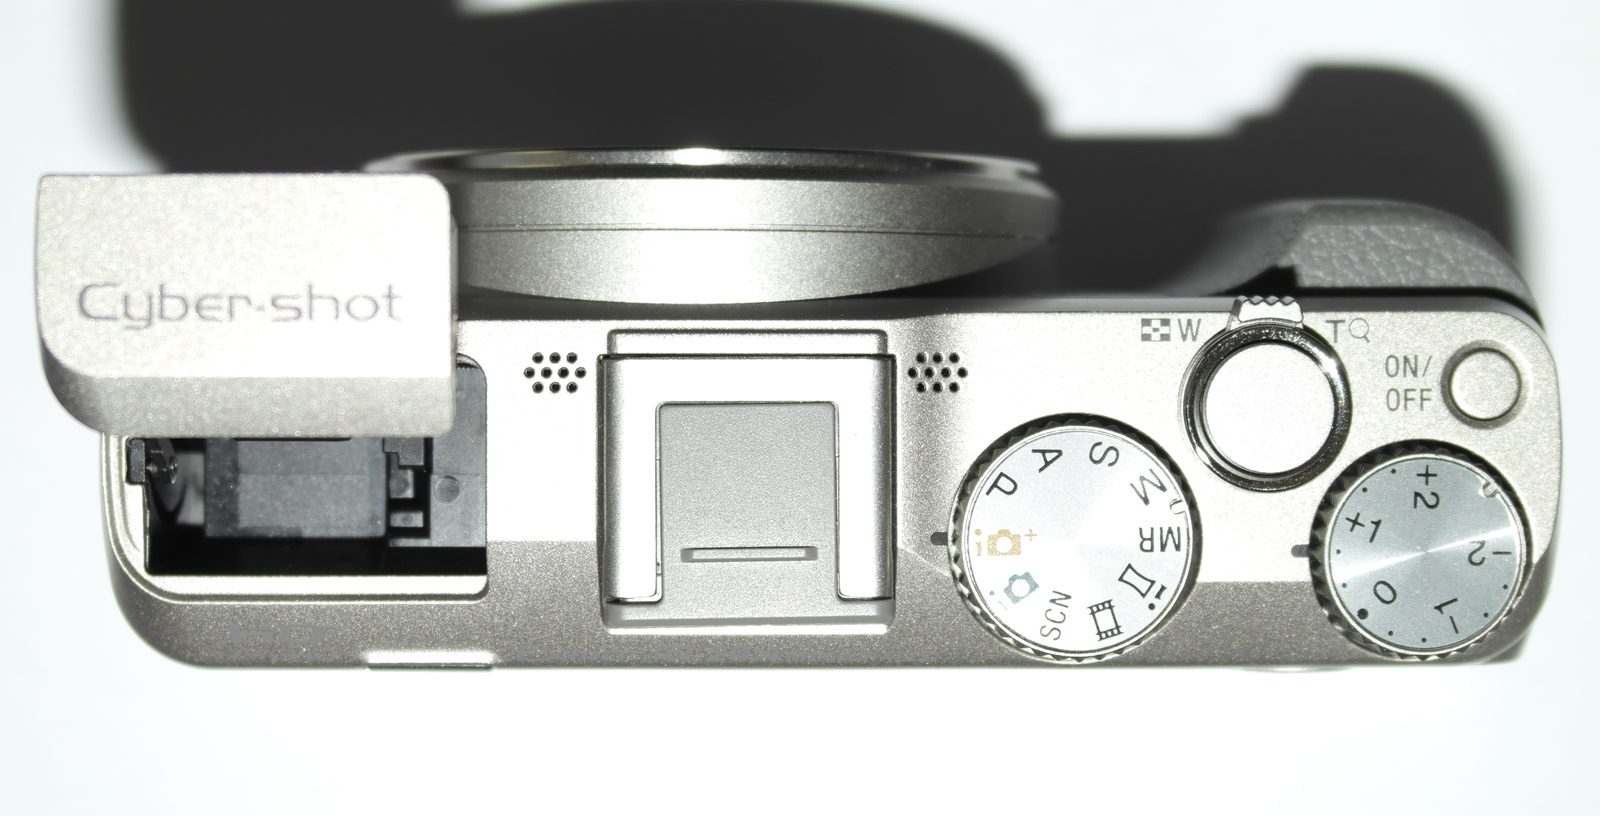
So, you’ve finally done it. You’ve moved that dial on your camera away from the "Auto" (the green box of shame) and over to the big, scary "M." First off, high five. Seriously. Making the jump to manual mode is the single biggest step you can take toward becoming a real-deal photographer. It’s like taking the training wheels off your bike; you’re going to wobble, you might fall, but once you get the hang of it, you’ll be doing wheelies while everyone else is still pedaling in circles.
But let’s be real for a second. Manual mode isn't just a switch you flip to magically make your photos look like they belong in a gallery. It’s a tool, and like any tool, it takes a minute to master. Most people start shooting in manual and immediately get frustrated because their photos come out too dark, too blurry, or just… off.
If that’s you, don’t sweat it. You’re likely falling into the same traps every beginner (and even some pros) hits. We’ve all been there. Today, we’re breaking down the seven most common manual mode mistakes and, more importantly, how you can fix them right now so you can get back to creating. If you're still feeling a bit shaky on the basics, you might want to check out our Manual Mode 101 guide before we dive into the deep end.
1. The "Bokeh Trap": Keeping Your Aperture Too Wide
We get it. You bought that 50mm f/1.8 lens because you wanted that creamy, blurry background that makes your subjects pop. It’s the "pro look" everyone wants. So, you set your aperture to f/1.8 and leave it there for the entire day.
The Mistake:
Shooting wide open (the lowest f-number) all the time is a recipe for disaster. When your aperture is wide open, your depth of field is razor-thin. If you’re shooting a portrait and the person moves an inch forward, their eyes are suddenly out of focus. Even worse, if you’re shooting a group of three people, one person might be sharp while the other two look like they’re standing in a fog bank.
How to Fix It:
Stop being afraid of higher f-numbers. If you’re shooting a landscape, you want everything sharp from the front to the back: try f/8 or f/11. If you’re shooting a group of people, move to f/4 or f/5.6. This gives you enough "room" to ensure everyone’s face is in focus. Save the f/1.8 for when you really need to isolate a single subject and you have the time to nail the focus perfectly. For more creative ideas on how to use depth of field, take a look at our article on using rare textures to add depth to your shots.
 Save
Save
2. Ignoring the Light Source
Manual mode gives you control over the camera, but it doesn't give you control over the sun. A common mistake is getting so caught up in the numbers on your screen that you forget to actually look at the light hitting your subject.
The Mistake:
Positioning your subject in a way that creates harsh shadows or makes them squint because you’re trying to force a specific setting to work. No amount of shutter speed tweaking can fix lighting that just isn't working for the scene.
How to Fix It:
Before you even touch your dials, look at your light. Is it coming from the side? Is it directly behind your subject? If you’re shooting outdoors, find some open shade or wait for "Golden Hour." If you’re indoors, use window light. Once your subject is lit well, then: and only then: do you adjust your manual settings to match that light. Mastering light is the secret sauce of photography. If you're looking for new places to practice this, check out some hidden gem locations for travel photography.
3. The "Setting Shuffle": Changing Everything All at Once
This is the classic beginner manual mode dance. You take a photo, it’s too dark. You change the ISO. Still dark. You change the shutter speed. Now it’s too bright. You change the aperture. Now it’s blurry. You’re chasing your tail and losing the moment.
The Mistake:
Trying to adjust ISO, aperture, and shutter speed simultaneously for every single shot. This is the fastest way to miss a great photo.
How to Fix It:
Think of the exposure triangle like a set of scales. If you move one, you only need to adjust one other to balance it out. The best way to shoot manual is to "set and forget" as much as possible. If you’re in a consistent lighting situation (like a park on a cloudy day), set your ISO and your Aperture first. Then, use your Shutter Speed as your primary dial to fine-tune the brightness of your shots. Only change your ISO if the light drastically changes (like if the sun comes out from behind a cloud). You can find more structured advice on this in our ultimate guide to photography tutorials.
4. Being a Perfectionist in the Field
There is a weird pressure when shooting in manual mode. You feel like because you are in control, every single frame needs to be a masterpiece. When it’s not, you get discouraged.
The Mistake:
Staring at your LCD screen after every single click, obsessing over the histogram, and deleting "bad" photos on the spot. This kills your flow and keeps you from seeing what’s happening in front of your lens.
How to Fix It:
Accept that your first few shots in a new location are going to be "test shots." They might be too bright, they might be too dark, and that’s okay. Once you dial in your settings, stop "chimping" (looking at the back of the camera constantly) and start shooting. You can fix minor exposure issues in post-processing using Luminar, which is a lifesaver for those shots that were almost perfect. Remember, it’s better to have a slightly underexposed photo of a great moment than a perfectly exposed photo of nothing because you were busy looking at your settings. For more inspiration on keeping things simple, check out Shut Your Aperture.
 Save
Save
5. The ISO Panic: Cranking it Too High
When the sun goes down or you move indoors, the natural instinct is to crank the ISO. "I need more light!" your brain screams, and suddenly you’re shooting at ISO 6400 on a camera that really shouldn't go past 1600.
The Mistake:
Using ISO as your first solution for low light. While modern cameras are getting better at handling high ISO, you’re still introducing "noise" or grain into your image, which eats away at the detail and color.
How to Fix It:
Exhaust your other options first. Can you open your aperture more? Can you slow down your shutter speed? If you’re shooting a stationary subject, put your camera on a tripod (or a steady rock) and use a long exposure. If you absolutely have to use a high ISO, make sure you aren't underexposing the shot, as brightening a high-ISO photo in post makes the grain even worse. If you do end up with some noise, tools like Luminar have incredible AI-powered denoise features that can clean up the mess. For more pro-level tips on handling gear in tough situations, head over to ProShoot.io.
6. The "Frozen" Mindset: Forgetting Shutter Speed
Shutter speed isn’t just about light; it’s about motion. A lot of photographers treat shutter speed as a secondary setting, only using it to balance exposure.
The Mistake:
Shooting at a shutter speed that is too slow for the focal length you are using, leading to "camera shake." If you’re shooting at 1/30th of a second while holding the camera with your hands, your photo is going to be blurry. Period.
How to Fix It:
Follow the reciprocal rule: your shutter speed should be at least 1/ (your focal length). If you’re using a 100mm lens, your shutter speed should be at least 1/100th of a second. If you want to freeze fast-moving kids or pets, you’re looking at 1/500th or faster. On the flip side, don’t be afraid to use a slow shutter speed intentionally. Panning with a moving car at 1/30th can create a sense of speed that a "perfect" fast shutter speed would just kill.
 Save
Save
7. Searching for the "Magic Settings"
You’ve seen the YouTube videos or the Instagram captions: "Best settings for Sunset Portraits!" or "Use these settings for Street Photography!"
The Mistake:
Thinking that there is a "correct" set of numbers for any given situation. Photography isn't math; it’s art. The "best" settings depend on the time of day, the specific camera you're using, the lens you have on, and: most importantly: the vibe you’re going for.
How to Fix It:
Stop looking for recipes and start learning the ingredients. Instead of memorizing "f/8, 1/250, ISO 200," learn why those settings work for a particular scene and how changing one of them would affect the outcome. Two photographers can stand in the same spot at the same time and use completely different settings to achieve two different, but equally valid, looks. One might want a bright, airy feel, while the other wants something moody and dark. To stay updated on how the industry is moving away from these rigid rules, check out the latest photography trends.
Why Manual Mode Matters in 2026
You might be wondering, "With AI getting so good and cameras getting so smart, why do I even need to bother with manual mode?"
It’s a fair question. But here’s the thing: AI can guess what a "good" exposure looks like, but it doesn't know what you want. It doesn't know that you want that specific motion blur in the waterfall, or that you want the background to be slightly underexposed to emphasize the neon lights. Manual mode is about intent. It’s about taking the creative wheel and telling the camera exactly what to do.
Shooting manual forces you to slow down. It forces you to think about the light, the composition, and the story you’re trying to tell. It makes you a better photographer because it forces you to understand the physics of light. For more in-depth thought pieces on the soul of photography, you can browse Edin Chavez’s personal blog or see the final results of these techniques at Edin Fine Art.
 Save
Save
Putting It All Together
Mistakes are part of the process. If you aren't coming home with a few blurry or badly exposed shots, you aren't pushing yourself hard enough. The key is to recognize why a shot didn't work.
Was it blurry? Check your shutter speed.
Was it grainy? Look at your ISO.
Was the background too sharp? Open up that aperture.
The more you practice, the more these "fixes" will become muscle memory. Eventually, you won’t even think about the dials. You’ll just see a scene, your fingers will move, and you’ll capture exactly what’s in your head.
If you're looking for more gear-specific advice or want to see how the pros handle their setups, Edin Studios is a great resource. And remember, the gear is just the tool: your eye is the master. Keep shooting, keep making mistakes, and keep fixing them. That’s how you go from a hobbyist to a pro.
Manual mode doesn't have to be a headache. Once you stop making these seven common mistakes, you'll find that it's actually the most liberating way to shoot. You’re finally in the driver’s seat. Now, go out there and burn some rubber.