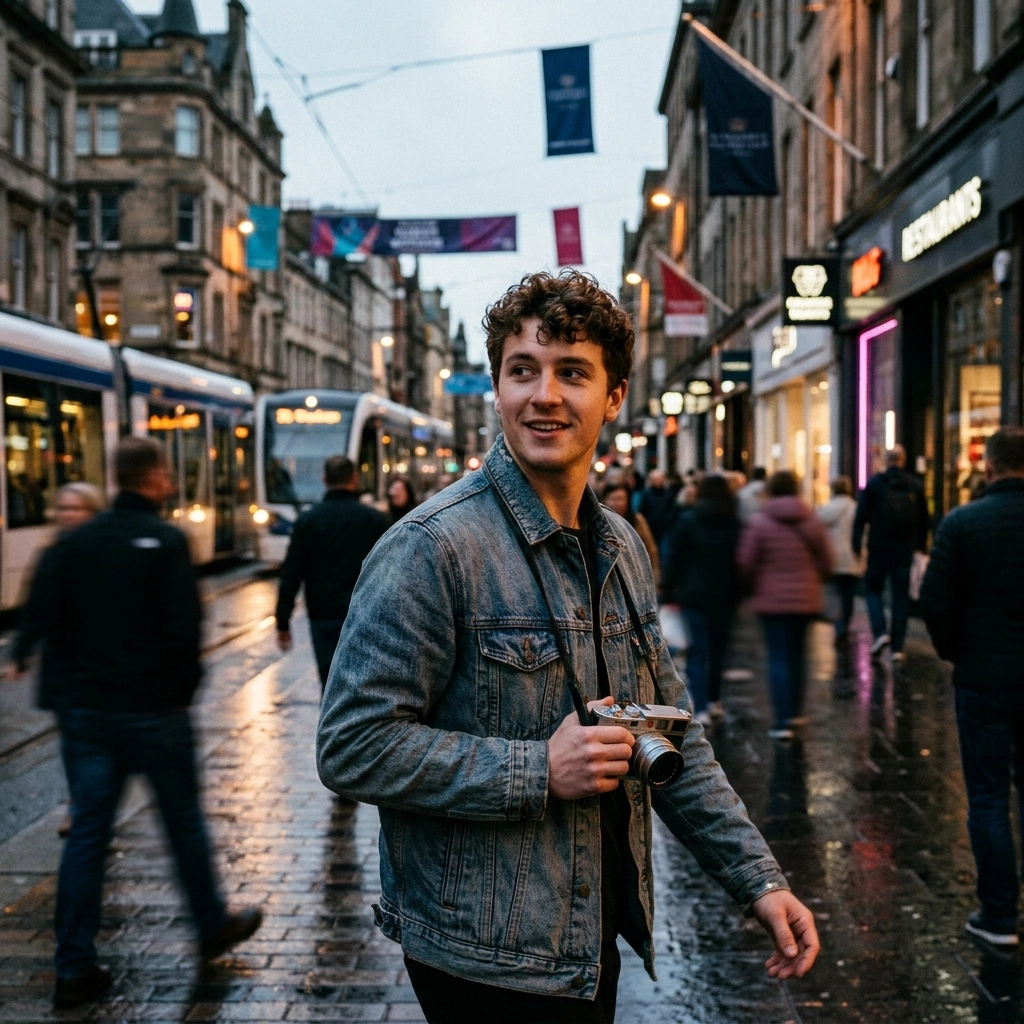
Street photography is basically the art of noticing. You don’t need a new camera or a plane ticket, you need a reason to look harder. Below are 25 street photography ideas you can try today, with quick “how to shoot it” notes so you’re not standing on a sidewalk wondering what to do next.
Before you head out: if Sonny (our Social Media Manager) is posting weekly prompts, these ideas are perfect for a “25-day challenge” carousel, worth syncing with him so he can link back here and you can build a consistent series.
Quick setup (so you can move fast)
- Lens: 28mm, 35mm, or 50mm (or your phone, seriously).
- Settings starting point (daylight): 1/500s, f/5.6, Auto ISO (cap around 6400).
- If it’s darker: 1/250s, f/2–f/2.8, Auto ISO.
- Focus: AF-C/Servo for moving scenes, or zone focus if you want speed.
- Rule of thumb: if you hesitate, you miss it. Set your camera to “ready” and start walking.
Internal helpful reads:
- For general technique upgrades: Top Photography Tips
- For keeping gear reliable: Camera Maintenance Guide
1) Shoot reflections (windows, puddles, car mirrors)
Reflections give you layers: the street + the “ghost” of the street.
Try this:
Look for storefront glass at an angle. Expose for the reflected highlights, then wait for a person to walk into the reflected “frame.”
2) Find a puddle and make it the main subject
After rain, puddles turn into free special effects.
Try this:
Get low. Flip the frame so the reflection becomes the “real world.” Bonus points if a shoe steps in at the right second.
3) Shoot from a high angle (stairs, parking garages, bridges)
A higher vantage point makes people look like graphic shapes.
Try this:
Compose first using lines (crosswalks, sidewalks). Then let subjects enter your scene. You’re basically “fishing” with composition.
4) Shoot from a low angle (without being weird about it)
Low angles exaggerate scale, perfect for big city vibes.
Try this:
Use your camera’s tilt screen. Keep it respectful: aim for silhouettes and spacing, not invasiveness.
5) Turn hard light into your subject (don’t run from it)
Midday sun gets a bad rap. It’s actually amazing for bold street photography.
Try this:
Look for bright patches of light on walls/sidewalks. Wait for someone to step into that “spotlight.”
6) Make silhouettes on purpose
Silhouettes simplify the scene and make street photos feel cinematic without trying too hard.
Try this:
Expose for the bright background (sky, a lit billboard, a bright shop interior). Let the subject go dark.
7) Chase long shadows
Morning and late afternoon shadows can act like leading lines.
Try this:
Frame the shadow as the main shape. The person casting it becomes secondary, which is a fun twist.
8) Use motion blur to show energy (but keep one thing sharp)
Motion blur makes “normal” walking scenes feel alive.
Try this:
Shutter: 1/15s–1/60s. Track a subject and pan with them. You’ll get a sharper subject and streaky background.
9) Freeze action (skaters, cyclists, gestures)
The opposite approach: razor-sharp street moments.
Try this:
Shutter: 1/1000s. AF-C/Servo. Burst mode. Aim for peak moments, feet off the ground, hair flip, hands mid-gesture.
10) Photograph people who are already photographing
It’s the most relatable street subject: humans documenting humans.
Try this:
Frame them with what they’re shooting in the scene. It creates a “story within a story.”
11) Build a mini-series: “hands doing things”
Hands tell stories: texting, holding coffee, carrying bags, counting cash, fixing a bike.
Try this:
Use a slightly longer focal length (50mm+). Focus on gesture and context, not faces.
12) Only shoot one color for 30 minutes
This is the fastest way to train your eye.
Try this:
Pick a color (red, yellow, blue). Shoot only that color showing up in clothing, signs, packaging, vehicles, anything.
13) Only shoot circles (or triangles, or rectangles)
Constraints are cheat codes for creativity.
Try this:
Walk until you find circular shapes: wheels, logos, street signs, cups, manhole covers. Compose clean and graphic.
14) Capture repeating patterns (then break them)
Patterns look satisfying. Patterns with a “break” look memorable.
Try this:
Find repetition: windows, chairs, poles, tiles. Wait for a subject to interrupt the pattern (a person, a bike, a shadow).
15) Shoot through something (foreground framing)
A foreground layer adds depth instantly.
Try this:
Use fences, plants, door frames, people’s shoulders (carefully), bus windows, anything to create a frame inside the frame.
16) Use negative space (minimal street photography)
Not every street photo needs chaos. Minimal frames stand out.
Try this:
Find a clean wall, foggy background, or empty stretch of sidewalk. Place a single subject small in the frame.
17) Photograph “micro-street” details
Street photography isn’t only people. Texture and objects can hit just as hard.
Try this:
Look for: peeling posters, scratched paint, stickers, worn steps, gum patterns, layered graffiti. Make it abstract.
If you like this style, you’ll also enjoy browsing Shut Your Aperture for composition exercises and project prompts.
18) Create a diptych (two images that “talk”)
Diptychs are great when the single frame isn’t enough.
Try this:
Shoot two photos with a connection: same color, similar gesture, matching shapes, “before/after,” or two reactions to the same event. Pair them later.
19) Make a “one block” project
Limit your geography. Expand your observation.
Try this:
Pick one block (or one corner). Stay for 30–60 minutes. Shoot light changes, different people, different moments. The repetition forces better timing.
20) Photograph interactions with obstacles (construction, barriers, detours)
Cities are full of friction. People navigating that friction is story.
Try this:
Look for roadwork cones, scaffolding, caution tape, temporary fencing. Wait for the moment someone squeezes through, jumps over, or reacts.
21) Follow the light, not the subject
When the light is good, subjects become inevitable.
Try this:
Find a great light patch (window light spilling onto a sidewalk, a neon sign glow). Lock your exposure. Wait.
22) Shoot a “commuter rhythm” sequence
Morning and evening routines have predictable patterns, perfect for street practice.
Try this:
Train platforms, bus stops, crosswalk timers. Capture repetition: earbuds, coffee cups, briefcases, the same tired face vibes.
If you’re into workflow and speed, tools like www.proshoot.io are worth a look for photographers building efficient systems.
23) Make weather your theme (rain, fog, snow, wind)
Weather adds mood for free. Also, people behave differently in it, more story.
Try this:
- Rain: umbrellas, reflections, people running
- Fog: minimal silhouettes, layered depth
- Wind: hair, clothing, flying trash (yes, really)
Gear note: keep a microfiber cloth in your pocket. It’s the most “pro” street accessory you can own.
24) Convert to black and white (when color is distracting)
Black and white is great when the scene is about light, expression, texture, or geometry.
Try this:
Shoot RAW. Decide later. When editing, focus on contrast and midtones, not just “crank clarity and call it art.”
If you want a fast, beginner-friendly editor for street looks, try Luminar and experiment with subtle structure + contrast (keep it natural).
25) Start a “strangers with style” project (respectfully)
Street style is a classic for a reason: it’s a direct way to photograph personality.
Try this:
If you’re comfortable, ask quickly and politely: “Hey, your style is awesome: mind if I make a quick photo?” Keep it to 10 seconds. Show them the shot if they’re curious.
For a confidence boost, practice with a friend first. Your tone matters more than your camera.
Practical tips to make these ideas actually work
Pick a simple “street photography goal” for each walk
Instead of “I’m going to get great photos,” choose:
- “I’m shooting reflections only”
- “I’m hunting triangles”
- “I’m practicing motion blur”
You’ll come home with a coherent set: and you’ll improve faster.
Don’t overshoot: overscout
Walk first. Notice backgrounds, light, and foot traffic. Then stop and shoot. The best street photos often happen when you pause.
Be mindful about people and local rules
Street photography laws vary by location, and comfort levels vary by person. When in doubt: be respectful, keep distance, avoid photographing vulnerable situations, and move on if someone’s clearly not into it.
More resources if you’re building your broader photography skill set:
- Travel composition ideas translate well to street: Mastering Canyon and Gorge Travel Photography in 9 Steps
- If you’re comparing gear for this style: Camera Comparison Insights
A quick 5-day street photography mini-challenge (use these 25 ideas)
- Day 1: Reflections + puddles
- Day 2: Hard light + shadows
- Day 3: Patterns + negative space
- Day 4: Motion blur + commuter rhythm
- Day 5: One-block project + diptych pairing
If Sonny’s scheduling social prompts this week, this 5-day structure is perfect for Stories/Reels with a link back to the full list here.


