Best Photography Tours in Tokyo: 6 Photographer-Led Trips Worth Booking
~10 min read · 2026-05-07
The best photography tours in tokyo category covers a specific kind of trip: photographer-led, golden-hour-timed, and structured to deliver finished images by the end of the day. Tokyo’s photographic identity lives in the contradiction between its hyper-modern neon districts and its preserved temple gardens. A great photography tour navigates both within a single day.
Six tour types are worth comparing if you’re considering booking a photography experience in Tokyo. The Viator listings below are curated for photographers — small group sizes where possible, golden-hour timing, and operators with verified photographer-friendly reviews.
Why book a photography tour in Tokyo
Three reasons photographers book tours instead of going solo:
- Access. Rooftops, private courtyards, after-hours museum access, and ceremonies that solo photographers cannot legally or practically reach. Tour operators have the local relationships you don’t.
- Light. A working photographer-guide knows where to be at golden hour any week of the year. That’s hard-won timing knowledge built over years of shooting the destination.
- Time. Tours compress what a self-guided photographer would spend three days scouting into one efficient morning. On short trips, a tour day is often the highest-ROI day of the trip.
 Save
Save6 photography tour types in Tokyo
The six tour categories below cover the photographic spectrum of Tokyo. Each links to current Viator listings where you can compare operators, dates, group sizes, and prices.
| Tour type | What you’ll photograph | Book |
|---|---|---|
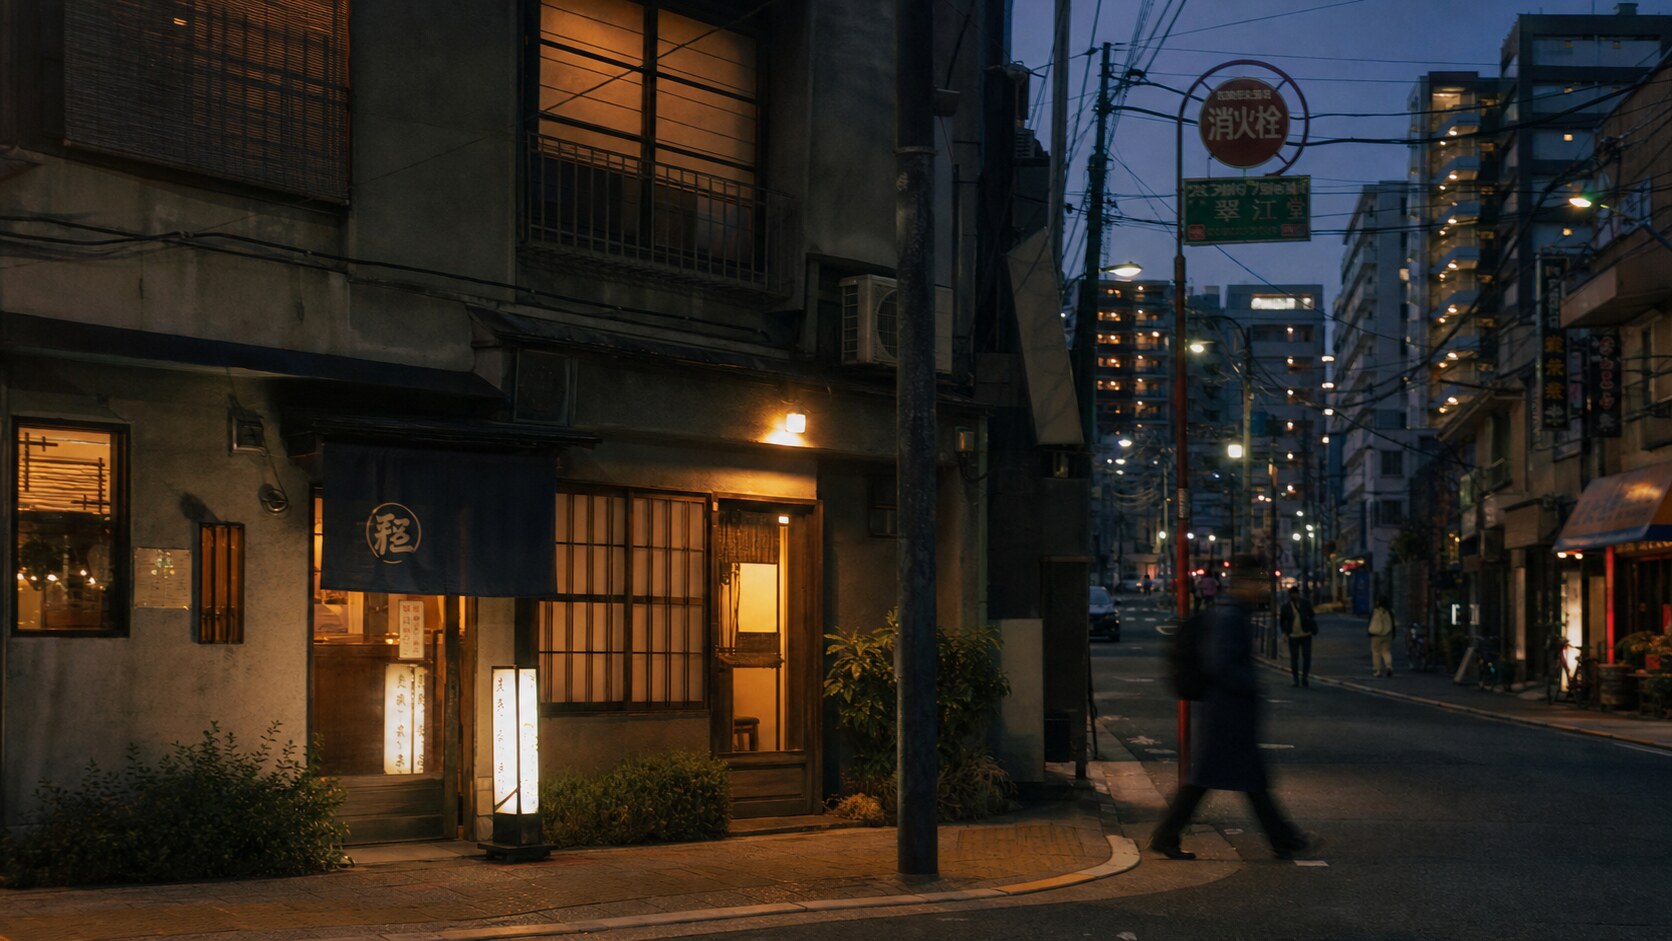
| Street photography night tour | Shinjuku, Shibuya, Golden Gai. Neon, reflections, candid street. 6-9pm typical, 3-4 hour duration. Group sizes 4-6 for serious photo work. | View on Viator → |
| Sunrise temple photography tour | Senso-ji at first light, Meiji Shrine, optional Asakusa rooftop. 5am-9am. Smaller crowds, better light, the photographer's golden window. | View on Viator → |
| Tsukiji food photography workshop | The outer market remains open and shoots beautifully early morning. Includes guided sampling and food-portrait technique. | View on Viator → |
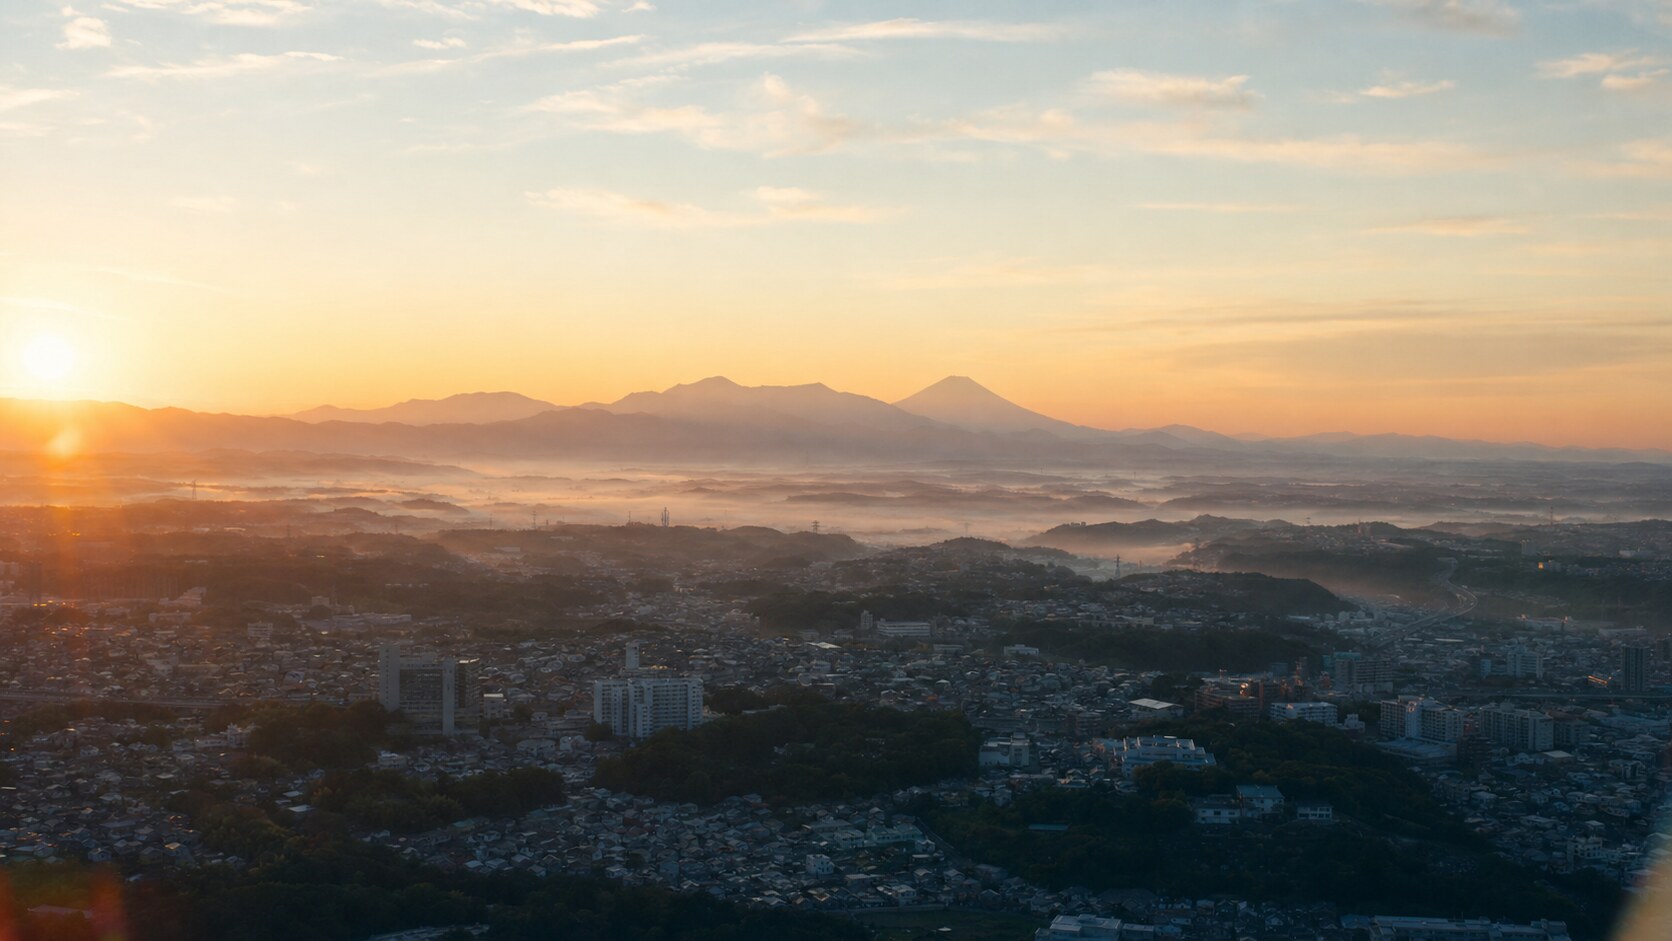
| Mt Fuji + Hakone photography day trip | Long day trip from Tokyo. Fuji from Lake Kawaguchi, often with private rooftop access depending on operator. | View on Viator → |
| Robot, anime, and pop-culture photography | Akihabara + Harajuku focus. Cosplay portraiture, neon arcades, themed cafes. Younger photographer demographic. | View on Viator → |
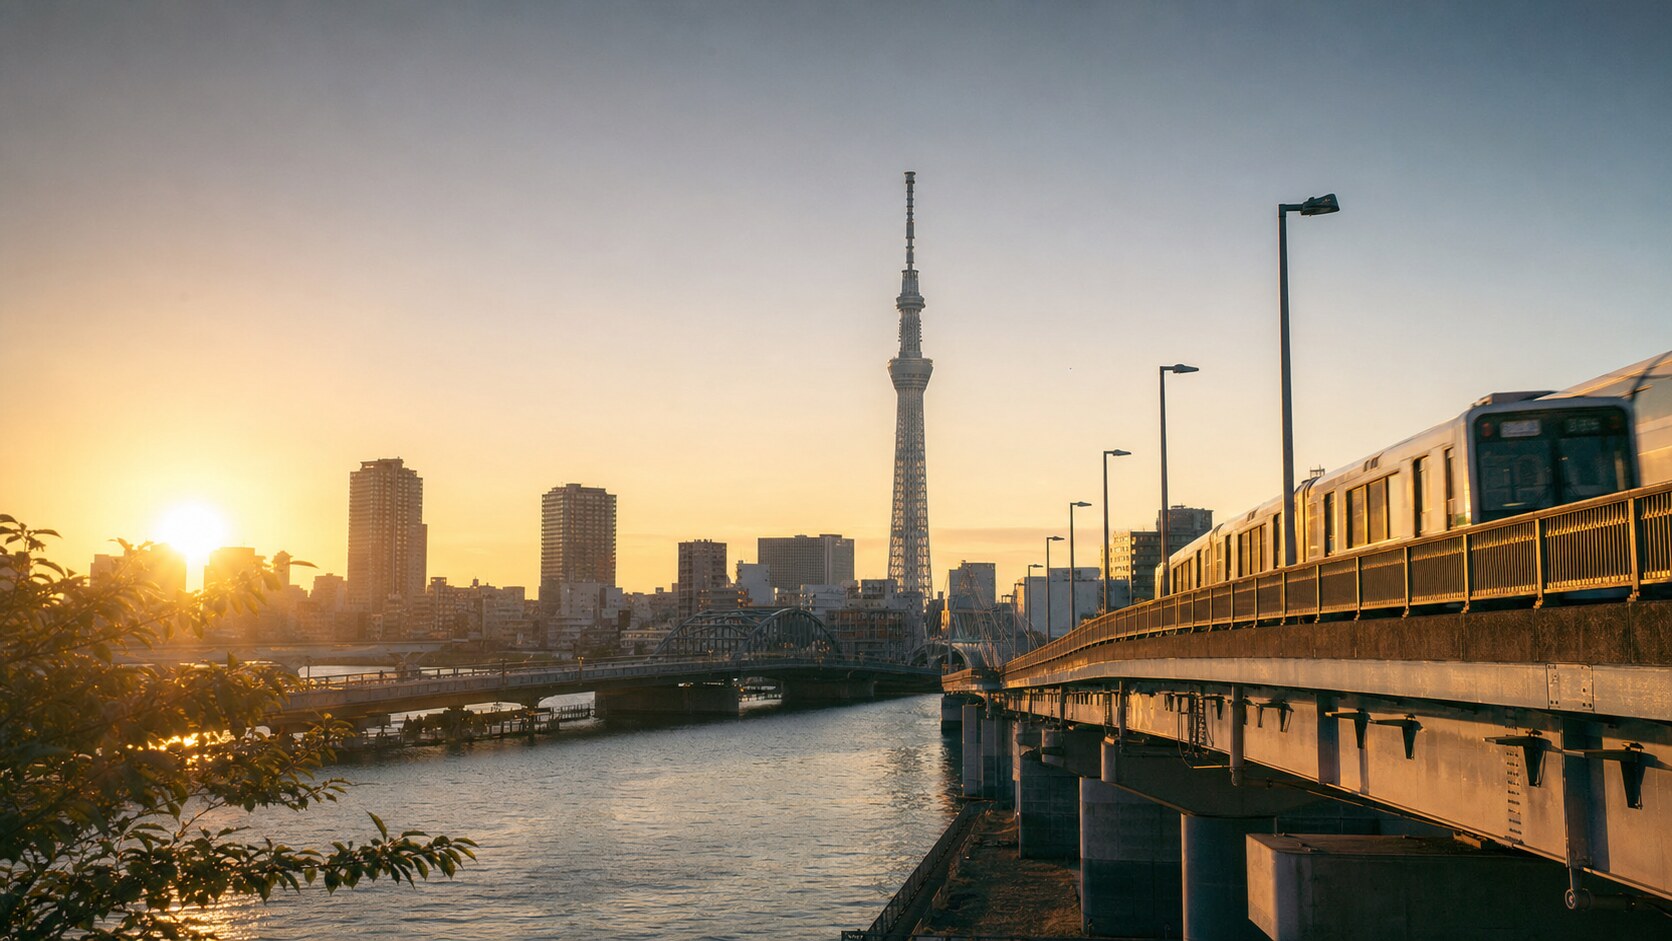
| Sumida River blue hour boat tour | Tokyo Skytree from water level at blue hour. Limited to certain seasons. | View on Viator → |
 Save
SaveWhen to book and best months
October-November and March-April. Cherry blossom season (late March) is photographically gorgeous but tour prices double. Early winter has the cleanest air and best Mt Fuji visibility from the city.
Most photography tours in Tokyo can be booked 7-14 days in advance with reasonable availability. Premium private tours and multi-day expeditions should be booked 60-90 days out, particularly during shoulder season peaks. Tours during festival or holiday periods often sell out months in advance.
 Save
SavePricing: what you actually pay
Group photo walks run $80-160 USD. Private photographer-led half-day tours $250-450. Multi-day Tokyo + Kyoto + Mt Fuji photography expeditions $1,800-3,500.
What’s typically included: transport between locations, photographer-guide instruction time, sometimes a snack or meal, and any pre-arranged site permits. What’s typically extra: equipment rental (rare on photo tours — most operators expect you to bring your own), entry fees to specific paid sites, and personal incidentals.
Tipping is normal in many photography tour markets — plan for 10-15% of the tour cost for the lead guide on a positive experience. Verify the tipping convention for the specific country before the trip.
Gear to bring
Tokyo rewards a fast standard zoom and a wide prime. The 24-70mm f/2.8 covers 80% of street and architecture. The 24mm or 35mm f/1.4 prime carries the night work where the zoom runs out of light. Skip the 70-200mm unless you specifically want to compress Shibuya scramble crossings.
One general rule across photography tours: bring less, not more. The temptation is to pack the full kit “in case.” In practice, photographers who carry one body, two lenses, and a tripod consistently produce stronger work on tours than photographers who carry the full kit — the cognitive overhead of choosing equipment in the field is real. Pre-decide your kit the night before, and stick with the decision.
Tour vs DIY: which fits your trip
Book a tour if: you have under 5 days at the destination, you want access to private or restricted spots, you’re new to a destination’s photographic identity, or you want hands-on instruction during the trip.
Skip the tour and go DIY if: you have a week or more, you’ve shot similar destinations confidently before, you prefer the meditative pace of solo work, or your travel style values exploration over efficiency. Both approaches produce good work — the question is which fits your specific trip.
Beyond the Tour: Self-Guided Photography Walks in Tokyo
Once your guided tour wraps, the locations you’ve scouted are fresh in your mind but the images you actually made are just the beginning. Self-guided return visits — ideally the next morning before you leave — are often where the strongest frames happen, because you’re no longer following an agenda.
These are the spots worth revisiting on your own time after a photography tour in Tokyo:
- Shibuya Crossing from Mag’s Park (free rooftop of Mag 109) — 6 floors above the crossing, no fee
- Asakusa Senso-ji temple — the Nakamise arcade and the Kaminarimon gate at 5:30 a.m., lantern-lit and empty
- Yanaka Ginza shopping street — the last remaining Showa-era shotengai shopping arcade in Tokyo
- Meguro River in spring (cherry blossoms) or autumn (colored maples over the canal)
Tokyo’s train station connections are so reliable that after your guided tour, independent exploration is completely feasible on the Suica card your guide recommended. The quietest time in any Tokyo neighborhood is the first 90 minutes after sunrise — the city is almost silent by Tokyo’s standards. Tsukiji Outer Market (fish stalls, not the main market) is busiest at 5–7:30 a.m. and empty by noon.
When the Tour Ends: How to Continue Shooting Tokyo Solo
A photography tour gives you a framework — locations scouted, light patterns understood, composition approaches proven. The growth that follows is personal and comes fastest through deliberate solo practice at those same and adjacent locations.
- Return at a different light. If the tour hit sunrise spots, go back at sunset (or blue hour). The exact same vantage point with warm west light instead of cool east light is an entirely new photograph.
- Change your focal length. Use a telephoto where the guide used a wide-angle. Compressed perspective, eliminated foreground, and layered backgrounds create a different mood without moving an inch.
- Commit to one subject for a full morning. Pick one street, one building, or one market and photograph only that for 3-4 hours. The depth of a single-subject session consistently produces stronger images than covering ground.
- Find the quieter equivalent. Every famous viewpoint in Tokyo has a lesser-known cousin 5-15 minutes away. Ask your guide before the tour ends or walk the adjacent streets with no agenda.
Gear for solo follow-up sessions in Tokyo: 35mm street prime for Shibuya and Asakusa, 70-200mm for Shibuya Crossing compression from above, tripod for rain-puddle reflections (carry collapsible — Tokyo streets are narrow).
Keep a shooting journal after each self-guided session: what worked, what didn’t, and what you’d change. Return those questions to the next workshop you book. The cycle of guided instruction followed by solo practice is the proven path to developing a consistent photographic eye.
Frequently asked questions
Are photography tours in Tokyo worth it?
For most photographers, yes — the access to private viewpoints, the timing on golden-hour locations, and the local knowledge a working photographer brings is hard to replicate solo on a short trip. The honest answer depends on how many days you have and how confident you are scouting the destination.
How much do photography tours in Tokyo cost?
Group photo walks run $80-160 USD. Private photographer-led half-day tours $250-450. Multi-day Tokyo + Kyoto + Mt Fuji photography expeditions $1,800-3,500. Private tours and multi-day expeditions cost more but produce significantly stronger photographic outcomes.
What gear should I bring for Tokyo photography tours?
Tokyo rewards a fast standard zoom and a wide prime. The 24-70mm f/2.8 covers 80% of street and architecture. The 24mm or 35mm f/1.4 prime carries the night work where the zoom runs out of light. Skip the 70-200mm unless you specifically want to compress Shibuya scramble crossings.
All links go to B&H Photo Video, the trusted pro source. Tagged as affiliate per FTC.
What to Pack
Urban photography rewards a small, fast, flexible kit. Here is what travels well to Tokyo — links go to B&H Photo Video (our primary supplier) and Amazon for accessories.
| What & Why | B&H | Amazon |
|---|---|---|
Standard zoom (24-70mm) The single best urban walkaround lens. Wide enough for streets, tight enough for portraits and details. | Shop B&H → | Shop Amazon → |
Fast prime (35mm or 50mm) For low-light blue-hour streetwork and cafe interiors where a tripod is not welcome. | Shop B&H → | Shop Amazon → |
Compact travel tripod For blue-hour skylines and long exposures from bridges and rooftops. | Shop B&H → | Shop Amazon → |
Variable ND filter Cuts daytime light for slow-shutter motion in busy urban scenes. | Shop B&H → | Shop Amazon → |
Extra batteries (3 minimum) A full day of street shooting drains two batteries minimum. Carry three. | Shop B&H → | Shop Amazon → |
Lens cleaning kit Fingerprints and urban grime appear fast. Clean between every coffee stop. | Shop B&H → | Shop Amazon → |
Anti-theft camera strap Quick-release plus security cable. Worth the investment in any major city. | Shop B&H → | Shop Amazon → |
B&H and Amazon links are affiliate links. We earn a small commission on purchases at no extra cost to you. We only recommend gear we use or would buy ourselves.