Best Wildlife Photography Tours for 2026: Jaguars, Gorillas, Tigers and Polar Bears
Updated
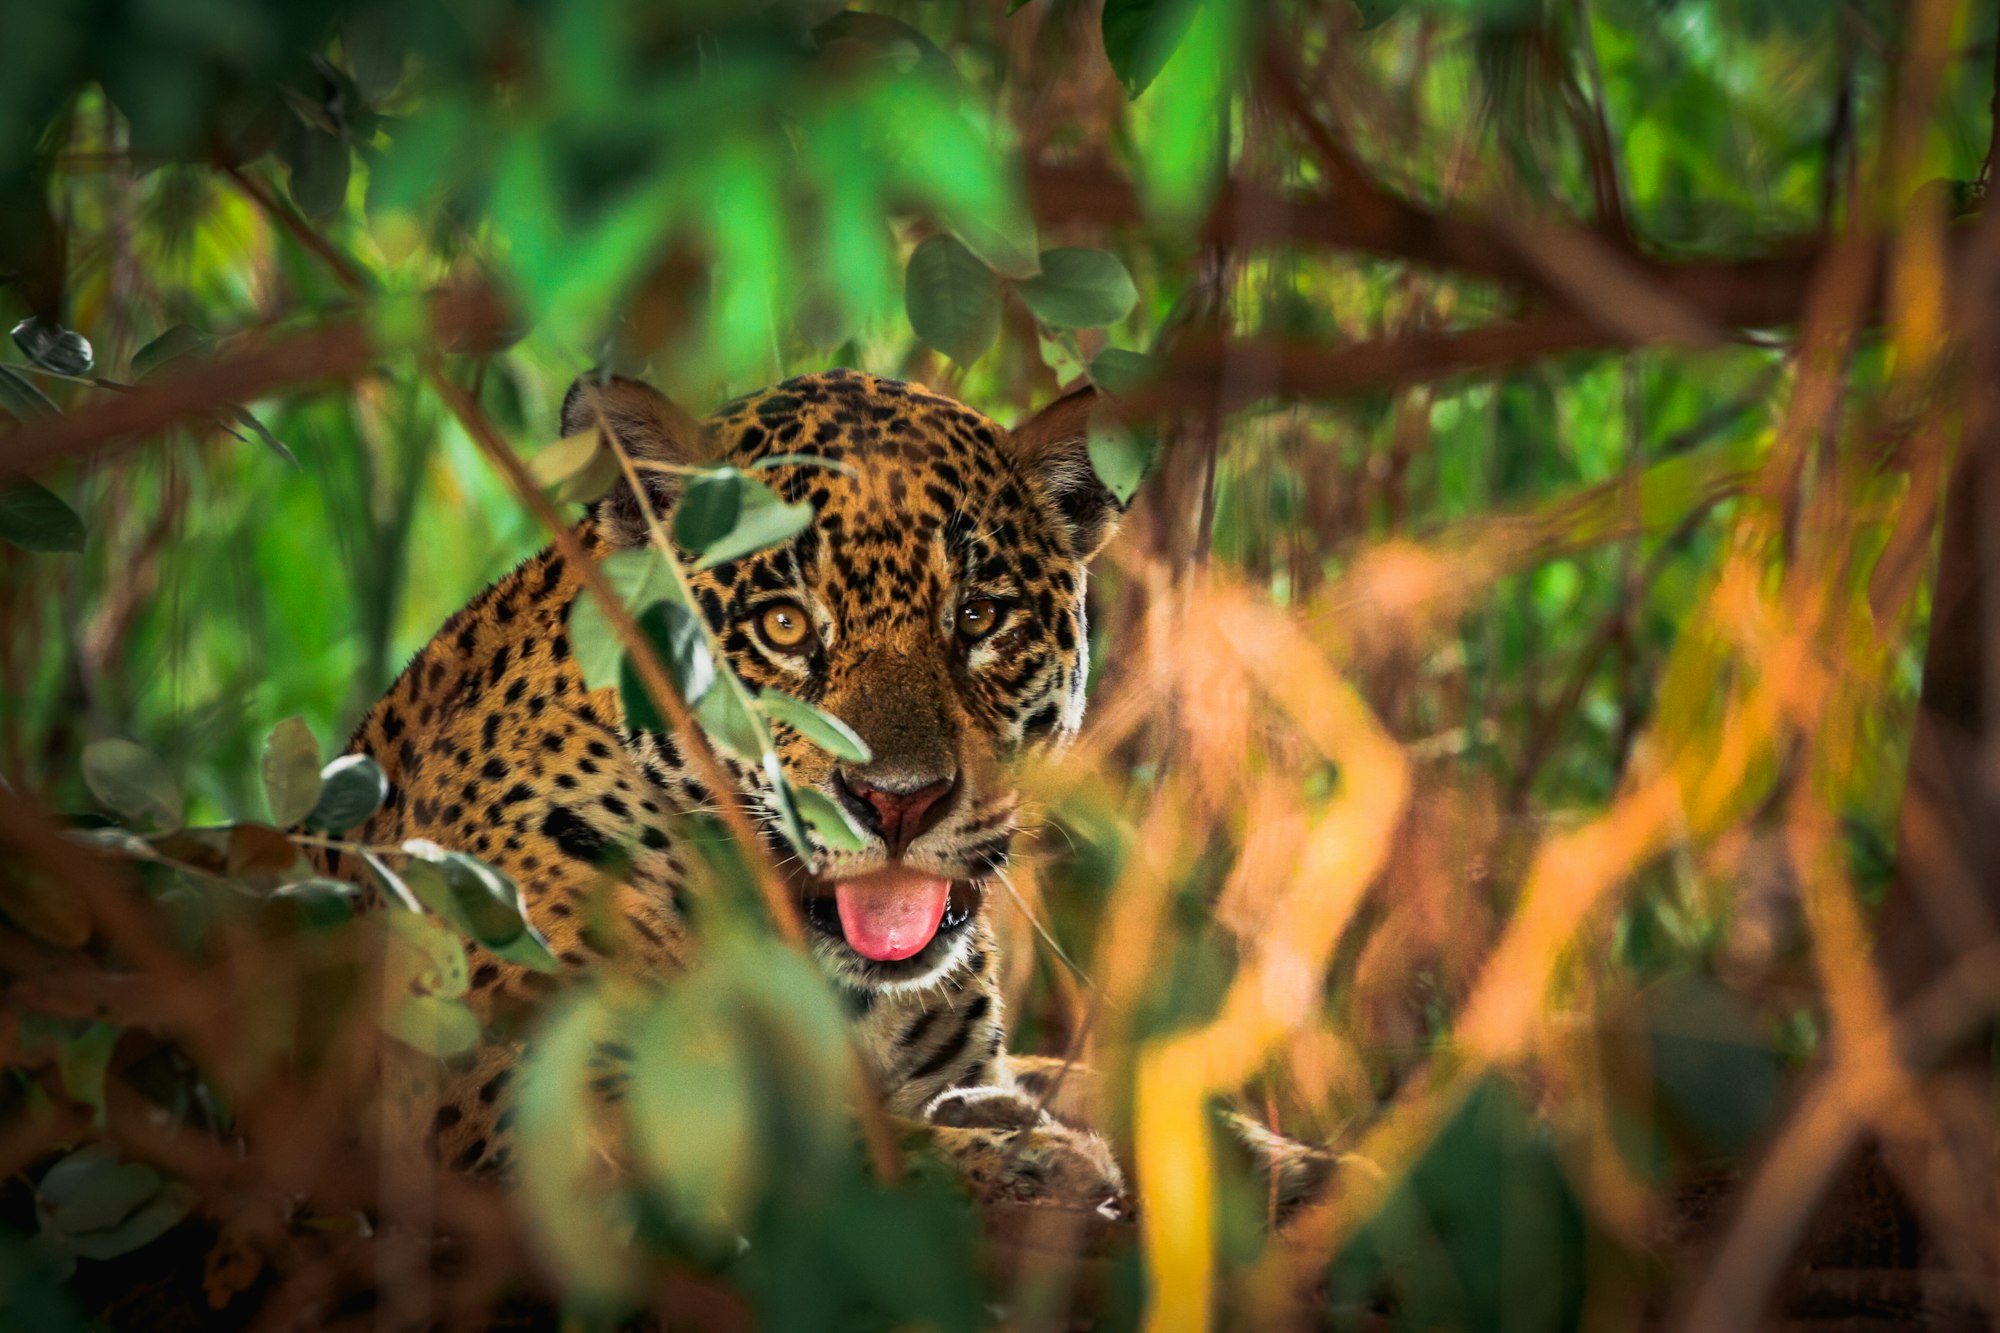 Save
SaveUpdated September 2026. The best wildlife photography tours put you in front of one animal, in the right season, with a guide who knows where it will be at first light. This page covers the five trips that deliver that most reliably: jaguars in Brazil’s Pantanal, mountain gorillas in Rwanda and Uganda, tigers in India’s reserves, the Galapagos Islands and polar bears in Churchill, Canada. For each one you get the season, the real 2026 permit and park fees, the lens you need and what to look for when you pick an operator.
The 5 trips at a glance
| Trip | Main subject | Best months | Key 2026 fee | Lens |
|---|---|---|---|---|
| Pantanal, Brazil | Jaguar | Jun-Nov (peak Jun-Oct) | No permit; boat days are the cost | 400-600mm |
| Rwanda / Uganda | Mountain gorilla | Year-round; drier Jun-Sep and Dec-Feb | Rwanda $1,500 / Uganda $800 per permit | 70-200mm |
| India | Bengal tiger | Oct-Jun (core zones close for the monsoon) | Safari jeep permits, booked per drive | 100-500mm |
| Galapagos, Ecuador | Boobies, sea lions, iguanas, tortoises | Year-round | $200 park entry for foreign adults | 24-105mm + 100-400mm |
| Churchill, Canada | Polar bear | Oct-Nov | Tundra vehicle trips are sold as packages | 100-400mm |
Jaguars in the Pantanal, Brazil
The northern Pantanal is the most reliable place on earth to photograph a wild jaguar. Tours run by boat out of Porto Jofre, at the end of the Transpantaneira road, and work the riverbanks of the Cuiaba River and its side channels (Piquiri, Tres Irmaos and others) where the cats hunt caiman and capybara.
- Season: June to November, with the best odds June to October when low water pushes cats onto the banks.
- Lens: 400-600mm. You shoot from a boat, typically 10-20 meters from the cat, and a 70-200mm on a second body covers close encounters.
- Light: the first two hours after sunrise and the last two before sunset. Midday on the river is harsh and hot.
- What to ask an operator: how many guests per boat (four or fewer gives everyone a clear side), and whether the boat stays with a cat or rotates between sightings.
Source for season and base: Jaguars of the Pantanal.
Browse Pantanal jaguar tours on Viator Browse Pantanal jaguar tours on GetYourGuide
Mountain gorillas in Rwanda and Uganda
 Save
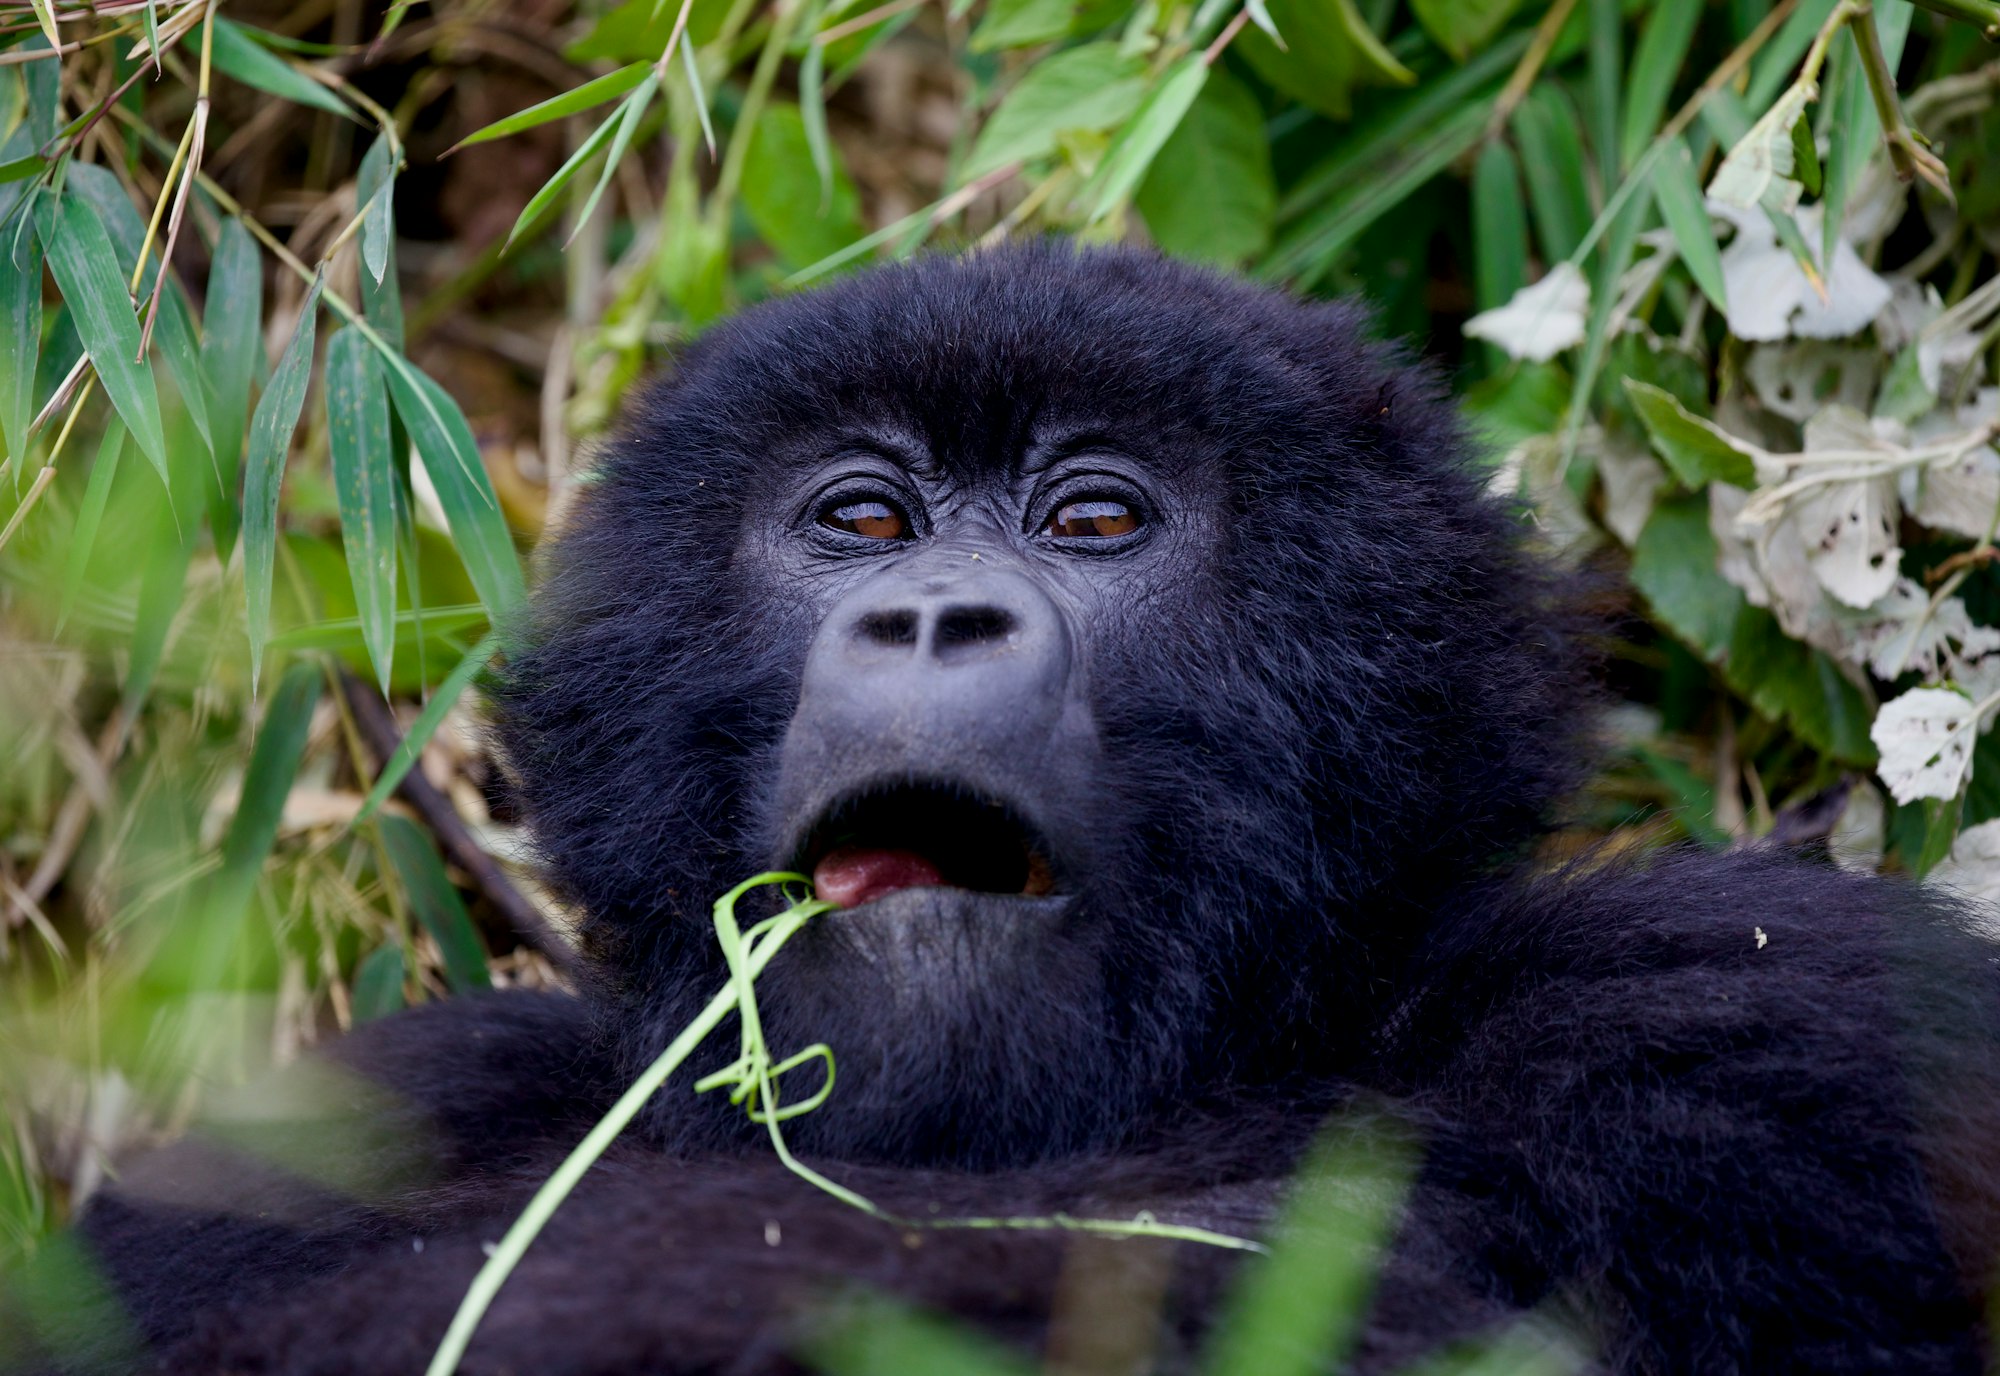
SaveGorilla trekking is the most intimate wildlife shoot you can book. Groups are small, you get one hour with a habituated family, and you are often within 7-10 meters. The permit is the big cost, and it differs a lot by country.
- Rwanda (Volcanoes National Park): $1,500 per permit. The park is a few hours’ drive from Kigali, so it works for short trips. (Rwanda Development Board)
- Uganda (Bwindi and Mgahinga): $800 per permit for foreign visitors. That price holds under the tariff that took effect July 1, 2026. (Uganda Wildlife Authority parks)
- Lens: 70-200mm f/2.8, or a 24-105mm for family groups. The forest is dark, so a fast lens and a body that handles ISO 3200-6400 cleanly matter more than reach.
- Rules: no flash, keep your distance, one hour only. Permits sell out months ahead for June to September, so book the permit before the flights.
Browse gorilla trekking tours on Viator Browse gorilla trekking tours on GetYourGuide
Also on Klook
Klook lists an 8-day Rwanda trip that combines Akagera game drives, golden monkey trekking and a mountain gorilla trek. It is a general wildlife itinerary rather than a photography workshop, and gorilla permits and trek rules apply, so read the listing for what is included.
See the 8-day Rwanda safari with gorilla trekking on Klook
Tigers in India
 Save
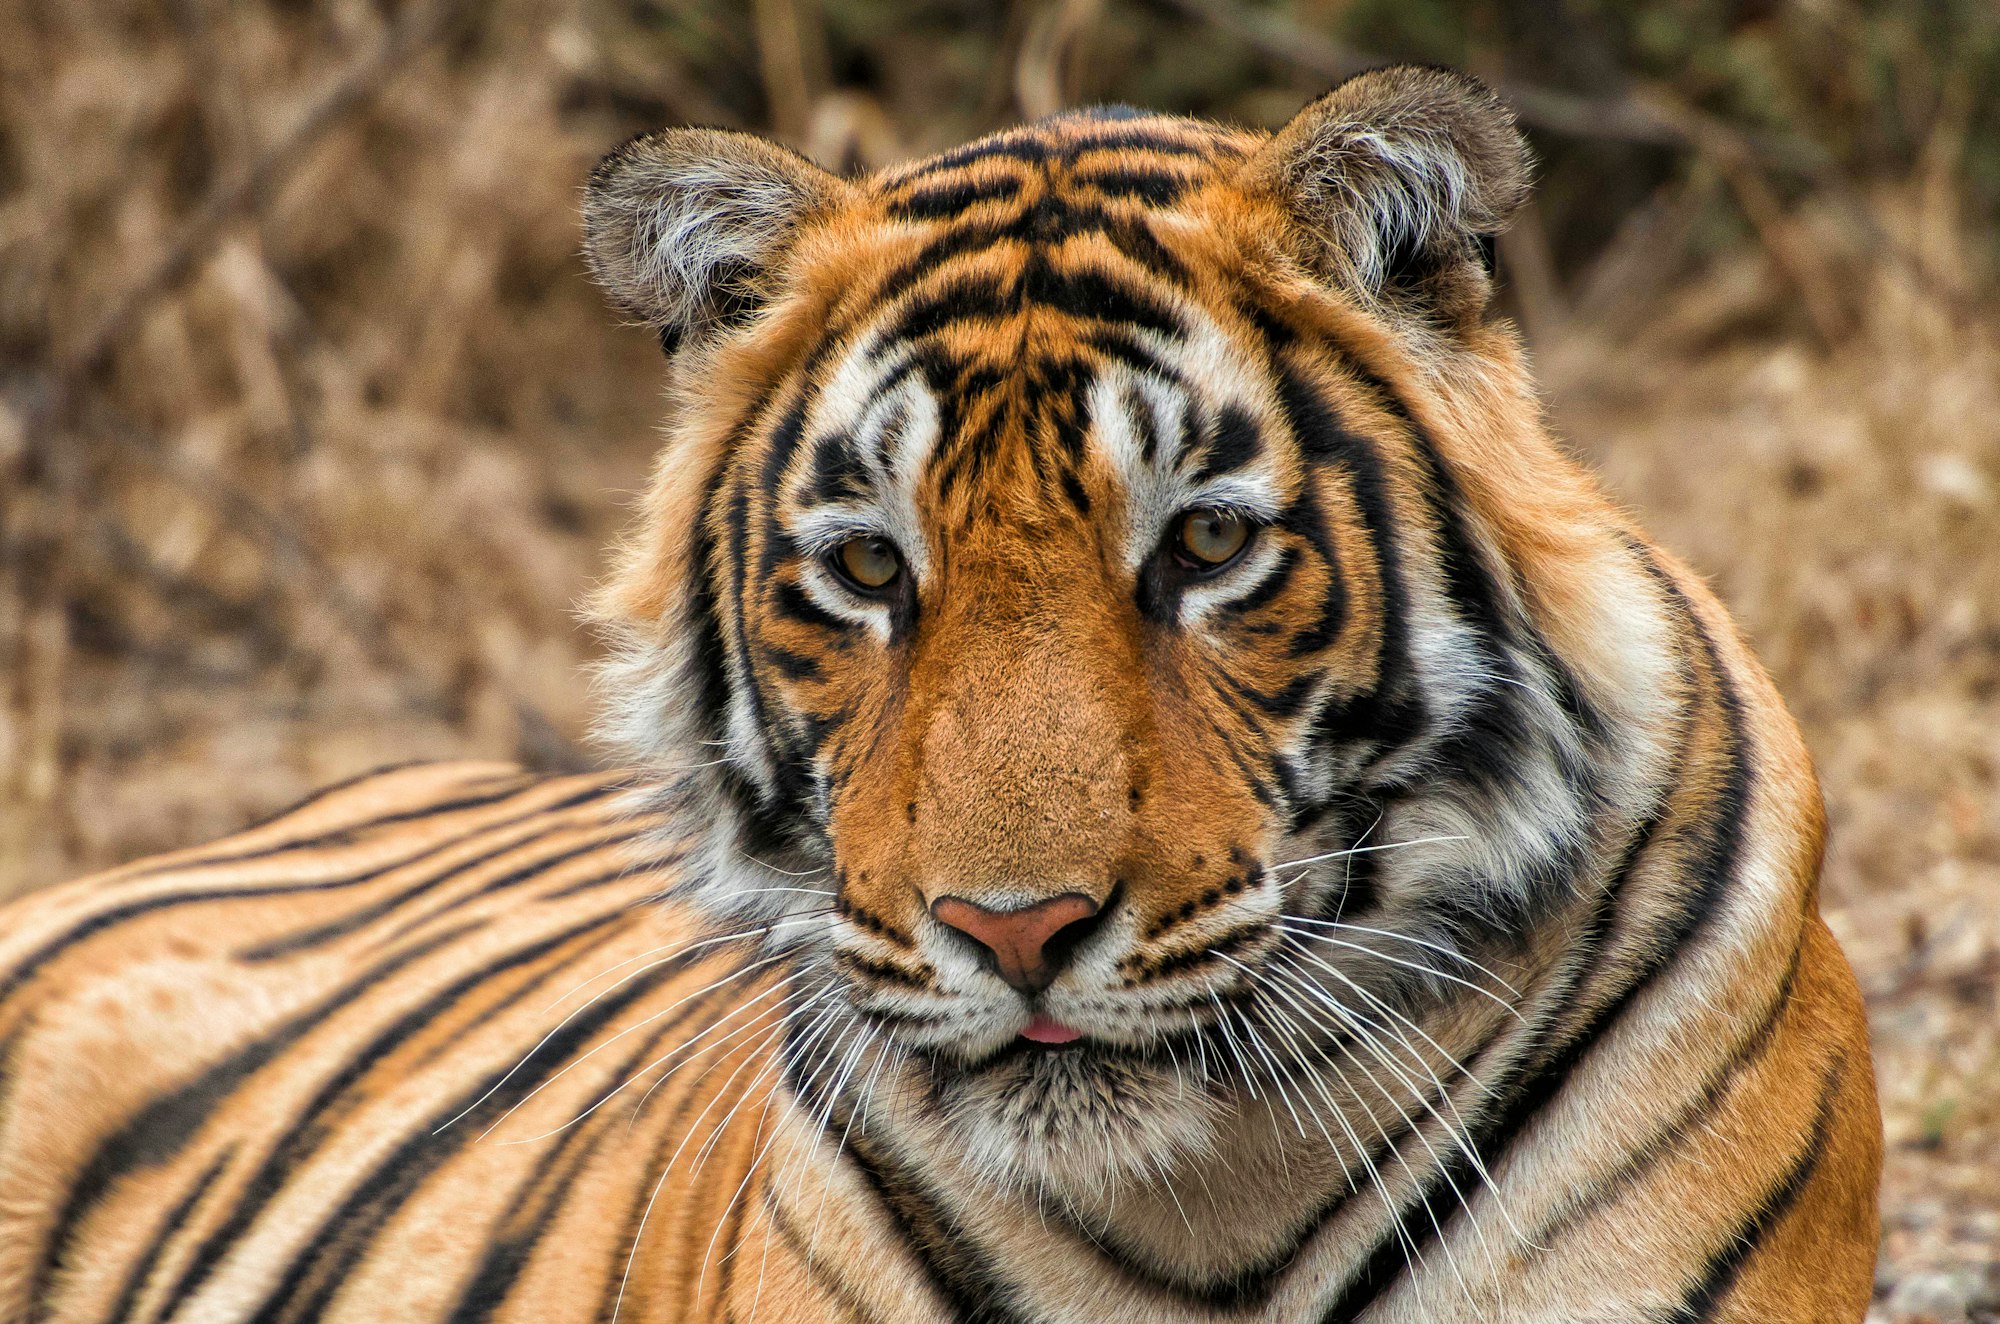
SaveIndia’s tiger reserves (Ranthambore, Bandhavgarh, Kanha, Tadoba and others) are where most wild tiger photos come from. You shoot from an open jeep on set routes, with a small number of vehicles allowed per zone per drive.
- Season: roughly October to June. Core zones close for the monsoon; Kanha’s core zone, for example, is closed July 1 to September 30 (Kanha booking info). The hot months of April to June bring tigers to waterholes, which means more sightings in rougher light.
- Lens: 100-500mm or 150-600mm. Tigers cross the track close, then walk off into the grass, so a zoom beats a fixed prime.
- What to ask an operator: how many drives the package includes (six or more gives you real odds), and whether they book zones or leave it to the lottery.
Browse India tiger safaris on Viator Browse India tiger safaris on GetYourGuide
Also on Klook
Klook lists a private 3-day trip from New Delhi with a jeep safari in Ranthambore and round-trip transport. Sightings are never guaranteed, and it is a general safari rather than a photography-led trip.
See the Ranthambore 3-day tiger safari from Delhi on Klook
The Galapagos Islands
 Save
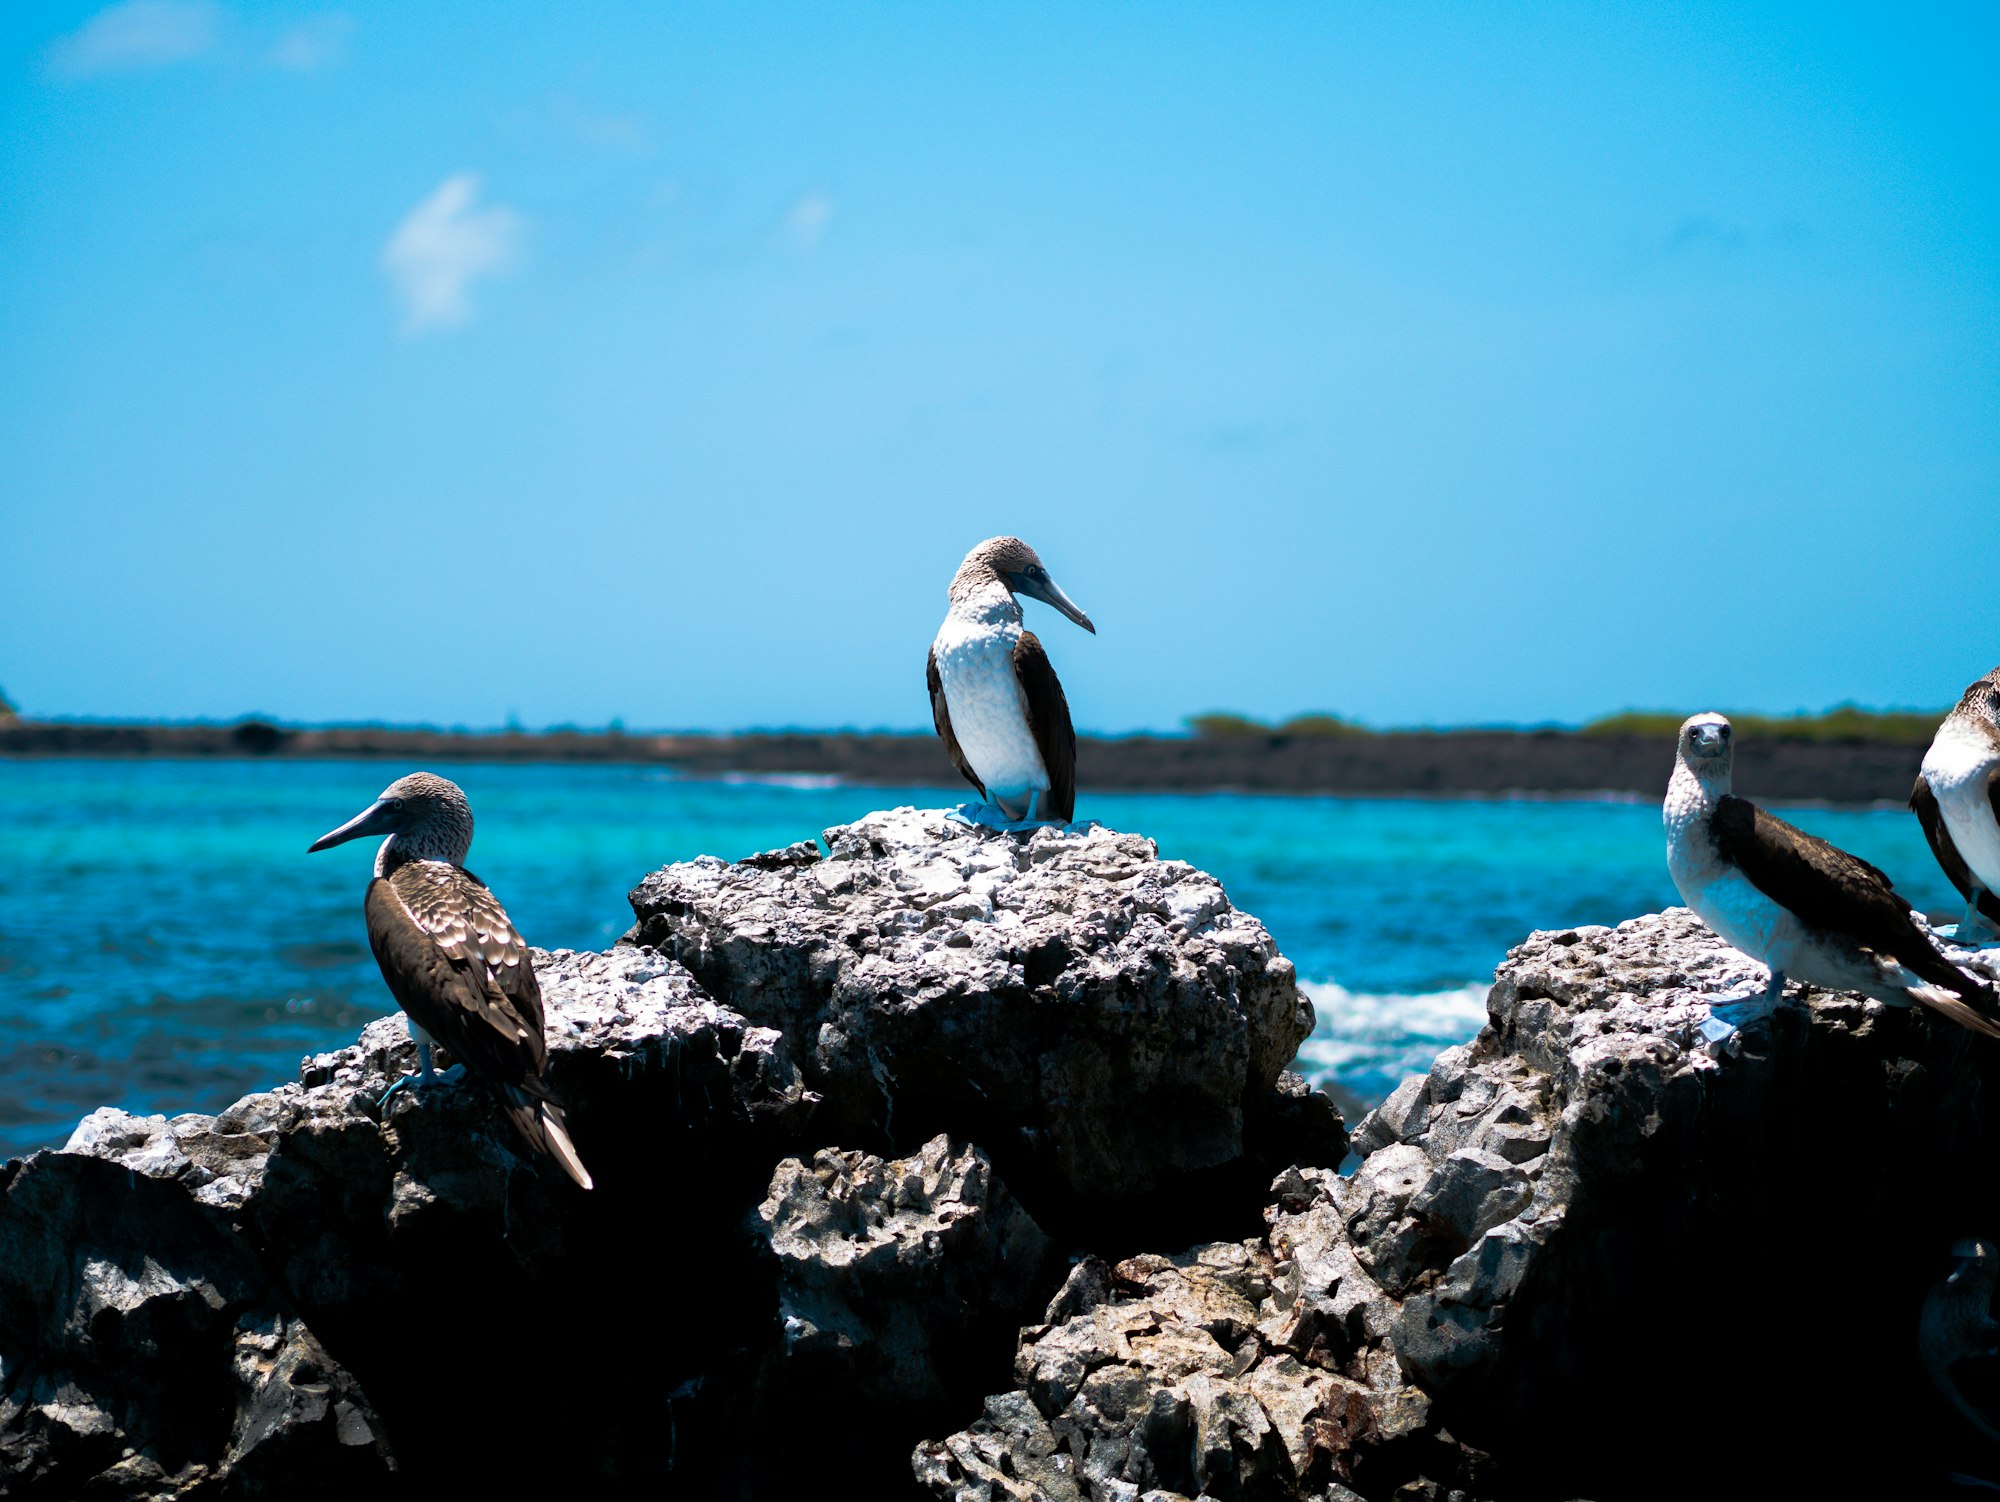
SaveThe Galapagos is the easiest wildlife trip for photographers because the animals do not run. Blue-footed boobies, sea lions, marine iguanas and giant tortoises let you work close with any lens, which makes it a great first wildlife trip.
- Fees: the national park entry fee is $200 for foreign adults. (Galapagos government).
- Boat or land: a small-ship cruise reaches far islands at dawn; land-based trips from Santa Cruz or Isabela cost less but spend more time on day boats.
- Lens: a 24-105mm for animals in their setting plus a 100-400mm for birds in flight. Bring a waterproof camera for snorkeling with sea lions.
Browse Galapagos tours on Viator Browse Galapagos tours on GetYourGuide
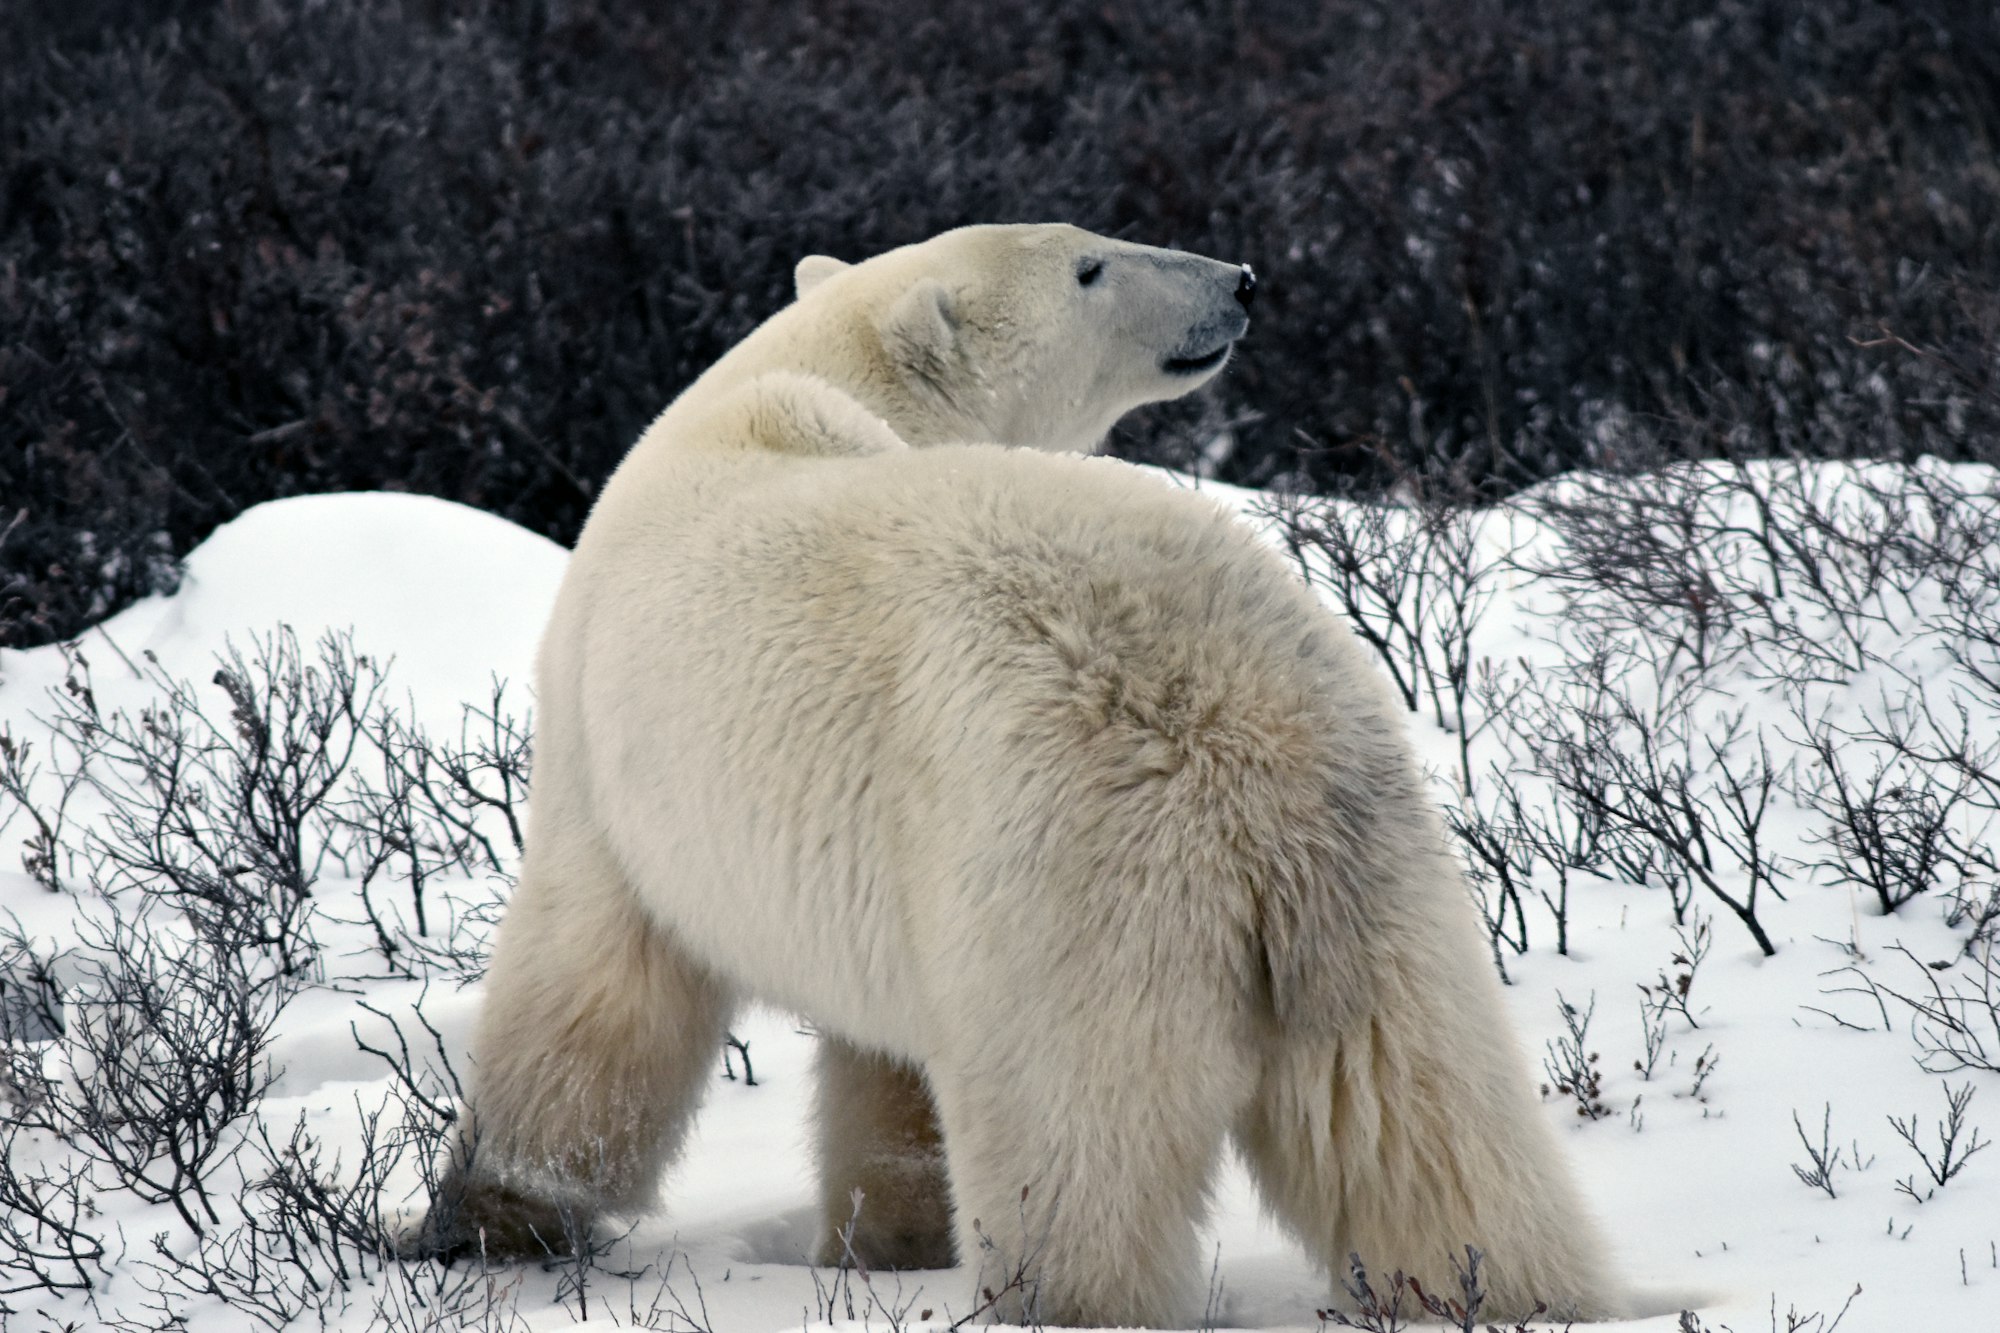
Polar bears in Churchill, Canada
 Save
SaveEvery autumn, polar bears gather on the Hudson Bay shore near Churchill, Manitoba, waiting for the sea ice to form. Tours use tundra vehicles, so you shoot from a raised platform with bears walking below.
- Season: October and November (Frontiers North).
- Lens: 100-400mm handles most frames. Bring spare batteries in an inside pocket; cold drains them fast.
- Light: low autumn sun gives warm light for much of the day. Overcast days are common, so plan for white-on-white exposure: add +1 to +1.7 stops so the snow and bears aren’t gray.
Browse Churchill polar bear tours on Viator Browse Churchill polar bear tours on GetYourGuide
How to choose a wildlife photography tour
- Group size: six or fewer photographers. On a boat or jeep, more people means fewer clean angles.
- A photo tour, not a sightseeing tour: a real photo tour waits with an animal instead of ticking off a list, and gives you a window seat or open side.
- Season first: the right month matters more than the operator. A great guide in the wrong season still gets you empty riverbanks.
- What’s included: permits and park fees can double the price. Ask if they are in the quote.
Planning a city trip on the same journey? See our photography tours hub and the African safari photography tours guide.
Gear for a wildlife trip
- Long zoom: 100-400mm is the all-rounder; 150-600mm or 200-600mm for jaguars and tigers.
- Second body or mid zoom: for close encounters (gorillas, Galapagos) when the long lens is too tight.
- Bean bag: steadier than a tripod on a jeep door or boat rail.
- Cards and storage: wildlife bursts fill cards fast. Back up every night; see our photo storage guide.
FAQ
What is the best wildlife photography tour for beginners?
The Galapagos. The animals are calm and close, so you can learn composition without needing a 600mm lens or perfect timing.
How much does a gorilla permit cost in 2026?
$1,500 in Rwanda and $800 in Uganda for foreign visitors. Uganda’s price stayed at $800 under its July 1, 2026 tariff.
When is the best time to photograph jaguars in the Pantanal?
June to October gives the best odds. The season runs to November.
When can you see polar bears in Churchill?
October and November, before Hudson Bay freezes.
What lens do I need for a wildlife photography tour?
A 100-400mm covers most trips. Go longer (150-600mm) for jaguars and tigers, and faster and wider (70-200mm f/2.8) for gorillas.