Before going further, make sure your aperture fundamentals are locked in: our aperture photography guide walks through it shot by shot.
Street photography is the ultimate adrenaline rush for anyone with a camera. There is no script, no lighting crew, and certainly no "do-overs." It’s just you, your gear, and the raw, unedited heartbeat of the city. But let’s be real: sometimes you step out onto the pavement and… nothing. The creative well runs dry. You see a thousand people, yet not a single shot worth taking.
If you’re feeling stuck, you’re in the right place. The secret to great street photography isn't just about having the best mirrorless cameras or knowing how to use manual mode camera settings like a pro, though those definitely help. It’s about having a "mission." When you give your brain a specific goal, it starts filtering the chaos of the city into beautiful, structured compositions.
In this guide, we’re breaking down the top 10 street photography ideas to get you off the couch and back into the wild. Whether you’re looking for photography for beginners tips or you're a seasoned pro looking for a fresh perspective, these prompts will help you see the world through a brand-new lens.
1. The Puddle Reflection (The "Upside Down")
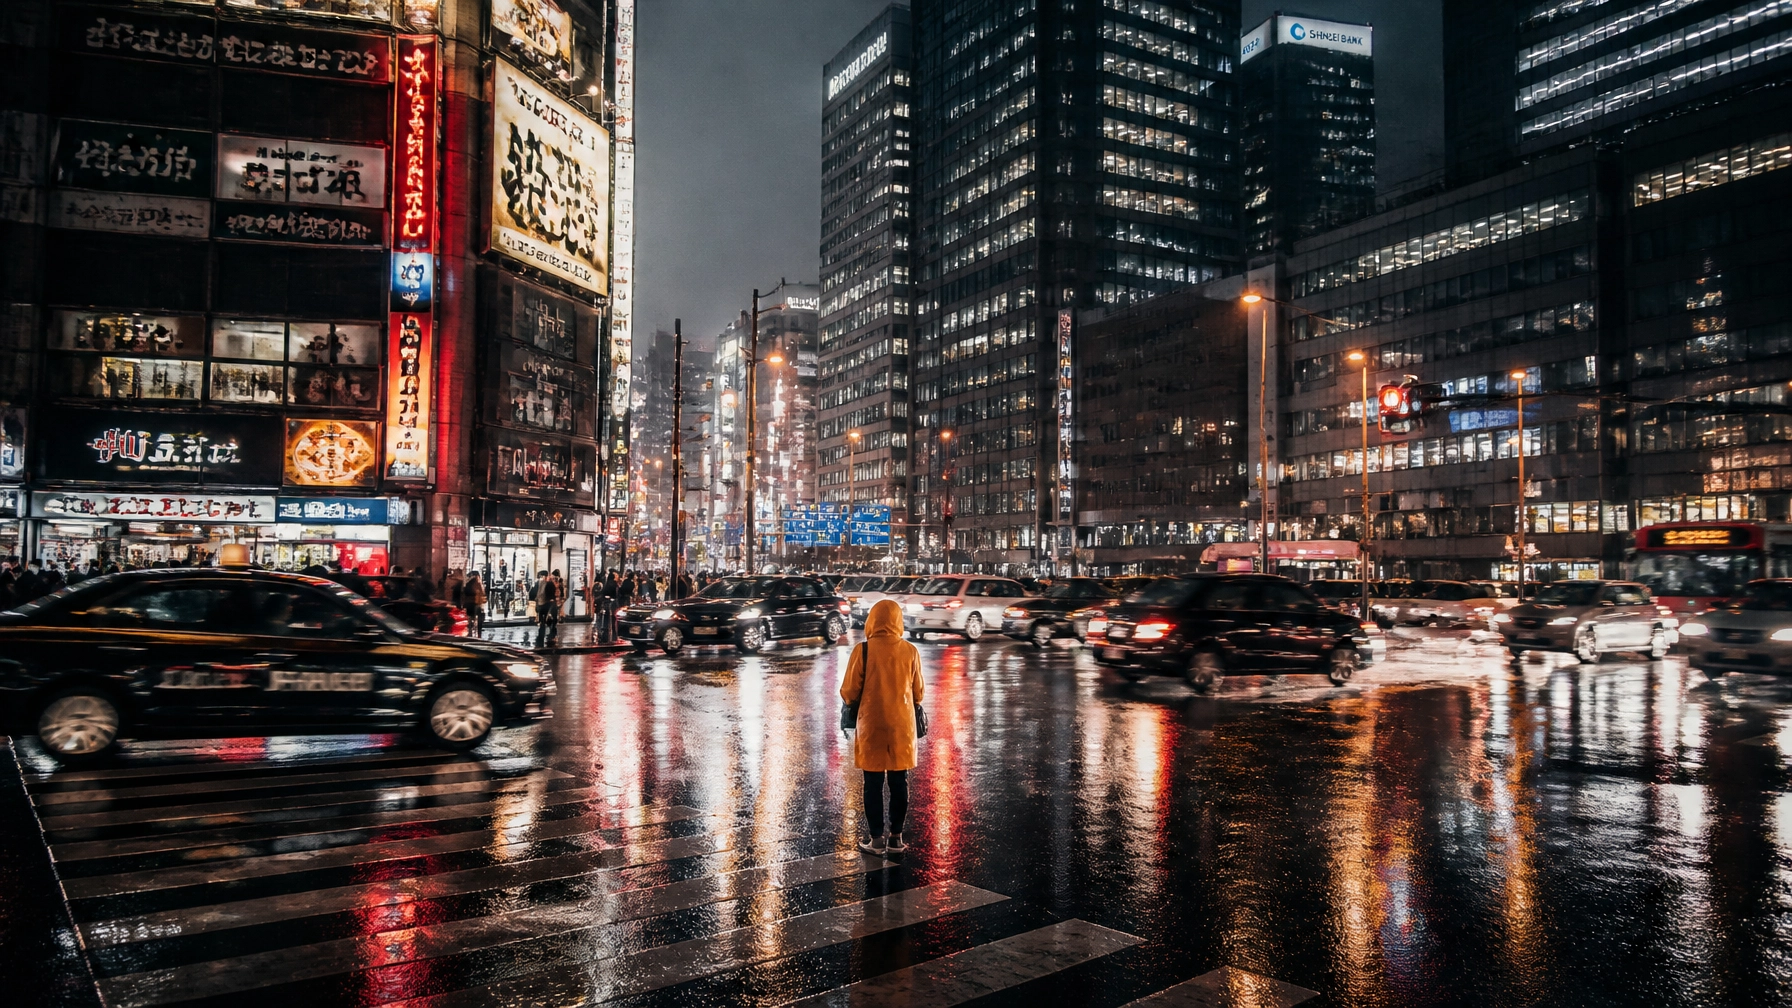
Rainy days are a street photographer’s best friend. Most people run for cover, but you should be running for the nearest puddle. Puddles act as natural mirrors, offering a surreal, "upside-down" perspective of the urban landscape.
To nail this, get low. I mean, really low. If your camera has a flip-out screen, use it. Position your lens just millimeters above the water’s surface. This exaggerates the reflection and makes the puddle look like a vast lake. Look for interesting textures in the ripples or a lone walker passing through the reflection.
If you're just starting out, this is one of the best photography for beginners exercises because it teaches you to look for unconventional angles. For more tips on mastering these kinds of shots, check out the photography tutorials over at Shut Your Aperture.
2. Play with Long Shadows and Silhouettes
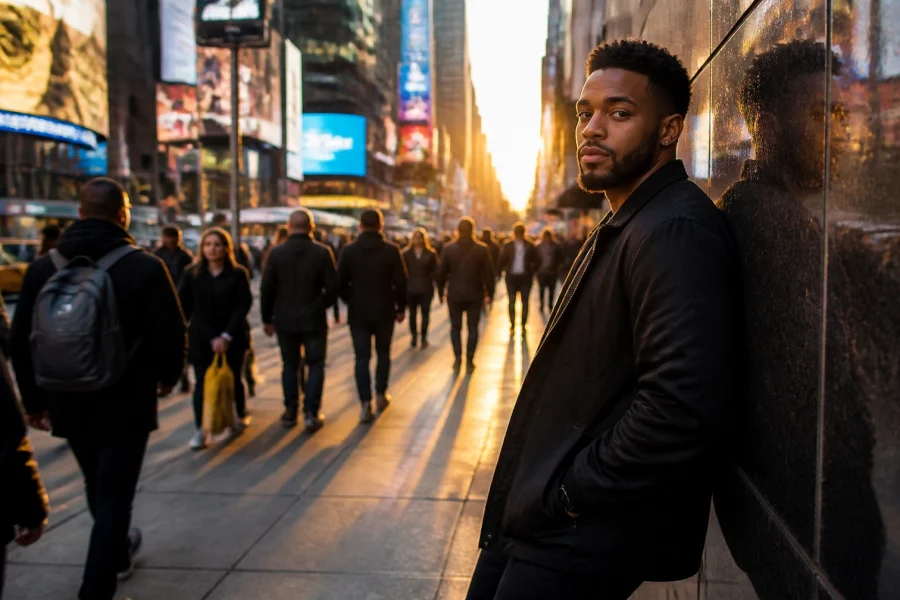
The "Golden Hour" isn't just for landscape photography tips. In the street, that low-angled sun creates long, dramatic shadows that can become the primary subject of your photo. Instead of focusing on the person, focus on the shadow they cast across the sidewalk.
Try underexposing your shot by one or two stops. This will crush the blacks and turn your subjects into dark silhouettes against the bright pavement. It adds a sense of mystery and film-noir drama to your work. If you’re struggling with the technical side, learning how to use manual mode camera settings is crucial here so you can control exactly how much light hits your sensor.
3. The "Decisive Moment" at Crosswalks
Henri Cartier-Bresson famously coined the term "The Decisive Moment," and there is no better place to find it than a busy crosswalk. Crosswalks are natural stages where humanity converges. You have people in business suits, students, tourists, and street performers all intersecting for a few seconds.
Pick a spot, frame your shot, and wait. Look for gestures: a child pointing at a bird, two friends laughing, or a businessman checking his watch. The key here is patience. Don't go hunting for the shot; let the shot come to you. This technique is often discussed in high-level portrait photography techniques because it’s all about capturing human emotion in a split second.
4. Urban Geometry and Minimalism
The city is full of lines, circles, and triangles. Sometimes, the most striking street photography ideas involve stripping away the clutter. Find a minimalist background, a solid-colored wall, a geometric staircase, or a row of identical windows, and wait for a single person to enter the frame.
The contrast between the rigid, cold architecture and the soft, organic human form is incredibly powerful. This is where your composition skills really shine. Use the rule of thirds or leading lines to guide the viewer’s eye toward the subject. If you want to see how the pros handle urban minimalism, take a look at the gallery at Edin Fine Art.
5. Candid Moments at Public Transport Hubs
Bus stops, train stations, and subway platforms are goldmines for candid photography. People in these spaces are often lost in thought, providing a glimpse into their "real" selves. They aren't posing; they're just existing.
Since these areas are often dimly lit, you'll need to know your gear. This is where camera gear reviews come in handy, you want a camera that can handle high ISO without too much noise. The latest best mirrorless cameras are incredible at this. Focus on the eyes or the hands; often, a person’s posture tells a bigger story than their face.
6. The "Frame Within a Frame"
Use the city's architecture to your advantage. Look for doorways, windows, arches, or even gaps between two buildings to "frame" your subject. This technique adds depth to your image and draws the viewer's eye exactly where you want it to go.
It’s a classic move that never goes out of style. You can even use foreground elements like tree branches or a bus stop sign to create a natural frame. This is a staple in many photography tutorials because it works for every genre, from street to weddings.
7. Night Lights and Neon Soul
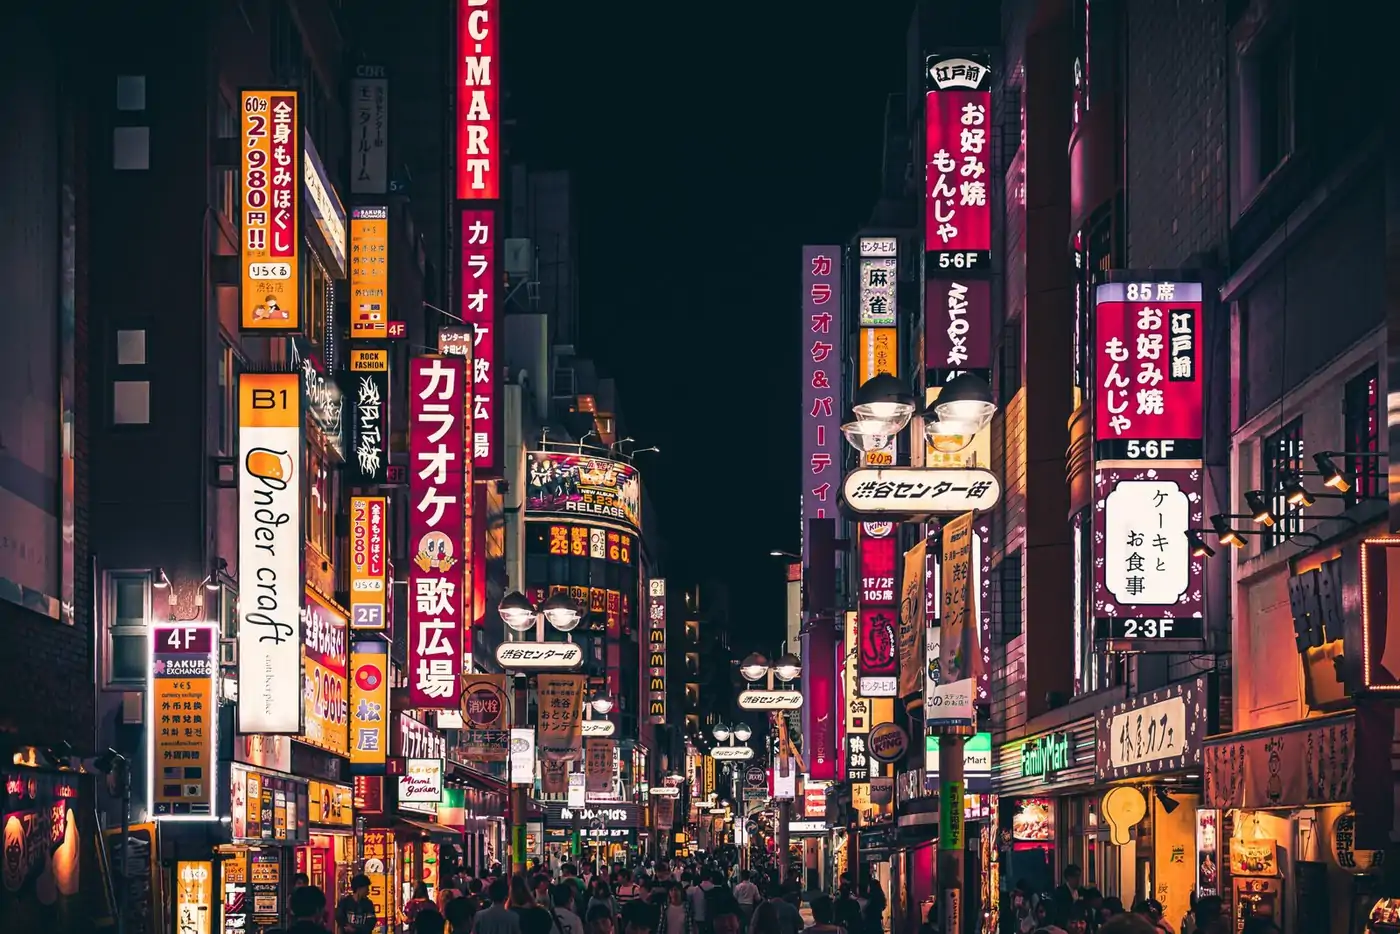
When the sun goes down, the city transforms. Neon signs, car headlights, and street lamps become your primary light sources. Night street photography is all about "the glow."
Look for wet pavement to catch those neon reflections (refer back to idea #1!). This is a great time to experiment with "intentional camera movement" (ICM) or long exposures to create light trails. If you're nervous about shooting in the dark, check out some photo editing tutorials to learn how to recover details from the shadows. And of course, for the best results in post-processing, we always recommend using Luminar to make those colors pop.
8. Street Portraits (The Brave Move)
This one is for the bold. Instead of taking a candid shot from afar, walk up to someone interesting and ask to take their photo. It’s terrifying at first, but it’s one of the most rewarding street photography ideas.
Most people are actually flattered if you’re polite. A simple, "Hi, I'm a street photographer and I love your style, may I take your portrait?" goes a long way. This allows you to use actual portrait photography techniques, like controlling the background and directing the light, while still maintaining that raw street vibe.
9. Motion Blur and the Speed of Life
The city is always moving, so why should your photos be static? Use a slower shutter speed (around 1/15th or 1/30th of a second) to capture a sense of motion. If you pan your camera at the same speed as a passing cyclist or car, they will remain relatively sharp while the background blurs into a streak of color.
This technique takes a lot of practice, so don't get frustrated if your first fifty shots are a blurry mess. Mastering the relationship between shutter speed and movement is a key part of learning how to use manual mode camera effectively.
10. Abstract Textures and Macro Street
Sometimes, you need to zoom in. Street photography doesn't always have to be about people. It can be about the peeling paint on an old door, the rust on a subway pillar, or the pattern of a discarded newspaper in the gutter.
Look for the "art in the mundane." These abstract shots make for great filler in a photo series and help tell the story of the city’s character. This is where you might step away from your wide-angle lens and try something with a bit more reach. If you’re looking for the right glass, keep an eye on our camera gear reviews for the latest lens recommendations.
Mastering the Gear: Best Mirrorless Cameras for Street Photography
You can take a great photo with a potato if you have enough talent, but let's be honest: the right gear makes life easier. In 2026, the landscape for street cameras has never been better. We’re seeing a massive shift toward compact, high-performance bodies that don't scream "I'M A PHOTOGRAPHER" to everyone on the block.
Why Mirrorless?
Mirrorless cameras are the kings of the street. They are generally smaller, lighter, and quieter than their DSLR ancestors. The electronic viewfinder (EVF) also lets you see exactly what your exposure looks like before you click the shutter, which is a lifesaver when you're dealing with tricky city lighting.
Top Picks for 2026
- Fujifilm X100VI: This remains the gold standard for many. It’s tiny, has a fixed 35mm equivalent lens, and features those legendary film simulations that save you hours in post-processing.
- Ricoh GR IIIx: If you want a camera that literally fits in your pocket, this is it. It’s the "stealth bomber" of street photography.
- Sony a7 IV: For those who want full-frame power and incredible autofocus. It's a bit larger, but the ability to track a subject's eye through a crowded sidewalk is unmatched.
- Nikon Z6III: A fantastic all-rounder with great ergonomics and low-light performance. Pair it with a small prime lens, and you’re ready for anything.
When you're reading camera gear reviews, look for features like "silent shutter" and "tilting screens." Being able to shoot from the hip while looking down at your screen makes you much less conspicuous.
Technical Deep Dive: How to Use Manual Mode Camera for the Street
If you’re still shooting in "Auto," you’re letting the camera make all the creative decisions. To truly master these street photography ideas, you need to take control. Here is a quick crash course on manual mode for the street.
The Exposure Triangle
- Shutter Speed: This is your most important setting in street photography. To freeze a person walking, you generally need 1/250s or faster. If they’re running or on a bike, go for 1/500s or 1/1000s.
- Aperture: For street work, "f/8 and be there" is a classic mantra. At f/8, most of your scene will be in focus, which is great when you're shooting fast. If you want that blurry background (bokeh) for a street portrait, drop it down to f/1.8 or f/2.8.
- ISO: Don't be afraid to bump your ISO. In the street, a grainy photo is always better than a blurry, out-of-focus photo. Modern cameras can handle ISO 3200 or even 6400 with ease.
Zone Focusing
This is a "pro tip" for manual mode. Instead of waiting for the autofocus to lock on (which can be slow in low light), pre-focus your lens to a certain distance: say, 10 feet. Anything that passes through that "zone" will be in focus. This is how the masters like Garry Winogrand shot so quickly.
For a more detailed breakdown, we have plenty of photography for beginners guides that dive deep into the exposure triangle.
Post-Processing: Making Your Street Photos Sing
The click of the shutter is only the beginning. Post-processing is where you define your style. Do you want high-contrast black and white? Moody, cinematic colors? Or a clean, documentary look?
For street photography, you want a workflow that is fast. You don’t want to spend 20 minutes on one photo. This is why we are huge fans of Luminar. Its AI-powered tools can automatically detect the sky, enhance details, and even fix lighting issues with a single slider.
One of my favorite tricks in Luminar is the "Structure AI" tool. It brings out the grit and texture of city streets: bricks, asphalt, and rust: without making the skin of your subjects look weird. It’s perfect for adding that "street" edge to your images. If you're looking for more advanced techniques, our photo editing tutorials cover everything from basic color correction to complex compositing.
Street Photography Ethics and Etiquette
Before you head out with these street photography ideas, let’s talk about the "human" side. Just because you have a legal right to take photos in public (in most countries) doesn't mean you should be a jerk about it.
- Be Respectful: If someone looks like they’re having a bad day or explicitly asks you not to take their photo, just don't do it. There are a billion other people to photograph.
- Smile: If someone catches you taking their photo, don’t look away guiltily. Smile, nod, and maybe even show them the photo. It diffuses the tension immediately.
- Know the Law: Generally, if you are in a public space, you are allowed to photograph anything you can see. However, malls, train stations, and parks are sometimes private property with their own rules. Stay informed by checking out PhotoGuides.org for international photography laws.
Finding Your Voice in the Chaos
At the end of the day, street photography is a journey of self-discovery. The things you choose to photograph say as much about you as they do about the world around you. Are you drawn to the lonely figure in the crowd? The vibrant colors of the market? The cold lines of the financial district?
Don't worry about being "original" at first. It’s okay to take the same puddle reflection shot that everyone else has taken. By practicing these street photography ideas, you’re building the muscle memory and the "eye" needed to eventually find your own unique perspective.
For more inspiration and the latest photography news, make sure to follow along with our "Photographer of the Week" series on the main Shut Your Aperture site. We feature incredible artists from around the world who are pushing the boundaries of what’s possible with a camera.
Now, grab your gear, set that dial to manual, and go see what the city has to offer. The streets are waiting.