Photo editing tutorials are the bridge between a raw, unpolished capture and a breathtaking piece of digital art. To succeed in modern photography, you need to master a structured workflow that includes choosing the right software: like Adobe Lightroom or Luminar: understanding global tonal adjustments, and leveraging AI-powered tools for precise retouching. Success comes from consistent practice, following professional step-by-step guides, and moving beyond basic sliders to advanced techniques like frequency separation and color grading.
Whether you just unboxed your first mirrorless camera or you’ve been shooting for a decade, the realization eventually hits: the shutter click is only half the battle. In the digital age, your "darkroom" is a glowing screen and a mouse. If you aren't editing, you aren't finishing your story. But where do you start? The internet is a swamp of "hacks" and "secret tricks" that often lead to over-processed, crunchy-looking photos. You need a map. This guide is that map. We’re going to break down how to find and use photo editing tutorials to actually improve your craft, not just change your sliders.
Why You Need a Structured Learning Path
The biggest mistake I see new photographers make is "slider-chasing." You open a photo, you see a bunch of sliders, and you start dragging them back and forth until the image looks "good." Then, the next day, you look at it and realize you’ve created a neon-orange disaster. We’ve all been there.
Tutorials aren't just about showing you where the buttons are. The best ones teach you why you’re pushing them. When you understand the "why," you stop guessing. You start visualizing the final result before you even open the software. To really level up, check out our deep dive on photography tutorials to see how editing fits into the bigger picture of your education.
The Role of AI in 2026
We are living in the golden age of AI. Tools like Luminar have revolutionized how we handle boring tasks. In the past, masking a sky took twenty minutes of meticulous brushing. Now? It’s one click. Your learning path should prioritize tutorials that teach you how to balance these AI automations with your own creative intent. Don't let the machine do all the thinking, but definitely let it do the heavy lifting.
Choosing Your Weapon: The Best Editing Software
Before you dive into tutorials, you need to know which software suits your style. Every program has a different logic, and jumping between them too early will just confuse you.
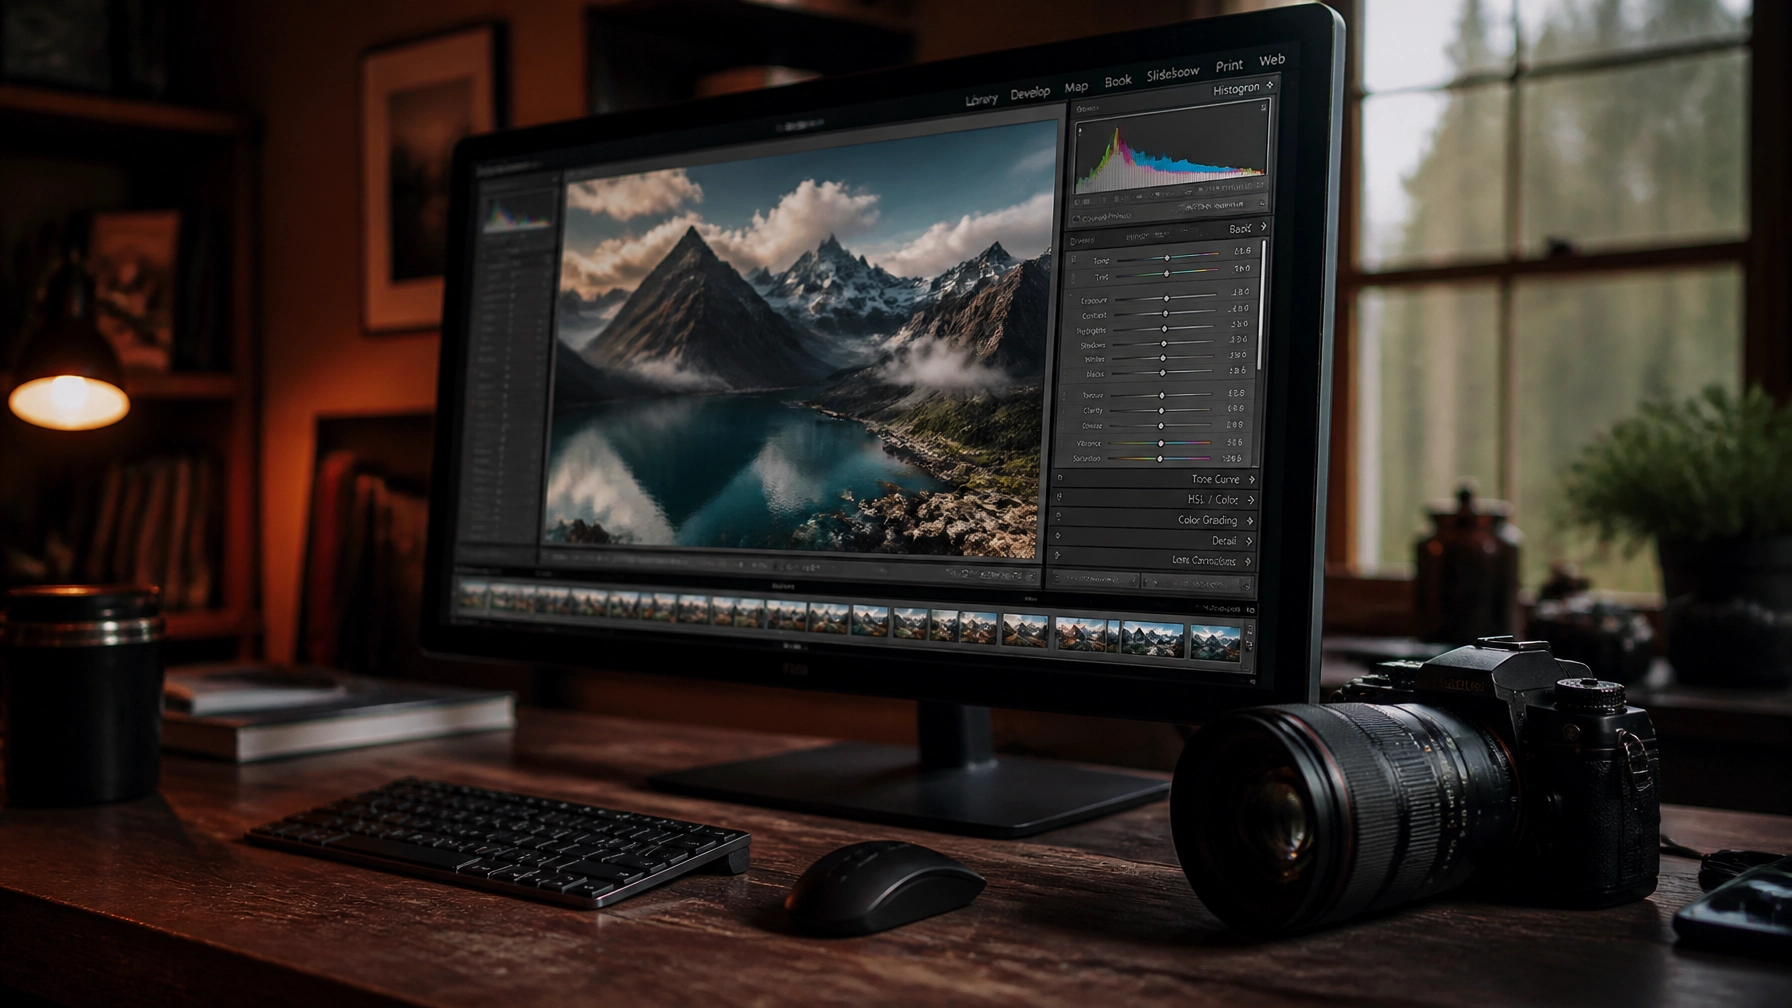
- Adobe Lightroom (Classic & CC): The industry standard for a reason. It’s perfect for organizing thousands of photos and doing 90% of your editing. Most tutorials you find online will be based on Lightroom.
- Luminar: If you want results fast without a massive learning curve, this is the one. It’s heavy on AI, making it incredible for landscape and portrait photographers who want to spend more time shooting and less time masking.
- Adobe Photoshop: This is for the "heavy lifting." If you need to remove a person from a background, change the shape of an object, or do complex compositing, Photoshop is king.
- Capture One: Often preferred by studio and fashion photographers for its superior tethering and color science.
If you’re struggling with the technical side of the camera itself, you might be making some common errors. Have a look at our guide on manual mode mistakes to ensure your raw files are clean before they even hit your computer.
 Save
Save
The Universal Editing Workflow: A Blueprint for Success
The secret to professional-looking photos isn't a secret at all: it's a workflow. A repeatable process ensures consistency. When you follow a tutorial, see if it fits into this 8-step blueprint.
1. Import and Culling
Don't edit every photo you take. That’s a fast track to burnout. Use your software to rate your images (stars or colors) and only edit the best of the best. If you're using Lightroom, you can find our presets and installation instructions to speed up this initial phase.
2. Lens Corrections and Basic Geometry
Before touching color, fix the physics. Enable lens profile corrections to remove distortion and vignetting. Straighten your horizons. A tilted ocean is the hallmark of an amateur.
3. Global Tonal Adjustments
This is where you set the "bones" of the image.
- Exposure: Is it too bright or dark?
- Contrast: Giving the image some "pop."
- Highlights and Shadows: Bringing back detail in the sky or the dark corners.
4. White Balance and Color Theory
Correcting color casts is vital. If your photo was taken under fluorescent lights, it probably looks sickly green. Tutorials on color theory will teach you how to use temperature and tint sliders to make the scene feel the way it did in person: or better.
5. Local Adjustments (The "Secret Sauce")
This is where the magic happens. Instead of changing the whole photo, you use brushes and gradients to guide the viewer's eye. Darken the edges (vignette) and brighten the subject. In Luminar, the "Relight AI" tool does this brilliantly without you having to manually mask.
6. Creative Color Grading
Now you give the image a "look." Do you want it to feel like an old film movie? Or a clean, modern commercial? This is where you use HSL (Hue, Saturation, Luminance) sliders and color wheels.
7. Detail and Noise Reduction
Sharpen the edges and smooth out the digital noise, especially if you shot at a high ISO. Be careful here: too much sharpening makes the photo look "crunchy."
8. Final Export
Are you posting to Instagram or printing a 40-inch canvas? The export settings matter. For a deeper dive into the technicalities of shooting and editing, PhotoGuides.org is an excellent resource for keeping your gear knowledge sharp.
Beginner Roadmap: What to Watch First
If you’re just starting, don't go looking for "Advanced Frequency Separation" tutorials. You’ll just get frustrated. Focus on the fundamentals.
Start with "Getting Started" videos for your specific software. You need to know how the catalog system works so you don't lose your files. Once you have the software open, look for tutorials on "The Basic Panel." Understanding the relationship between highlights, shadows, whites, and blacks is 70% of the battle.
If you’re ready to dive in deep and want a structured environment, head over to Shut Your Aperture Learn for tutorials designed to take you from zero to hero.
 Save
Save
Advanced Techniques: Refining Your Style
Once you’ve mastered the basics, it’s time to get surgical. Advanced tutorials should cover:
Frequency Separation
Common in portrait photography, this allows you to edit skin texture and skin color on two different layers. You can remove a blemish without making the skin look like plastic. It’s a game-changer.
Dodging and Burning
This is an old darkroom technique. You "dodge" (brighten) areas you want the eye to see and "burn" (darken) areas you want to recede. It’s like contouring for a photo. It adds a three-dimensional quality that simple sliders can't achieve.
Advanced Masking with AI
In 2026, masking is all about selection. Tutorials that show you how to use "Select Subject" or "Select Sky" in Lightroom or Luminar are essential. They save you hours of work.
If you're looking for inspiration on how these techniques look in the real world, browse the fine art galleries at Edin Fine Art to see how professional editing transforms a scene into a masterpiece.
2026 Editing Trends to Watch
Photography styles change just like fashion. What was cool five years ago (oversaturated HDR, we’re looking at you) is now considered a bit "cringe."
- The "Filmic" Look: Subdued colors, soft contrast, and a bit of grain. People are craving a more organic, analog feel in a digital world.
- Warm Vintage: Warm highlights and slightly lifted blacks. It feels nostalgic and approachable.
- Authentic Color: Moving away from heavy presets and back toward true-to-life, vibrant colors that pop without looking fake.
To stay on top of these trends, I often check out the latest musings on Edin’s Blog, where the intersection of art and tech is always being discussed.
How to Make Tutorials Actually Stick
We’ve all done it: watched a 20-minute tutorial, felt like an expert, and then realized ten minutes later we forgot everything. Here is how to actually learn:
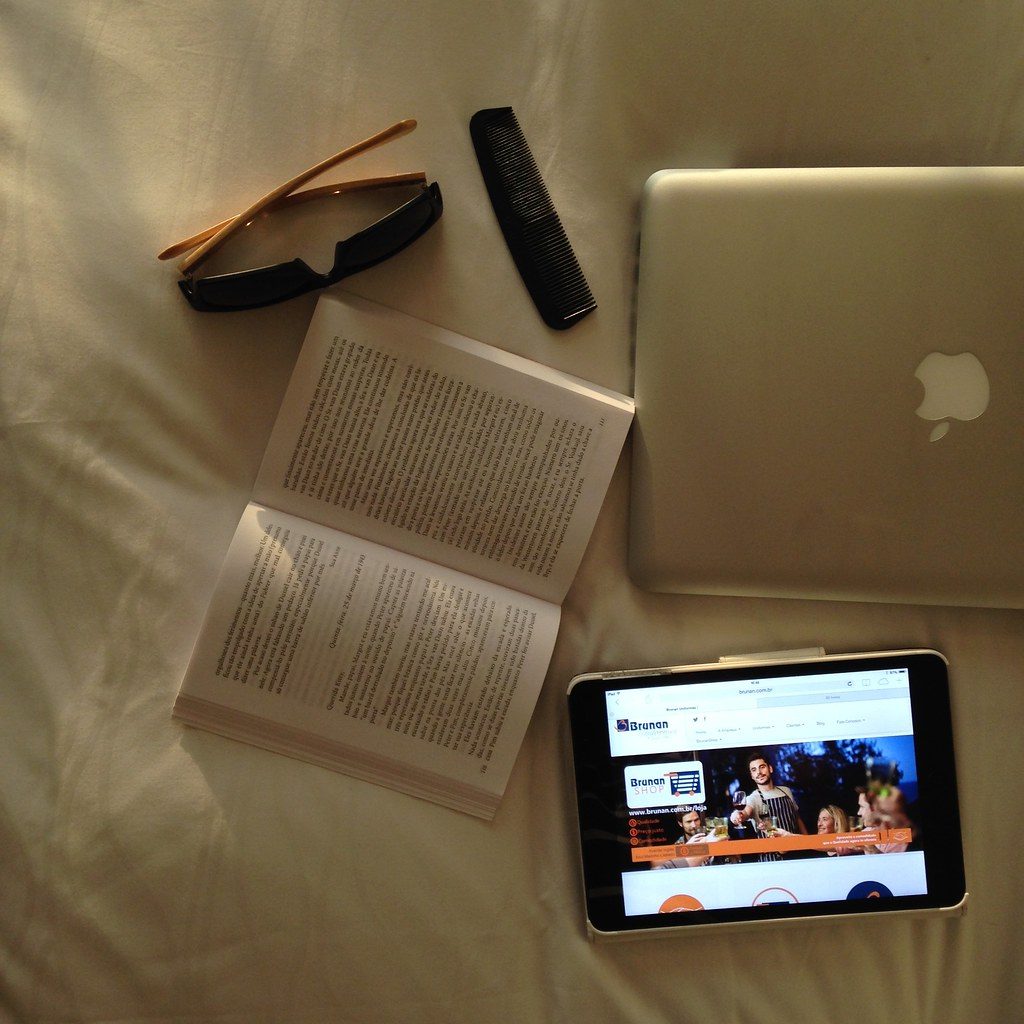
- The "Two-Screen" Method: If you can, have the tutorial on one screen (or a tablet/phone) and your editing software on the other. Pause. Do the step. Play. Repeat.
- Use Your Own Photos: Don't just follow along with the instructor’s provided RAW files. Apply the techniques to your own work. The lighting and colors will be different, which forces you to adapt the technique rather than just mimicking it.
- The 24-Hour Rule: After you learn a new technique, try to use it on three different photos within 24 hours. This moves the knowledge from short-term to long-term memory.
- Join a Community: Share your "Before and After" shots. Getting feedback from other photographers is the fastest way to see what you’re missing.
 Save
Save
Mastering the Art of Presets
Presets are often misunderstood. Some people think they are a "cheat code," while others think they are useless. The truth is in the middle.
A preset is a starting point. It’s a way to quickly apply a specific color grade or tonal range. But a preset designed for a sunny day will look terrible on a photo taken at night. The key to using tutorials for presets is learning how to reverse-engineer them. When you apply a preset, look at what changed in the sliders. Why did the highlights go down? Why is the orange saturation increased?
If you want a solid foundation to build from, check out our Lightroom Presets. They are designed to be clean, professional starting points that you can tweak to fit your specific vision.
The Importance of Consistency
Your "style" is essentially just a consistent way of editing. If someone looks at your portfolio and it looks like twelve different people edited it, you haven't found your voice yet.
Tutorials can help you find your style by showing you different "moods." Try a "Moody Dark" tutorial one day and a "Light and Airy" one the next. Eventually, you’ll find a process that feels "right" to you. That’s your style. Don't rush it. It takes thousands of edits to truly develop a signature look.
Taking Your Skills to the Next Level
Once you feel like you’ve hit a plateau, it’s time to get out of your comfort zone. Stop watching "how to edit" videos and start watching "how to see" videos. Understanding light and composition will make your editing ten times more effective.
If you’re feeling confident in your work and want to share it with the world, we are always looking for fresh talent. Check out our submissions page or learn about becoming a writer for us. Getting your work published and critiqued by an audience is a massive boost to your confidence and skill level.
 Save
Save
Final Thoughts on Photo Editing Tutorials
At the end of the day, photo editing is a deeply personal part of the creative process. It’s the moment you take the reality of what the camera saw and turn it into the reality of what you felt.
Don't get discouraged if your edits don't look like the pros' right away. They have thousands of hours of experience. Just keep following the tutorials, keep experimenting with tools like Luminar, and most importantly, keep shooting. The better your RAW files are, the more fun you’ll have in the editing chair.
If you ever feel lost, remember that we have a massive library of resources waiting for you. From free ebooks to deep-dive courses at Shut Your Aperture Learn, we’re here to make sure you succeed. Now, go open that software and start creating something beautiful.