Photography isn't just about clicking a button; it’s about capturing a feeling, a moment, and a perspective that nobody else sees. If you want to move beyond basic snapshots and start creating art, you need a solid roadmap. The best photography tutorials act as that roadmap, bridging the gap between "I have a cool camera" and "I am a professional photographer." To truly succeed today, you must master the technical dance of manual mode, understand the nuances of light, and refine your vision through post-processing. At Shut Your Aperture, we believe anyone can become a master of the craft if they have the right guidance and a bit of grit.
Why Photography Tutorials Are Your Secret Weapon
Let’s be real for a second. You can buy the most expensive Sony or Nikon on the market, but if you leave it in "Auto" mode, you’re basically driving a Ferrari in a school zone. It works, but you aren’t seeing what it can really do. This is where high-quality photography tutorials come in. They aren't just about where to click; they are about understanding the why behind every setting.
The modern photography landscape is crowded. Everyone has a smartphone that can take "okay" photos. To stand out, you need to develop a style that is uniquely yours. Tutorials help you skip the years of "trial and error" and get straight to the "holy cow, I made that" phase. Whether you are looking to master landscape photography or dive into the world of high-fashion portraits, continuous learning is the only way to keep your edge.
The Core Skill: How to Use Manual Mode Camera
If you want to call yourself a photographer, you have to break up with Auto mode. It’s a toxic relationship that limits your potential. Learning how to use manual mode camera settings is the single most important hurdle for any aspiring artist. When you take control, you decide how much light enters the lens, how much of the scene is in focus, and how motion is captured.
The Exposure Triangle Explained
Think of the exposure triangle as the three legs of a stool. If one is off, the whole thing falls over. These three elements: Aperture, Shutter Speed, and ISO: work together to create your image.
- Aperture (The F-Stop): This controls the "iris" of your lens. A low number (like f/1.8) means the iris is wide open, letting in a ton of light and creating that creamy, blurred background everyone loves in portraits. A high number (like f/11) closes the iris, keeping everything from the foreground to the mountains in the background sharp.
- Shutter Speed: This is how long your "curtain" stays open. Want to freeze a hummingbird mid-flight? You need a fast shutter speed (like 1/2000). Want to make a waterfall look like silk? You need a slow shutter speed (like 2 seconds) and a steady tripod.
- ISO: This is your sensor's sensitivity to light. In bright daylight, keep it low (ISO 100) for the cleanest image. In a dark jazz club, you might need to crank it up to 3200, though you’ll start to see some "noise" or grain.
Mastering these settings allows you to shoot in any condition. If you're struggling to get it right, check out our easy beginner's guide to manual mode for a deeper dive.

Beyond the Basics: Advanced Lighting Techniques
Once you’ve tackled manual mode, it’s time to talk about light. Photography is, quite literally, "writing with light." Understanding how to manipulate it is what separates the pros from the amateurs.
Most beginners start with natural light because it’s free and everywhere. But even natural light has its rules. Golden hour (the hour after sunrise or before sunset) provides that soft, warm glow that makes everything look magical. Mid-day sun, on the other hand, creates harsh shadows that can ruin a portrait faster than you can say "squint."
When you move into the studio, you become the master of your own universe. You aren't at the mercy of the clouds or the sun. Using softboxes, umbrellas, and reflectors allows you to sculpt your subject. This is a huge part of our curriculum at Shut Your Aperture’s learning center, where we show you how to set up a professional shot with even the most basic gear.
The Digital Darkroom: Editing Like a Pro
Taking the photo is only half the battle. The other half happens on your computer. In the film days, photographers spent hours in a darkroom with chemicals. Today, we have software that allows for even more precision without the smell of sulfur.
When it comes to editing, you want a tool that is powerful but doesn't require a PhD to operate. Many of the pros we highlight on our site swear by Luminar. It uses AI to handle the tedious stuff: like masking a sky or enhancing skin: so you can focus on the creative color grading and storytelling.
Editing isn't about "fixing" a bad photo; it's about enhancing the vision you had when you pressed the shutter. It's about bringing out the textures in a landscape or the emotion in a person's eyes. If you’re looking for inspiration on how to transform your raw files into masterpieces, Edin Chavez's blog is a goldmine of before-and-after examples and philosophical takes on the art of the edit.

Composition: The Silent Storyteller
You can have the perfect exposure and the best editing, but if your composition is boring, the photo won’t resonate. Composition is how you arrange the elements within your frame to lead the viewer’s eye.
- The Rule of Thirds: Imagine a tic-tac-toe grid over your image. Placing your subject on the intersections of those lines usually creates a more balanced and interesting photo than sticking them right in the middle.
- Leading Lines: Use roads, fences, or even shadows to point toward your subject. It creates a sense of depth and journey within the frame.
- Negative Space: Sometimes, what you leave out is just as important as what you put in. Giving your subject room to "breathe" can create a powerful sense of scale or loneliness.
For those who want to see world-class examples of composition in action, browsing through Edin Fine Art will show you how a master photographer uses space and structure to create gallery-worthy prints.
Specializing Your Craft: Finding Your Niche
As you progress through various photography tutorials, you'll find yourself drawn to certain subjects. Don't fight it. While being a "jack of all trades" is helpful when you're starting, specialization is where the money and the passion usually intersect.
Portrait Photography
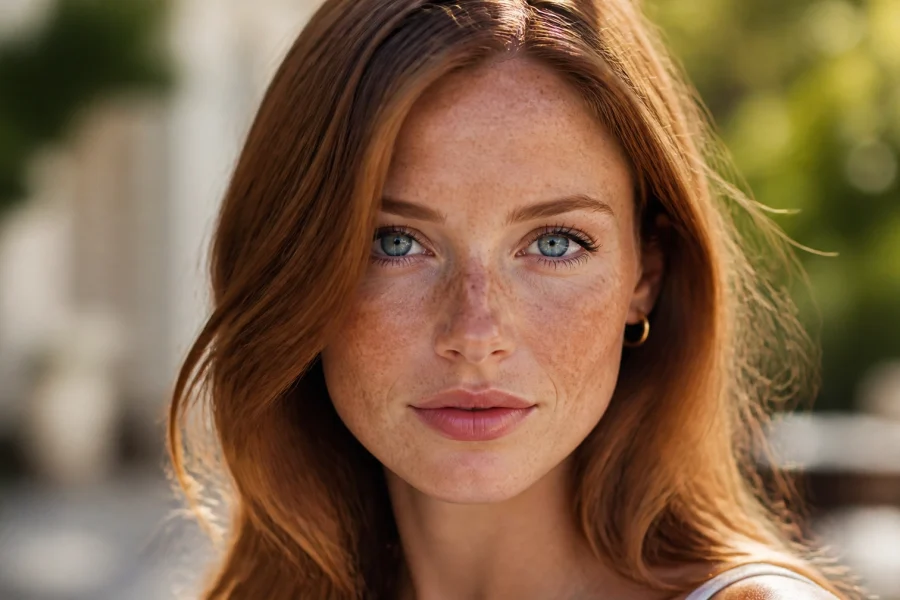
It’s all about the eyes and the connection. You need to be a bit of a psychologist to make your subjects feel comfortable. Learn how to direct poses and catch those "in-between" moments that reveal a person's true character.
Landscape Photography
This is a game of patience. It’s about hiking to the perfect spot at 4:00 AM, setting up your tripod, and waiting for that three-minute window where the light hits the peaks just right. We’ve got a killer guide on mastering landscape photography that you shouldn't miss.
Street Photography
The art of the "decisive moment." You have to be quick, invisible, and always ready. Street photography is raw and unpredictable, making it one of the most challenging and rewarding genres out there.

Gear Talk: What You Actually Need
Let’s bust a myth right now: You do NOT need a $10,000 kit to be a great photographer. However, you do need the right gear for the job.
- The Body: Whether you choose Canon, Nikon, Sony, or Fujifilm, make sure it’s a camera that feels good in your hands. If it's too heavy or complicated, you won't take it out.
- The Glass: Lenses are actually more important than the camera body. A "nifty fifty" (50mm f/1.8) is a cheap, sharp, and versatile lens that every beginner should own.
- The Support: Don't skimp on a tripod. A flimsy tripod will lead to blurry photos and, eventually, a broken camera when it tips over in the wind.
- Learning Resources: Knowledge is the most important piece of gear. Investing in courses at Shut Your Aperture will always yield a better return on investment than a slightly faster memory card.
If you’re ever confused about which piece of gear to buy next, PhotoGuides.org offers some of the most unbiased and practical advice on the web. They cut through the marketing fluff to tell you what actually works in the field.
The Long Game: Building a Photography Business
If you want to turn this into a career, you need to think like a business owner, not just an artist. This means understanding marketing, SEO for your portfolio, and how to handle clients.
Being a professional photographer is 20% shooting and 80% everything else: emails, editing, networking, and keeping your website updated. Your online presence is your storefront. Make sure it reflects the quality of work you want to be hired for. This is why we treat Shut Your Aperture as a gallery for aspiring photographers; it’s a place to see what’s possible and get the skills to get there yourself.
Common Mistakes and How to Avoid Them
Even the pros mess up. The difference is they know how to fix it.
- Chasing Gear Instead of Light: New cameras won't make you a better photographer if you don't understand how light works. Focus on the tutorials first.
- Over-Editing: It's easy to get carried away with the sliders in Luminar. If the grass looks radioactive, you’ve gone too far. Aim for "enhanced reality," not "alien planet."
- Not Backing Up Files: There are two types of photographers: those who have lost all their data, and those who are about to. Use the 3-2-1 rule: 3 copies of your data, on 2 different media, with 1 copy off-site.
Continuous Growth
The world of photography is constantly evolving. New sensors, new AI editing tools, and new visual trends emerge every month. To stay relevant, you have to stay curious. Read the news, look at art outside of photography (like paintings and cinema), and never stop being a student.
Our goal at Shut Your Aperture is to be the number one photography school online. We don't just want to give you a list of settings; we want to give you a new way to see the world. Whether you’re learning how to use manual mode camera for the first time or you’re looking to master advanced lighting, we are here to push you to the next level.

Final Thoughts
Photography is a journey with no finish line. There will always be a better shot, a more interesting subject, and a new technique to master. But that’s the beauty of it. Every time you pick up your camera, you have the chance to create something that has never existed before.
Don't let the technical jargon intimidate you. Start with the basics, learn your manual settings, and get out there and shoot. The world is full of stories waiting to be told: it’s time you started telling yours.
If you’re ready to take the next step and really commit to your craft, come join us at the Shut Your Aperture Learning Center. We’ve built a community and a curriculum designed to turn your passion into a profession. See you behind the lens!