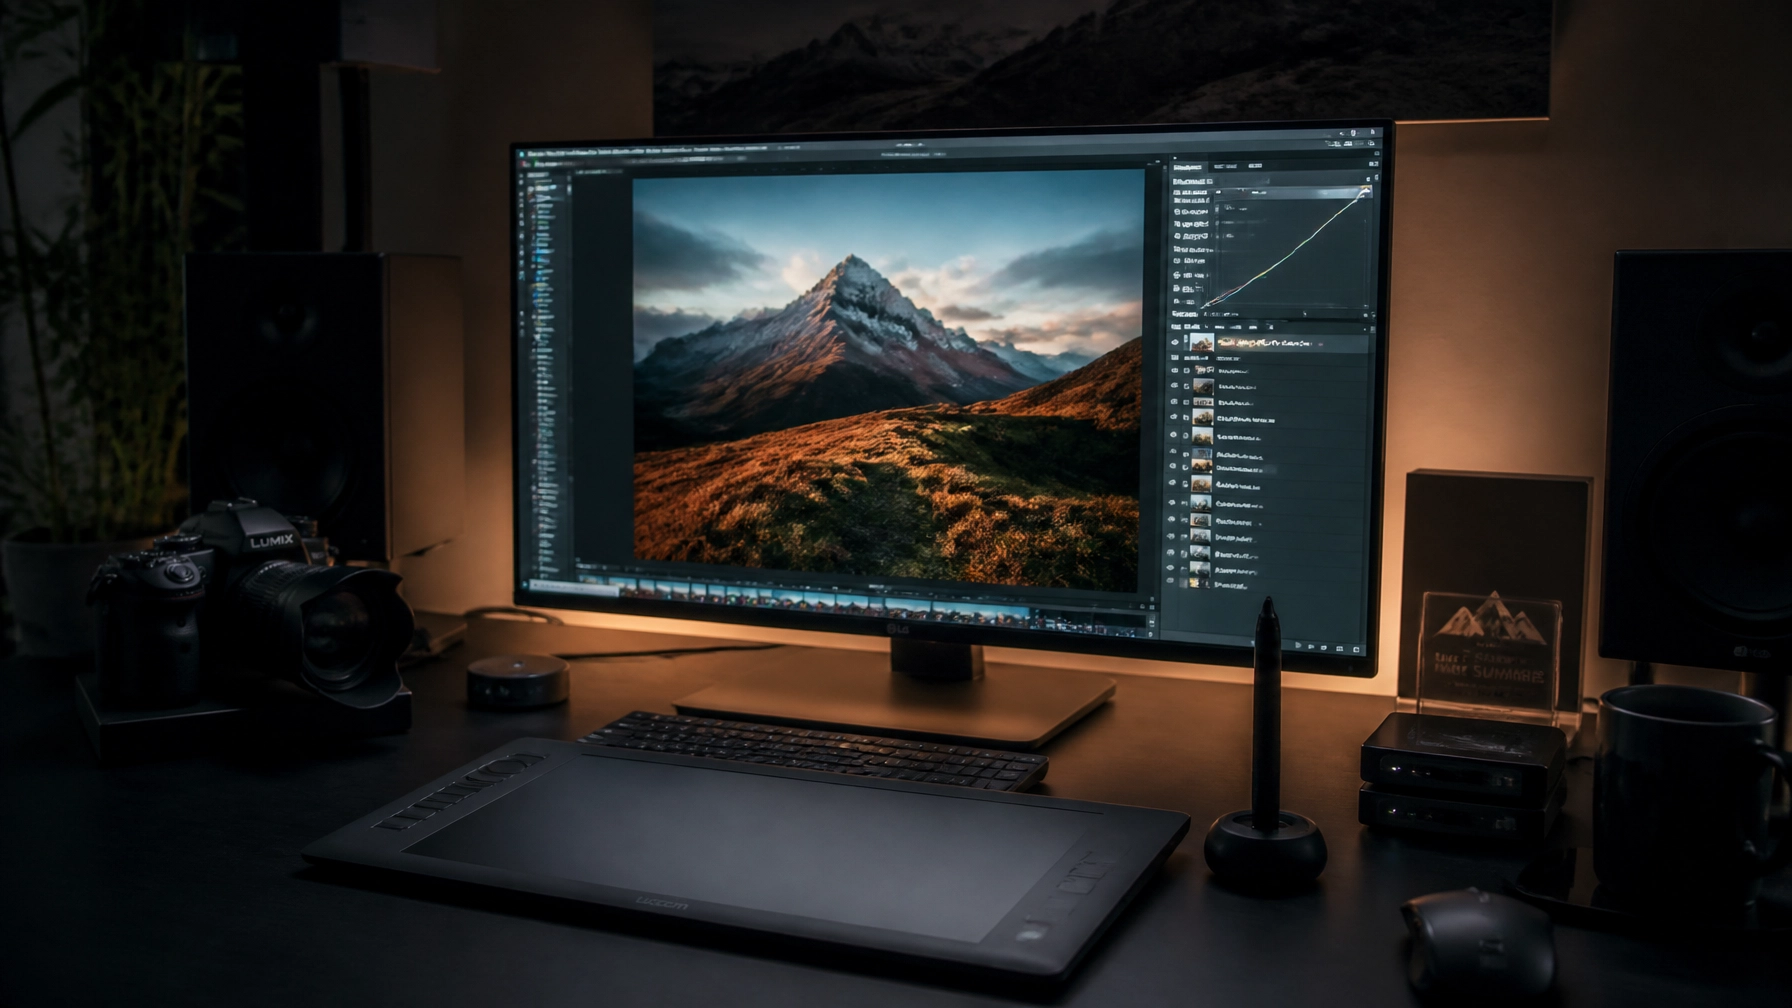
Post-processing is not just about moving sliders until the image looks "okay." The real secret that experts don't want you to know is that professional editing is a deliberate, multi-layered process that focuses on local adjustments, color theory, and sculpting light rather than global filters. While most beginners get stuck in the cycle of applying presets and hoping for the best, pros use techniques like dodging and burning, luminosity masking, and frequency separation to create depth and focus that a simple slider can never achieve.
The gap between a "good" photo and a "breathtaking" one usually happens in the digital darkroom. You see a stunning shot on Instagram or in a gallery, and you wonder how they got that glow, that depth, or those colors. You might even have the same camera and lens, yet your results feel flat. It’s frustrating. But here’s the truth: the camera captures the data; the editor creates the art.
In this deep dive, we are pulling back the curtain on the industry secrets that separate the amateurs from the masters. We aren't talking about "10 tips for Lightroom." We are talking about the fundamental shifts in workflow and philosophy that will transform your images forever.
The Myth of the "One-Click" Edit
Let’s kill the biggest lie in the photography industry right now: the "one-click" preset. You’ve seen the ads. "Buy my preset pack and look like a pro instantly!" It’s a seductive idea, but it’s mostly marketing fluff.
Every single photo is shot in different lighting conditions, with different colors, and different subjects. Applying a one-click preset to a diverse range of photos is like trying to use the same key to open every door in a skyscraper. It might work once, but usually, you’re just left standing in the hallway.
Pros do use presets, but they use them as a starting point, not a finish line. A pro might have a preset that corrects their specific camera’s color profile or sets a base level of contrast, but the heavy lifting always happens afterward. If you want to really master your craft, you need to stop looking for a shortcut and start understanding the "why" behind the edit. If you're just starting out, check out this easy guide for beginners on how to edit like a pro.
The Pro Workflow: Global → Local → Micro
The biggest mistake amateurs make is trying to do everything at once. They open a RAW file and start cranking the exposure, then the saturation, then the sharpening. Before they know it, the image looks "crunchy," over-processed, and artificial.
Experts follow a strict hierarchy of editing. This is the "secret sauce" of a clean, professional look.
1. Global Adjustments (The Foundation)
This is where you set the overall mood. You fix the white balance, adjust the exposure to get the histogram where it needs to be, and set your black and white points. You’re not trying to make the photo look finished here; you’re just preparing the canvas. If you didn't nail the exposure in-camera, you might want to revisit how to use manual mode to make your post-processing life easier.
2. Local Adjustments (The Shaping)
This is where 80% of the magic happens. Instead of making the whole image brighter, you might use a radial filter to brighten just the subject. You might use a linear gradient to darken the sky. This is about directing the viewer's eye. If you don't control where the eye goes, the viewer will get bored and move on.
3. Micro Refinements (The Polish)
This is the final 5%. This is where you zoom in to 200% and remove that tiny distraction in the background, fix a stray hair, or add a subtle bit of sharpening only to the eyes. This is the level of detail that makes an image look expensive.

Light Sculpting: The Art of Dodge and Burn
If you ask a high-end retoucher for their number one secret, they will say "dodge and burn." This technique dates back to the film days in the physical darkroom, but it is even more powerful today.
Dodging (lightening) and burning (darkening) is essentially painting with light. Think of it like makeup contouring. By subtly lightening the highlights and darkening the shadows, you add three-dimensional depth to a two-dimensional image.
In a portrait, you might dodge the cheekbones and the bridge of the nose to make them pop. In a landscape, you might burn the edges of a path to lead the viewer into the center of the frame. The trick is to use a very low flow (around 1-3%) and build the effect up slowly. If the viewer can tell you dodged and burned, you did it wrong. It should be felt, not seen.
Many photographers also struggle with common errors during this phase. Avoiding these landscape photography mistakes will ensure your light sculpting looks natural and professional.
Color Theory: More Than Just Saturation
Amateurs use the saturation slider. Pros use color theory.
When you see a photo that feels "harmonious," it’s usually because the photographer limited the color palette. They aren't showing you every color in the rainbow; they are focusing on complementary colors (like blue and orange) or analogous colors (colors that sit next to each other on the wheel).
The Separation of Luminance and Chroma
One of the biggest "expert" secrets is separating your light adjustments from your color adjustments. In Photoshop, this is often done by using different blend modes. If you want to add contrast without making the colors look weird and neon, you apply your curve and set the layer blend mode to "Luminosity." This tells the software: "Change the brightness, but leave the colors alone."
Conversely, if you want to change the color of a sunset without making it brighter or darker, you use the "Color" blend mode. This level of control is what keeps professional images looking clean and high-end. For more in-depth tutorials on these advanced techniques, I highly recommend checking out PhotoGuides.org.

Advanced Masking: Luminosity Masks and "Blend If"
If you're still using the brush tool to manually paint in your adjustments, you're doing it the hard way. Experts use the image’s own data to create masks.
Luminosity Masks allow you to select only the brightest highlights, or only the deepest shadows, or only the midtones with mathematical precision. This means you can add contrast to your shadows without blowing out your highlights. It allows for transitions so smooth they are invisible to the naked eye.
In Photoshop, there is a hidden feature called "Blend If." It’s one of the most powerful tools in the program, yet most people never click on it. It allows you to tell a layer to only show up if the pixels underneath are a certain brightness. It’s like a "smart" opacity slider. Want to add a warm glow to only the brightest parts of your clouds? Blend If is your best friend.
The Role of AI in Modern Editing
We can't talk about post-processing in 2026 without talking about AI. Some purists hate it, but the reality is that pros are using it to save hours of tedious work.
Tools like Luminar have revolutionized the way we handle complex tasks like sky replacement, skin retouching, and even relighting a scene. The "secret" here isn't just letting the AI do the work: it's knowing how to mask the AI's work so it blends perfectly with your artistic vision. AI is a tool, not a replacement for talent. Using Luminar to handle the heavy lifting of masking foliage or cleaning up sensor dust allows you to spend more time on the creative aspects of the edit.
If you want to stay ahead of the curve, you need to integrate these tools into your workflow. If you want to see how these tools are changing the landscape of professional photography, take a look at some of the work on Edin Fine Art.
Texture and Detail: The Scalpel Approach
There is a fine line between "sharp" and "crunchy." Beginners often over-use the "Clarity" or "Structure" sliders, which adds contrast to the midtones but also creates ugly halos around edges.
Pros treat texture like a scalpel. They might add a bit of "Texture" (which affects smaller details) to a rock face or a piece of fabric, but they will actively remove clarity from the background to create a sense of depth. This is called "negative clarity," and it’s a great way to make a subject pop without using an artificial blur.
For portraiture, the secret is Frequency Separation. This technique splits the image into two layers: one for the colors and tones (low frequency) and one for the texture (high frequency). This allows you to smooth out skin blotchiness on the color layer without destroying the natural skin pores on the texture layer. No more "plastic" looking skin.
Finishing Touches: The "Filmic" Look
Why do some photos look like a movie still while others look like a vacation snapshot? It’s all in the finishing touches.
1. The Lifted Blacks
If you look at the histogram of a professional cinematic edit, the blacks often don't touch the absolute left side. By slightly lifting the blacks in the Tone Curve, you give the image a matte, filmic feel. It makes the shadows feel "airy" rather than "heavy."
2. Grain
Adding a tiny bit of grain (we’re talking 5-10% opacity) can actually make a digital image look sharper and more organic. It breaks up the perfect digital gradients and prevents "banding" (those ugly lines you see in skies).
3. Output-Specific Sharpening
An image that looks sharp on your 4K monitor might look soft on Instagram. Professionals sharpen their images after resizing them for their final destination. If you're uploading to the web, you need a different level of sharpening than if you're sending a file to a fine-art printer.

The Human Element: Why Intent Matters Most
At the end of the day, you can know every technical secret in the book, but if you don't have a vision, your edits will still fall flat. Before you touch a single slider, ask yourself: What is this photo about?
If it’s a moody portrait, your edits should lean into the shadows and cool tones. If it’s a joyful wedding photo, you want warmth and light. The biggest secret of all is that the best editors are the ones who know when to stop. Over-editing is the hallmark of an amateur. Knowing when an image is "finished" is a skill that takes years to develop.
If you want to truly master these techniques and see them applied in real-time, you should join our community and dive into our deep-dive courses. We cover everything from the basics to these "expert-only" secrets. You can find all our training materials at Shut Your Aperture Learn.
Refining Your Eye
Editing is a muscle. You need to train it. One of the best ways to do this is by looking at high-quality work and trying to "reverse engineer" the edit. Look at the shadows: are they warm or cool? Look at the highlights: are they compressed or bright? Look at the edges: is there a vignette directing your eye?
You can find a wealth of inspiration and technical breakdowns on Edin Chavez's blog, where he shares the stories and settings behind some of his most iconic shots.
Summary Checklist for Your Next Edit
To help you move from amateur to pro, here is a quick checklist to keep on your desk:
- Set Intent: What is the mood?
- Fix Foundations: Global exposure, WB, and lens corrections.
- Shape the Light: Use Dodge and Burn to create 3D depth.
- Harmonize Color: Use HSL and Color Grading to limit the palette.
- Targeted Contrast: Use Luminosity Masks or Blend If to protect highlights/shadows.
- Add Texture Carefully: Use the scalpel approach (Local Clarity/Texture).
- Clean Up: Remove distractions and sensor dust.
- Polish: Add grain, lift blacks, and sharpen for output.
Post-processing is a journey, not a destination. Don't get discouraged if your edits don't look like a magazine cover overnight. Keep practicing, keep experimenting with tools like Luminar, and most importantly, keep shooting. The better your RAW file, the better your final edit will be.
Ready to take your photography to the next level? Stop guessing and start creating. Head over to Shut Your Aperture Learn and let’s get to work on your portfolio.