Pair this with our Lightroom presets guide if you want a one-click base look before fine-tuning.
To master street photography and edit on the fly, you need to combine a "set it and forget it" camera strategy with a ruthless eye for light and a mobile-first post-processing workflow. Mastery isn’t about having the most expensive camera; it’s about anticipating the "decisive moment" and having the technical confidence to capture it without looking at your buttons. By using fast shutter speeds (1/500s or higher), mastering zone focusing, and leveraging AI-powered mobile tools like Luminar, you can turn a raw city stroll into a polished gallery-ready series before you even get home for dinner.
Street photography is the ultimate adrenaline rush for any shutterbug. It’s raw, it’s unpredictable, and honestly, it’s a little terrifying when you’re first starting out. You’re essentially a silent observer in a world that’s moving way too fast, trying to capture a soul-stirring story in a fraction of a second. But here’s the good news: you don’t need to be a ninja or a world-class athlete to get good at this. You just need a plan.
Whether you're rocking a brand-new mirrorless setup or just your smartphone, this guide is going to walk you through the exact steps to go from "shaky beginner" to "confident street pro." We’re talking about everything from the psychology of the street to the tech-heavy side of editing while you’re still catching your breath from the walk.
Step 1: Gear Down and Dial In (The Setup)
The biggest mistake beginners make is carrying too much gear. If you look like you’re about to shoot a National Geographic cover for a three-year expedition, people are going to notice you. In street photography, your greatest asset is being invisible.
Keep It Light
Ditch the heavy zoom lenses and the massive camera bag. A small, prime lens (35mm or 50mm) is the gold standard for a reason. It forces you to move your feet, which is the best way to find better angles. If you’re just starting out, even your phone is a beast. Modern smartphone sensors are more than capable of handling street scenes, especially if you know how to use manual mode camera settings to your advantage.
The "Street-Ready" Settings
The street doesn't wait for you to adjust your white balance. You need settings that let you react instantly.
- Aperture Priority (A/Av): Set your aperture (f/5.6 to f/8 is the sweet spot for daylight) and let the camera handle the rest.
- Auto ISO: Set a minimum shutter speed of 1/500s. This ensures that even if a bike zooms past or someone makes a sudden gesture, it’s tack-sharp.
- Back-Button Focus: If your camera allows it, move your focus trigger away from the shutter button. This keeps your focus locked so you don’t hunt for it at the wrong moment.
Step 2: The Art of the Hunt (Finding the Moment)
Once your gear is ready, it’s time to find your subject. Most people think street photography is just taking pictures of people walking. That’s a "paparazzi" shot, and it’s usually boring. A real street photo tells a story or highlights a beautiful coincidence.
Look for the Light First
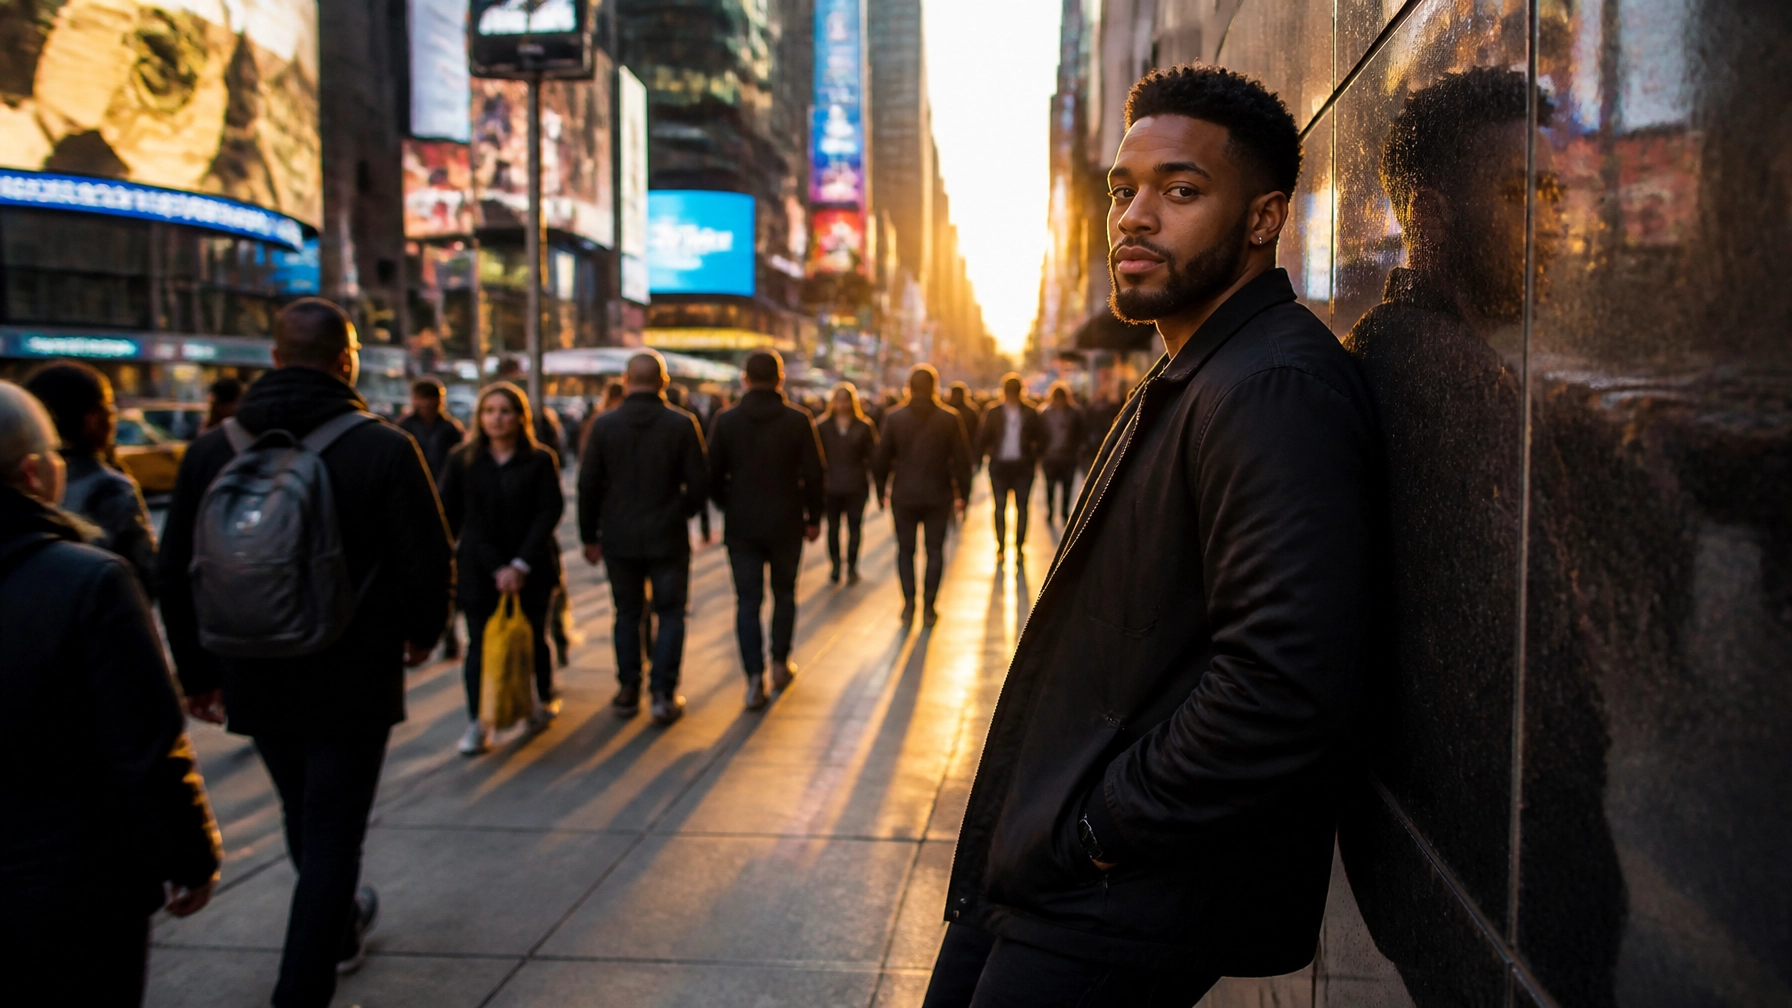
Don't look for people; look for light. Find a patch of "God light" (that dramatic beam hitting a sidewalk) or a massive shadow created by a building. Once you find the perfect light, stop. Stand there. Wait. This is what pros call "fishing." Eventually, the right person will walk into that light, and bam, you’ve got the shot.
Composition Hacks
- Leading Lines: Use crosswalks, fences, or the edge of buildings to lead the viewer's eye straight to your subject.
- Reflections: Puddles, shop windows, and even the side of a shiny bus are your best friends. They add layers and mystery to an otherwise flat image.
- The Decisive Moment: This is a term coined by Henri Cartier-Bresson. It’s that split second when the person’s foot hits the ground, or their hand gestures perfectly, or a gust of wind catches their coat. If you miss it, you miss the photo.
If you’re struggling with the basics of framing, check out these photography tutorials to sharpen your eye before you hit the pavement.
Step 3: Mastering the "Fear Factor" (The Psychology)
Let’s be real: taking photos of strangers is awkward. Your heart beats faster, your palms get sweaty, and you feel like everyone is staring at you. They’re not, but the feeling is real.
How to Stay Discreet
The "I’m just looking at my camera" trick is a classic. After you take a photo, don’t immediately pull the camera away. Keep looking through the viewfinder as if you’re waiting for something else to happen. People will assume you’re just shooting the architecture behind them and that they just happened to be in the way.
The Smile and Nod
If someone catches you taking their photo, don’t look down like you’ve been caught stealing. Smile, give a friendly nod, and maybe even show them the photo. 99% of the time, a friendly vibe defuses any tension. If they look upset, just say, "Sorry, the light was just so perfect on you," and move on. You’ll find more tips on building your creative confidence over at PhotoGuides.org.
Step 4: Ethics and the Law
Before you go out and start snapping away, you need to know where you stand legally and ethically. While laws vary by country, in most places, if you’re in a public space, there’s no "expectation of privacy." This means you’re generally allowed to take photos.
The Unwritten Rules
Just because it’s legal doesn’t mean it’s cool. Avoid taking photos of people in vulnerable situations: homeless individuals, people in distress, or children without a parent's clear vibe of okayness. Street photography should celebrate humanity, not exploit it.
If you want to see how these ethical boundaries play out in high-end art, take a look at the curated collections on EdinFineArt.com. It’s a great way to see what "pro-level" street and travel photography looks like when done with respect.
Step 5: Editing on the Fly
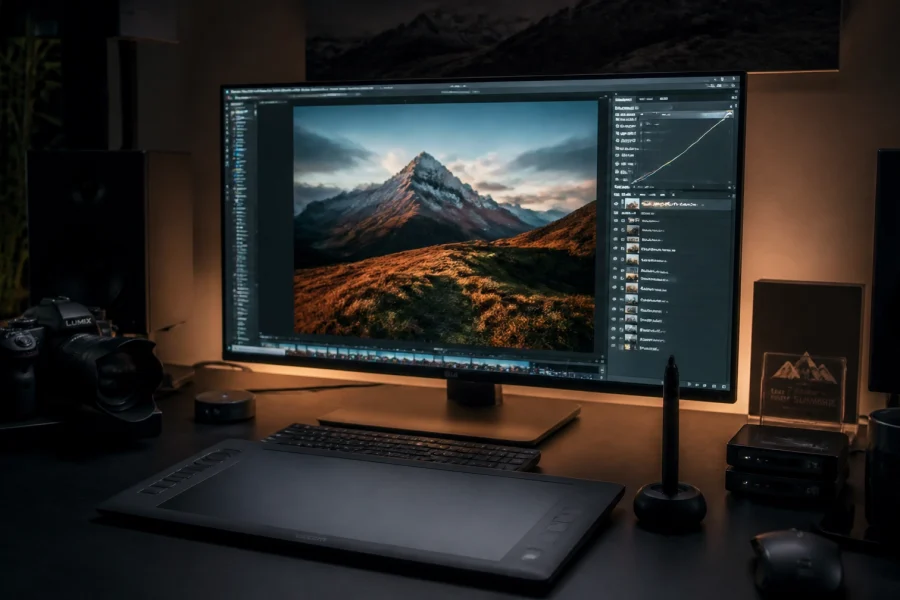
The "on the fly" part is where the magic happens. In 2026, you shouldn't have to wait until you get home to your desktop to see your results. You can edit a masterpiece while sitting on the subway or grabbing a coffee.
The Mobile Workflow
- Transfer Instantly: Use your camera’s built-in Wi-Fi or a lightning/USB-C card reader to get those RAW files onto your phone or tablet immediately.
- Cull the Junk: Be ruthless. If it’s blurry (and not in a cool way) or the composition is off, delete it. Only keep the winners.
- Use Pro Tools: Don't just slap an Instagram filter on it. For serious results, I highly recommend using Luminar. Their AI-driven tools are insane for street photography. You can enhance the sky, boost the "structure" of the city buildings, and fix lighting issues in seconds.
The 60-Second Edit Recipe
When editing on the fly with Luminar, follow this quick sequence:
- Crop for Impact: Remove the distracting trash can at the edge of the frame.
- Black & White Conversion: Street photography loves B&W. It strips away the distraction of color and focuses on the emotion and light.
- Contrast and Highlights: Crank the contrast and drop the highlights to give it that "gritty city" look.
- Relight: Use AI tools to subtly brighten your subject if they were caught in the shadows.
Why Editing Matters
Editing isn't "cheating." It's developing your digital film. It allows you to emphasize the story you saw in your head that the camera sensor might have missed. If you've already mastered the basics here, you might want to level up by reading our guide on how to master landscape photography, as many of those composition rules apply to the "urban landscape" as well.
Putting It All Together: Your 30-Minute Challenge
If you really want to master street photography, reading isn't enough. You need to get out there. Here is your homework for today:
- Go to the busiest street corner you know.
- Find a cool shadow or a reflection in a window.
- Wait 15 minutes for someone interesting to walk through it.
- Snap 5 photos.
- Sit down at a nearby bench, open Luminar on your phone, and edit your favorite one.
Street photography is about the journey, not just the destination. It’s about learning to see the beauty in the mundane. For more inspiration and deep dives into the world of photography, I always keep an eye on Edin Chavez’s personal blog, where he shares the stories behind his most iconic shots.
Final Thoughts
Mastering the street takes time, a lot of missed shots, and a few awkward encounters. But the first time you capture a perfect, unposed moment of human connection, you’ll be hooked for life. Keep your gear simple, your eyes open, and your Luminar app ready.
The world is full of stories: go out there and tell them.
Related Reading
- How to Choose the Best New Camera Gear
- Nikon Zf Settings for Portrait Photography
- The Art of Seeing: Street Photography Tips