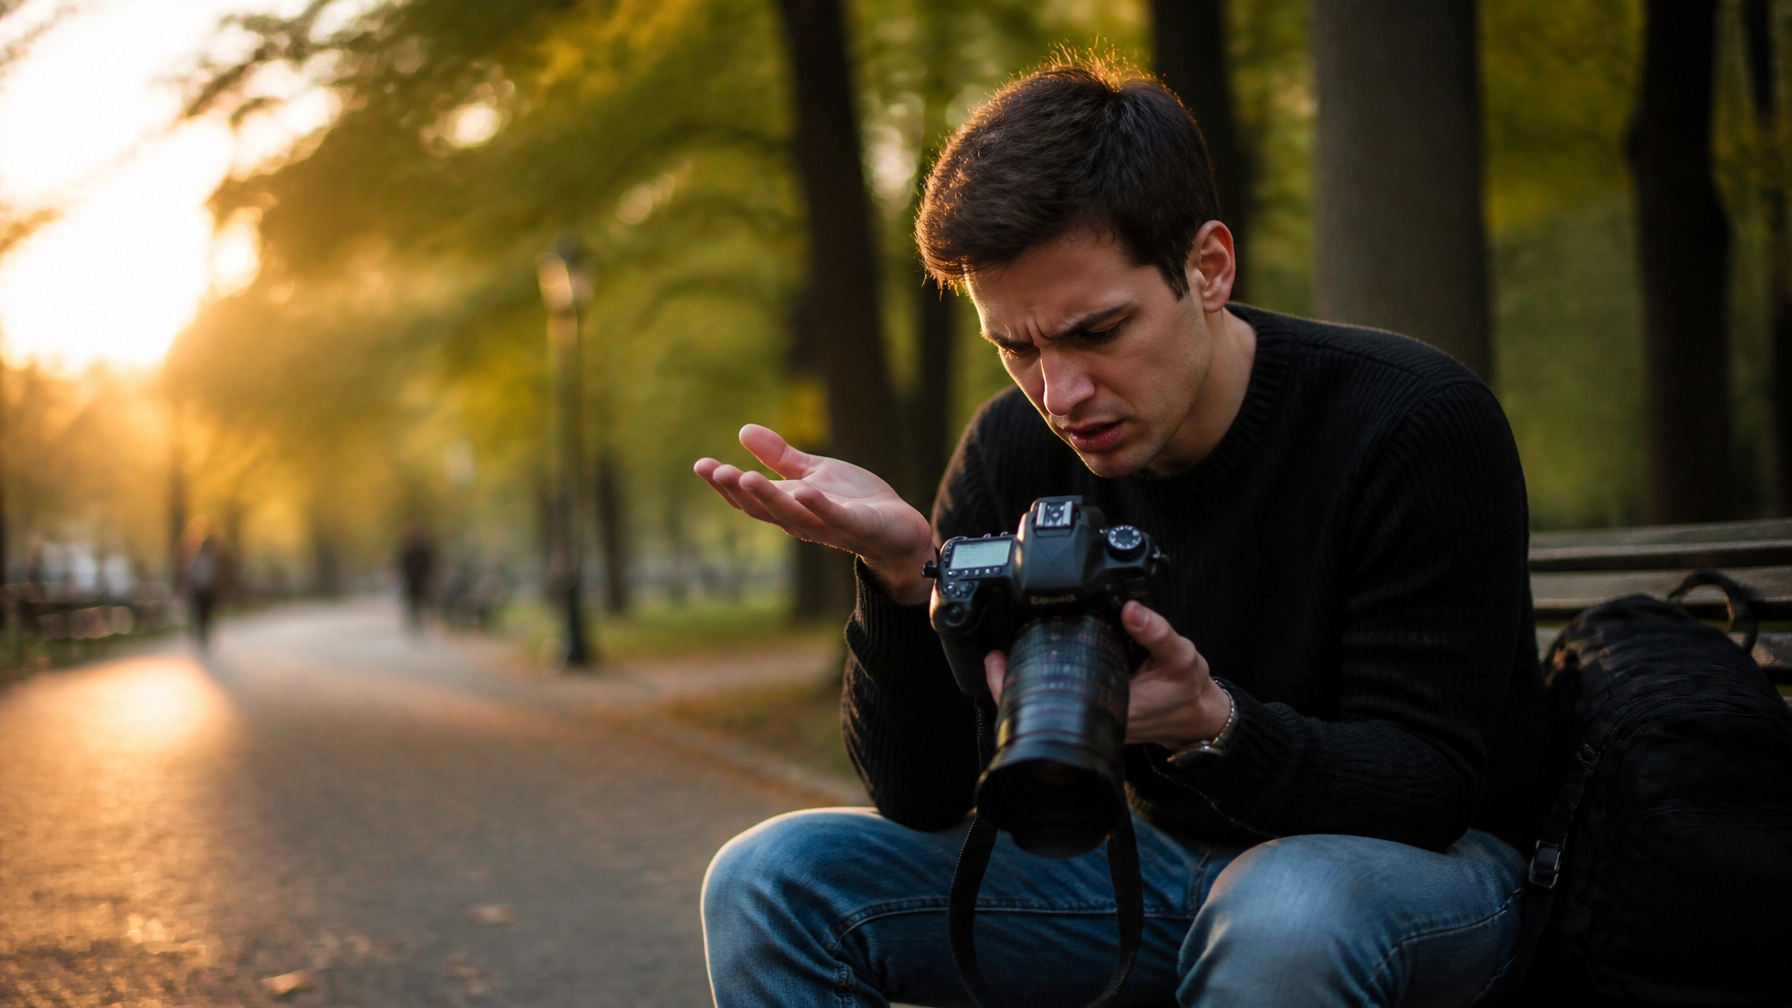
Switching your camera dial to that little "M" for the first time feels like a rite of passage. It’s the moment you stop being a casual snapper and start becoming a creator. But let’s be honest: that first week of shooting in Manual mode is usually a total disaster. You end up with photos that are either pitch black, "nuclear blast" white, or so blurry they look like abstract finger paintings.
If you’ve found yourself staring at your screen in frustration while a perfect sunset fades away, you aren't alone. Manual mode is a beast, and it’s a beast that likes to bite. Most photographers make the same handful of mistakes when they first take the training wheels off. The good news? These aren't character flaws: they’re just technical hiccups that are incredibly easy to fix once you know what to look for.
In this guide, we’re going to break down the 7 most common mistakes people make when shooting in Manual mode and give you the instant fixes to get your shots looking professional. Whether you're aiming for fine art prints for Edin Fine Art or just trying to get a sharp shot of your dog, these tips will save your sanity.
1. The Guessing Game: Ignoring the Internal Meter
One of the biggest mistakes beginners make is treating Manual mode like a guessing game. They dial in some settings, take a photo, look at the screen, realize it’s too dark, change a setting, and try again. This "spray and pray" method of exposure is the fastest way to miss a moment and drain your battery.
What Happens:
You spend more time looking at your LCD than at your subject. By the time you find the right settings, the light has changed or the "moment" has passed. You’re essentially playing "warmer/colder" with your camera’s electronics.
The Fix:
Trust the light meter inside your viewfinder. When you look through the glass (or at the EVF), you’ll see a little scale with a "0" in the middle and numbers like -2 and +2 on the sides. That is your camera telling you exactly what it thinks of your current settings.
- If the little tick mark is on the negative side, your photo will be underexposed.
- If it's on the positive side, it'll be overexposed.
- Aim for the "0" as a baseline.
If you want to dive deeper into the mechanics of this, check out our Easy Beginner's Guide to Manual Mode. Once you start using the meter before you press the shutter, you’ll find your hit rate skyrockets.

2. The ISO Hangover: Forgetting Your Daylight Settings
We’ve all been there. You were shooting a cool indoor event last night at ISO 3200. You wake up, head out into a bright, beautiful morning, and start shooting. Suddenly, every photo is a white rectangle of nothingness. You lower your aperture, you crank your shutter speed to 1/8000, and it’s still too bright.
What Happens:
This is the "ISO Hangover." ISO is the setting most photographers forget to reset because it’s often hidden in a menu or a secondary dial. High ISO in bright light ruins dynamic range and introduces unnecessary grain (noise).
The Fix:
Develop a "pre-flight" ritual. Every time you pull your camera out of the bag, check your ISO first. In bright daylight, you should almost always be at your camera's base ISO (usually 100 or 200). If you’re struggling with grainy images even in good light, you might need to clean up your files using a powerful editor like Luminar, which has incredible AI-powered noise reduction tools.
For more technical breakdowns on sensor performance, PhotoGuides.org has some great resources on why base ISO is your best friend for image quality.
3. The Shutter Speed Shakes: The 1/Focal Length Rule
You think your focus is off, but it’s actually your hands. One of the most common Manual mode mistakes is setting a shutter speed that is too slow for the lens you are using. You might think 1/60th of a second is fast, but if you’re zoomed in at 200mm, that 1/60th is going to look like a blurry mess.
What Happens:
Your photos look "soft." They aren't necessarily out of focus, but there is a micro-blur across the entire image. This is called camera shake.
The Fix:
Memorize the Reciprocal Rule. As a general rule of thumb, your shutter speed should be at least "1 over the focal length" of your lens.
- Shooting with a 50mm lens? Use at least 1/50s.
- Shooting with a 200mm lens? Use at least 1/200s.
If you have shaky hands or a high-resolution sensor, double it. I rarely shoot handheld below 1/125s regardless of the lens, just to be safe. If you need to go slower for artistic reasons, grab a tripod. If you're serious about mastering these technical nuances, I highly recommend checking out the courses over at Shut Your Aperture Learn.

4. Trusting the "Lying" LCD
Your camera's back screen is a liar. It’s designed to make your photos look good, not accurate. If you’re in a dark environment, the screen glows brightly, making you think your photo is perfectly exposed when it’s actually two stops underexposed. Conversely, in bright sunlight, the screen looks dim, leading you to overexpose your shots.
What Happens:
You get home, put the photos on your computer, and realize they look nothing like they did on the back of the camera. You’ve lost detail in the shadows or blown out the highlights in the sky.
The Fix:
Stop looking at the picture and start looking at the Histogram. The histogram is a mathematical graph of your exposure.
- If the "mountain" is bunched up against the left side, you’re losing detail in the blacks (underexposed).
- If it’s bunched up against the right side, you’re "clipping" your highlights (overexposed).
- Ideally, you want a nice hump in the middle.
Learning to read a histogram is the single most important skill for a Manual mode photographer. It’s the only way to know for sure that your data is safe. For more on the art of perfect exposure, Edin shares some great "behind the scenes" insights on his personal blog at blog.edinchavez.com.

5. The "Wide Open" Obsession: f/1.8 Isn't Always the Answer
We get it. You bought that 50mm f/1.8 specifically so you could get those buttery, blurry backgrounds (bokeh). But just because your lens can go to f/1.8 doesn't mean it should for every single shot.
What Happens:
You take a portrait, and the person’s eyelash is in focus, but their eyeball is blurry. Or you take a group photo, and the person in the front is sharp while everyone else looks like they’re in a different dimension. Shooting wide open creates a razor-thin depth of field that is very unforgiving.
The Fix:
Stop down. If you’re shooting a portrait, try f/2.8 or f/4. You’ll still get a blurry background, but you’ll actually have the person’s entire face in focus. If you’re shooting a landscape, move toward f/8 or f/11 to ensure sharpness from the foreground to the horizon.
Most lenses are also not at their sharpest when wide open. By stopping down just one or two clicks, you’ll notice a massive jump in clarity and contrast. Check out some of the crisp details in the professional work at Edin Fine Art to see how a controlled depth of field makes a difference.

6. The White Balance Sabotage
You’ve mastered the exposure triangle (Aperture, Shutter Speed, ISO), but your photos still look "off." Maybe the skin tones look like the person has a bad fake tan, or the snow looks blue. This is a White Balance issue.
What Happens:
Even in Manual mode, many photographers leave their White Balance on "Auto." The problem is that the camera's brain can get confused by mixed lighting (like a room with both orange lamps and blue window light). The camera tries to guess, but it often guesses wrong, leading to inconsistent colors across a single shoot.
The Fix:
Take control of your color. If you’re outdoors, set it to "Daylight." If you're under office lights, set it to "Fluorescent." By locking in your White Balance, you ensure that every photo in that environment has the exact same color profile. This makes editing a breeze later on.
If you do mess up the color in-camera, don't panic. Software like Luminar allows you to adjust the temperature and tint with a single click, especially if you followed the next tip…
7. The JPEG Straightjacket: Not Shooting RAW
This is perhaps the most "expensive" mistake you can make. Shooting in Manual mode means you are taking responsibility for the exposure. But what happens when you get it wrong? If you are shooting in JPEG, your camera is throwing away about 80% of the data the sensor captured.
What Happens:
You try to brighten a dark photo in editing, and the image falls apart. It becomes blocky, noisy, and weirdly colored. You have almost no "latitude" to fix your mistakes.
The Fix:
Switch to RAW. RAW files are the digital equivalent of a film negative. They contain all the raw data the sensor recorded. If you accidentally underexpose a shot by two stops, a RAW file can usually be "saved" in post-processing with zero loss in quality.
Manual mode is all about control, and shooting RAW gives you the ultimate control over the final image. If you’re worried about file size, don't be. Storage is cheap; lost memories are expensive. For a deeper look at why RAW is the industry standard, head over to PhotoGuides.org.
Bonus Tip: Knowing When to "Cheat"
Manual mode is great, but it’s not a religion. There are times when full Manual is actually a hindrance. If you’re shooting a wedding or a street scene where the light is changing every two seconds, trying to adjust three dials manually will make you miss the shot.
The Fix:
Use Aperture Priority (A or Av). In this mode, you choose the Aperture (to control depth of field) and the ISO, and the camera automatically picks the Shutter Speed. It’s like "Manual-Lite." It gives you the creative control you want with a safety net for speed.
Most professionals use Aperture Priority for 80% of their work and only switch to full Manual when the light is consistent or they are doing long exposures on a tripod.
Putting It All Together
Mastering Manual mode isn't about being a technical genius; it’s about building muscle memory. You have to get to the point where your fingers know where the dials are without you having to look.
Start by fixing one mistake at a time. This weekend, go out and focus purely on your Histogram. Forget everything else. Next weekend, focus on the Reciprocal Rule for shutter speed. Slowly, these "fixes" will become your natural way of shooting.
If you’re feeling overwhelmed, that’s totally normal. Photography is a journey of a thousand blurry photos. If you want a structured path to get better faster, our community at Shut Your Aperture Learn is designed for people exactly where you are right now. We take the mystery out of the gear and focus on the art.
Now, grab your camera, check that ISO, and go shoot something awesome.