
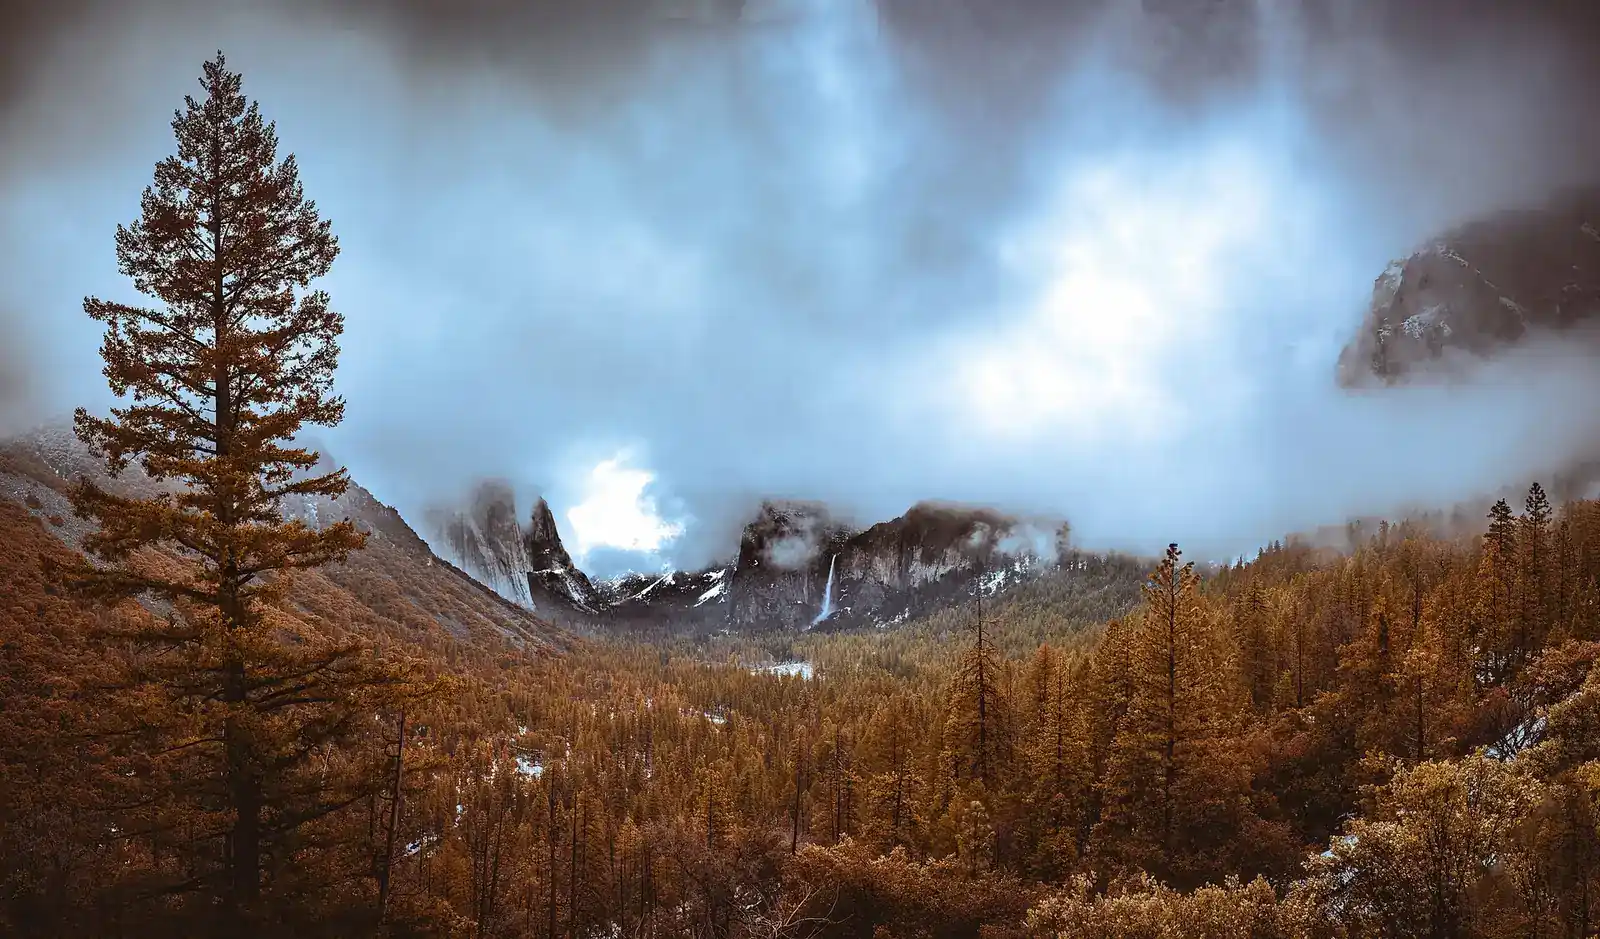
Tunnel View is the first overlook you see when emerging from the Wawona Tunnel entering Yosemite Valley from the south. El Capitan frames the left, Bridalveil Fall the right, and Half Dome anchors the center background — a composition that Ansel Adams photographed repeatedly and that remains one of the most reproduced landscape views in American photography. The light and weather make every visit different.
Best Time to Shoot
Sunrise is the main event: the valley floor fills with fog in spring and fall, creating a sea-of-clouds effect with El Capitan and Half Dome rising above. Storm clearing light — right after rain or snow when clouds break — produces the most dramatic images. Summer sunsets work from this west-facing overlook. Avoid flat midday light entirely. For practitioners, see our breakdown of travel photography composition. For practitioners, see our breakdown of narrow aperture for sunstars. For practitioners, see our breakdown of 30-second blue-hour exposure.
How to Get There
Tunnel View is at the east end of the Wawona Tunnel on Wawona Road inside the park. A large pull-off with parking is available but it fills before sunrise on clear mornings. Arrive 45 minutes early. No additional fee beyond park entry. No permit needed for this overlook.
Camera Settings
16-24mm captures the full valley frame. Use f/11 for maximum depth of field. At sunrise, expose for the lit valley walls and let the sky blow slightly — or bracket and blend. Fog conditions: overexpose by +0.7 stops from meter reading to preserve cloud texture. A 3-stop ND grad helps when the sky is significantly brighter than the valley floor.
Recommended Gear for This Spot
Common Mistakes
- Arriving at exactly sunrise: you need to be parked and in position 30-45 minutes prior.
- Shooting only the wide establishing composition — zoom to 50-70mm for a tighter shot of Half Dome framed between El Cap and Bridalveil.
- Over-processing the fog: Valley fog has subtle tonal gradation that heavy clarity sliders destroy.
- Forgetting that winter visits require tire chains — check the Yosemite road conditions hotline before driving.
Yosemite photo workshops time arrival at Tunnel View specifically around fog forecasts — a local guide often knows two days in advance when conditions will be exceptional. Browse Tunnel View photography tours to find options that fit your schedule.
For more location guides like this, see the Landscape Photography Guide on Shut Your Aperture. Browse all spots on the USA CA photo spots hub.
What to Pack
A focused landscape kit handles every shot at Tunnel View without breaking your back. Here is the working photographer's pack list — every link goes to B&H Photo Video (our primary supplier) or Amazon (for accessories and same-day delivery in the US).
| What & Why | B&H | Amazon |
|---|---|---|
Wide-angle zoom (14-35mm range) The single most important lens for sweeping vistas. Pair with a circular polarizer for skies and water. | Shop B&H → | Shop Amazon → |
Sturdy travel tripod Carbon fiber, packs to 15 inches, holds steady in wind off the coast. Essential for blue-hour and long-exposure work. | Shop B&H → | Shop Amazon → |
Circular polarizer (77mm or 82mm) Cuts haze, deepens sky, reveals texture in water. Non-negotiable for landscape work. | Shop B&H → | Shop Amazon → |
10-stop ND filter For 30-second exposures that turn moving water and clouds into silk. | Shop B&H → | Shop Amazon → |
Extra batteries (3 minimum) Cold weather and long exposures eat batteries. Carry triple what you think you need. | Shop B&H → | Shop Amazon → |
Fast SD/CFexpress cards V90 or CFexpress depending on your body. Two cards minimum so a failure mid-trip is recoverable. | Shop B&H → | Shop Amazon → |
Microfiber lens cloths Salt spray, mist, and dust will ruin every shot if you don't carry a cloth. | Shop B&H → | Shop Amazon → |
B&H and Amazon links are affiliate links. We earn a small commission on purchases at no extra cost to you. We only recommend gear we use or would buy ourselves.