
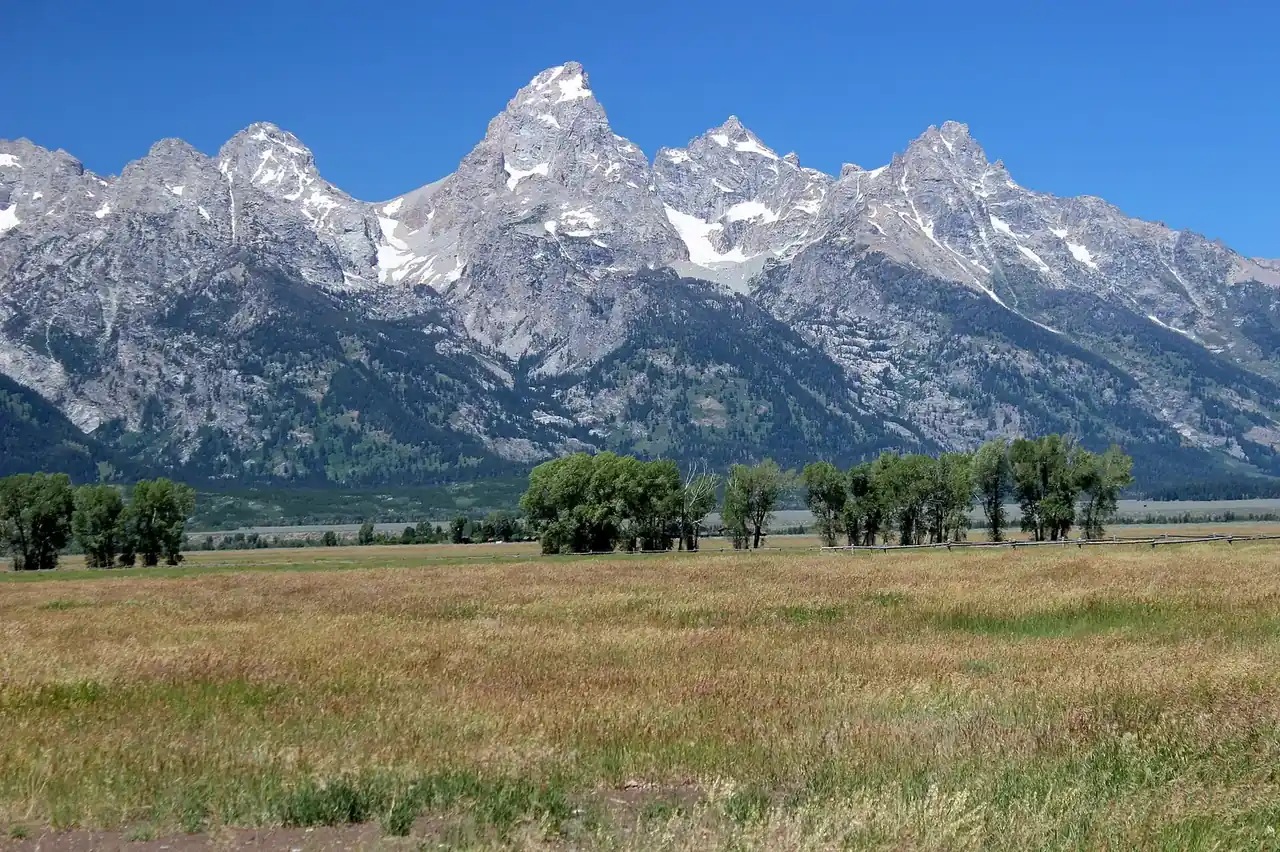
Mormon Row is a stretch of historic homestead farms along Antelope Flats Road in Grand Teton National Park. The Moulton barns — two weathered wooden structures with the Teton Range rising directly behind them — are among the most photographed structures in the American West. What makes them work photographically is the unobstructed sagebrush flat between the barn and the mountains, which telephoto lenses compress into striking layered images.
Best Time to Shoot
Sunrise is the main event: the Tetons catch pink and orange alpenglow while the barns are still in pre-dawn blue shadow. The contrast between warm mountains and cool barns is the shot. Late May and early June bring lupine and wildflowers to the flats. Fall adds golden sage color. Avoid midday entirely. For practitioners, see our breakdown of shutter for wedding flash. For practitioners, see our breakdown of ISO and color saturation. For practitioners, see our breakdown of f-stop math for shooters.
How to Get There
From Moose, drive north on Teton Park Road 4 miles and turn east on Antelope Flats Road. The barns are 1.5 miles east. Free parking on the road shoulder near the barns. Inside the national park — standard entry fee applies.
Camera Settings
70-200mm compresses the barn against the mountains — this is not a wide-angle shot. At sunrise, f/8-f/11, ISO 100-400. The sky behind the Tetons brightens fast; shoot across the full sunrise window. A teleconverter pushing to 300-400mm adds even more compression if you want just barn-and-mountain filling the frame.
Recommended Gear for This Spot
Common Mistakes
- Using a wide-angle lens: at 16-24mm the mountains appear small and distant.
- Leaving before alpenglow ends — the pink fades through orange to yellow and each stage is a distinct shot.
- Photographing only the T.A. Moulton barn: the John Moulton barn to the south gives a different peak alignment worth shooting.
- Visiting in July without checking for bison: a herd can block the road for 30 minutes.
A Teton landscape workshop sequences Mormon Row with Schwabacher Landing in one morning, timing the barn for alpenglow and the ponds for reflections before the wind picks up. Browse Mormon Row photography tours to find options that fit your schedule.
For more location guides like this, see the Landscape Photography Guide on Shut Your Aperture. Browse all spots on the USA WY photo spots hub.
What to Pack
A focused landscape kit handles every shot at Mormon Row without breaking your back. Here is the working photographer's pack list — every link goes to B&H Photo Video (our primary supplier) or Amazon (for accessories and same-day delivery in the US).
| What & Why | B&H | Amazon |
|---|---|---|
Wide-angle zoom (14-35mm range) The single most important lens for sweeping vistas. Pair with a circular polarizer for skies and water. | Shop B&H → | Shop Amazon → |
Sturdy travel tripod Carbon fiber, packs to 15 inches, holds steady in wind off the coast. Essential for blue-hour and long-exposure work. | Shop B&H → | Shop Amazon → |
Circular polarizer (77mm or 82mm) Cuts haze, deepens sky, reveals texture in water. Non-negotiable for landscape work. | Shop B&H → | Shop Amazon → |
10-stop ND filter For 30-second exposures that turn moving water and clouds into silk. | Shop B&H → | Shop Amazon → |
Extra batteries (3 minimum) Cold weather and long exposures eat batteries. Carry triple what you think you need. | Shop B&H → | Shop Amazon → |
Fast SD/CFexpress cards V90 or CFexpress depending on your body. Two cards minimum so a failure mid-trip is recoverable. | Shop B&H → | Shop Amazon → |
Microfiber lens cloths Salt spray, mist, and dust will ruin every shot if you don't carry a cloth. | Shop B&H → | Shop Amazon → |
B&H and Amazon links are affiliate links. We earn a small commission on purchases at no extra cost to you. We only recommend gear we use or would buy ourselves.