Working with Photoshop offers endless possibilities to enhance and transform images into stunning pieces of art. Among these powerful tools, Photoshop brushes stand out as versatile allies in achieving various artistic effects. This article will guide you through the process of utilizing Photoshop brushes to create vintage skies, a technique that breathes life and nostalgia into modern images. By exploring the selection and application of brushes, alongside tips for achieving that desired old-world charm, we will unlock the potential of Photoshop to transport viewers to a different time through captivating vintage skies.
Understanding Photoshop Brushes
### How to Utilize Photoshop Brushes for Creating Vintage Skies
Creating vintage skies in Adobe Photoshop is simpler than you might think, thanks to the versatility of Photoshop brushes. Here’s how you can transform a bland sky into a work of art reminiscent of days gone by.
Step 1: Choose Your Sky
Open the image you’re working on in Photoshop. If you’re only focusing on the sky, it’s best to use a photo where the sky occupies a significant portion of the frame. This gives you ample space to work with.
Step 2: Select the Right Brushes
Photoshop comes equipped with a variety of brushes, but not all of them are suited for creating a vintage sky. Look for brushes that mimic natural sky phenomena—cloud brushes are particularly useful. You can find these pre-installed or download them from reputable sources online. Ensure your chosen brushes have a soft, feathered edge to blend seamlessly into your sky.
Step 3: Create a New Layer
Before you start painting, create a new layer. This is crucial as it allows you to work non-destructively. You can add your brush strokes to this layer without permanently altering the original image. To do this, go to the ‘Layers’ panel, click the ‘New Layer’ button, and give it a name like “Vintage Sky.”
Step 4: Adjust Brush Settings
After selecting your cloud brush, go to the brush settings to adjust the size and opacity. For a vintage look, you want the brush size to be large enough to create broad, sweeping strokes. Reduce the brush’s opacity to around 50-70%, so the clouds appear soft and slightly faded, contributing to the old-time atmosphere.
Step 5: Pick Your Colors
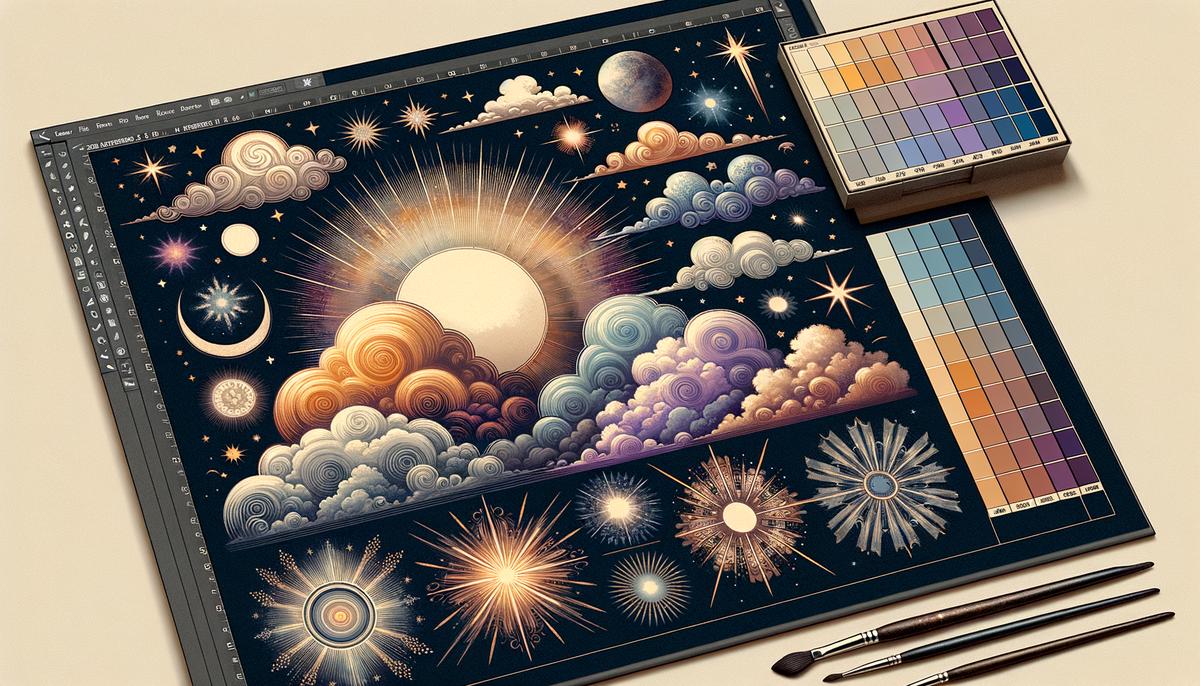
Vintage skies often feature muted tones. Pick a color palette that reflects this—soft pinks, warm oranges, or gentle blues work well. Remember, you’re not just limited to one color; skies are rarely monochromatic. Use a combination of shades by changing colors as you go along to add depth and realism.
Step 6: Start Painting
With your brush and colors ready, begin painting on your new layer. Use broad, sweeping motions to mimic the natural flow of clouds. Don’t worry about making it perfect; part of the charm of vintage skies is their perceived imperfection and natural variation.
Step 7: Blend and Adjust
After painting your vintage sky, you might find some areas too bright or too noticeable. Use the ‘Eraser’ tool with a soft brush and low opacity to gently blend these areas into the background sky. Furthermore, adjusting the overall layer opacity can help the new sky integrate more naturally with your image.
Step 8: Apply a Photo Filter
For a final touch, consider adding a photo filter to the entire image to unify the vintage aesthetic. Go to ‘Image’ > ‘Adjustments’ > ‘Photo Filter’ and select a warming filter or one that complements your chosen color palette. Adjust the density to your liking.
Through these steps, you can effectively utilize Photoshop brushes to transform a modern sky into a beautiful, vintage masterpiece. Experiment with different brushes, colors, and blending techniques to achieve the perfect old-world atmosphere for your images.
 Save
SaveSourcing and Importing Vintage Brushes
Step 9: Importing Vintage Sky Brushes into Photoshop
Finding and importing vintage sky brushes into Photoshop adds a distinctive flair to your project, enabling you to infuse a touch of nostalgia or timeless elegance. To proceed with this creative endeavor, we’ll explore where to discover these vintage brushes and how to incorporate them into your Photoshop toolkit.
Where to Find Vintage Sky BrushesVintage sky brushes are not commonly found in the default brush library within Photoshop, necessitating a search on third-party websites or digital marketplaces. Here are reliable sources to start your hunt:
- Brusheezy: A treasure trove for Photoshop enthusiasts, Brusheezy offers a vast collection of free and premium brushes, including vintage sky options. Utilize the search functionality and type in “vintage sky brushes” to narrow down the choices.
- DeviantArt: Known for its vibrant art community, DeviantArt hosts a multitude of user-generated content, including custom Photoshop brushes. After creating an account, use the search bar to look for vintage sky brushes, ensuring to check the license for personal or commercial use.
- Creative Market: This platform caters to professional designers by providing high-quality, premium design assets. Search for “vintage sky brushes” to find unique sets that might require purchase.
Remember, when selecting brushes, pay attention to the compatibility with your version of Photoshop and any usage restrictions the creator might have indicated.
How to Import Brushes into PhotoshopOnce you’ve found your desired vintage sky brushes, downloading and importing them into Photoshop is straightforward. Follow these steps for a seamless process:
Step A: Download the Brushes- – Navigate to the brush set you wish to download.
- – Click the download button/link provided on the page.
- – Save the file, which typically comes in a .abr format, to a location on your computer where it can be easily accessed.
- – Open Photoshop. Ensure you’re using a version that supports the brushes you’ve downloaded.
- – Navigate to the Brushes Panel by selecting Window > Brushes from the top menu.
- – In the Brushes Panel, click on the icon in the top right corner to reveal the menu.
- – Choose “Import Brushes” from the dropdown menu.
- – Locate the .abr file you downloaded earlier and select it. Click “Open.”
- – The vintage sky brushes will now appear in your Brushes Panel, ready to be used in your project.
Utilizing Your Vintage Sky Brushes
With your vintage sky brushes imported, you’re set to enhance your designs with a retro ambiance. Remember, experimentation is key. Adjust brush settings, experiment with opacity, and layer different brushes to achieve your desired effect. Whether you’re aiming for a whimsical sky filled with fluffy, aged clouds or a dramatic sunset from a bygone era, these brushes serve as tools to realize your artistic vision.
In conclusion, the seamless integration of vintage sky brushes into Adobe Photoshop significantly expands your creative palette. By exploring reputable sources and following the import process, you’re well-equipped to deliver projects with a distinctive, vintage sky motif. Remember to continually explore and experiment with these brushes, as they can transform the mood and aesthetic of your designs, bridging the past and present in your digital creations.
 Save
SaveLayering and Color Techniques
Continuing from where we left off, after applying a photo filter to enhance the colors of your vintage brushwork, it’s crucial to delve deeper into the nuances of layering and color adjustments to achieve a harmonious and aesthetically pleasing result. Our focus will now shift towards refining our digital canvas further, ensuring every brushstroke contributes to the overarching vintage ambiance we aim to embody.
Step 9: Utilize Layer Modes for Depth
Layer modes in Photoshop can drastically alter the interaction between the layers of your artwork, especially when using vintage brushes. To add complexity and depth to your piece, experiment with different layer modes such as “Multiply” for darkening elements, or “Screen” to lighten areas. These modes can simulate the effects of vintage film or aged paper, reinforcing the thematic integrity of your work.
- Select your painted layer.
- Click the ‘Blend Mode’ dropdown menu in the Layers panel.
- Hover over options to preview their effects and select the one that best suits your vision.
Step 10: Color Balance for Authenticity
Authentic vintage imagery often possesses a distinctive color palette, characterized by warm sepia tones or the faded hues of old Polaroids. Achieving this in your digital art requires careful adjustments to the color balance.
Navigate to Image > Adjustments > Color Balance.- Shift the color sliders between shadows, midtones, and highlights to introduce and balance vintage colors. Aim for warmer tones (reds and yellows) to mimic the aging process of photographs.
Step 11: Add Textures for Tactility
Textures can significantly enhance the vintage feel by adding a layer of physicality to your digital artwork. Consider incorporating textures such as grain, dust, or scratches to simulate the wear that time imparts on physical media.
- Place a texture file above your artwork in the layers panel.
- Resize to cover your canvas adequately.
- Change the layer mode to something like “Overlay” or “Soft Light” to blend the texture with your artwork. Adjust the opacity to achieve the desired level of effect.
Step 12: Fine-tune with Adjustment Layers
To ensure that every element of your composition harmoniously resonates with the vintage theme, utilize adjustment layers for final tweaks. These adjustments allow for non-destructive edits that can be easily modified or removed without affecting the underlying work.
- Click the ‘New Adjustment Layer’ icon at the bottom of the Layers panel.
- Select an adjustment type, such as Brightness/Contrast or Hue/Saturation.
- Adjust the properties to fine-tune the overall mood. For instance, decreasing saturation slightly can enhance the vintage effect.
Additional Tips:
- Experimentation Is Key: The beauty of digital art lies in its flexibility. Don’t hesitate to experiment with various brushes, layer modes, and adjustment settings to discover unique combinations that speak to your artistic vision.
- Study Vintage Imagery: To truly capture the essence of vintage aesthetics, immerse yourself in studying actual vintage photography and artwork. Note the common color schemes, textures, and subject matter that define the era you wish to emulate.
- Remember Historical Context: Different decades and centuries have distinct styles. Ensure your color choices and textures align with the specific period you’re aiming to represent.
By adhering to these steps and embracing the iterative process of adjustments, your use of vintage brushes will not only create visually striking art but also pay homage to the rich textures and colors of bygone eras. The convergence of modern digital tools with the nostalgic allure of the past paves the way for creating captivating artwork that bridges time.
 Save
SaveWith each stroke of your Photoshop brush, you’re not just adding color and texture to your images; you’re invoking the essence of a bygone era. The magic of creating vintage skies goes beyond mere aesthetics; it is about weaving a sense of nostalgia and timelessness into your artwork. By carefully selecting your brushes, adjusting their settings, and employing layering techniques with a sensitive touch, you empower your creations to tell stories that resonate with depth and history. The journey from a modern sky to a vintage masterpiece is not just about changing visuals, but about enriching perceptions and evoking emotions that transcend the bounds of time.


