Updated October 2026
A dramatic oceanscape starts in the camera and finishes in Lightroom. The idea is simple: expose the scene on the dark side to protect the colors in the sky, then use small, targeted adjustments to bring the mood back. This guide walks through the full process on one sunset pier photo, step by step, so you can follow the same method on your own seascapes.
The photo we are editing
Here is the original frame straight from the camera. It was shot at sunset with a slow shutter speed, so the clouds and water are softened by motion, and it was exposed on the dark side on purpose. The sky holds its color, but the scene looks flat and very dim.
 Save
SaveBelow is a before and after comparison. The left side shows the edited version, with deeper blues and a warm glow near the horizon, and the right side shows the original.
 Save
SaveWhy shoot dark?
Sunsets have a large range between the bright sky near the sun and the dark water and land. If you expose for the shadows, the sky blows out and the color is gone for good. If you expose for the sky, the shadows go dark, but a RAW file still holds a lot of information in them. Dark exposures keep the colors rich and the mood heavy. Then in editing you decide how much of the shadow detail to bring back. Check the histogram when you shoot, and keep the right edge from touching the end. Our post on why you should shoot RAW explains why this approach only works with RAW files.
Step 1: Start with the basics
Open the photo in the Develop module and look at the Basic panel.
- White balance. Decide on the mood. A slightly cooler temperature keeps the twilight feeling, and a warmer one enhances the orange near the horizon. Our guide on how to fix white balance explains how to choose.
- Exposure. Raise it a little, but not so much that the sky loses its richness. A small lift, about one third to two thirds of a stop, is often enough for a very dark frame.
- Contrast. Add a small amount to give the clouds structure.
- Highlights. Lower them to keep the bright area near the sun from looking harsh.
- Shadows. Raise them to open the water and the pier. Go slowly, because lifting shadows too far adds noise and a flat, hazy look.
- Whites and blacks. Set the white point so the brightest part of the sky is bright but not clipped, and keep the blacks deep so the silhouette stays strong.
Step 2: Add depth with the tone curve
The Tone Curve gives you smoother contrast than the contrast slider. Make a gentle S shape: pull the lower part of the curve down a little to deepen the darks, and lift the upper part slightly to brighten the lights. Keep the curve smooth, and watch the sky for harsh bands.
Step 3: Work on color
This is where the dramatic feel comes together.
- Vibrance first. Raise it to bring up the muted colors without oversaturating the ones that are already strong.
- HSL or Color Mixer. Select the orange and yellow tones and raise their saturation and luminance a little to make the glow near the horizon richer. Select the blue and aqua tones and lower their luminance to deepen the sky.
- Color grading. Add a touch of warm color to the highlights and a cool teal or blue to the shadows. This classic split gives sunsets depth and cinematic contrast. In older versions this is the Split Toning panel.
For a deeper explanation of how warm and cool tones work together, see the Color Theory course in the Academy.
Step 4: Use local adjustments
Local adjustments are the finishing touch. They let you change one part of the photo without touching the rest. Use a few sliders at a time and keep every change small.
Graduated filter on the sky
Drag a graduated filter from the top of the frame down toward the horizon. Lower the exposure slightly and the highlights, add a little contrast and use a touch of blue in the color to deepen the upper sky. This gives the clouds weight.
Radial filter on the glow
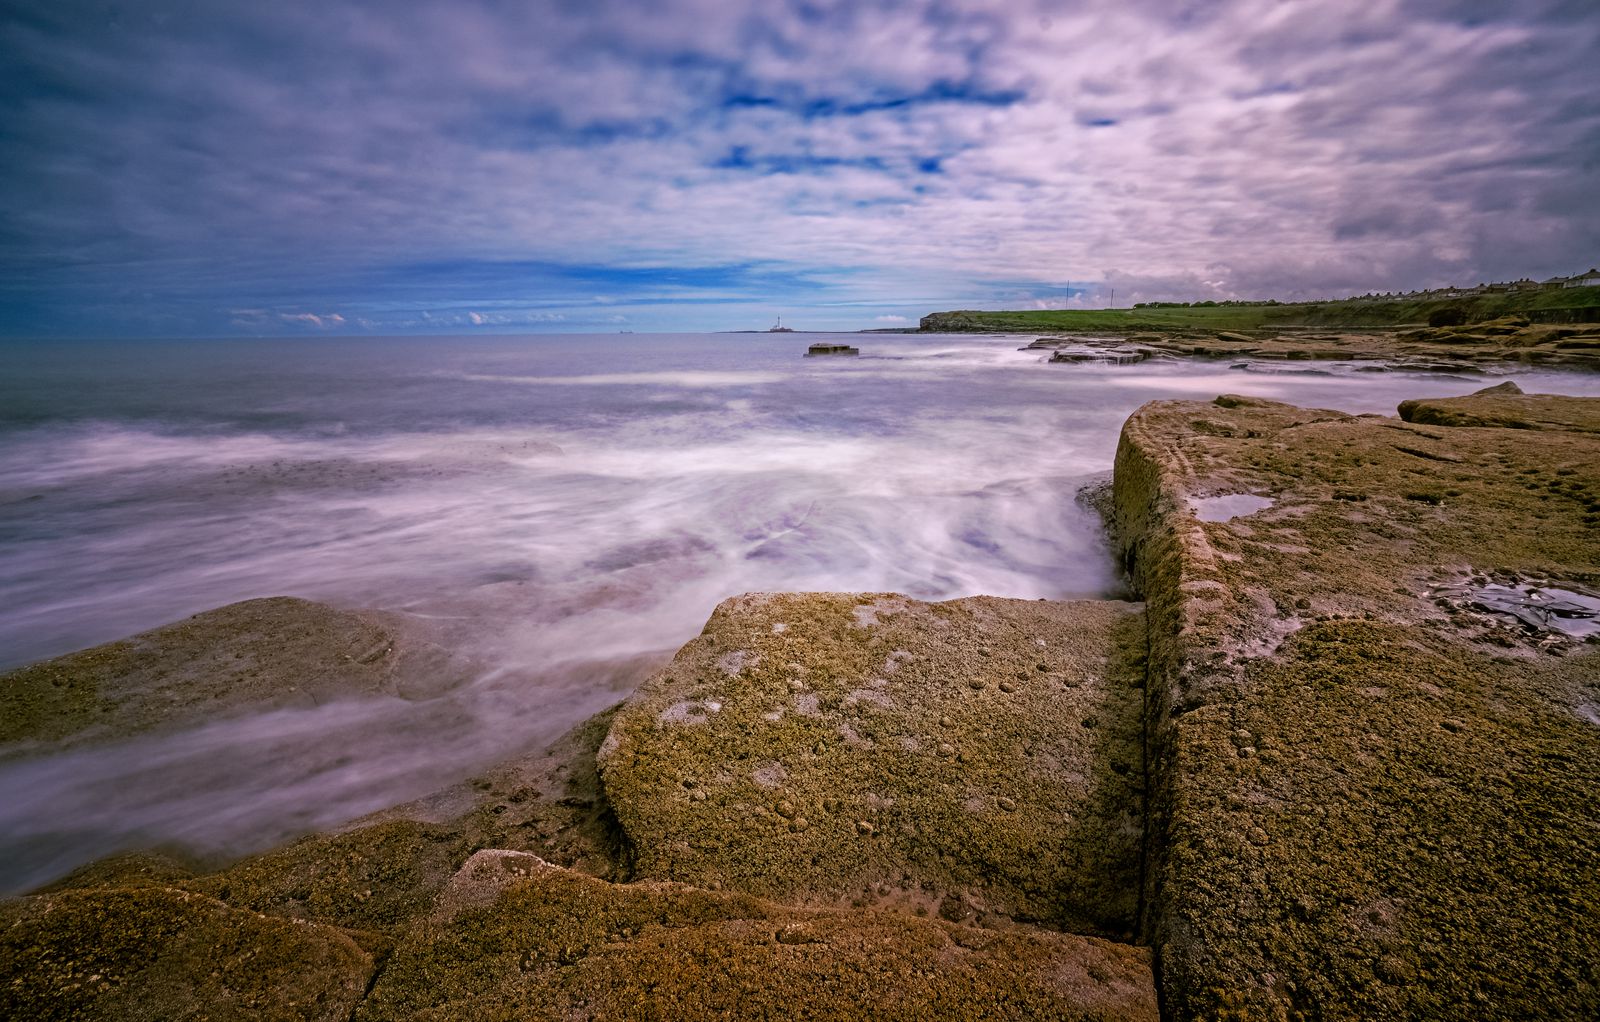
Place a radial filter over the brightest part of the horizon. Raise the exposure a little, add warmth and a small saturation boost. This draws the eye to the light, which is what you want in a sunset.
 Save
SaveBrush on the water
Use a brush on the water just below the glow to lift the reflection of the orange light. Use a soft brush with a low flow, and increase the exposure and warmth a bit. This links the sky and the water.
Darken the edges
A subtle vignette or a reverse radial filter can pull the eye inward. Use it sparingly, so it does not look obvious.
Step 5: Detail, noise and finishing
- Noise reduction. A dark frame lifted in editing will show noise in the shadows. Increase luminance noise reduction until the water looks smooth, and check at 100% zoom.
- Sharpening. Apply moderate sharpening, and use the masking slider so it only sharpens edges, such as the pier.
- Straighten the horizon. Use the crop tool to level it.
- Remove distractions. Use the spot removal tool to clean up dust or small objects.
The big idea: small moves add up
The main takeaway from this edit is restraint. By shooting a dark, moody frame, then making small adjustments across several sliders, you can bring out more color while keeping the scene dramatic, just as it was intended. No single slider makes the photo. Together, they do. If you push any one of them too far, the picture starts to look fake, so move gently, step away from the screen and look again.
A quick before-you-export checklist
- Zoom to 100% and check the pier and the horizon for halos around the edges, which come from heavy shadow or highlight sliders.
- Toggle the before and after view, and make sure the edit still looks like the scene you remember.
- Check the sky for banding, which shows up as visible steps in smooth gradients. If you see it, lower contrast or clarity in that area.
- Look at the histogram. The darks should sit near the left without piling up, and the highlights should stop short of the right edge.
- Copy the settings, and see if they work on other frames from the same sunset. Many images from one scene need only a small change to white balance and exposure.
Make it your own style
The steps above are a starting recipe, not a formula. Some photographers prefer cooler, bluer oceanscapes, and others like heavy orange. Try a few versions using virtual copies in Lightroom, and compare them side by side. Save the settings you like as a preset, so you can apply the same base look to future sunsets and then fine-tune each photo. Over time you will build a consistent style, and your edits will get faster.
Export for the web and for print
When you are happy with the edit, export a JPEG for sharing. Choose the sRGB color space for web use, a quality of about 80 to 90, and resize the long edge to around 2,000 pixels for blog posts. Add light output sharpening for screen. For print, export at full resolution, and check with your print lab for their preferred color profile. Dark images can print darker than they look on screen, so a soft proof or a small test print is worth it before you order a large one.
Shooting the ocean: the basics
Ocean photography takes patience and a bit of luck. A few habits improve your odds.
- Use a tripod. Slow shutter speeds are the key to the soft, moody look.
- Slow the shutter. A shutter speed of 1 to 10 seconds smooths waves and softens moving clouds. In bright light, use an ND filter. The shutter speed course in the Academy explains how it works.
- Choose a strong foreground. A pier, rocks, a groyne or a line of wet sand gives the eye a path.
- Shoot at different times. The light changes every few minutes around sunset, and the best color often comes after the sun has dropped.
- Protect the lens. Salt spray fogs glass. Carry a cloth and wipe it often.
- Keep ISO low. It keeps the shadows cleaner when you lift them later.
For more on planning the shoot, see our guide on how to shoot the perfect sunset.
Why local adjustments beat global ones for seascapes
A sunset has several zones: a dark upper sky, a bright horizon, a mid-tone sea and a silhouetted foreground. Each zone needs different treatment. A global slider changes all of them at once, so lifting the shadows to open the water also flattens the sky, and deepening the sky also crushes the pier. Local tools solve this problem. You darken and cool the top of the sky, warm and lift the horizon, open the water slightly, and leave the silhouette alone. The result is a photo with separation between each layer, and that separation is a large part of what viewers read as drama.
Build the edit in layers and look at each one separately. Apply the graduated filter, turn it on and off, and ask if it helped. Do the same with the radial filter and the brush. If a layer does not clearly improve the picture, delete it. Fewer, better adjustments almost always look more natural than many strong ones.
When the sky has no color
Some sunsets fail. If the sky is flat gray, there is not much color to enhance, and pushing saturation only adds noise and a muddy cast. In that case, switch your goal to mood. Convert to a muted, cool palette, lean on contrast and shape, or try a black and white version where the pier and the cloud texture carry the picture. A good edit works with what the sky gave you, not against it.
 Save
SaveCommon oceanscape editing mistakes
- Pushing shadows too far. It creates noise and a flat, gray look.
- Too much saturation. The sky looks fake. Use vibrance first.
- Heavy-handed filters. A graduated filter that is too strong leaves a visible line.
- Ignoring the horizon. A tilted horizon is the first thing people notice.
- Over-sharpening. It makes water look crunchy.
- Editing on one view. Check the result at different zoom levels and on a different screen.
Grow your skills with the Academy
If you want to learn the whole editing process, the Lightroom Editing course in the Shut Your Aperture Academy, taught by Edin Chavez, covers it in 10 modules and 42+ parts, with lifetime access. For shooting skills, try Landscape Photography. Browse everything at the Academy home.
You can also see these steps used on a different photo in our guide on how to edit a sunrise photo using Lightroom.
Frequently asked questions
How do I make an ocean sunset look dramatic in Lightroom?
Start with a dark, well-protected RAW exposure, then make small changes to white balance, tone curve, vibrance and HSL. Finish with a graduated filter on the sky and a radial filter on the glow.
Should I underexpose a sunset photo?
Often yes, slightly. It protects the colors in the sky, and RAW files let you bring back detail in the shadows. Check the histogram so nothing clips.
What shutter speed is best for ocean photos?
One to ten seconds gives a smooth, soft look to waves and clouds. Use a tripod and an ND filter in brighter light.
How do I avoid noise when lifting shadows?
Shoot at a low ISO, lift shadows gently, and use luminance noise reduction. Check the result at 100% zoom.
What are local adjustments in Lightroom?
Tools such as the graduated filter, radial filter and adjustment brush, which change only a selected part of the image.
Do I need Lightroom to edit like this?
No. Other RAW editors have similar controls. The method of gentle, layered changes works in any of them.
Gear box: ocean photography starting points
These are research starting points, not rankings. Check current specs, reviews and prices before you buy.
- A sturdy tripod: See tripods at B&H or on Amazon.
- ND filters: Browse ND filters at B&H.
- A remote shutter release: See remotes on Amazon.
- Lens cloths and a rain cover: Browse options on Amazon.
Affiliate disclosure: some links above are affiliate links. If you buy through them, Shut Your Aperture may earn a small commission at no extra cost to you.