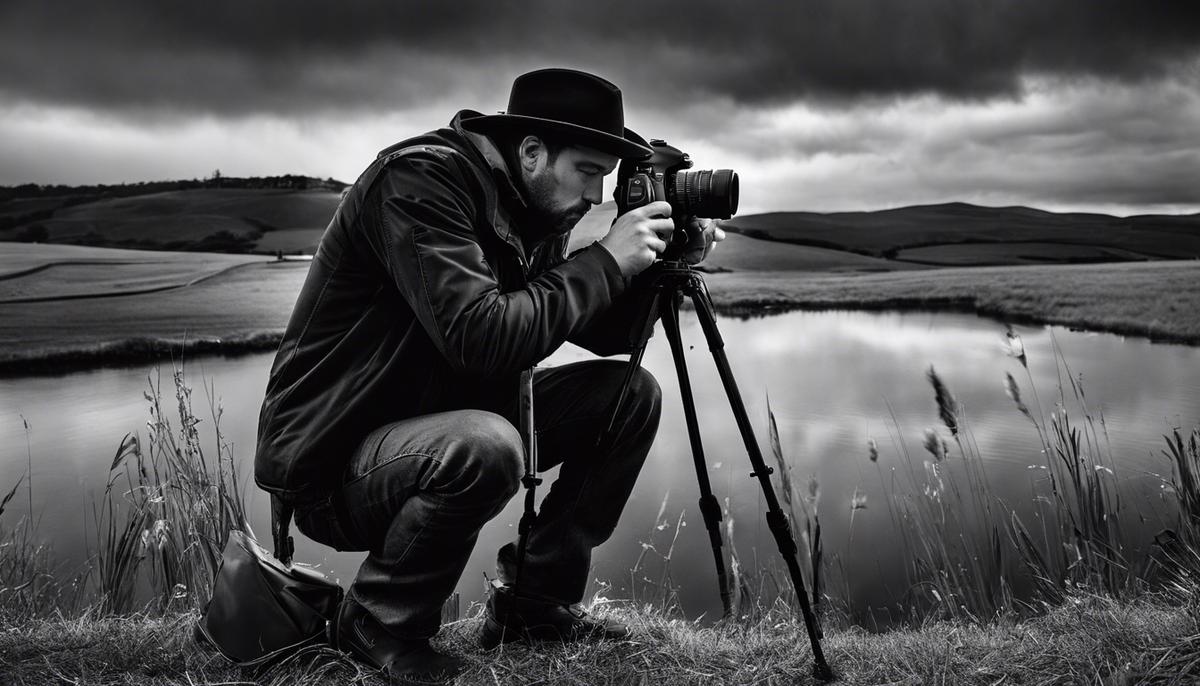
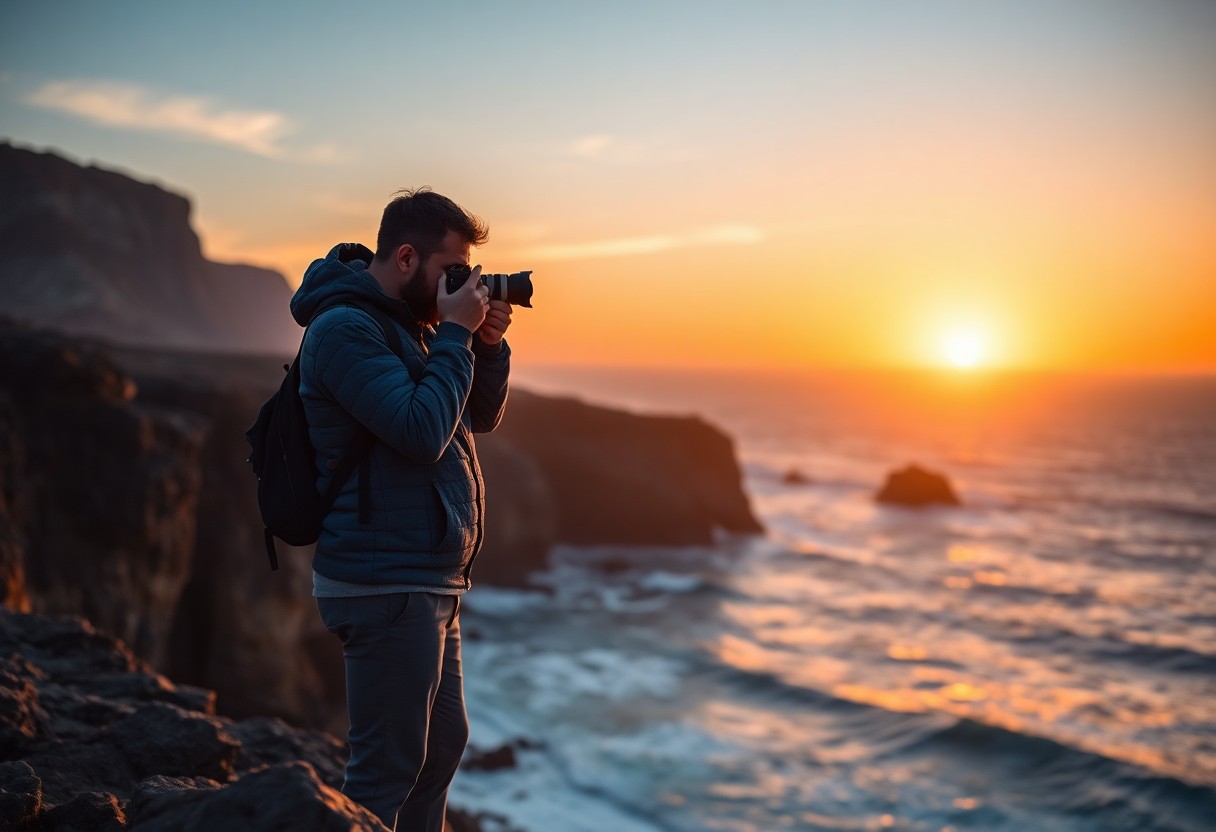
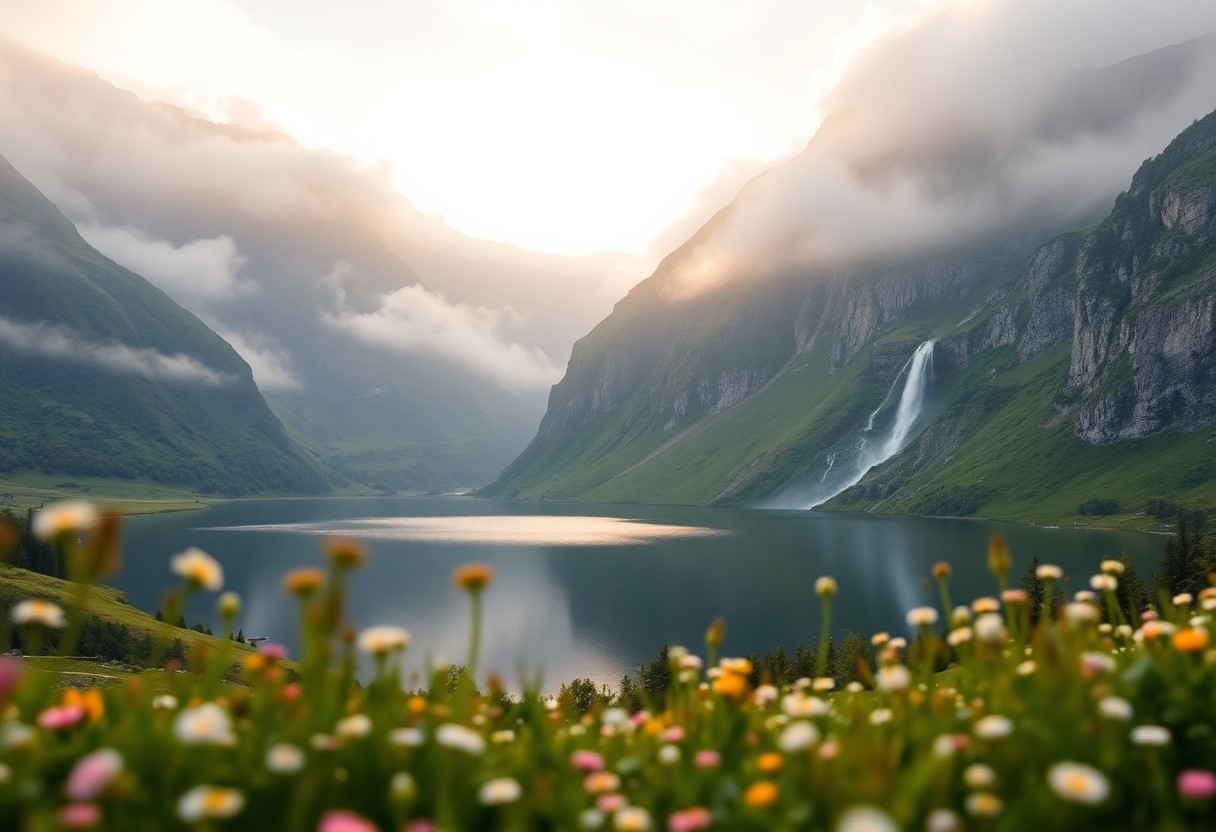
Entering the realm of landscape photography editing is akin to unlocking a hidden dimension where the captured scene is transformed into a work of art, each adjustment acting as a brushstroke on a digital canvas. For both aspiring photographers and the general public with an interest in the craft, understanding the post-processing stage is essential. Our journey begins with the raw potential of the RAW file format—your photographic ally in retaining the highest quality of detail and flexibility in editing. From there, mastering the fundamental techniques ensures that the image’s colors dance with vibrancy, and its contrasts sing with depth. But this is only the foundation; the nuanced skills of local and advanced editing await, ready to elevate the ordinary to the extraordinary, and finally, we must optimize for output, ensuring the photograph’s journey from screen to print is as flawless as the landscape it represents.
Understanding RAW Files
Unveiling the Treasure of RAW Files for Landscape Photography!
Hey photography enthusiasts! Have you ever stumbled upon the term ‘RAW file’ and wondered what all the fuss was about? Well, it turns out these files are like a buried treasure for anyone into landscape photography. These gems are packed with information that can transform a good photo into a great one!
So, what makes RAW files the secret sauce? Let’s dig into this!
First off, a RAW file is like a digital negative. It captures all the image data exactly as the camera sensor sees it. This means it hasn’t tossed out any details. Every brilliant sunrise, misty mountain, or lush green field gets its full range of colors and light recorded. Think of it as having more crayons in your box when it’s time to color in your masterpiece.
Now, imagine snapping a photo of a breathtaking vista. The camera’s automatic settings might not get everything just right. But, with a RAW file, you’ve got room to play! It’s like having a magic wand to fix exposure. Found your shadows a tad too dark or highlights too bright? No sweat! You can fine-tune them without losing quality, keeping your skies dramatic and your valleys detailed.
Color is another big win. With RAW, tweaking white balance is a breeze. If the auto white balance has made your sunset too cool, you can warm it up to match just what your eyes saw. The colors stay true-to-life and more vivid. This is because RAW files have way more color data than JPEGs, so they’re like the difference between HD TV and the old tube one in your grandma’s living room.
One thing landscape photographers know is that mother nature is a bit unpredictable. Weather and lighting can change in the blink of an eye. RAW files are forgiving. Overcast day? Boring, right? But even in less-than-perfect light, RAW files hold onto details that you can bring out later, making every photo session worth it.
When it comes to editing, if the photo is a cake, then RAW is the flour. It’s essential. You need it to make sure everything turns out perfect. You can adjust heaps of settings like contrast, sharpness, and saturation without ruining the image. This level of control is what turns a simple snapshot into a wall-worthy photo.
And let’s not forget about editing programs like Lightroom or Photoshop. They love RAW files because these programs can use all that extra information to help boost those landscapes from ‘meh’ to ‘wow’!
One final nugget: printing. If you dream of seeing your landscape photography in a gallery, RAW is your best bet. Since it keeps the highest quality of your image, your prints will look sharp, detailed, and just how you intended.
Alright, photography friends, RAW files may be a bit larger and take up more room on your memory card, but think of them as the canvas to your art. More space to work with means a better chance to create those breathtaking shots. So next time you’re out in the wild, ready to capture the beauty of this world, consider going RAW. It’s not just an image; it’s a canvas waiting for your touch. Keep exploring and let those RAW files unlock the full potential of your landscape photography!
 Save
SaveMastering Basic Adjustments
Diving deeper into the world of landscape photography, those RAW files have set the foundation for creating breathtaking images. But knowing what basic adjustments to make during the post-processing stage truly elevates a picture from good to masterpiece-level.
Composition Tweaks
It all starts with composition, the framework of your image. Cropping is a powerful tool that can transform the impact of a landscape photo. When cropping, aim for simplicity and look for the rule of thirds, where your scene is divided into nine equal parts. Pinpoint elements that draw the eye, like a tree or mountain, and position them along these invisible lines or their intersections to create a balanced and naturally engaging photograph.
Dynamic Range Enhancement
To make the scenery pop, playing with the dynamic range is key. Adjusting highlights and shadows can reveal hidden details. Bringing down the highlights saves the sky from being washed out, while lifting the shadows can illuminate the darker areas, capturing the scene as your eyes witnessed it. This is especially true for landscapes with vast contrasts, where both the sun’s brilliance and the earth’s subtleties vie for attention.
Color Saturation and Vibrance
Colors can make or break a landscape photo. Saturation and vibrance controls are there to ensure those hues match the vibrancy of the scene. While saturation affects all colors equally, vibrance is more subtle, boosting the muted colors without oversaturating the already vivid ones. Be careful: overdoing it can lead to unnatural results. A nudge here and slight tweak there are often all that’s needed for a true-to-life burst of color that reflects the natural beauty of the outdoors.
Clarity and Contrast Adjustments
The magic of a landscape often lies in its crispness and texture. The clarity slider can enhance mid-tone contrast, bringing out the textures and edges in clouds, foliage, and rocks, adding a sense of depth and detail. Contrast adjustments also add punch to the image, defining the lines and layers of a landscape, which help to guide the viewer through the photo from foreground to background.
Sharpening and Noise Reduction
The final touches include sharpening and noise reduction. Sharpening enhances the definition of edges, making your image seem clearer. But the key is subtlety; too much, and you introduce unwanted noise—random speckles that can detract from the image’s quality. Conversely, if there is noise, perhaps from shooting in low light, noise reduction can help create a smoother, cleaner image. Strike a balance between the two for a crisp yet natural-looking photograph.
With these simple yet effective adjustments, a landscape photo can transform into a captivating piece of art. These are just the stepping stones to the vast possibilities in enhancing landscape photography, and exploring the endless potential awaiting in each RAW file can be quite an adventure. So go ahead, grab those images and let creativity flow in post-processing to showcase nature in all its glory. Happy editing, fellow landscapes lovers!
 Save
SaveUtilizing Local Adjustments
Jumping right in, now that you’re familiar with the magic of RAW files, let’s dive into the nitty-gritty of utilizing local adjustments to create captivating landscape photos that draw the viewer in. Imagine having a magnifying glass that allows you to enhance, refine, and perfect specific parts of your image without impacting the entire scene. That’s the power of local adjustments!
Harnessing selective focus through local adjustments is like telling your viewers, “Hey, look right here; this is the best part!” Tools like the adjustment brush, radial filter, and graduated filter in editing software stand at the ready to aid in this precise task. With these, you can pinpoint areas that deserve the spotlight and make them pop.
So, you have a photo with a beautiful mountain but the foreground is slightly underwhelming? No worries. By brushing exposure or brightness onto those lackluster areas, they can meld harmoniously with the rest of the image. Or perhaps there’s a section of the sky that is slightly overexposed. A graduated filter can gently pull back that brightness, reinstating that perfect sunset gradient.
Next, let’s chat about detail. A landscape is full of textures, from the rugged bark of a tree to the delicate veins of a leaf. Local sharpening can turn a soft detail into an eye-catching element that feels almost tangible. But be careful, a little goes a long way! Over-sharpening can introduce unwanted noise. This is where local noise reduction steps in. Use this on the sky or shadowy areas to maintain a smooth, clean look.
Ever taken a photo where the colors are nice but just need a little extra oomph? Local adjustments to saturation will let those colors sing without making the whole image scream. Incrementally add vibrance to a drab area or tone down parts that are too intense for a balanced, yet lively picture.
Contrast and clarity are two other powerful tools in your local adjustment arsenal. Boosting clarity in a specific part of your landscape, like the intricate patterns of rock formations, can give depth and definition. Pair this with a subtle contrast increase, and you’ve got yourself a scene that has dimension and drama.
In summary, think of local adjustments as the ultimate refinement tool in your landscape photography toolkit. By making these selective touch-ups, you’re not just editing a photo, you’re crafting a story. And the best part? There’s always room to play, experiment, and let creativity flow as you continue to bring focus and breathtaking detail to the world you’ve captured. Keep on exploring, and let those landscapes shine!
 Save
SaveAdvanced Techniques in Landscape Editing
Leveraging Time: Mastering the Golden and Blue Hours
In the world of landscape photography, timing can dramatically transform an image. The ‘golden hour’—the period shortly after sunrise or before sunset—casts a warm, diffused light that makes landscapes come alive. Similarly, the ‘blue hour’, which is the twilight period when the sun is below the horizon and the sky takes on a deep blue hue, offers a tranquil and ethereal light that can add a layer of mystery to your photos.
To maximize these hours, pay attention to the sun’s path and plan ahead. Arrive on location early to set up and be ready as the magic light begins. This kind of natural illumination can’t be replicated by editing, and it accentuates textures and landscapes in a way that adds a wow factor to your photos.
Mastering Hyperfocal Distance for Sharpness
Getting the entire scene in focus, from the foreground to the horizon, is a staple of great landscape photography. By using the hyperfocal distance—a focus technique—you ensure that your photo is sharp at both the near field and the distance. To effectively use this technique, use a smartphone app or a hyperfocal chart to calculate the optimal focus point based on your lens and aperture settings. Remember, smaller apertures (larger f-stop numbers) increase depth of field, bringing more of the landscape into sharp relief.
Incorporating Long Exposure for Dynamic Scenes
Long exposure is not just for low light; it’s a creative tool to capture movement in a landscape, be it rustling leaves, flowing water, or scudding clouds. Using a slow shutter speed, landscape elements in motion blur into artistic expressions of time passing, while stationary features remain sharp. A tripod is essential here to prevent camera shake, and using a neutral density filter can help manage light and prevent overexposure during longer exposures.
Exploring High Dynamic Range (HDR) Imaging
Sometimes, the range of light in a landscape is too great for the camera to capture in a single shot. High Dynamic Range (HDR) imaging combines multiple photos of the same scene, taken at different exposures, to create a final image that represents detail in both the highlights and the shadows. Using auto-bracketing, where the camera automatically takes several exposures, makes capturing the shots for an HDR composite easier. Be cautious with HDR; the goal is to enhance and not to overdo and create an unnatural look.
Creating Panoramas for Expansive Views
When a single frame just isn’t enough to do justice to a vast landscape, stitching together several overlapping images to make a panorama can capture the grandeur of a place. While some modern cameras have built-in panorama functions, manually taking the images and combining them in post-processing software often yields a higher-resolution final picture. Consistency in exposure and a steady hand or panning tripod head can help execute a flawless panorama.
There you have it—advanced techniques that promise to elevate landscape photography beyond the basic click of the shutter. But remember, all the technical expertise in the world means little without the vision and creative spirit behind the lens. Advance those skills, yes, but let them serve the art. And always, keep seeking those moments when light, land, and timing align to reveal the magic in the natural world.
 Save
SaveOptimizing for Output
Mastering Color Management for Print and Web Display
Hey there, fellow landscape photography enthusiasts! For those who have ventured deep into the remarkable world of capturing nature’s grandeur, ensuring those stunning shots look just as impressive on paper or screens as they do through the viewfinder is an art in itself. Delving further into techniques beyond RAW manipulation and local adjustments, it’s essential to focus on color management, a cornerstone of producing vibrant, lifelike prints and digital displays. So, let’s cut to the chase and explore how to manage colors like a pro!
First up, remember that colors can look differently on various devices due to distinct color spaces. A color space is like a language for colors, and sRGB is the common tongue for most monitors and the web, whereas Adobe RGB or ProPhoto RGB pack a wider color gamut suitable for prints. For consistency, always edit in the broader color space and convert to sRGB for online sharing to maintain color richness throughout your workflow.
Profiling and calibrating your monitor is like tuning a guitar before a jam session—it’s vital! Use a reliable calibration device every couple of weeks to ensure your screen displays true-to-life colors. This step can’t be emphasized enough, as it directly affects how you perceive and adjust your images during editing.
Now, when preparing your images for printing, soft-proofing is your sneak preview. This nifty function in editing software simulates how your photo will print on a specific paper type using a specific printer. Tweak your image in this mode to get those colors and tones right where they should be. You might have to make some compromises due to the differences between screen and print, but it’s all about finding that sweet spot.
Factoring in the dot gain is also key, especially for prints. This phenomenon happens when ink spreads slightly on paper, which can darken your images. Adjusting the midtones to compensate for the dot gain will keep your print from looking murky or losing punch.
Let’s not forget the essential handshake between your printer and paper—ICC Profiles! Use the correct ICC profile for your printer and paper combination to ensure accuracy. It’s like giving your printer a recipe to follow, making sure it knows exactly how to mix its inks to get those scrumptious colors just right.
Wrapping up, the balance of technical mastery with an artistic eye is what elevates landscape photography. The final goal isn’t just a stunningly sharp and well-composed image but also one that resonates with the viewer whether viewed on a backlit screen or held in hand as a gallery-quality print. It’s not enough for the colors to be just bright; they must evoke the emotion of the scene captured. By embracing these color management strategies, you’ll be well on your way to producing images that do justice to those captivating landscapes you’ve so skillfully captured. Happy shooting and editing!
 Save
SaveThe voyage through the landscapes of digital editing is one of continuous discovery and craftsmanship. Each image presents unique challenges and opportunities, a testament to the photographer’s vision and the editor’s finesse. As we part ways with this guiding light on your evolving path, remember that the techniques and concepts shared are but stepping stones to your unique creative expression. Whether the destination is an electrifying online portfolio or a tactile, gallery-worthy print, may the skills honed here serve as faithful companions, illuminating your landscapes with the resounding clarity and depth they merit. Forge ahead, craft your narrative, and revel in the artistry that landscape photography editing empowers you with.


