Aperture in Photography: F-Stops, Depth of Field, and Real Settings
Last updated June 1, 2026 by Edin Chavez — 15+ years shooting weddings, corporate events, and landscapes.
 Save
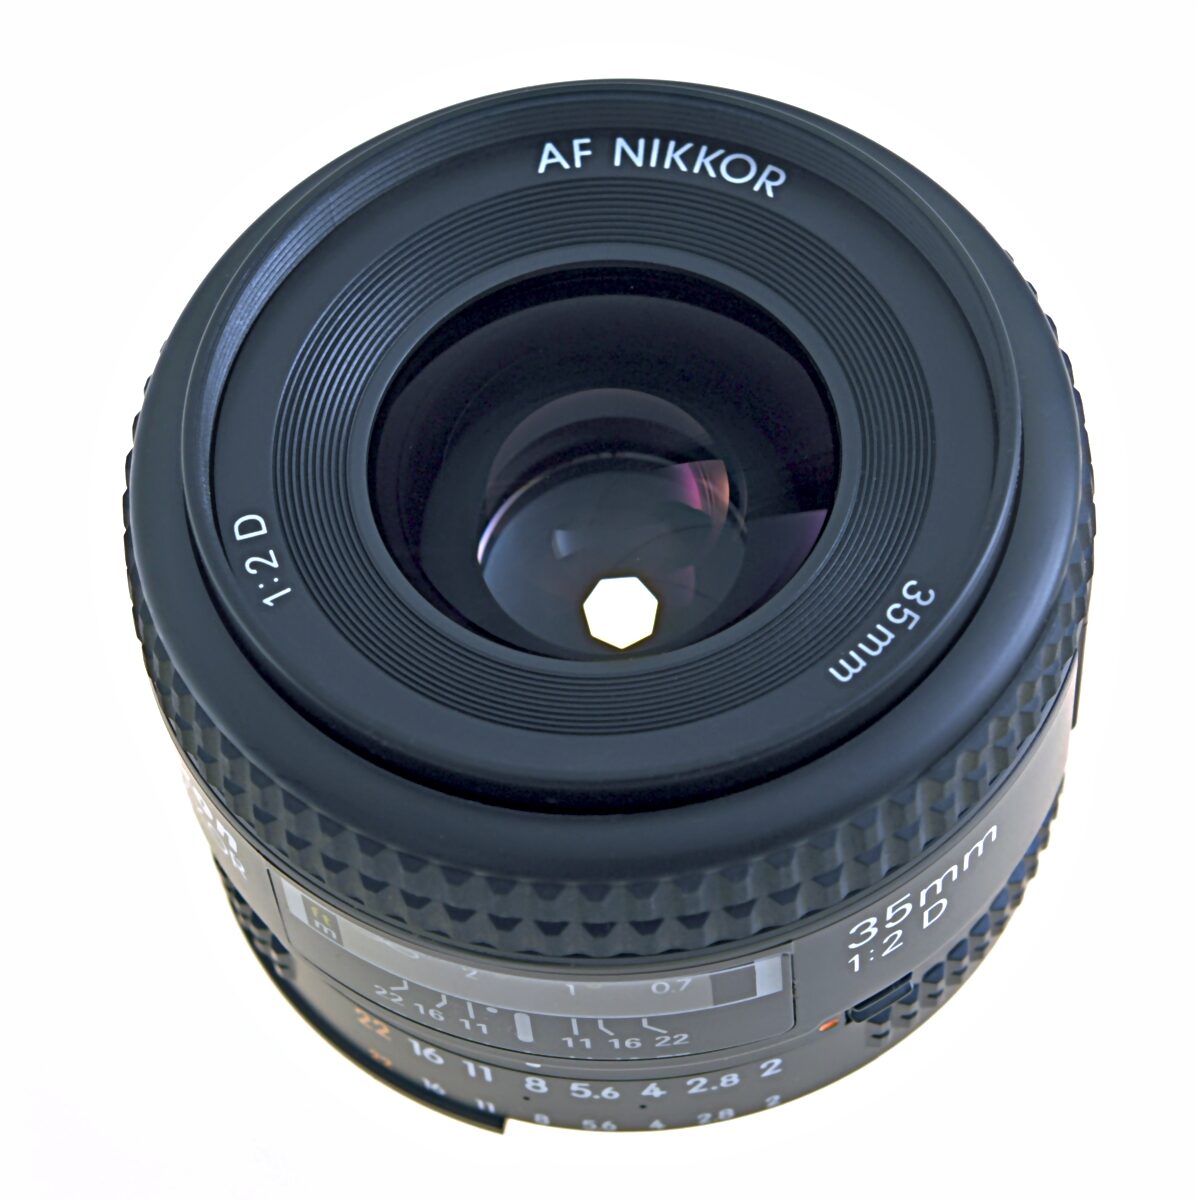
SaveWhat aperture actually does
Aperture is the hole in your lens that lets light through. The wider the hole, the more light hits the sensor, and the shallower the depth of field. That’s the whole concept. Everything else — f-stops, bokeh, hyperfocal distance, diffraction — is just the practical consequences of that one fact.
When somebody says “shoot at f/1.8,” they mean open the aperture wide. When somebody says “stop down to f/11,” they mean close it down. The numbers feel backwards because they’re a ratio of the focal length to the diameter of the opening, but you stop thinking about that after a week of shooting.
Here’s the only thing you need to memorize: smaller number = wider hole = more light + blurrier background. Larger number = smaller hole = less light + sharper background. That’s it.
The f-stop scale, plainly
Standard full stops on the aperture scale:
f/1.4 — f/2 — f/2.8 — f/4 — f/5.6 — f/8 — f/11 — f/16 — f/22
Each step doubles or halves the light. Going from f/2.8 to f/4 cuts light in half. Going from f/8 to f/5.6 doubles it. Modern cameras let you adjust in 1/3 stops (f/3.2, f/3.5, etc.), but the full-stop pattern above is what experienced shooters think in.
If you’re learning, write that scale on a sticky note and put it on your monitor for a week. After that, it lives in your head.
Aperture and depth of field — the real-world version
 Save
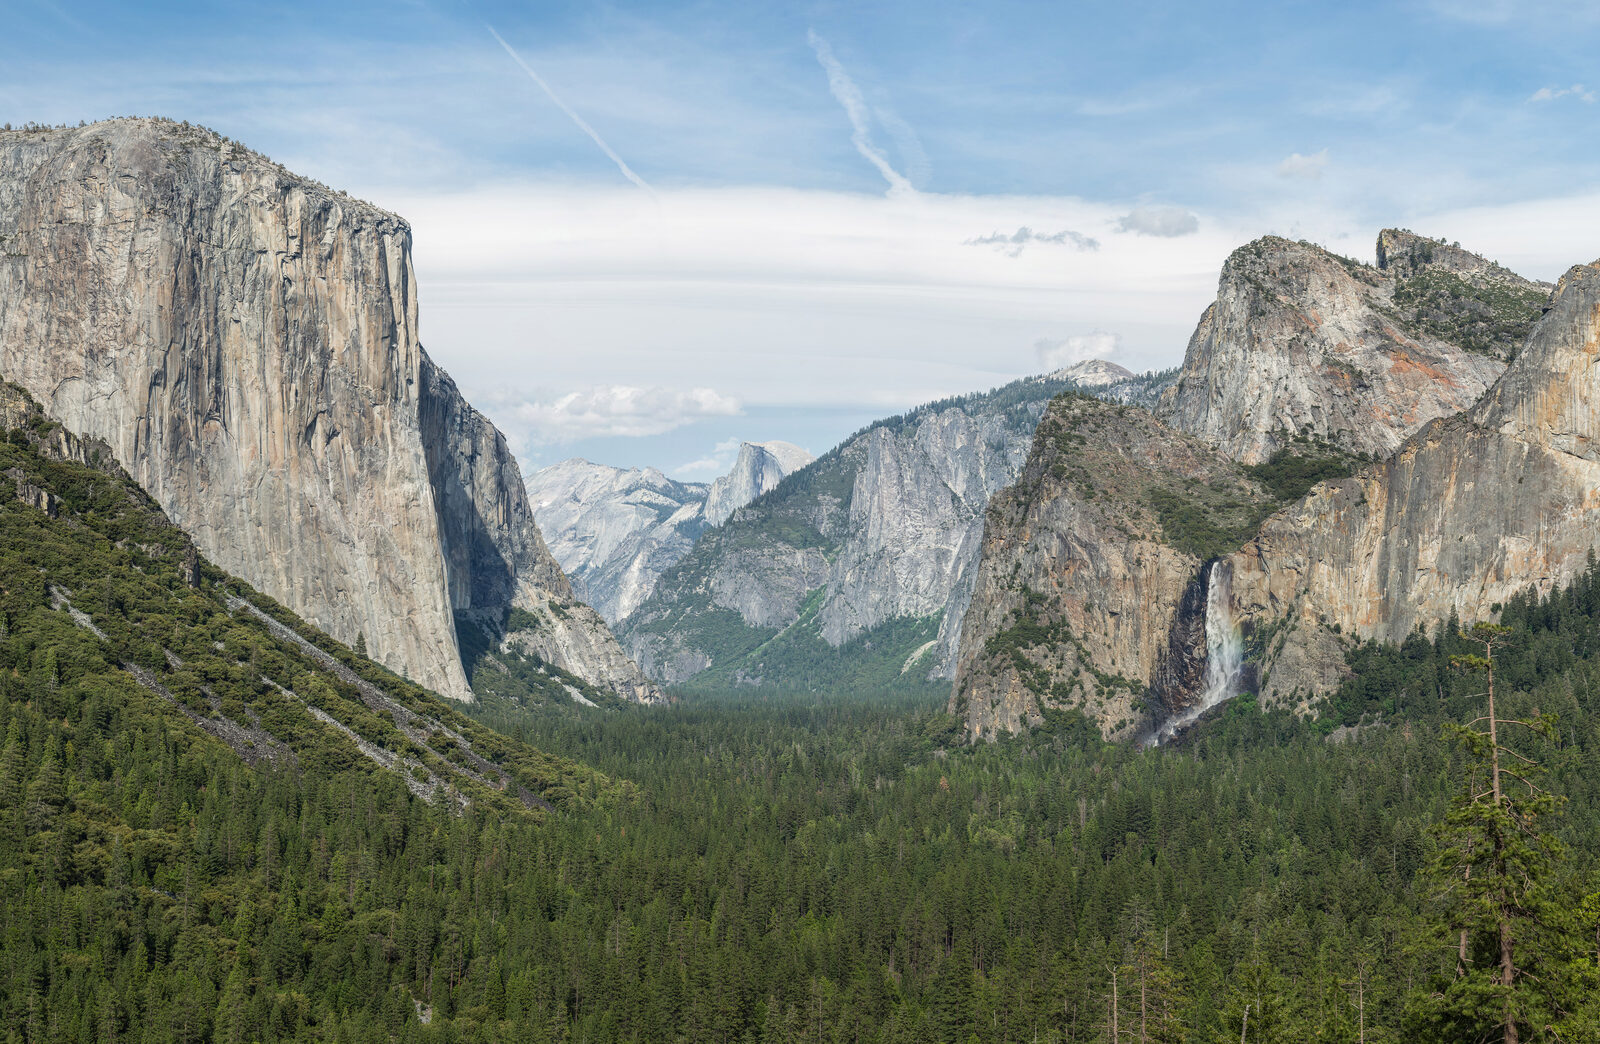
SaveDepth of field is how much of your photo is in focus from front to back. Aperture controls it, alongside focal length and subject distance. A wide aperture (f/1.4, f/1.8, f/2.8) gives you a thin slice of sharpness — perfect for isolating a face against a blurred background. A narrow aperture (f/11, f/16) keeps everything sharp from the rock at your feet to the mountain in the distance.
The thing nobody tells beginners: focal length matters as much as f-stop. An 85mm at f/2.8 has roughly the same background blur as a 35mm at f/1.4. If you can’t afford a fast prime, longer focal length is the workaround.
What I actually shoot at
- Single-person portrait, eyes razor sharp, smooth background: f/1.8 to f/2.2 on an 85mm. f/1.4 only when I want the front eyelash sharp and the back eyelash already soft.
- Two-person couple portrait: f/2.8 minimum. f/1.8 misses one of them every time unless they’re on the exact same focal plane.
- Group of 5+: f/5.6 or f/8. Yes, the background gets busier. That’s fine — sharp faces matter more than soft bokeh in group shots.
- Landscape, foreground-to-infinity sharp: f/8 to f/11 on most full-frame lenses. f/13 if I have a strong foreground element under 2 feet from the lens.
- Astrophotography (Milky Way): wide open — usually f/1.4 to f/2.8 on a 14-24mm wide angle.
- Event/wedding reception, available light: f/2.8 with a flash, f/1.8 without. Anything narrower means ISO 6400+ on most bodies.
The “best” aperture is a myth — sharpest aperture isn’t
Every lens has a “sweet spot” — the f-stop where it resolves the most detail. For most modern lenses, that’s two to three stops down from wide open. A 50mm f/1.4 is usually sharpest around f/4 to f/5.6. A 24-70mm f/2.8 zoom is usually sharpest at f/5.6 to f/8.
Wide open you get character — a bit of softness, more vignetting, gorgeous bokeh. Stopped down past f/11 on a full-frame sensor and you start losing sharpness to diffraction. Knowing your specific lens’s sweet spot is the difference between “decent” and “sharp” — go shoot a brick wall at every full stop and look at the corners at 100%.
When narrow aperture goes wrong: diffraction
Past f/11 on full-frame (f/8 on crop, f/5.6 on Micro Four Thirds), light starts bending around the aperture blades and softening the entire image. This is diffraction, and it’s why a landscape shot at f/22 looks worse than the same shot at f/11.
If you absolutely need front-to-back sharpness on a complex scene, focus stack two frames — one focused on the foreground, one on the background, both at the lens’s sweet spot. Blend in Photoshop or Helicon Focus. It takes 90 seconds and beats any single-frame f/22 shot every time.
Aperture priority mode — the mode I shoot 80% of the time
Aperture priority (A on Nikon/Sony/Fuji, Av on Canon) lets you pick the f-stop and the camera handles shutter speed. It’s the working photographer’s default because aperture is almost always the creative decision — shutter speed is just whatever makes the exposure work.
Set ISO based on light (200-400 outdoors, 800-3200 indoors), pick your aperture, watch your shutter speed in the viewfinder, and bump ISO if shutter drops below the reciprocal of your focal length. That’s it. That’s the whole workflow for events, portraits, travel, and 90% of street photography.
Aperture by scenario — quick reference
| Scenario | Aperture | Why |
|---|---|---|
| Headshot, business | f/2.8 – f/4 | Soft background, both eyes sharp, clean retouching |
| Headshot, dramatic | f/1.8 – f/2.2 | Heavy bokeh, isolates subject completely |
| Couple, half-body | f/2.8 – f/3.5 | Both faces sharp on same plane |
| Family of 4-6 | f/5.6 – f/8 | All faces sharp across two rows |
| Wedding ceremony | f/2.8 – f/4 | Balances bride/groom sharp with available light |
| Landscape, wide angle | f/8 – f/11 | Maximum sharpness, full depth of field |
| Landscape, telephoto compression | f/8 – f/11 | Same — sweet spot of most telephotos |
| Milky Way / stars | f/1.4 – f/2.8 | Maximum light gathering, shorter shutter needed |
| Concert, no flash | f/1.8 – f/2.8 | Stage light is fierce but uneven — keep ISO down |
| Real estate interior | f/8 – f/11 | Sharp corner to corner, multiple exposures bracketed |
| Macro / close-up | f/8 – f/16 | Depth of field is paper-thin at 1:1, you need it all |
| Street, zone focusing | f/8 at 28mm-35mm | Anything 5-15 feet is sharp, no AF lag |
Wide aperture lenses worth buying in 2026
A fast prime is the single biggest upgrade for low-light and portrait work. You don’t need every focal length — pick one and master it.
- 50mm f/1.8 — every brand makes one for under $250. Sony, Canon, Nikon, Fuji. Buy it first. Browse 50mm f/1.8 lenses at B&H.
- 85mm f/1.8 — the portrait sweet spot. Sharper than the f/1.4 versions wide open on every native mirrorless mount. 85mm options at B&H.
- 35mm f/1.4 or f/1.8 — the documentary/wedding workhorse. One lens, full day, available light.
- 24-70mm f/2.8 — if you only buy one zoom, this is it. Covers 90% of paid work.
Treat any aperture wider than f/1.4 as a special-purpose tool, not a daily driver. The autofocus margin gets thin and you’ll fight missed focus more than the bokeh is worth.
Common aperture mistakes I see in workshops
- Shooting wide open for everything. If your couple keeps coming back with one face sharp and the other soft, you’re at f/1.4 when you should be at f/2.8.
- Stopping down to f/22 for landscapes. Diffraction is real. Stay at f/8-f/11 and focus stack if you need more depth.
- Forgetting aperture changes with zoom on variable lenses. A kit 18-55mm f/3.5-5.6 is f/3.5 at 18mm and f/5.6 at 55mm — your shutter speed will jump as you zoom.
- Ignoring the lens’s sweet spot. If your 70-200mm f/2.8 is soft at f/2.8 and you keep blaming the camera, try f/4 and see what happens.
- Confusing aperture with exposure compensation. Wider aperture = brighter image only if shutter speed and ISO are locked. In aperture priority, the camera compensates automatically.
Aperture and the exposure triangle
Aperture doesn’t live alone — it works with shutter speed and ISO to set total exposure. If you change aperture by one stop, you have to change shutter or ISO by one stop in the opposite direction to keep the exposure constant.
Open the aperture from f/4 to f/2.8 and you’ve doubled the light. To keep the same exposure, either double the shutter speed (1/125 to 1/250) or halve the ISO (800 to 400). This is why aperture priority mode is so useful — the camera does this math for you and you focus on the creative call.
 Save
SaveFrequently asked questions
What is the best aperture for portrait photography?
For a single-person headshot, f/1.8 to f/2.8 on an 85mm lens gives you sharp eyes and a smooth background. For a couple, use f/2.8 minimum to keep both faces sharp. For groups of five or more, f/5.6 to f/8 is the safe call.
What aperture should I use for landscape photography?
f/8 to f/11 is the working range for most full-frame landscape work. It’s the sweet spot of most wide-angle lenses and gives you enough depth of field for foreground-to-infinity sharpness. Stop down further only if you have a foreground element within two feet of the lens, and even then consider focus stacking instead of going past f/13.
Is f/1.4 actually worth it over f/1.8?
Rarely. The f/1.4 versions cost two to four times more, weigh more, and most are softer wide open than the f/1.8 versions. Buy f/1.4 only if you shoot a lot of available-light events at ISO 6400+, or if you specifically want the rendering character of a particular f/1.4 lens. For most portrait work, f/1.8 lenses are sharper and lighter.
What is diffraction and when does it matter?
Diffraction is light bending around the aperture blades when the opening gets very small. On full-frame, it becomes visible past f/11 and noticeable past f/16. On crop sensors, it starts at f/8. The whole image gets softer — not just out-of-focus areas. If you need maximum sharpness, stay at your lens’s sweet spot (usually f/5.6 to f/8) and focus stack for more depth instead of stopping down.
Why do my photos come out dark when I close down the aperture?
A smaller aperture means less light reaches the sensor. If you’re in manual mode and don’t adjust shutter speed or ISO to compensate, the image gets darker. Switch to aperture priority mode (A or Av) and the camera will automatically balance shutter speed for you.
Aperture sub-topics — go deeper
Once you have the fundamentals down, these are the specific scenarios most working photographers run into. Each section below has detailed walkthroughs:
Aperture for portraits
Headshots, couples, families, groups — exact f-stops for each scenario plus how to handle mixed-light situations.
Aperture for landscapes
Hyperfocal distance, the f/8-f/11 sweet spot, when to focus stack instead of stopping down further.
Aperture for low light
Concerts, events, interiors, Milky Way — when wide aperture wins versus when high ISO is the better trade.
Wide aperture lenses
Honest comparisons of fast primes — what’s worth the upgrade and what isn’t, brand by brand.
Creative aperture techniques
Starbursts, bokeh shapes, soft-focus rendering, controlled depth of field for cinematic look.
Next steps
The fastest way to master aperture is to go shoot the same scene at five different f-stops and look at the results. Pick a friend, a fence, or a streetlight at dusk. Shoot the same composition at f/1.8, f/2.8, f/4, f/5.6, f/8. Look at backgrounds, foregrounds, and corner sharpness. You’ll learn more in 20 minutes than from any tutorial.
If you want a structured path, Shut Your Aperture School covers aperture, shutter speed, and ISO with video lessons and exercises. 1,200+ students, 4.9/5 stars, 30-day money-back. To speed up your editing once the shots are right, our Lightroom preset packs are built around specific shooting scenarios so you’re not guessing at sliders.
Step 2: Build Your Lens Kit
Now that you understand aperture, the next step is choosing the right glass. Our camera and lens buyer guide breaks down which lenses to invest in first.