Astrophotography Beginners Guide Settings Tips Guide
Table of Contents — 7 min read
Astrophotography Beginners Guide Settings Tips is one of the most important skills in night photography. This guide covers exactly what you need to know — from first principles to advanced application. Our complete training is inside Shut Your Aperture School — but this guide gives you the working knowledge you need today.
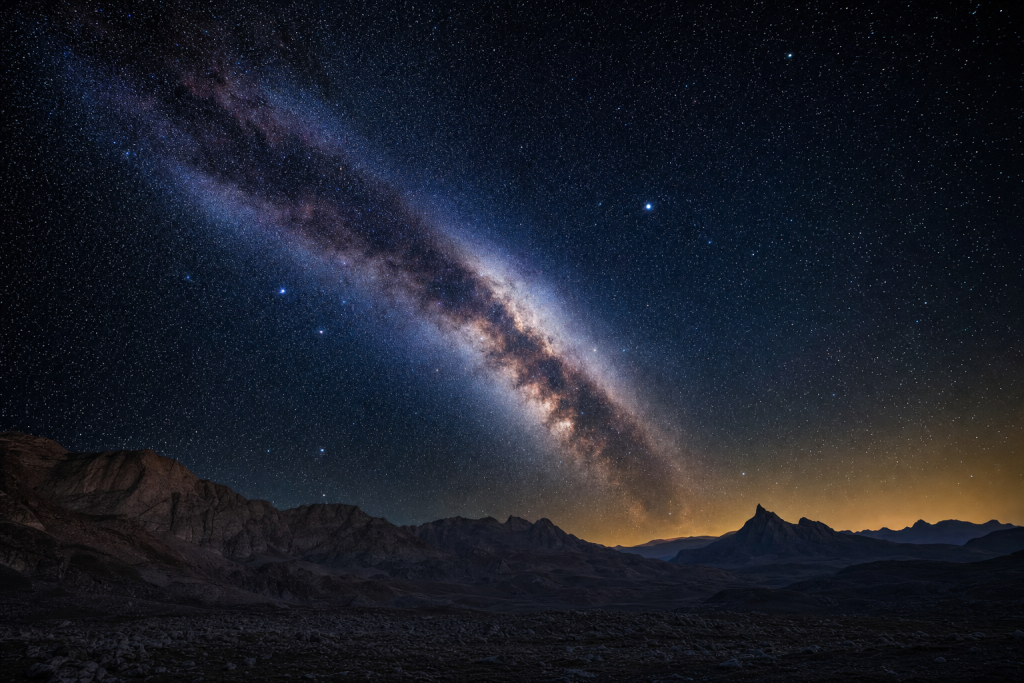
Shutter speed is the variable that determines whether your stars appear as sharp points or elongated trails. Get it right and you have crisp stars with a properly exposed sky. Get it wrong and you either have trailed stars from Earth’s rotation, or a sky too dark to show the Milky Way at all. This guide covers the calculations, the rules, and the actual settings that work.
 Save
SaveWhy Shutter Speed Is the Critical Variable
Stars appear stationary in the night sky only in photographs taken with short enough exposures. In reality, Earth rotates 360 degrees every 24 hours — that’s 0.25 degrees per minute, or 15 arcseconds per second. At long focal lengths, that movement becomes visible in your photos as streaking. At wide angles, you have more tolerance, but there’s still a hard limit.
The relationship between focal length and maximum exposure time is the core challenge of astrophotography shutter speed. A 24mm lens on a full-frame camera can tolerate about 20 seconds before stars start to streak. A 50mm lens gives you around 10 seconds. A 135mm lens gives you barely 4 seconds before streak is visible at 100% crop.
This doesn’t mean star trails are wrong — intentional long exposures (20 minutes to several hours) create beautiful circular trails around the celestial pole. But single-frame Milky Way photography, star fields, and deep sky work all require sharp points, which means understanding your shutter speed limits.
For a broader treatment of shutter speed and motion across all photography types, the complete shutter speed guide covers the full range.
The 500 Rule: A Practical Starting Point
The 500 Rule is the most widely cited formula for astrophotography shutter speed:
Maximum exposure (seconds) = 500 ÷ focal length (mm)
For a full-frame camera:
– 24mm lens: 500 ÷ 24 = 20.8 seconds → use 20s
– 35mm lens: 500 ÷ 35 = 14.3 seconds → use 14s
– 50mm lens: 500 ÷ 50 = 10 seconds
– 14mm ultra-wide: 500 ÷ 14 = 35.7 seconds → use 30s
For crop-sensor cameras (APS-C), you need to account for the crop factor. Multiply your focal length by the crop factor first:
- APS-C (1.5× crop, Sony/Nikon): 24mm × 1.5 = 36mm effective → 500 ÷ 36 = ~13 seconds
- APS-C (1.6× crop, Canon): 24mm × 1.6 = 38.4mm effective → 500 ÷ 38.4 = ~13 seconds
The 500 Rule is a starting point, not a precise calculation. It was developed for lower-resolution sensors and assumes a viewing size where minor trailing isn’t visible. On modern high-resolution sensors (40+ megapixels), stars will show trailing before the 500 Rule suggests. See below for a more accurate alternative.
The NPF Rule: More Accurate for High-Resolution Cameras
The NPF Rule is a more precise formula that accounts for aperture, sensor resolution, and declination (the star’s position in the sky — stars near the celestial equator move faster across the frame than stars near the poles).
The simplified version of the NPF formula:
t = (35 × aperture + 30 × pixel pitch) ÷ focal length
Pixel pitch is the physical size of each pixel on your sensor (typically 4–6 microns on modern cameras). Most astrophotography apps — PhotoPills, Stellarium, PlanIt! — calculate NPF exposure automatically when you enter your camera model and focal length.
In practice, the NPF rule consistently gives you 15–30% shorter exposures than the 500 Rule at the same focal length, especially on cameras above 24 megapixels. If you’re shooting a 45MP Sony A7R V or a Nikon Z8, use the NPF Rule or rely on an app to avoid trailing at 100% resolution.
Shutter speed reference table (500 Rule, full-frame):
| Focal Length | Max Exposure (500 Rule) | NPF Estimate (f/2.8, ~5μm pixel) |
|---|---|---|
| 14mm | 35s | 28s |
| 20mm | 25s | 20s |
| 24mm | 20s | 16s |
| 35mm | 14s | 11s |
| 50mm | 10s | 8s |
| 85mm | 5.8s | 4.5s |
Real Settings for Milky Way Photography
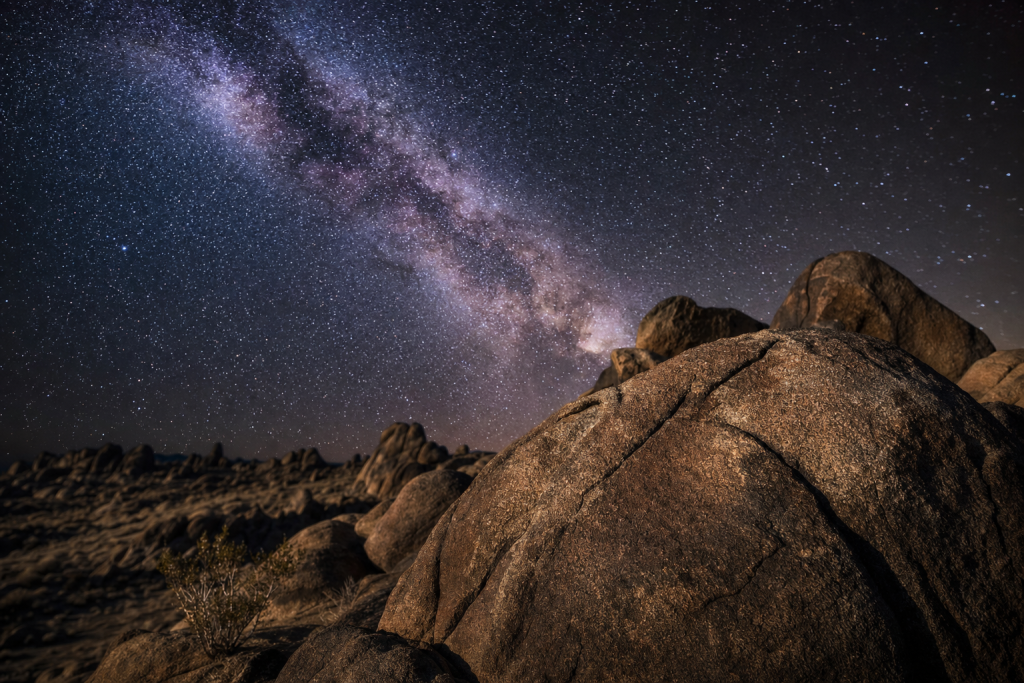
A single-exposure Milky Way shot requires balancing four variables: aperture, shutter speed, ISO, and the darkness of the sky. Here’s a complete starting exposure for a clear, dark sky location (Bortle 3–4):
Standard Milky Way exposure:
| Setting | Value |
|---|---|
| Focal length | 14–24mm (full-frame) |
| Aperture | f/2.0–f/2.8 (widest available) |
| Shutter speed | 15–25s (per 500 Rule for focal length) |
| ISO | 3200–6400 |
| Focus | Manual, focused on stars (use live view magnification) |
| White balance | 3800–4200K (cool, prevents orange cast) |
| File format | RAW only |
ISO 3200 on a modern full-frame (Sony A7 III, Nikon Z6 II, Canon R6) produces sky shots with manageable noise that cleans up well in post. ISO 6400 is usable but will need more aggressive noise reduction. Don’t drop below f/2.8 if you can avoid it — the aperture has the biggest effect on how much light you gather per frame.
One practical tip: after you set your exposure, take one frame and zoom to 100% on a bright star. If it’s a trail rather than a point, reduce shutter speed by 30%. If it’s a perfectly round point, you’re good.
For night photography at shorter focal lengths where stars aren’t the primary subject, the night photography shutter speed guide covers city, architecture, and landscape scenarios.
Star Trails: Intentional Long Exposures
Star trail photography uses the opposite approach — you want the trails. There are two methods:
Single long exposure (BULB mode):
– 20–90 minutes, f/4–f/8, ISO 100–200
– Produces smooth continuous trails
– Risk: sensor heat, light pollution gradient building up over time, any cloud creates a soft patch in the trail
Stacked shorter exposures:
– 100–300 frames at 25–60 seconds each, f/2.8–f/4, ISO 400–800
– Stack in StarStax, Sequator, or Photoshop using Lighten blending mode
– Produces equivalent trail length but with far less noise and no sensor heating
– Gaps between frames may show slight breaks in the trail — use the “Gap Filling” option in StarStax
For star trails, shutter speed control matters differently. You’re not worried about trailing — you want it. You’re managing noise accumulation across the sequence, keeping individual frames clean, and making sure your histogram doesn’t clip on bright stars or light-polluted sky glow.
The 500 Rule astrophotography article goes deeper on the math and variants of the formula, including how it changes for different pixel densities.
 Save
SaveCommon Mistakes and How to Fix Them
Stars look like dashes, not points. Exposure is too long for your focal length. Cut the shutter speed by 30–40% and reshoot.
Image is too dark. You hit the 500 Rule limit but don’t have enough exposure. Options: open aperture wider, raise ISO, or shoot on a new moon night when the sky is darker. If you’re already at ISO 6400 and f/1.8, you may need a faster lens or a darker location.
Stars look soft but not trailed. Focus is slightly off. Astrophotography focus is notoriously difficult — autofocus fails on stars in most cameras. Use live view at maximum magnification, point at a bright star, adjust manual focus until the star resolves to its smallest and sharpest point, then lock it there. Don’t touch the focus ring again during your session.
Foreground is black while sky is exposed correctly. Single-exposure astrophotography can’t capture both sky and dark foreground at the same time. Shoot a separate foreground exposure — typically at blue hour (right after sunset) — and blend it in post. This is standard practice, not cheating.
Star trails have breaks in them (stacking method). The gap between frames (mirror flip, buffer write time, interval timer gap) creates tiny breaks. Increase the interval timer gap to the minimum your camera allows and use the gap filling option in your stacking software.
For a full workflow on shooting Milky Way and deep sky, including how shutter speed interacts with light frames, dark frames, and stacking for deep sky objects, the shutter speed for night photography article is the companion read.
Where to Go From Here
Astrophotography shutter speed comes down to one principle: expose long enough to gather sufficient light, but short enough that Earth’s rotation doesn’t trail your stars. The 500 Rule gives you a fast starting point; the NPF Rule gives you accuracy on high-res cameras. Beyond that, it’s about finding dark skies, timing around the new moon, and putting in the field hours to internalize what correct star focus actually looks like on your camera’s live view.
The full picture of how shutter speed affects every other shooting situation — from motion blur in sports to long-exposure waterfalls — is covered in the shutter speed pillar guide.
Related:
– Shutter Speed — Complete Guide
– Night Photography Shutter Speed
– Shutter Speed for Night Photography
– The 500 Rule for Astrophotography
Want to master night photography?
Shut Your Aperture School is the complete photography training — 1,200+ students, 4.9/5 stars, 30-day guarantee.
Pro Lightroom Presets
Polish your photos in seconds with professional presets built by working photographers.
For broader photography reference, DPReview maintains comprehensive equipment reviews and shooting tutorials.
Ready to take this further?
The fastest way to keep improving is structured practice with feedback. Inside Shut Your Aperture School, you get the complete training, plus a community of working photographers and direct feedback on your work. The 30-day guarantee removes the risk.
Related guides in Astrophotography & Milky Way
- How To Photograph Milky Way Settings Guide
- Best Camera For Astrophotography 2024 Review
- Best Lens For Milky Way Photography Wide Angle
See all Astrophotography & Milky Way articles →
 Save
SaveFAQ
What is astrophotography beginners guide settings tips?
Astrophotography beginners guide settings tips refers to the techniques and settings photographers use to achieve specific results in this category. The full breakdown is in this guide.
What settings should I use for astrophotography beginners guide settings tips?
Specific settings depend on lighting and scenario. The settings tables and recommendations in this article cover the most common cases.
Are presets useful for astrophotography beginners guide settings tips?
Yes — well-built presets handle most of the heavy lifting in a single click. See the preset recommendations below.